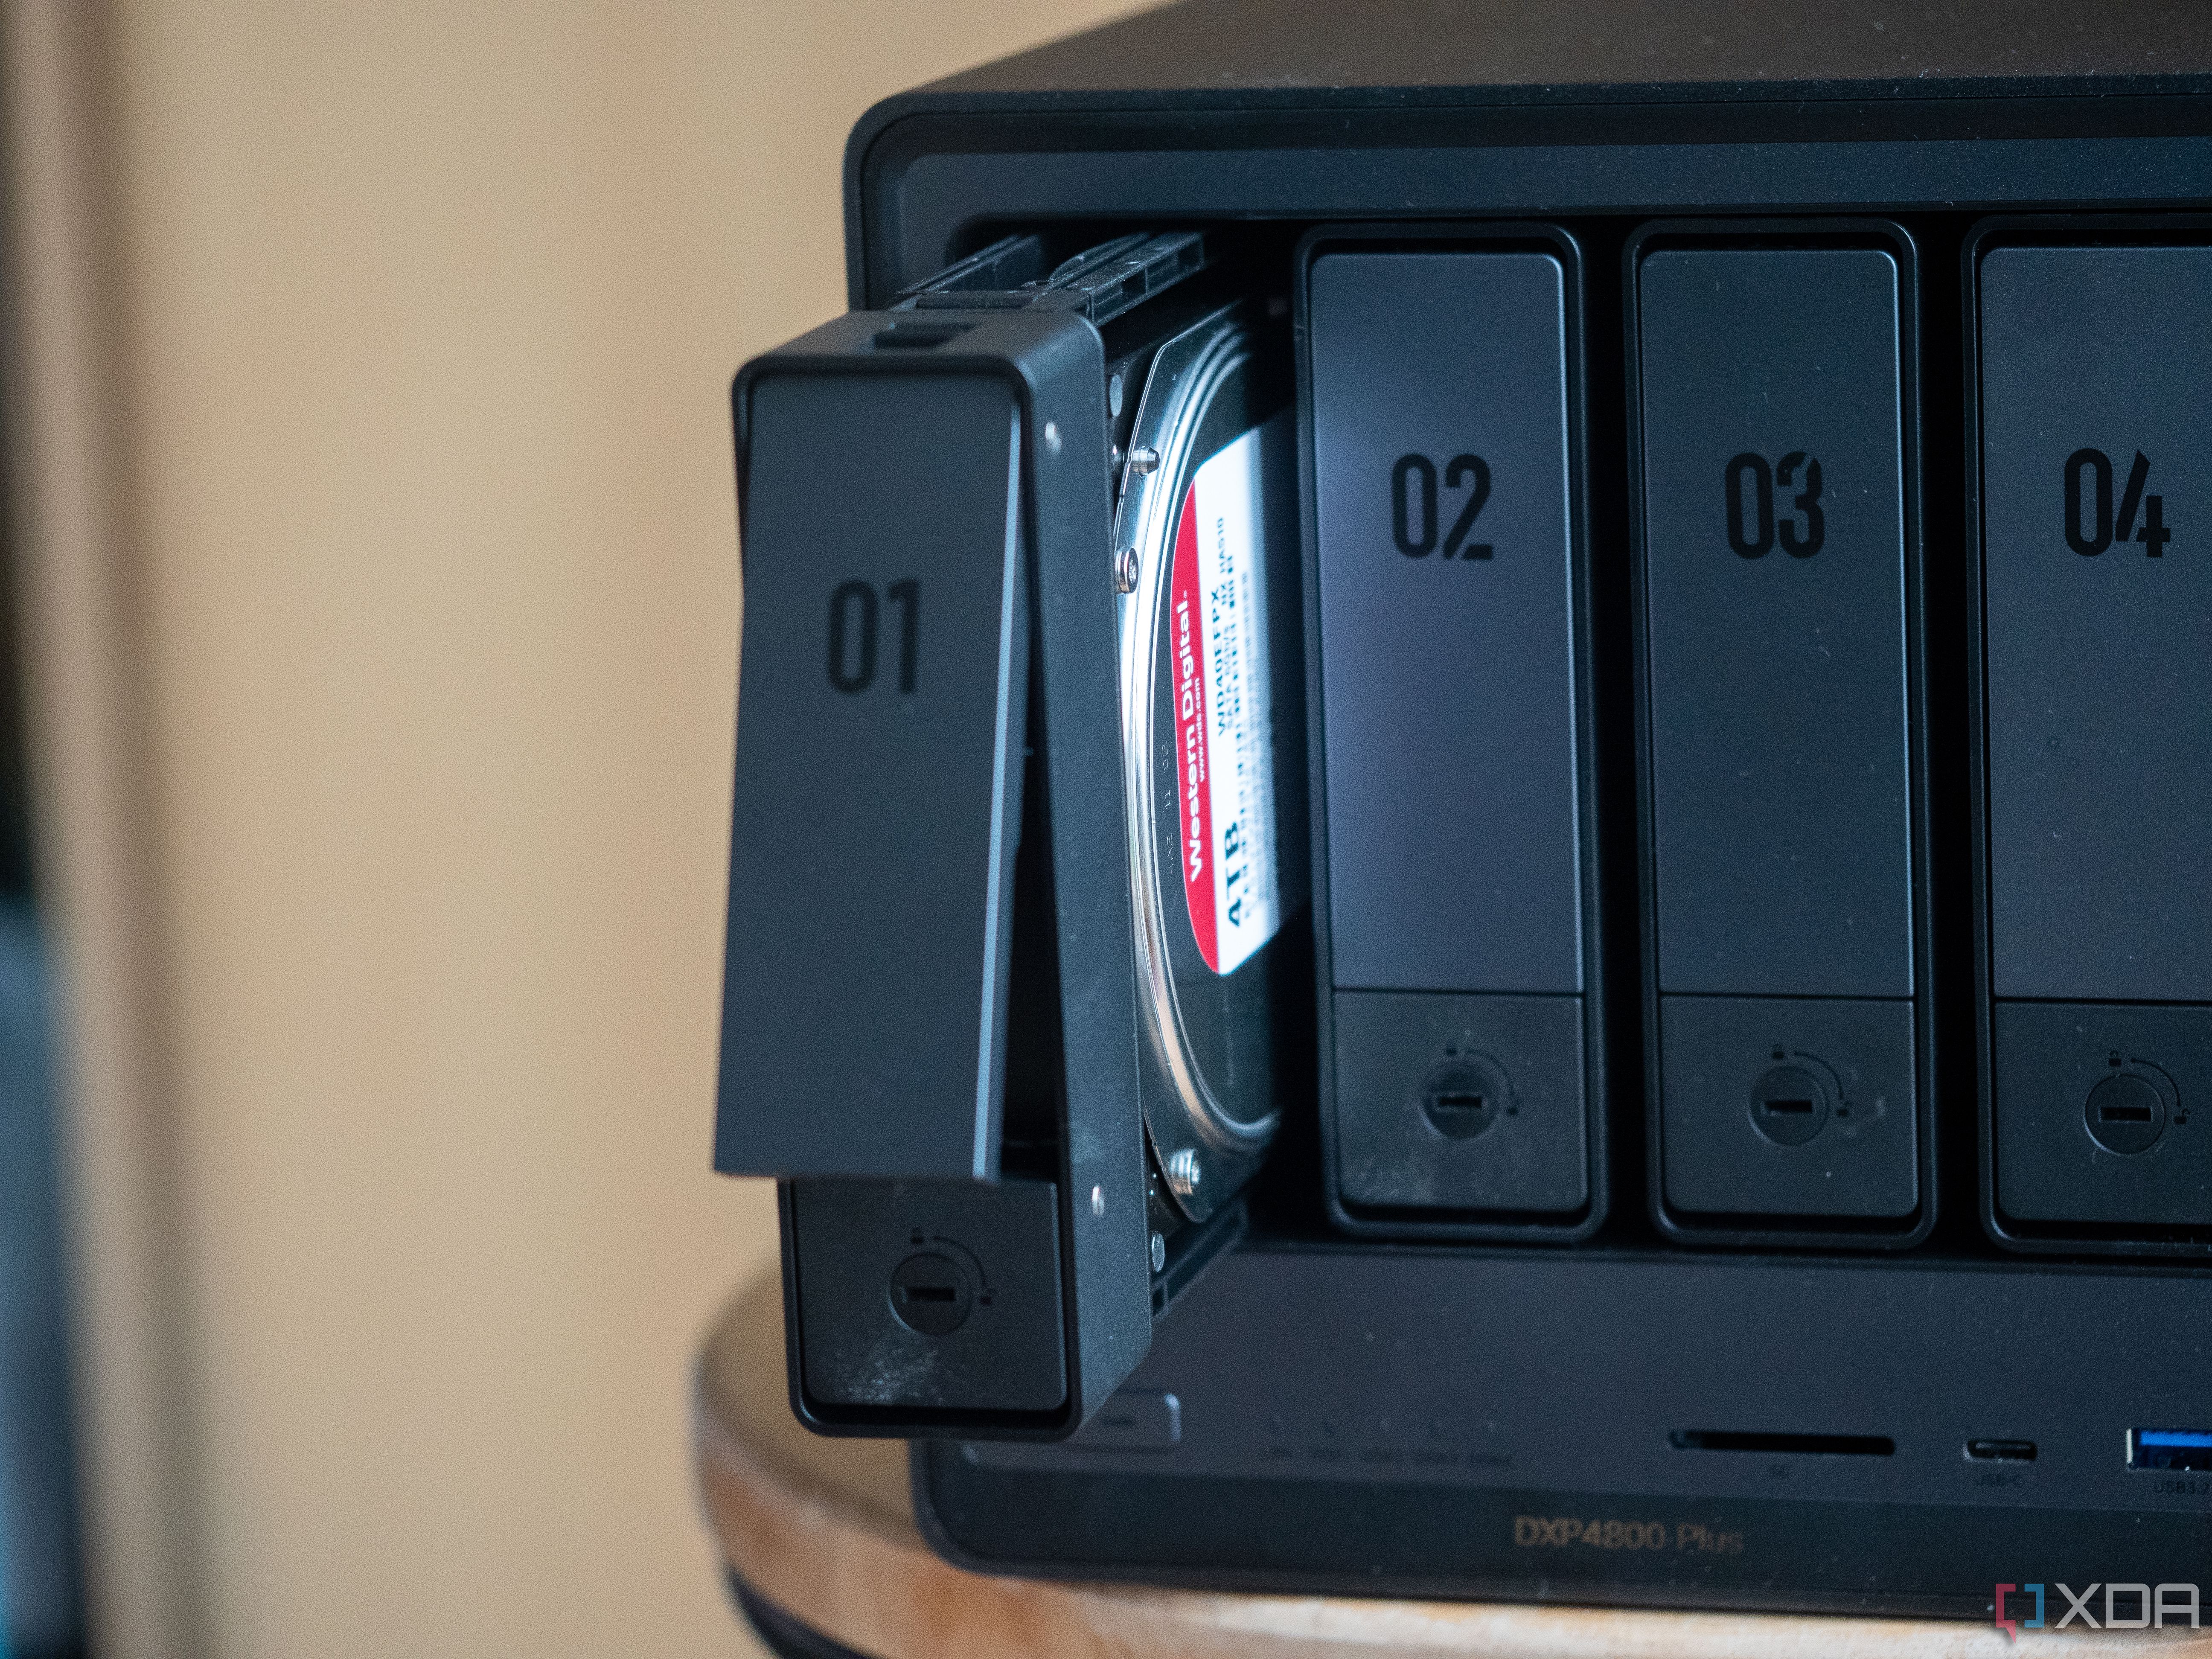
I reviewed the Ugreen DXP4800 Plus NAS around this time last year, and I noted that while the hardware was good, the software was lacking. A year later, the software is significantly improved, and the hardware is just as good. However, I’ve been experimenting with networking in recent months, and I decided that my next project would be to replace my ISP’s router with an OPNsense router instead. I was weighing up my options in terms of hardware, and I remembered that the Ugreen NAS has two fairly beefy Ethernet ports on the back. I asked myself if it could work, and as it turns out, it can.
Admittedly, getting it working was a bit of a process. I first tried to run an OPNsense VM inside of UGOS, as one of the many updates that Ugreen rolled out included a full-fledged QEMU VM manager. I didn’t really think of using it long-term, as it was just something I wanted to play with, but this proved problematic. While I could pass both of my Network Interface Cards (NICs) through to the VM, it struggled with communicating over PPPoE, which my ISP uses for authentication. At this stage, I decided to go all out and replace UGOS on the Ugreen NAS with Proxmox.
To cut a long story short, it worked. The Ugreen 4800DXP Plus NAS is now my home router, and it’s been up and running for a couple of weeks. The story isn’t quite as cut and dry, though. It wasn’t as simple as installing OPNsense and running it; for example, how can I continue to use the drives in the Ugreen NAS? Why can’t I run OPNsense without Proxmox? On top of that, I made some interesting discoveries about Ugreen’s UGOS in the process.
Preparing the Ugreen DXP4800 Plus for Proxmox
Beware of the Watchdog
Ugreen is fairly open about allowing users to install their own operating systems on their Ugreen NAS devices, but it’s not quite as simple as just booting a USB and installing whatever you want. For starters, there isn’t a system image that you can flash to go back to UGOS if something goes wrong, and you need to get a specially-crafted boot image from Ugreen tailored to your serial number in order to restore it. That’s why, before doing anything else, I backed up everything. That’s not just my files on the 12TB of storage that I have in it, but also the SSD it boots off of as well. That way, I can restore the image to the SSD in the future if I ever need it.
To boot your own software, you’ll need to disable Ugreen’s Watchdog service in the BIOS. This is a service that requires the system to respond to the BIOS every three minutes, and if it doesn’t, the system will restart. While this may seem like a shoddy attempt at DRM, it’s actually quite clever. This service exists to ensure that the system hasn’t crashed. No response in three minutes? Reboot the system so that everything is back to normal. There are actually efforts in the community dedicated towards getting the Watchdog service running on alternative operating systems, too, for this exact reason, with success being found in porting it to TrueNAS. Once I disabled it, I used Clonezilla to take an image of the SSD, and I just copied the important files I needed off the storage drives.
As for why I needed to use Proxmox in the first place, that’s partially down to the hardware being used by Ugreen. It has two NICs: an Intel I226-V 2.5GbE and an Aquantia AQC113 10GbE. These are both high-quality NICs (much better than anything Realtek would put out, which are universally hated in the OPNsense and pfSense communities), but the one from Aquantia doesn’t have a FreeBSD driver, which OPNsense runs on. In situations like these, virtualizing in Proxmox will solve that problem, and some people use Proxmox to virtualize OPNsense to benefit from better Linux drivers, anyway. Plus, virtualizing OPNsense can lead to better performance when using gigabit PPPoE connections, so it just made sense.
Installing Proxmox and OPNsense
A pretty uneventful process
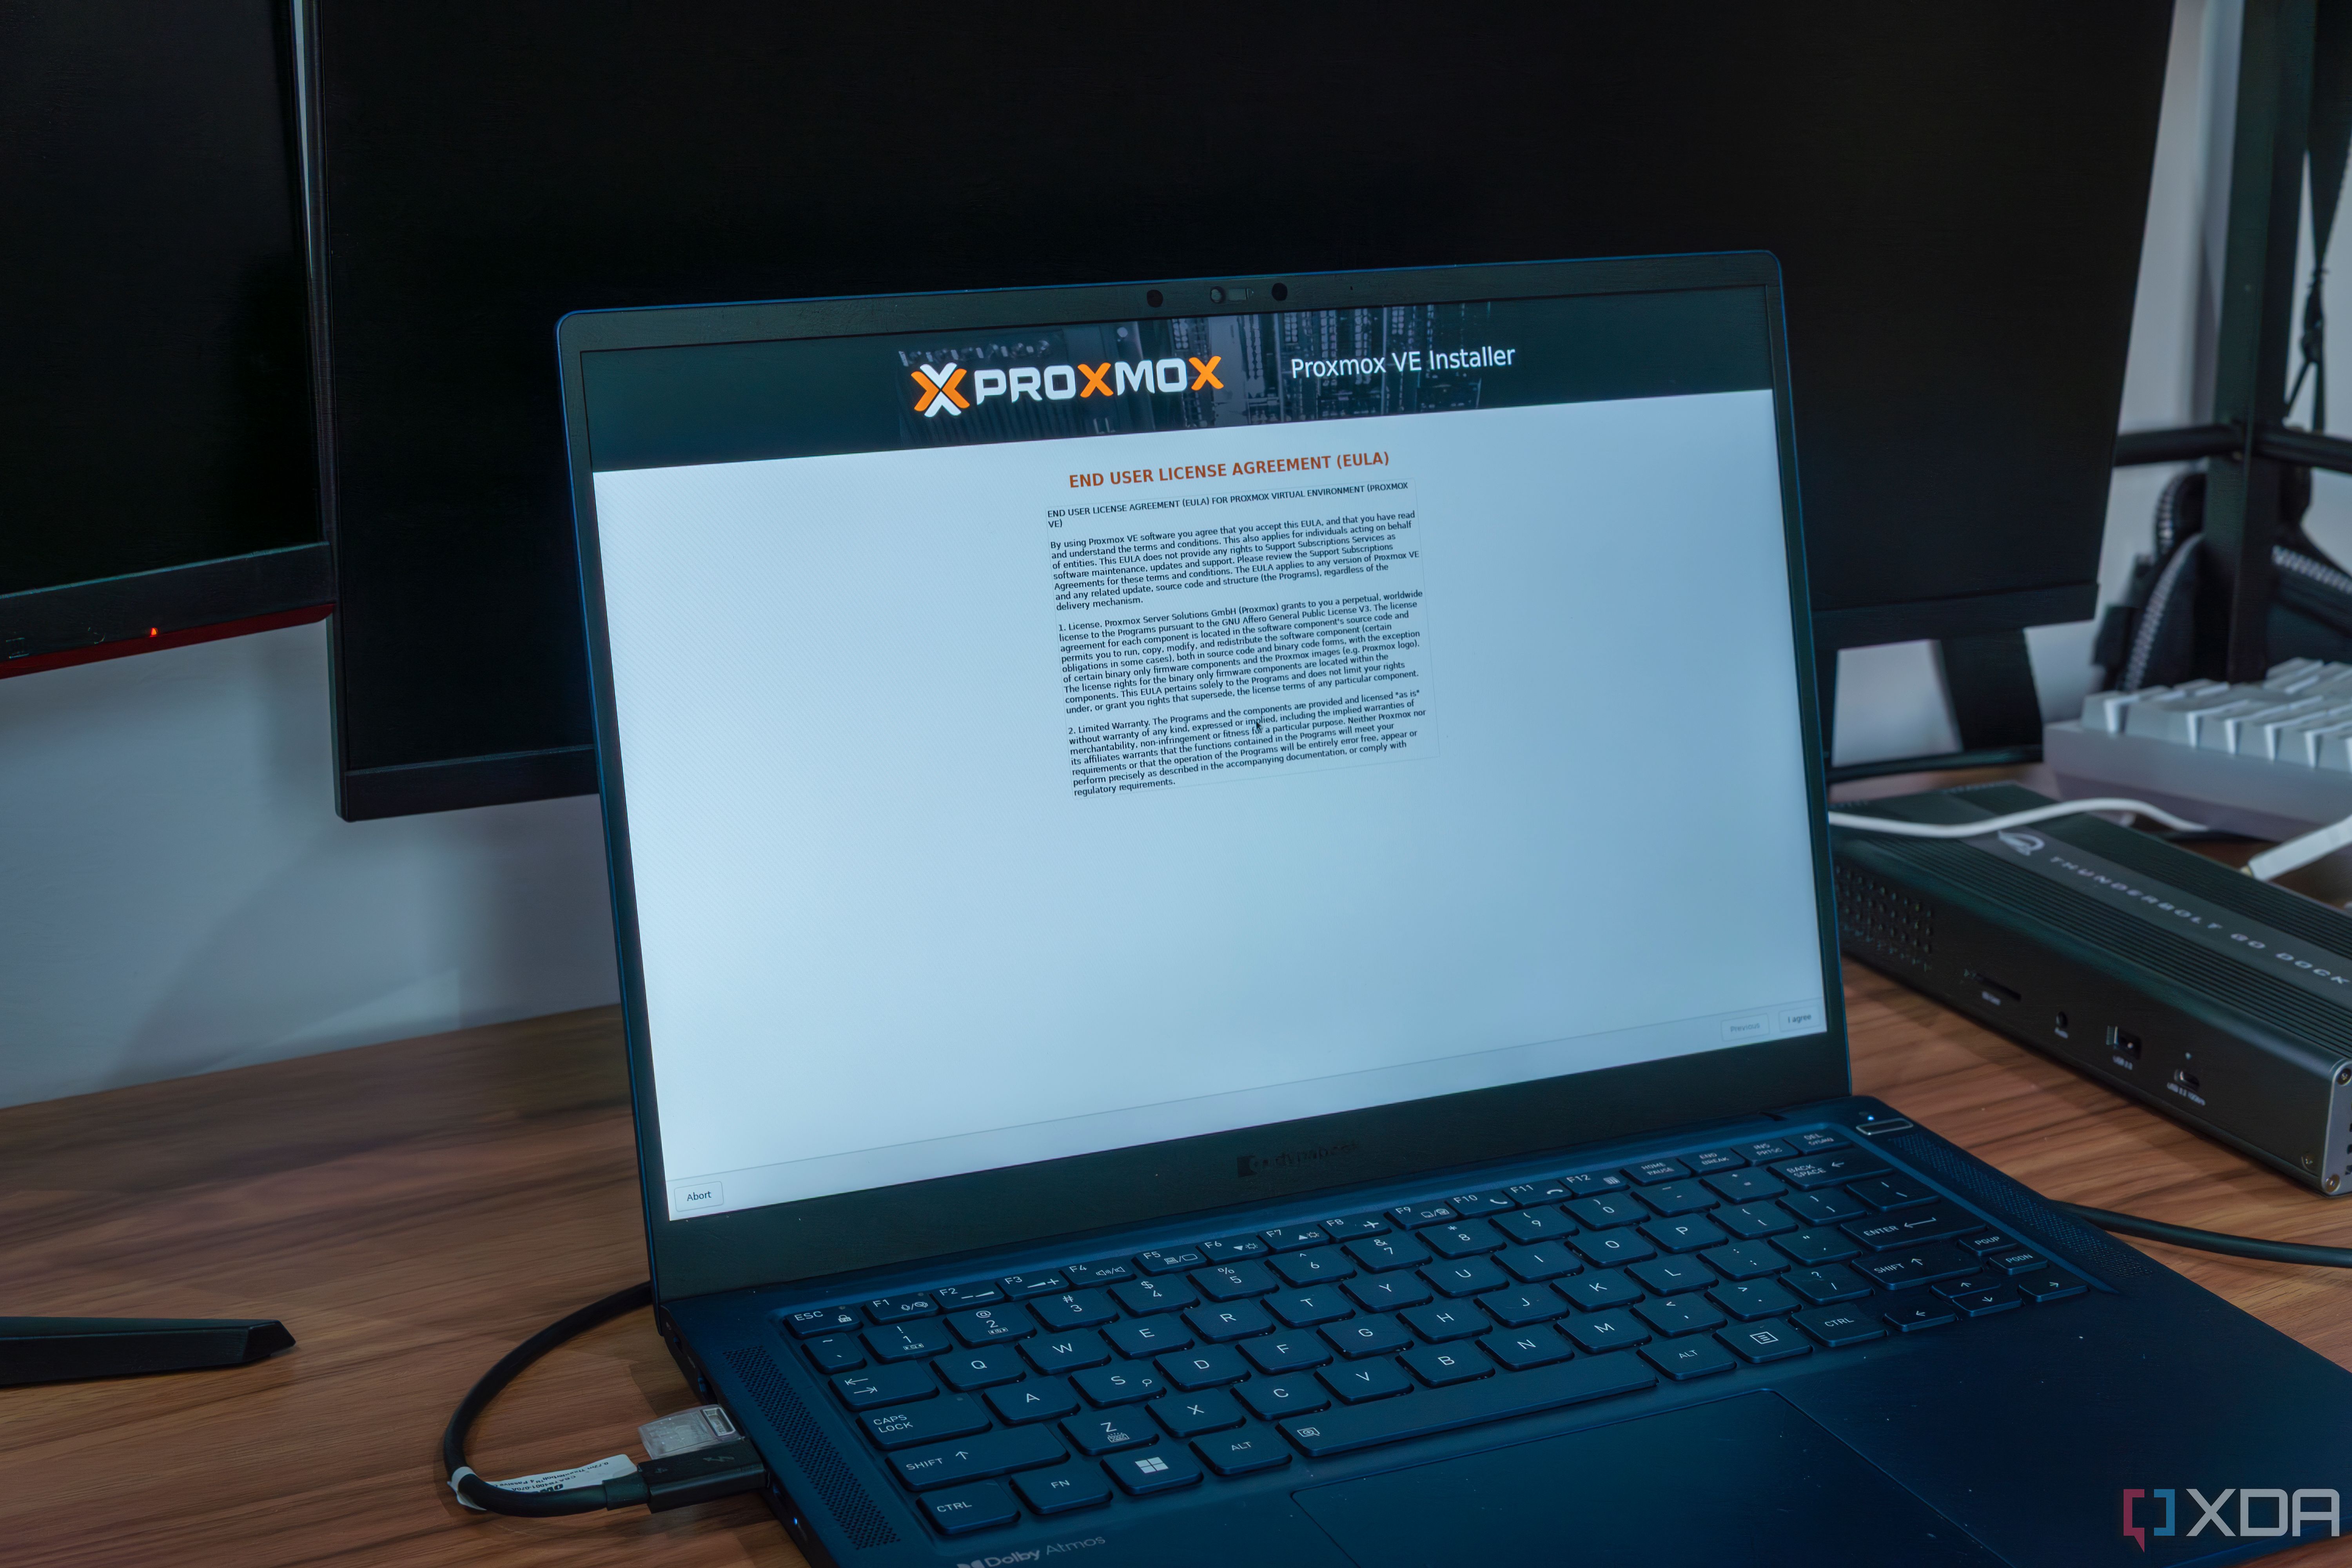
Once everything was backed up and good to go, installing Proxmox and OPNsense was the same as if I were installing them on any other device. Proxmox on a USB, boot from it, install to the SSD, and that’s really it. The HDMI port on the Ugreen NAS was able to output the Proxmox Linux terminal, and I could access Proxmox over the network to get to its web GUI. Then I just needed to import my OPNsense ISO and create a VM. Once configured, go back to the hardware tab and add another network adapter, making sure to pass your second Ethernet port to the VM before booting it.
For this particular model of NAS, I’d recommend setting the CPU to host mode and giving it access to all of your cores. A decent bit of RAM is also good to allocate, especially because once you have this configured, you shouldn’t use the NAS for anything else. You want your network to be as stable as possible, so making sure that you don’t run anything else on it that could cause performance issues or even cause it to crash is incredibly important. Otherwise, you won’t have internet access anymore. You’ll also need to directly connect it to your outbound network when configuring OPNsense, which means unplugging your router. I kept my router plugged in for as long as I could during this process, just so it could maintain the DHCP and allow my computer to still connect to the OPNsense web UI while I was configuring it.
Once everything has been set up and your OPNsense router can get a WAN IP from your ISP, the final step is to change the gateway. In my case, I was changing it to 192.168.1.1. I got ready to change it, unplugged my router from the network, and then applied it in OPNsense. The IP address allocation from your router will still stick around for a while, but I left it plugged in as long as possible just to prevent any local routing issues. The first time around, I lost connection mid-setup because I had unplugged my router at the beginning of the configuration process, and my PC then claimed an Automatic Private IP Address, or IPIPA. This happens when a computer doesn’t get a response from a DHCP server on the network, and made it impossible for me to communicate with my OPNsense router over my local network.
Now I can use the Ugreen NAS as my router, and it works perfectly. I haven’t had any problems with performance, and the Pentium Gold 8505 is more than capable of handling gigabit connections over PPPoE, and with a lot of devices going through it. I’ve even configured CrowdSec and ZenArmor, and they both work perfectly, too. But one question still remained… what about the storage?
Getting my storage back
Ugreen doesn’t seem to use a standard btrfs implementation
While I already had my files backed up (and so, I didn’t really care what happened to them), I still wanted to see if I could mount the drives and set up a basic network share. 12TB is a lot of storage, so it’d be nice to use it! I first tried to do a basic mount of the drives, using the Linux-based mdadm to assemble the array, which worked. I then used kpartx to map the partition segment labeled UGREEN-DATA, as this was the vast majority of the storage, and I assumed was the one that held my files. However, something strange happened. The Proxmox btrfs driver told me that there was an incompatible flag and it couldn’t mount the filesystem. When I checked the btrfs version, though, I assumed I had found the cause; it uses btrfs-progs 6.2, which came out in early 2023. Given that I created the file system in early 2024, I thought that it was just missing features.
I first created a Fedora VM and updated the btrfs-progs version to the latest version, passing through the entire assembled array. It again told me that there was an incompatible flag and it couldn’t mount the filesystem as a result. At this stage, I figured that Ugreen must have a custom implementation of btrfs, which would make sense given that the Ugreen NAS supports btrfs in RAID 5, when btrfs itself had numerous problems with RAID 5. These were largely fixed in btrfs 6.2 (which the Ugreen NAS also identifies its version as), but given all of the custom services that I could see Ugreen had deployed, I suspect that Ugreen also made changes to btrfs to better suit its needs. This would explain the incompatible flag problem.
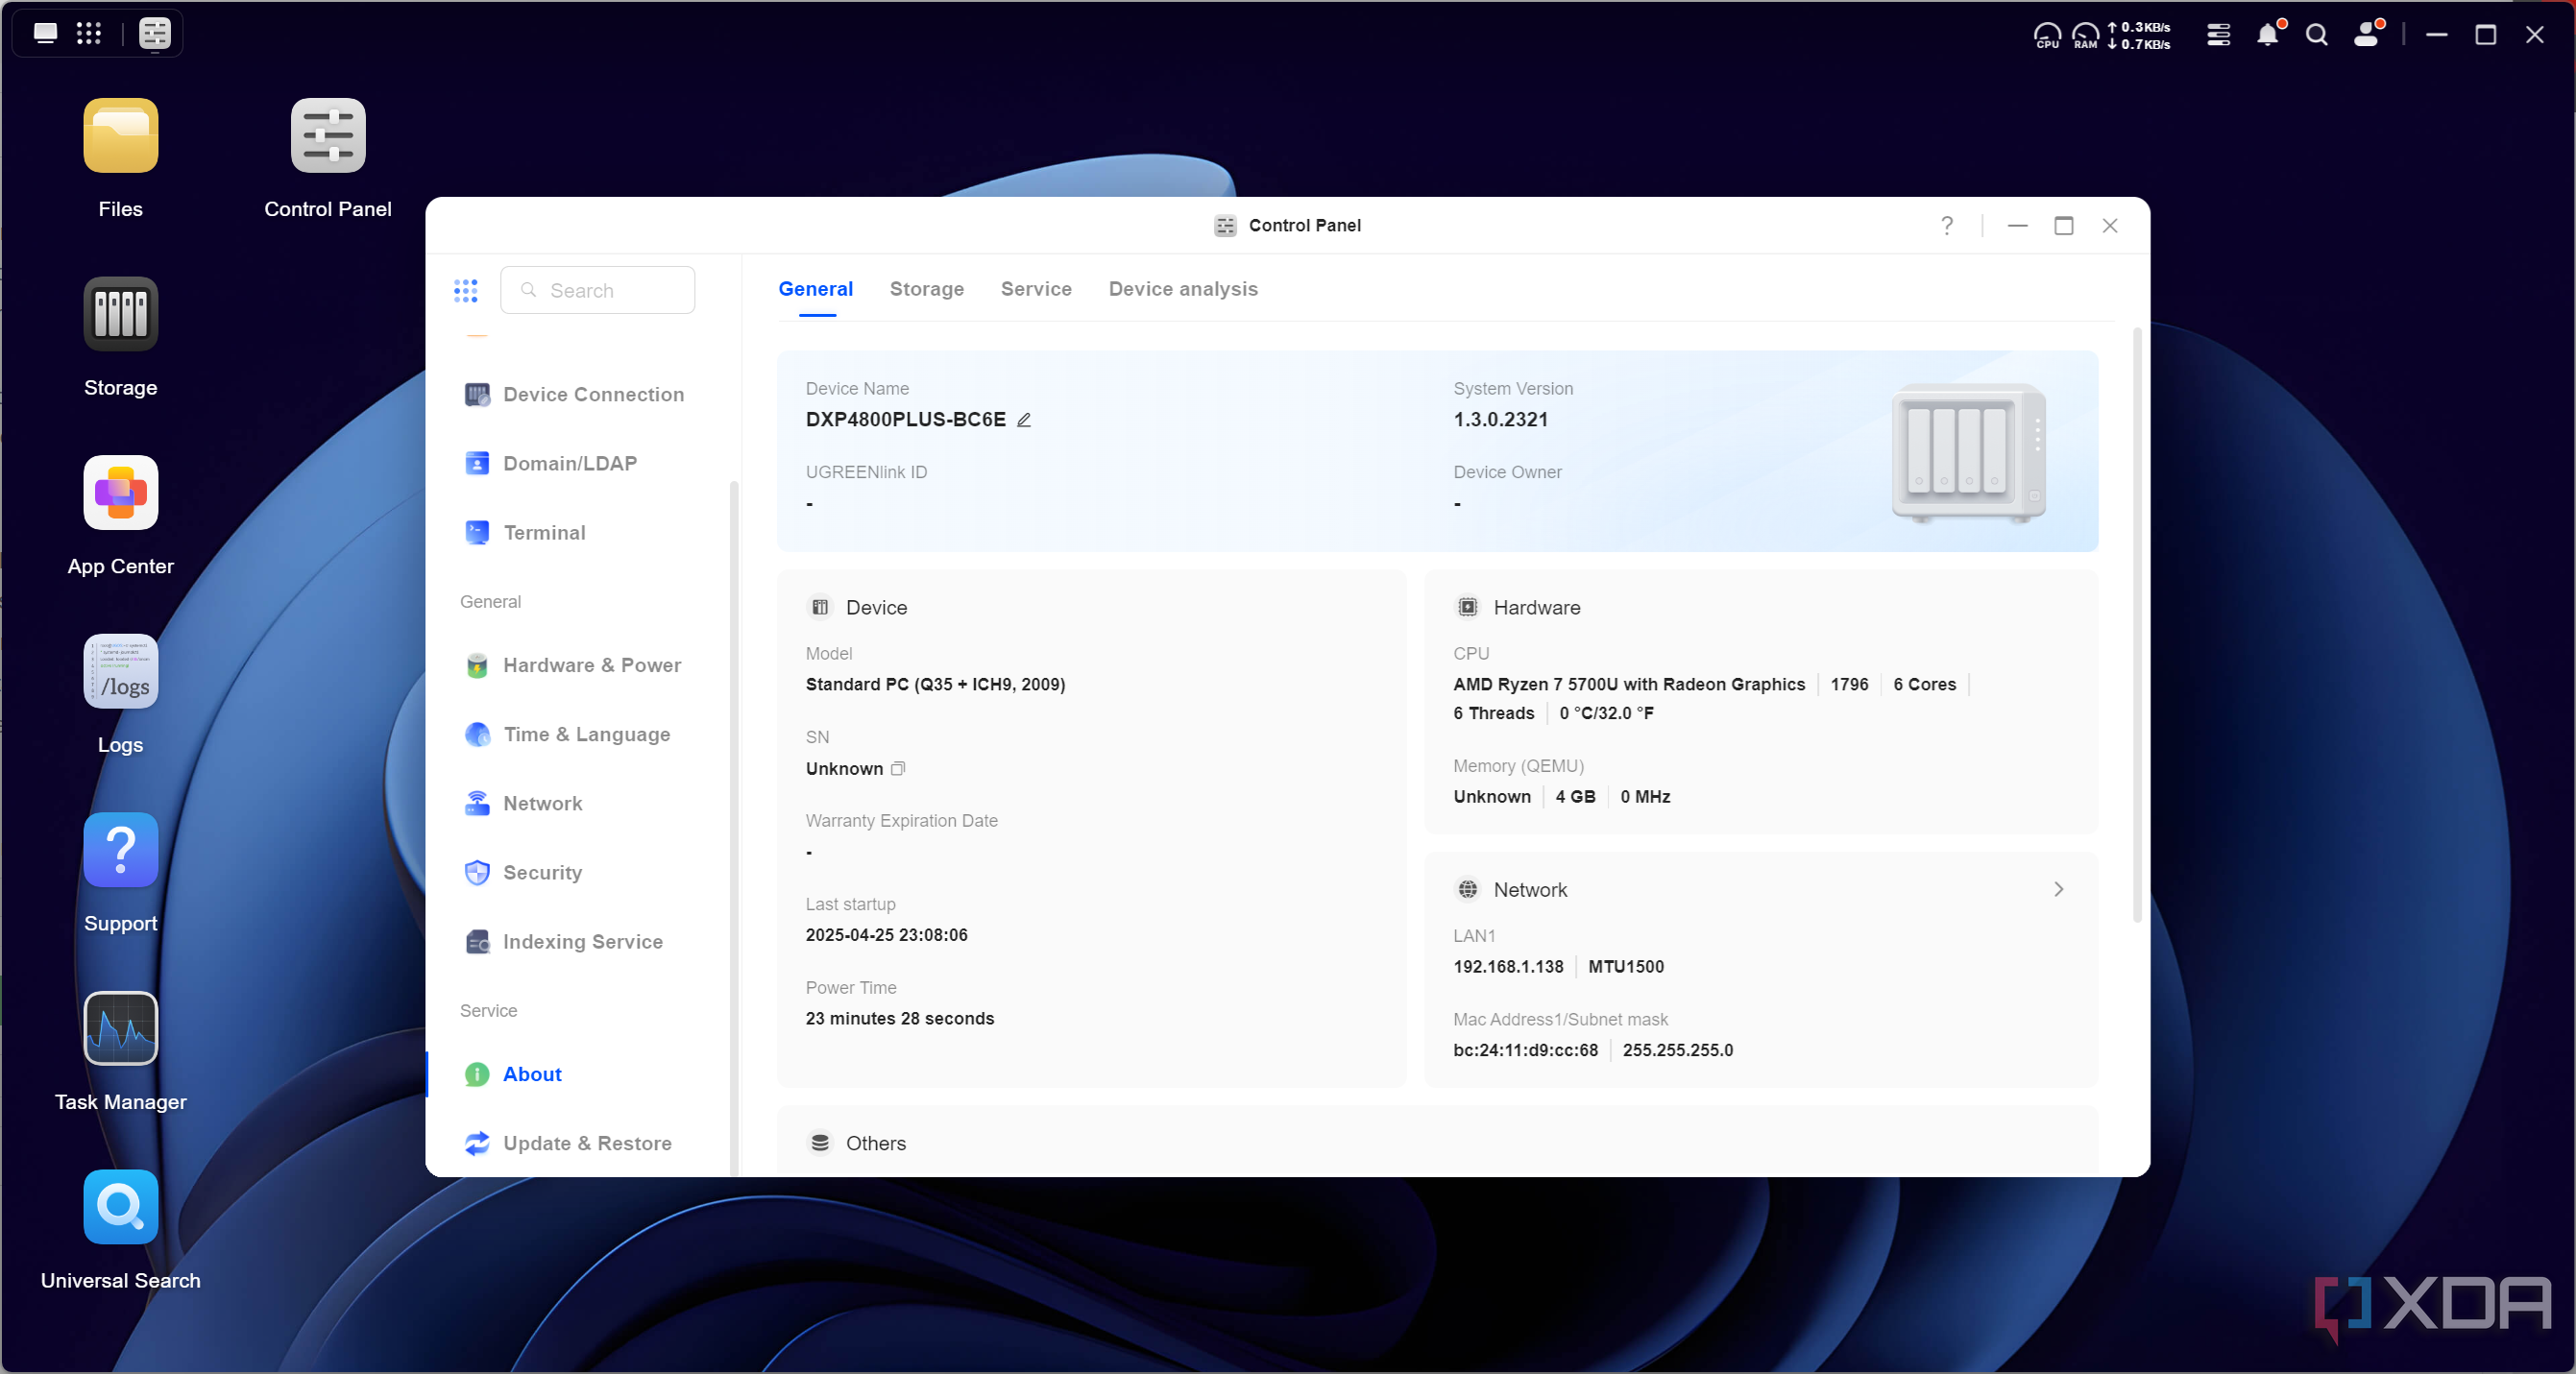
I had one more idea on how to get the drives to mount, though. What if I restored the SSD into a Proxmox VM on another machine, then used iSCSI to map the drives over the network, mounting them remotely? I’ve been using the Ayaneo AM01 as a Proxmox machine to run my Home Assistant, and I had a lot of resources still to spare. I fired up Clonezilla in its own VM with a virtual drive that contained enough storage, restoring my original Ugreen SSD over the network. While I then needed to change the VM to UEFI, add an EFI disk, and modify the boot entries to add the GRUB bootloader in the /boot partition from the restored disk, it worked. UGOS was booting in a VM on a machine that was nothing like the original it had come from. Even better, the official Ugreen NAS app on my PC and on my phone could identify it automatically.
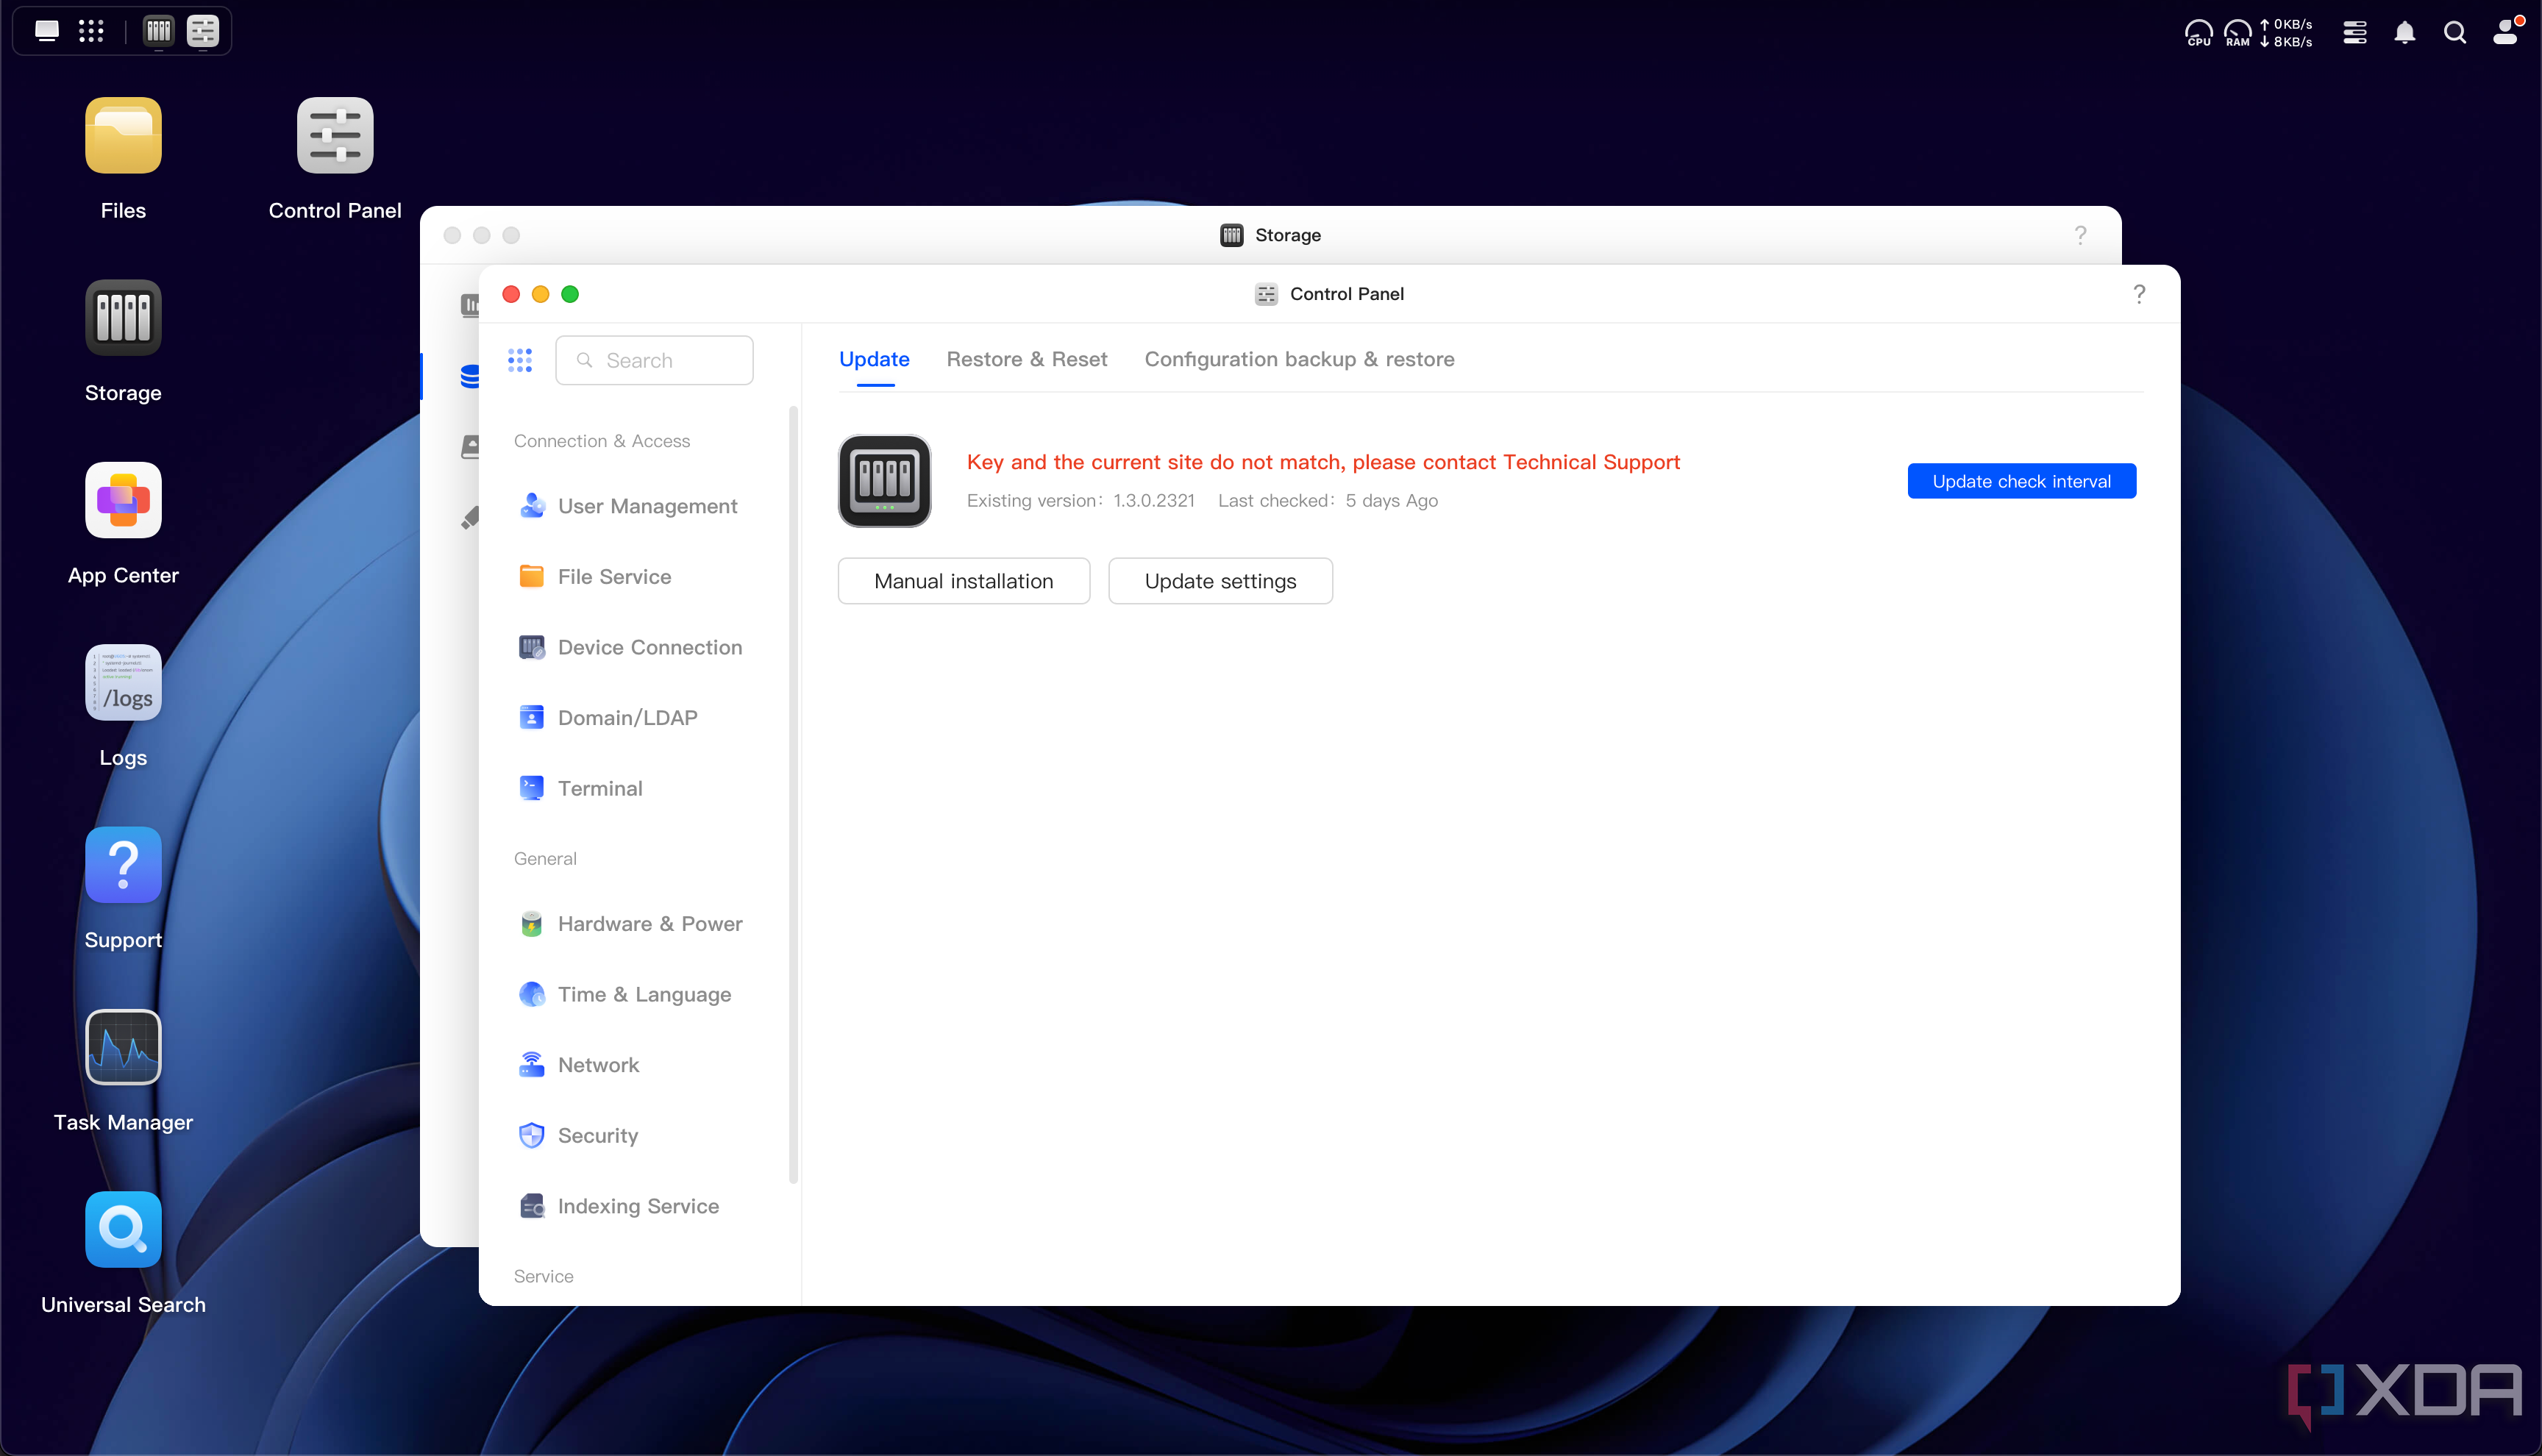
Next up, I shared the drives over the network. I first did it by processing everything on the Ugreen NAS running Proxmox, using mdadm to assemble the drives, and I activated the volume group using kpartx before passing that over iSCSI. I could then mount the drive over iSCSI on the Ayaneo AM01, which was virtualizing UGOS, and mount it to /volume1. I could finally mount the btrfs file system and access my files! Admittedly, not much else works as UGOS complains that the RAID system is damaged and that my “key” doesn’t match anymore, but I can access my files using the built-in file manager, which was the main objective I wanted to achieve.
Since then, I’ve been playing around with UGOS to see if I can get my drives to be recognized natively, and I may have found a way. I discovered a database in the system files that identifies my drive serial numbers, their filesystem IDs, and the overall filesystem ID. While the overall filesystem ID matches, the individual drives obviously don’t, as they’re just iSCSI shares. I suspect I can change the data entries to match the iSCSI share serials, but I’d also guess that there’s more going on to verify the drives, too. Plus, even if that works, I can’t update UGOS anymore or install applications because of the aforementioned “key” issue. I tried to figure out if I could spoof the response, but I wasn’t able to figure it out.
As a last-ditch effort before throwing in the towel on that front, I even tried to use the hosts file to redirect the authentication request to a local server I spun up in Python that would reply with a valid status, but it simply threw a network error instead once it received the response. I suspect that the server also handles providing the update package, and that it’s not possible to fool Ugreen’s servers just on the client side alone. With that said, I’ve been trying to find where the authentication service derives the key from. That might be an avenue to explore at some point.
Regardless, I had it working! I now had OPNsense on the Ugreen NAS, and the storage drives in it were now accessible. I’ve been accessing them like this for a little while, but I’ll probably just destroy the array at some point and rebuild it under Proxmox. It’ll be an easier and safer way to actually use those drives, but it’s been an interesting experiment in the meantime to see to what degree I can get them working.
The Ugreen NAS has some incredible hardware in it for a NAS, and for an OPNsense router, it’s even better. The only downside is that I needed to virtualize it to get around the driver issue, but even then, given that I have a PPPoE connection, that was likely something I was going to need to do anyway. Plus, once I’m finally finished experimenting, I can destroy the RAID array and rebuild it in Proxmox instead. That means my router won’t just be a router, it’ll be a fully functional NAS, too. This was a fun experiment to play with and get set up, and I’m so glad that I went ahead with it. The amount of control OPNsense gives me over my network is immense, and I learned a lot through it, too!


