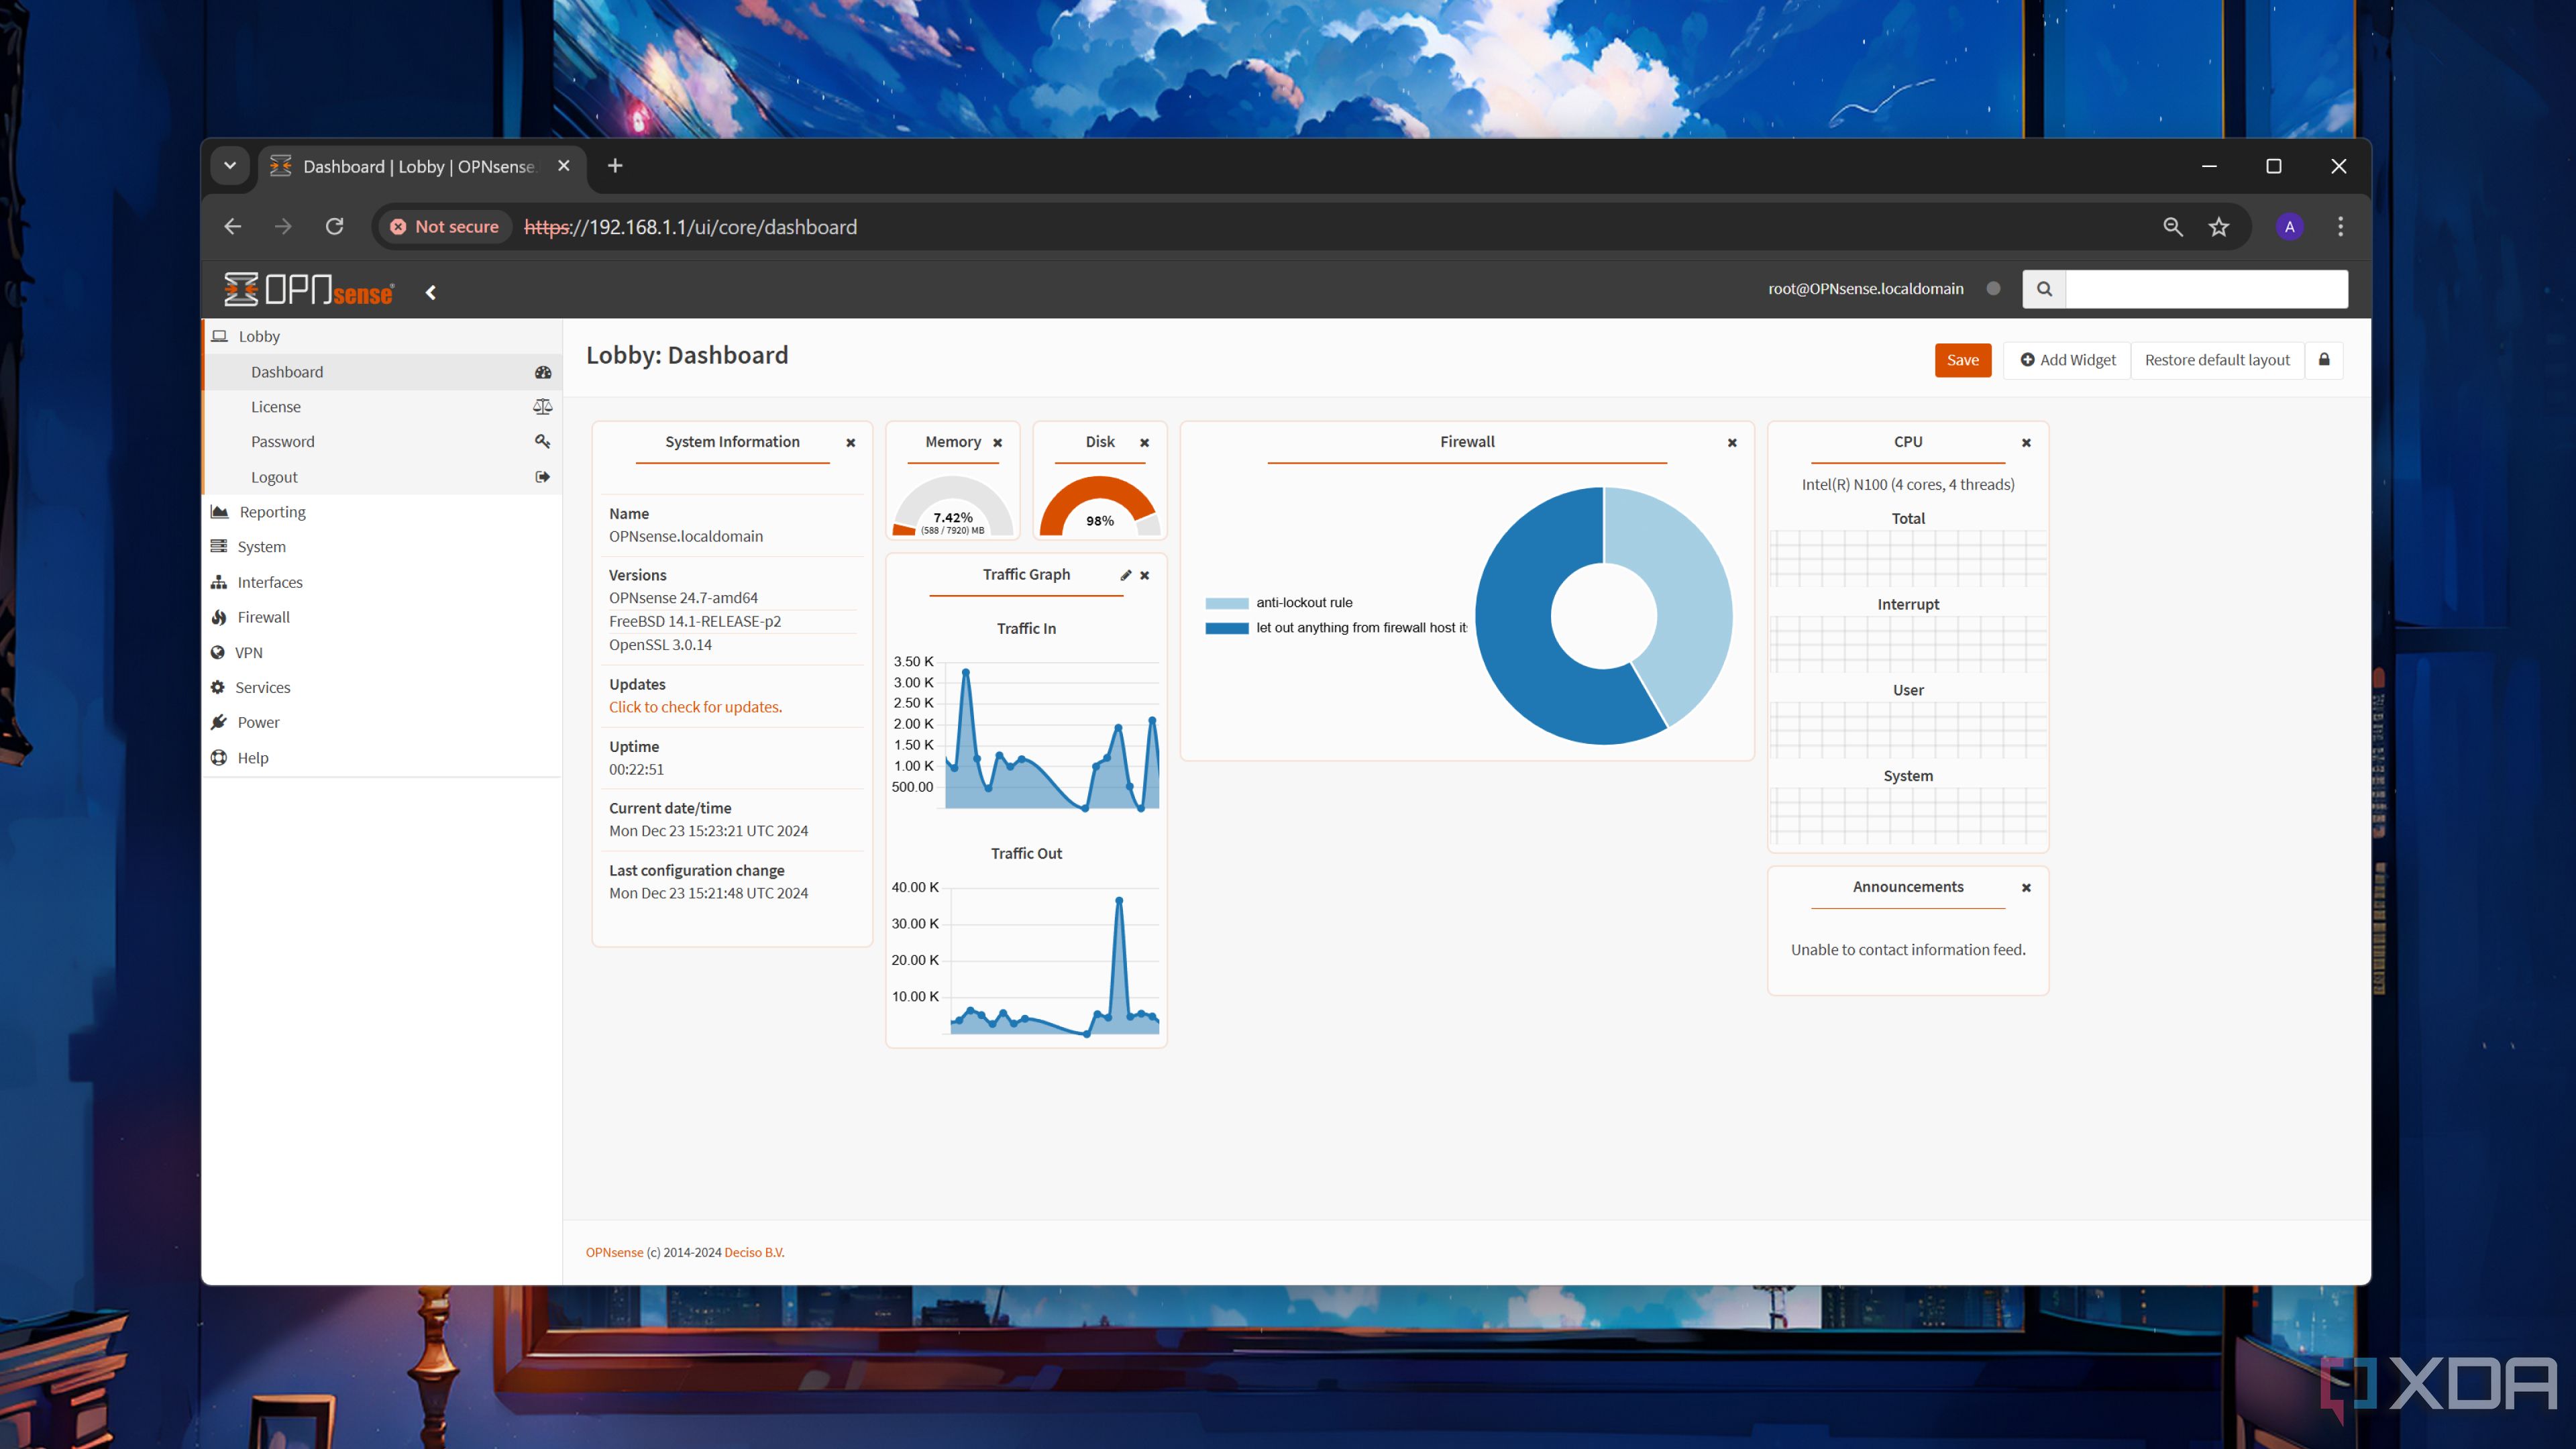
The internet is a scary place, and since building my own OPNsense router where I can see all of the traffic in and out, I’ve never been more convinced of that. I had already set up OPNsense with the goal of configuring Intrusion Detection Systems and Intrusion Prevention Systems (IDS and IPS, respectively). I moved as quickly as I could to deploy them when I saw the constant traffic that was scanning my network, looking for open services. I’ve since set up a honeypot to capture some data, but that’s a story for another day.
When it comes to configuring those systems, there are a few options, both free and paid, worth looking at. We’ll be talking about CrowdSec, Suricata, and ZenArmor, with the latter being a paid service. You can get by with just CrowdSec and Suricata, though it’s worth knowing that Suricata won’t work on your WAN if you’re using PPPoE. That’s the situation I find myself in, so I’m personally using CrowdSec and ZenArmor. I also set up a firewall rule to block IP addresses listed in the FireHOL IP list, though this is fairly rudimentary.
What’s the difference between Intrusion Detection and Intrusion Prevention?
There’s an important difference between the two
Both of these systems are quite similar in how they operate, particularly on a surface level. They both monitor your network, they both can alert you when something is awry, and in most cases, they’ll both learn to spot emerging threats and changes in communication on your network. An Intrusion Detection System is essentially a very smart observer. It sniffs every packet, checks it against a signature or behavioral rule, and, if something looks shady, alerts you to its existence. Typically, you’ll get log entries (and a push notification if you’ve configured it) whenever your firewall spots a problem, but the packet will usually still go through unless you step in and block it manually.
An Intrusion Prevention System does everything an IDS does, plus an extra step: it blocks, drops, or shuns the offending traffic in real time. ZenArmor in “protect” mode or Suricata with IPS enabled both fall into this category, but the downside is that traffic that looks suspicious can be blocked. While ZenArmor hasn’t blocked any friendly traffic just yet, I have seen it block some traffic and flag others that I knew were safe as being potentially unsafe. For example, when playing Counter-Strike on FaceIt, I saw it flag an API server from the anti-cheat as being potentially unsafe. Thankfully it didn’t block the connection, as otherwise it would have likely disconnected me from the server as a result.
When configuring IPS, especially, you’ll want to make sure that legitimate traffic isn’t being outright blocked. Start small and scale up, rather than enabling everything at once. It’s not difficult to reverse, but it could be annoying if you don’t realize it until it happens.
Setting up ZenArmor
There are a lot of options
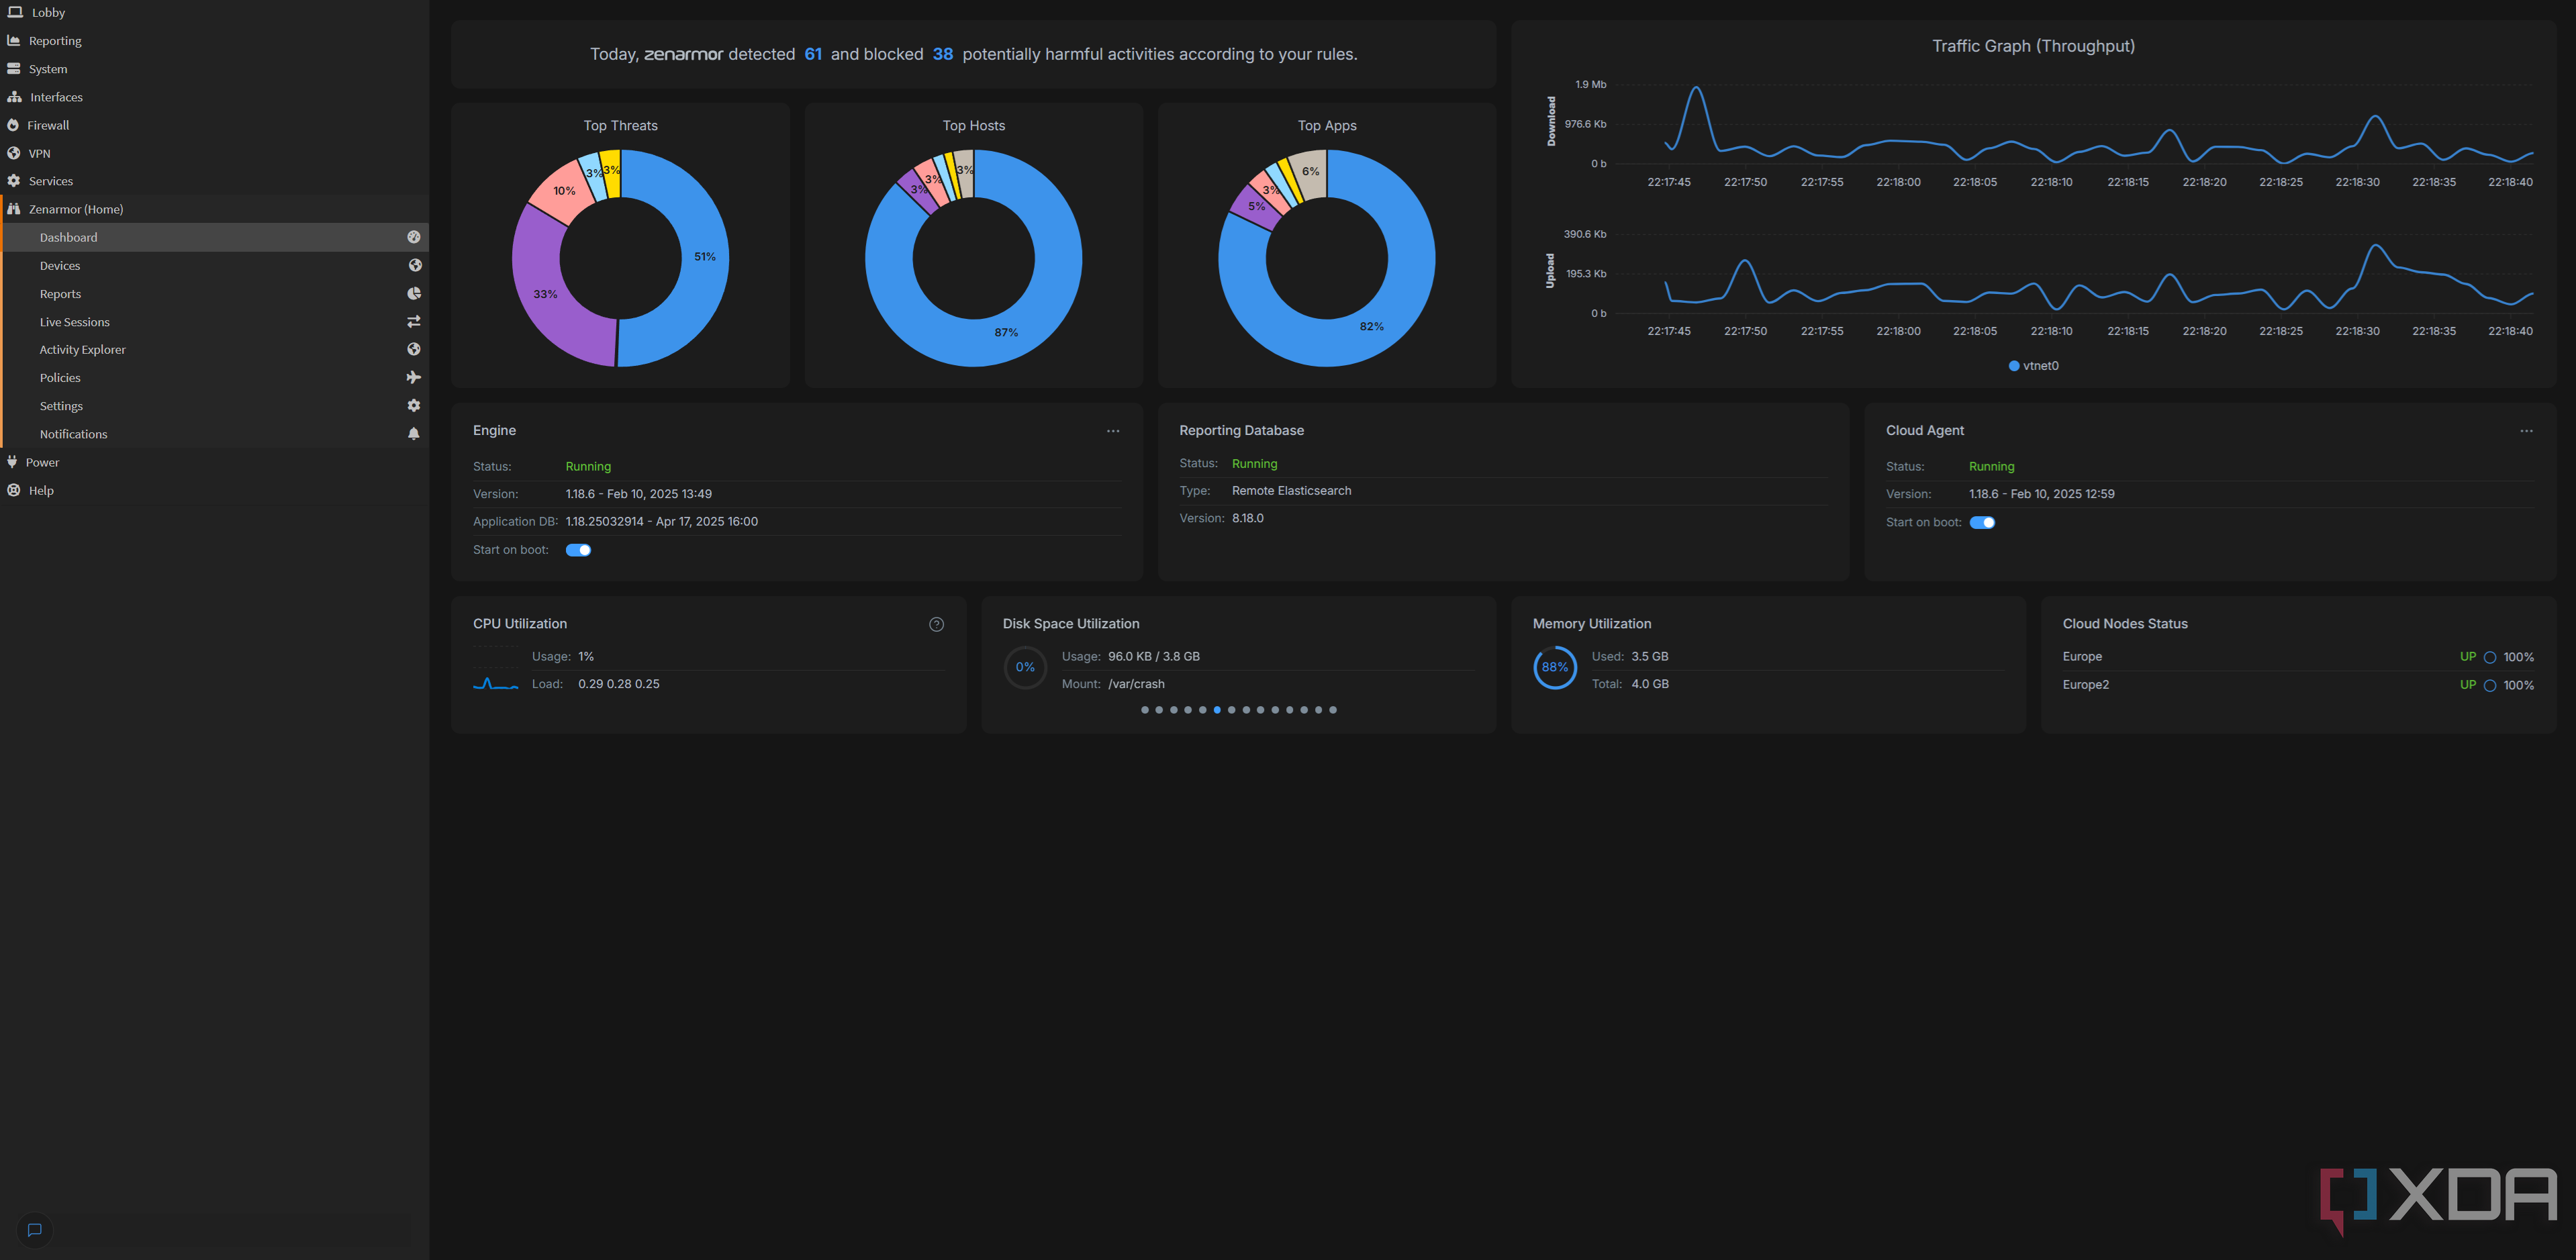
ZenArmor has a fairly simple setup: install the plugin from the OPNsense plugin manager, and you’ll end up with a new ZenArmor tab on the left-hand side. You can configure all of your settings there, including blocked content, your database of devices, and more. I am also using an external Elastic database to capture my data, with a retention of seven days. This prevents it from using too much RAM on my server, and means that I can do some advanced data processing if I wish, too.
There isn’t really a whole lot more to think about once it’s installed. You’ll need to go to Policies to set what you do and don’t want to block. Here’s what I’m currently blocking:
- Malware/Virus
- Phishing
- Spam sites
- Potentially dangerous
- Recent malware/phishing/virus outbreaks
- Botnet C&C
- Botnet DGA domains
- Spyware and adware
- Keyloggers and monitoring
I don’t have any special exemptions issued, and I’ve opted to allow the others, as policies such as “parked domains” could disable access to domains that I actually want to look at. I’ve already seen this occurring in my live sessions view with legitimate websites, so I know that blocking them would create false positives. You can also create a whitelist of URLs if you find that legitimate sites are being blocked, which I have seen happen occasionally, too.
The above images are taken from the official ZenArmor documentation for privacy reasons, but accurately reflect the UI that I see in my own deployment on OPNsense. You can see all of your network traffic in these dashboards, including threats, blocked connections, and web, DNS, and TLS requests. You can change how many rows are shown, filter by devices, and more.
To be honest, most of this is pretty verbose, and I’m not quite convinced that I’ll want to do much additional processing in Elastic. I’m a stats nerd, but pretty much everything I could ever want is already here. You can even initiate a WHOIS query from these lists, so that you can get more information about a domain if it’s not immediately obvious what it’s being used for.
While I’m using the trial version of ZenArmor at the moment, it’s still a useful tool even in its free version. It can still block malicious sites and detect botnets, but you’ll lose access to features like protection against new virus and malware outbreaks. If you’re security conscious, that might still be worth it to you. I’m on the fence currently on whether I’ll subscribe once my trial period has ended, but it’s a powerful tool by a company that has seemed to genuinely care about balancing the needs of non-commercial, home users without themselves being abused by commercial users trying to get by on a cheaper tier.
I recommend trying out ZenArmor and seeing what you think. The trial is free for two weeks, and the free version is still quite decent. I have it monitoring my LAN specifically.
Setting up CrowdSec
It takes five minutes
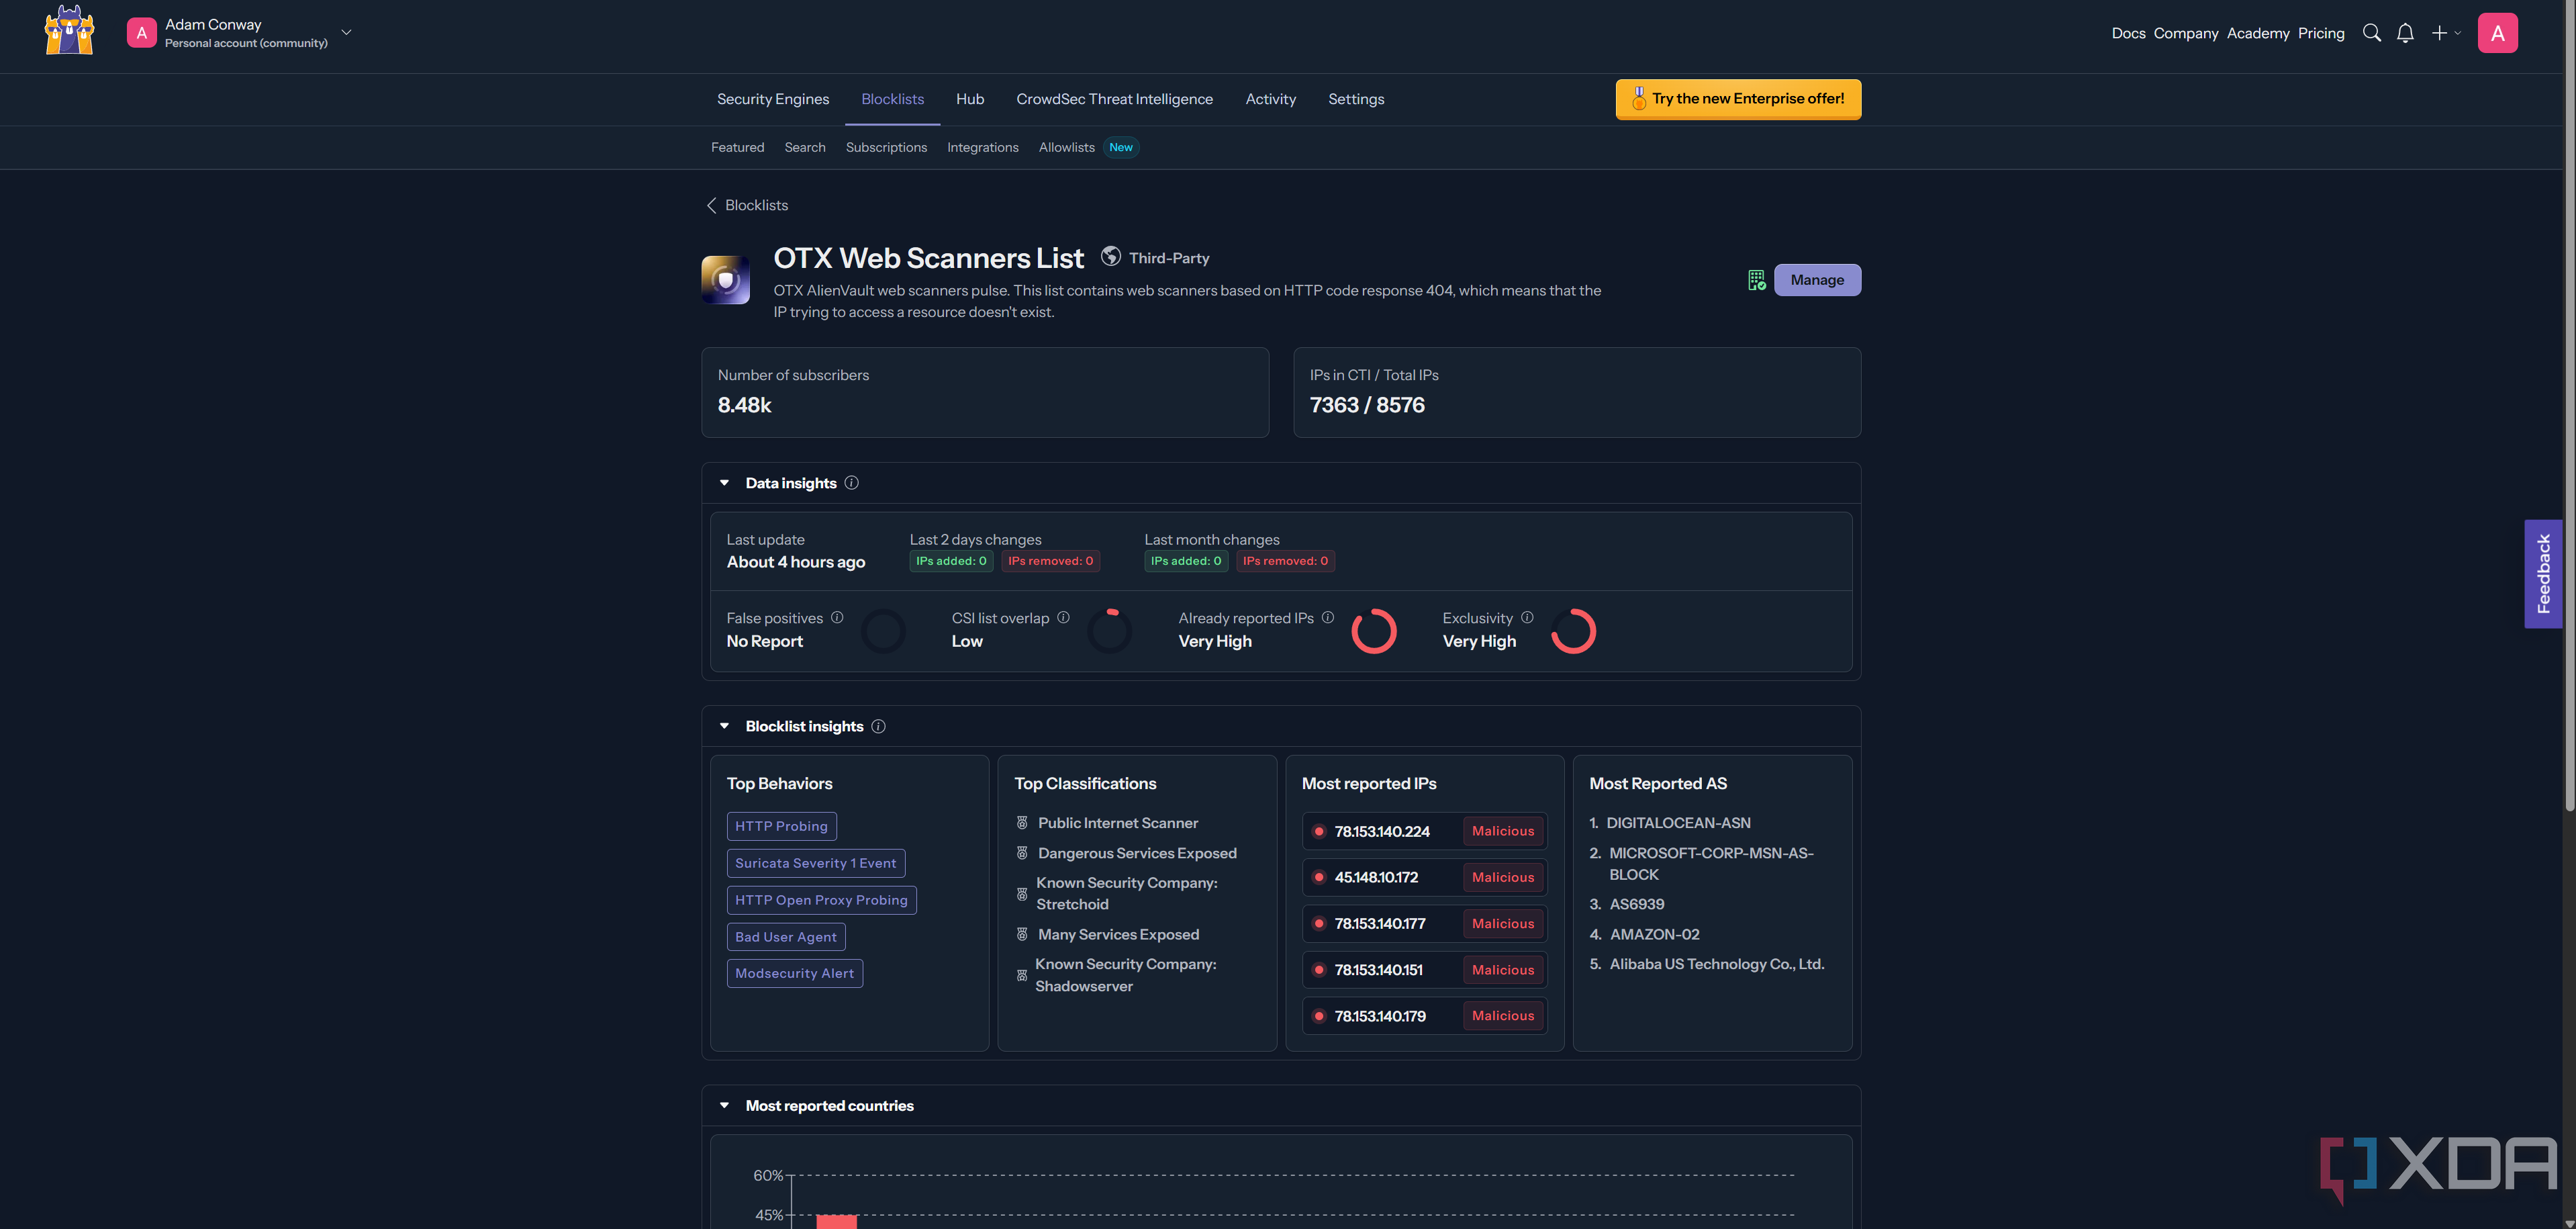
CrowdSec is beautifully simple, and that’s part of why I love it. You install it as an OPNsense plugin, and it manages everything for you. There’s nothing to configure, and you can pair it up with an online control panel to view in better detail what’s going on with your network. In the above screenshots, you can see that it blocked port scanning on my network. I know that it’s working, and it’s an extra little bit of peace of mind to have it set up.
To be clear, tools like CrowdSec aren’t the most important to have if you aren’t exposing any ports to the internet anyway, but I like to have them. It’s quick and easy to deploy, and my OPNsense router can handle it. Why wouldn’t I set it up? Across both CrowdSec and ZenArmor, I haven’t noticed any issues relating to connectivity, so I know that whatever they’re blocking, it’s not blocking anything that I notice in day-to-day usage. There also, thankfully, hasn’t been anything to suggest that there’s malware on any of my devices, but that’s also some additional comfort granted to me by these tools.
Should you use an IDS or an IPS on OPNsense or pfSense?
Absolutely you should
If you’re the kind of person to be paranoid about security, or you just like to know what’s going on, these tools are invaluable. They’re a big argument in favor of building your own OPNsense or pfSense router in the first place, because the amount of data that I can get from these tools is invaluable. I’m not living in a false sense of security, but I know that things look safe on my network, which is better than anything my ISP’s router could previously give me.
If you have the hardware, I wholeheartedly recommend setting these up. If you don’t set them up, you’re kind of missing the point of even setting up a custom router in the first place.
These tools are the prime example of the advantages of a platform like OPNsense, and I would never pass them up given that they’re free. Even Suricata, if you have a non-PPPoE network, is fantastic and built into OPNsense. The pro version is free with telemetry, and even the regular free version is pretty great. I can’t use it because of my internet, but a lot of people can, so it’s worth giving it a try. The public databases and lists that are available, crowd-sourced from security professionals across the globe, are a fantastic resource worth tapping into across all of these tools.


