Summary
- Start with flat and cheap materials for practice, like ceramic magnets.
- Always double-check image orientation, use a guide for alignment, and have a UV light on hand for curing.
- Plan for extra prep time due to machine setup, and be wary of strong odors from the UV ink.
When the eufyMaker UV Printer E1 landed on my doorstep, I was excited to finally get hands-on with this unreleased machine. It promises direct-to-surface printing on everything from T-shirts and tumblers to canvas, wood, metal, and even glass. Since it hasn’t officially launched yet, I didn’t have the usual safety net of community tips, YouTube walkthroughs, or Reddit threads to fall back on. At first, there were just a few videos showing what it could do and a handful of tutorials included in the press kit.
Still, I wasn’t about to let that stop me. I tackled 3D printing and laser engraving with a drive to explore more DIY projects, and felt the same about this endeavor. So, I dove in with a stack of test materials and a little stubborn curiosity. My first few prints were full of surprises—some good, some frustrating, and a few that forced me to rethink everything mid-project. If you’re considering trying UV printing yourself, here’s how it went for me and what I learned along the way.
Choosing the first object to print
Finding something flat and forgiving to begin with
I started with small, flat ceramic magnets for testing registration and adhesion without risking expensive materials. They took the ink well, producing a crisp print with decent durability.
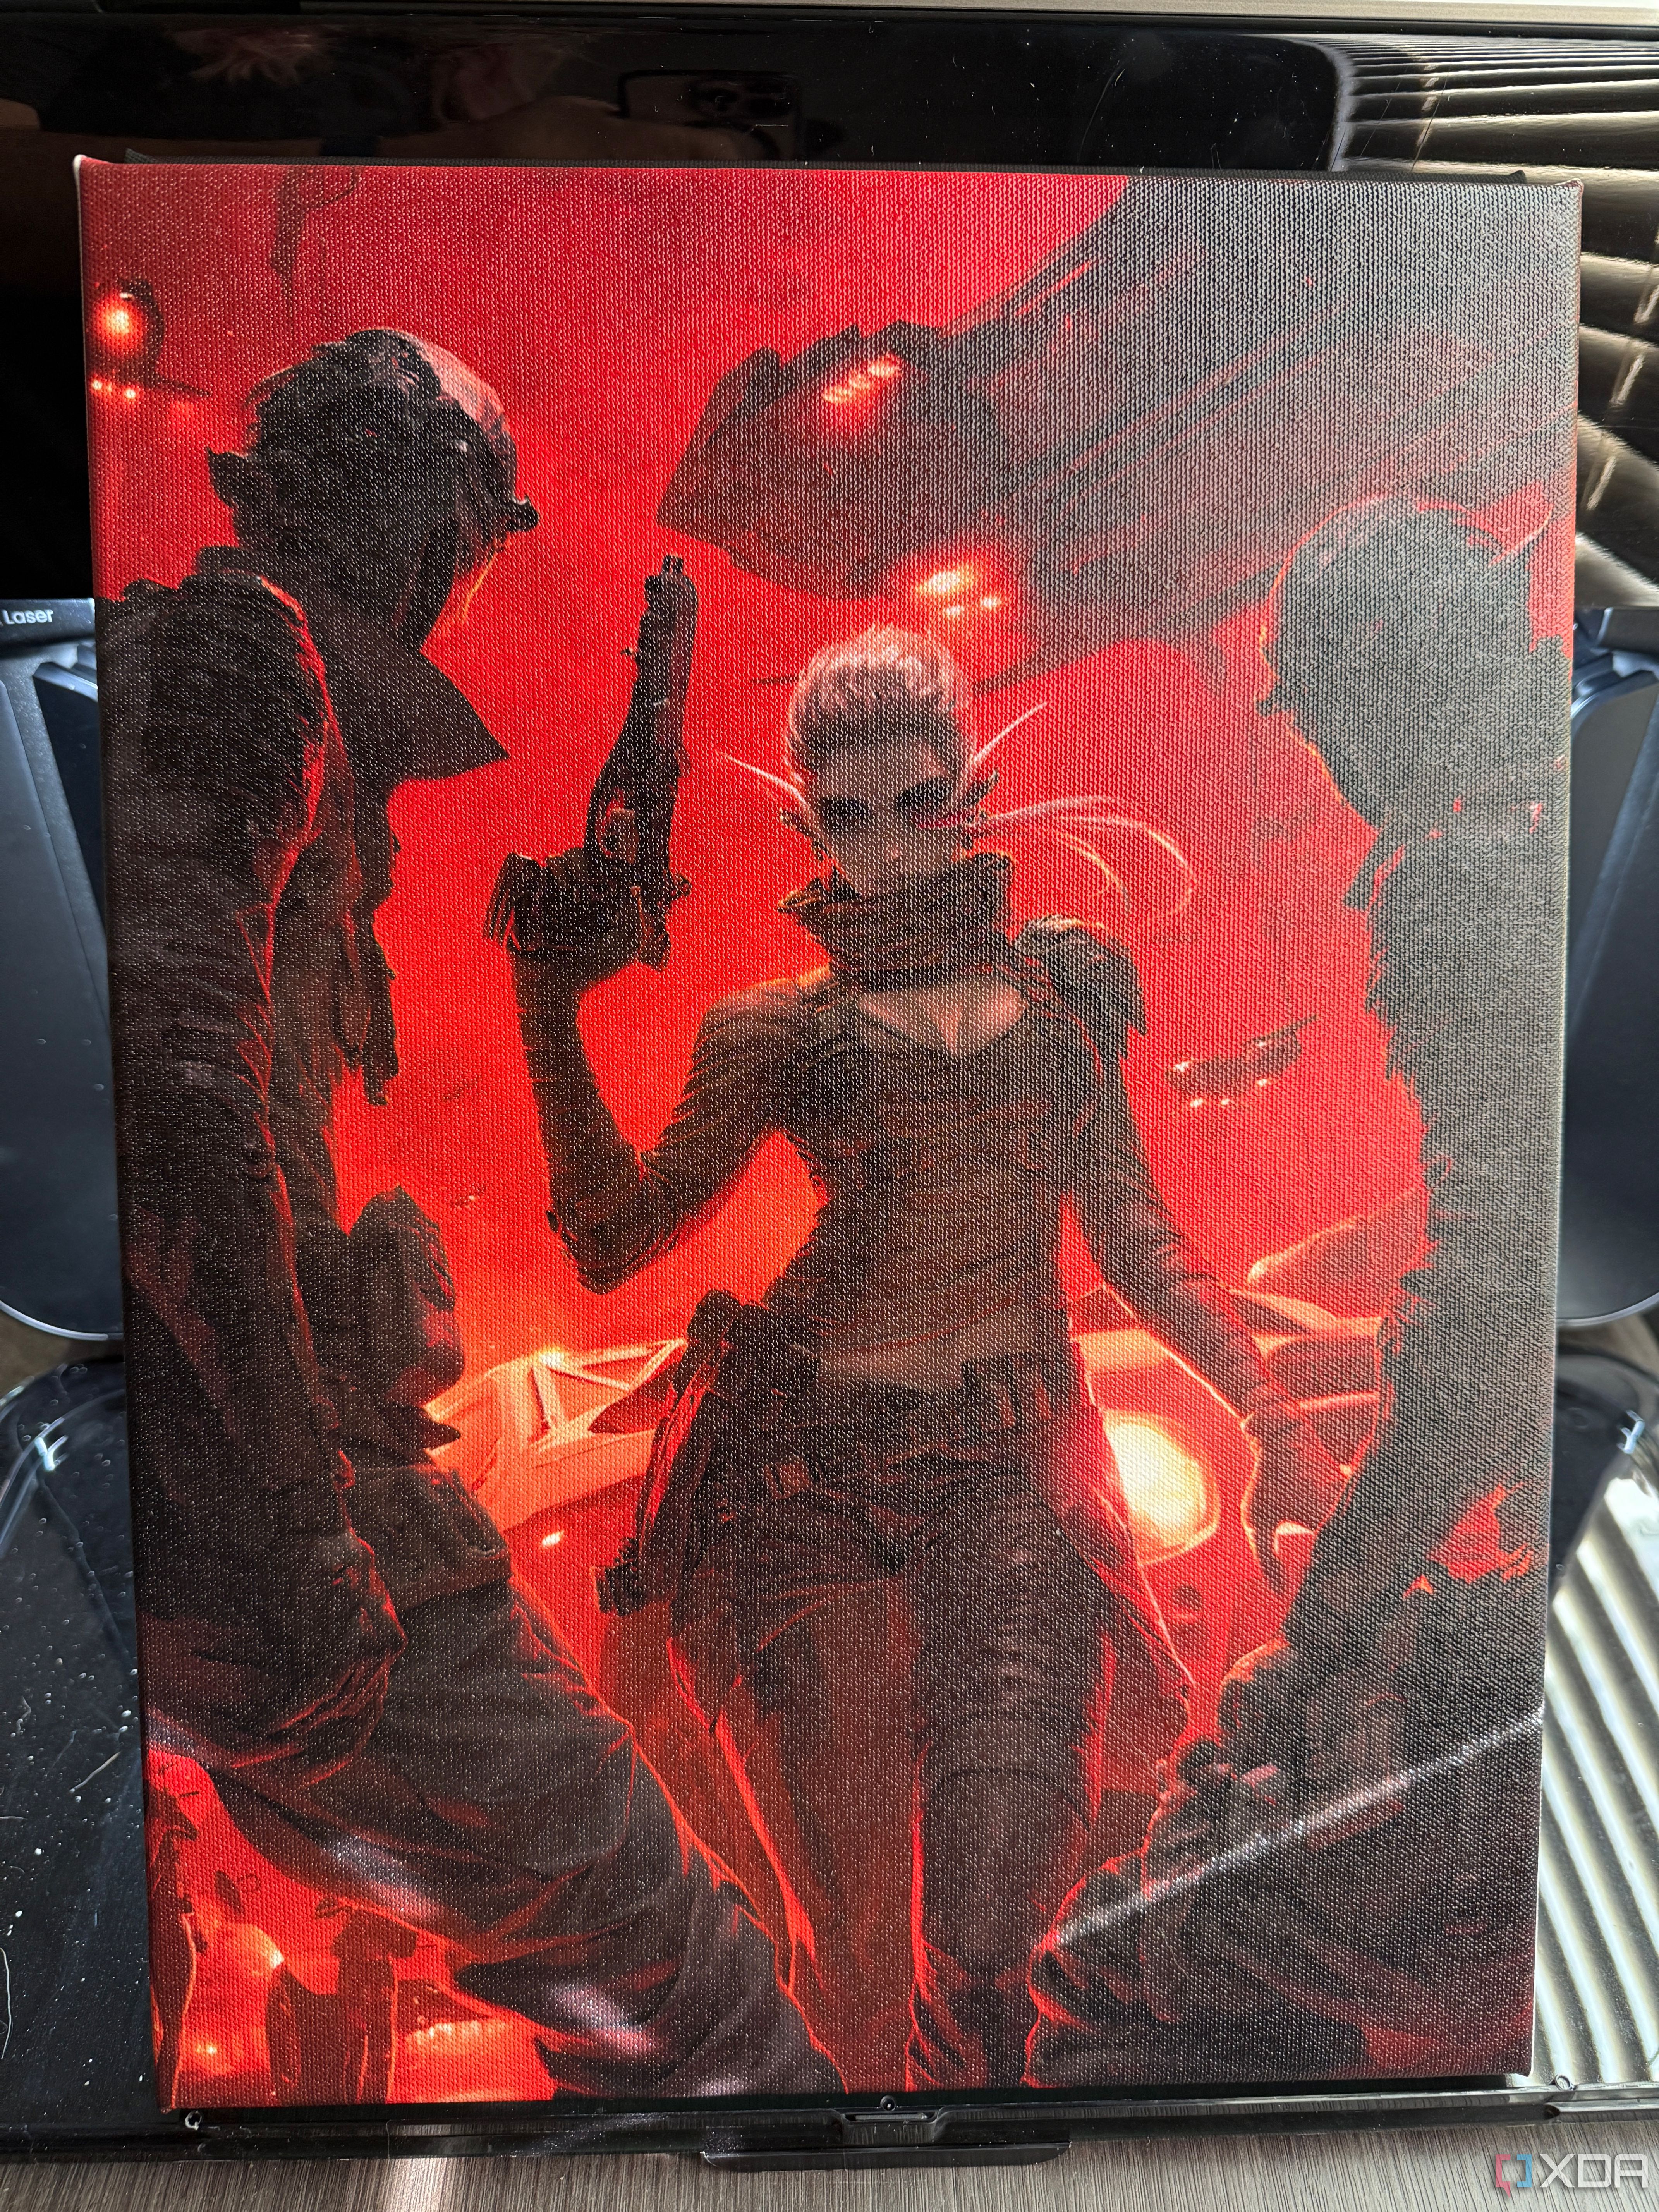
I then moved on to more ambitious materials: metal, unfinished wood, and stretched canvas, each with its own surface texture and ink adhesion quirks. These all worked surprisingly well, even though I’d yet to really nail down how to ensure darker colors didn’t result in a print that looked like a blog of nothing without direct light shining on it.
The most unique test came from a piece of acrylic shipped with the printer. The E1 uses a multi-pass printing process for this: it first lays down the full-color image, then a solid white ink backing, followed by a crisp outline.
When the acrylic is on an LED base and the light is off, you only see the outline, like a fine engraving. But when the light is on, the full-color image glows through, creating a cool effect.
Preparing the design and material
Adjusting artwork for UV compatibility
The software for the E1, eufyMake Studio, is the same slicing software used for eufyMaker’s 3D printers. It is user-friendly, but some adjustments, like contrast, shadows, and color balance, require external tools like Photoshop or Canva. Adjusting blacks, boosting contrast, and fine-tuning highlights helps avoid washed-out or muddy prints, especially on textured or colored materials.
Printing on acrylic might require reversing and mirroring the image to backlight the design and make it appear the way you desire. This is a cool effect, but it’s easy to forget to flip the image. Fortunately, if you use the Light Art project template in the software, this will all be handled for you.
The slicer software also allows changing print modes, such as laying down a solid white ink layer before printing the CMYK design, which helps preserve vibrancy and detail on dark or non-white surfaces.
Mistakes I made on my first print
From alignment fails to curing confusion
Let’s talk about the learning curve. My first few prints weren’t perfectly centered, and I didn’t catch it until the job was finished. The printer software does have a built-in preview function, but it’s not foolproof. Anytime you change the flatbed or swap out the mat, you must recalibrate the onboard camera. If you skip that step, your image might be slightly misaligned even if it looked fine in the preview.
I learned that the hard way after swapping mats mid-session and assuming everything would line up the same. If your object is even slightly misaligned, this will affect your print. After that, I started taping down a guide or using a jig to keep things lined up.
Curing was another stumbling block. While the E1 has a built-in UV light, some materials seemed tacky or not fully cured even after printing. I bought a handheld UV flashlight to hit those areas manually, which greatly helped. When printing a large piece using 3D texture (the eufyMake E1 touts being the first desktop UV printer with this capability), I initially thought I’d made a mistake. Seeing large swatches of white ink in the middle of my image, I had to take into account how the printer would handle creating the 3D relief effect.
Another issue I noticed early on is that some ink overruns onto the printer bed are almost unavoidable. Even when your image is perfectly centered over the object, a bit of bleed is necessary to ensure full coverage without awkward edges. If you plan to sell printed products, this is something to account for — replacement mats for the print bed should be part of your cost planning.
What worked well right out of the gate
A few wins that gave me confidence
Despite the hiccups, many things just worked. The software was easier to use than expected, and the setup was plug-and-play. Printing on metal surprised me—the ink bonded well and gave a vibrant finish, even on brushed aluminum. Acrylic was another highlight. Once I got the image appropriately mirrored, the result was professional-looking and ready for backlighting.
The magnets, too, were a satisfying first win. They printed fast and clean, and now I’ve got a few custom fridge magnets to show for it. It was a good way to test the capabilities without wasting expensive blanks.
Tips I’d give to other first-timers
What I wish I knew at the start
- Start with something cheap and flat. Ceramic tiles, magnets, or coasters are great practice pieces.
- Use painter’s tape or a jig to align your objects. Don’t rely on eyeballing it.
- Double-check your image orientation. Especially if you’re printing on transparent materials.
- Keep a handheld UV light nearby. It helps ensure complete curing, especially on complex surfaces.
- Boost contrast and sharpness in your designs. UV ink behaves differently from paper printing, so subtle gradients often get lost.
- Budget for replacement bed mats. Ink over-spray and edge bleed will wear them out over time.
Wrapping up my first week of UV printing
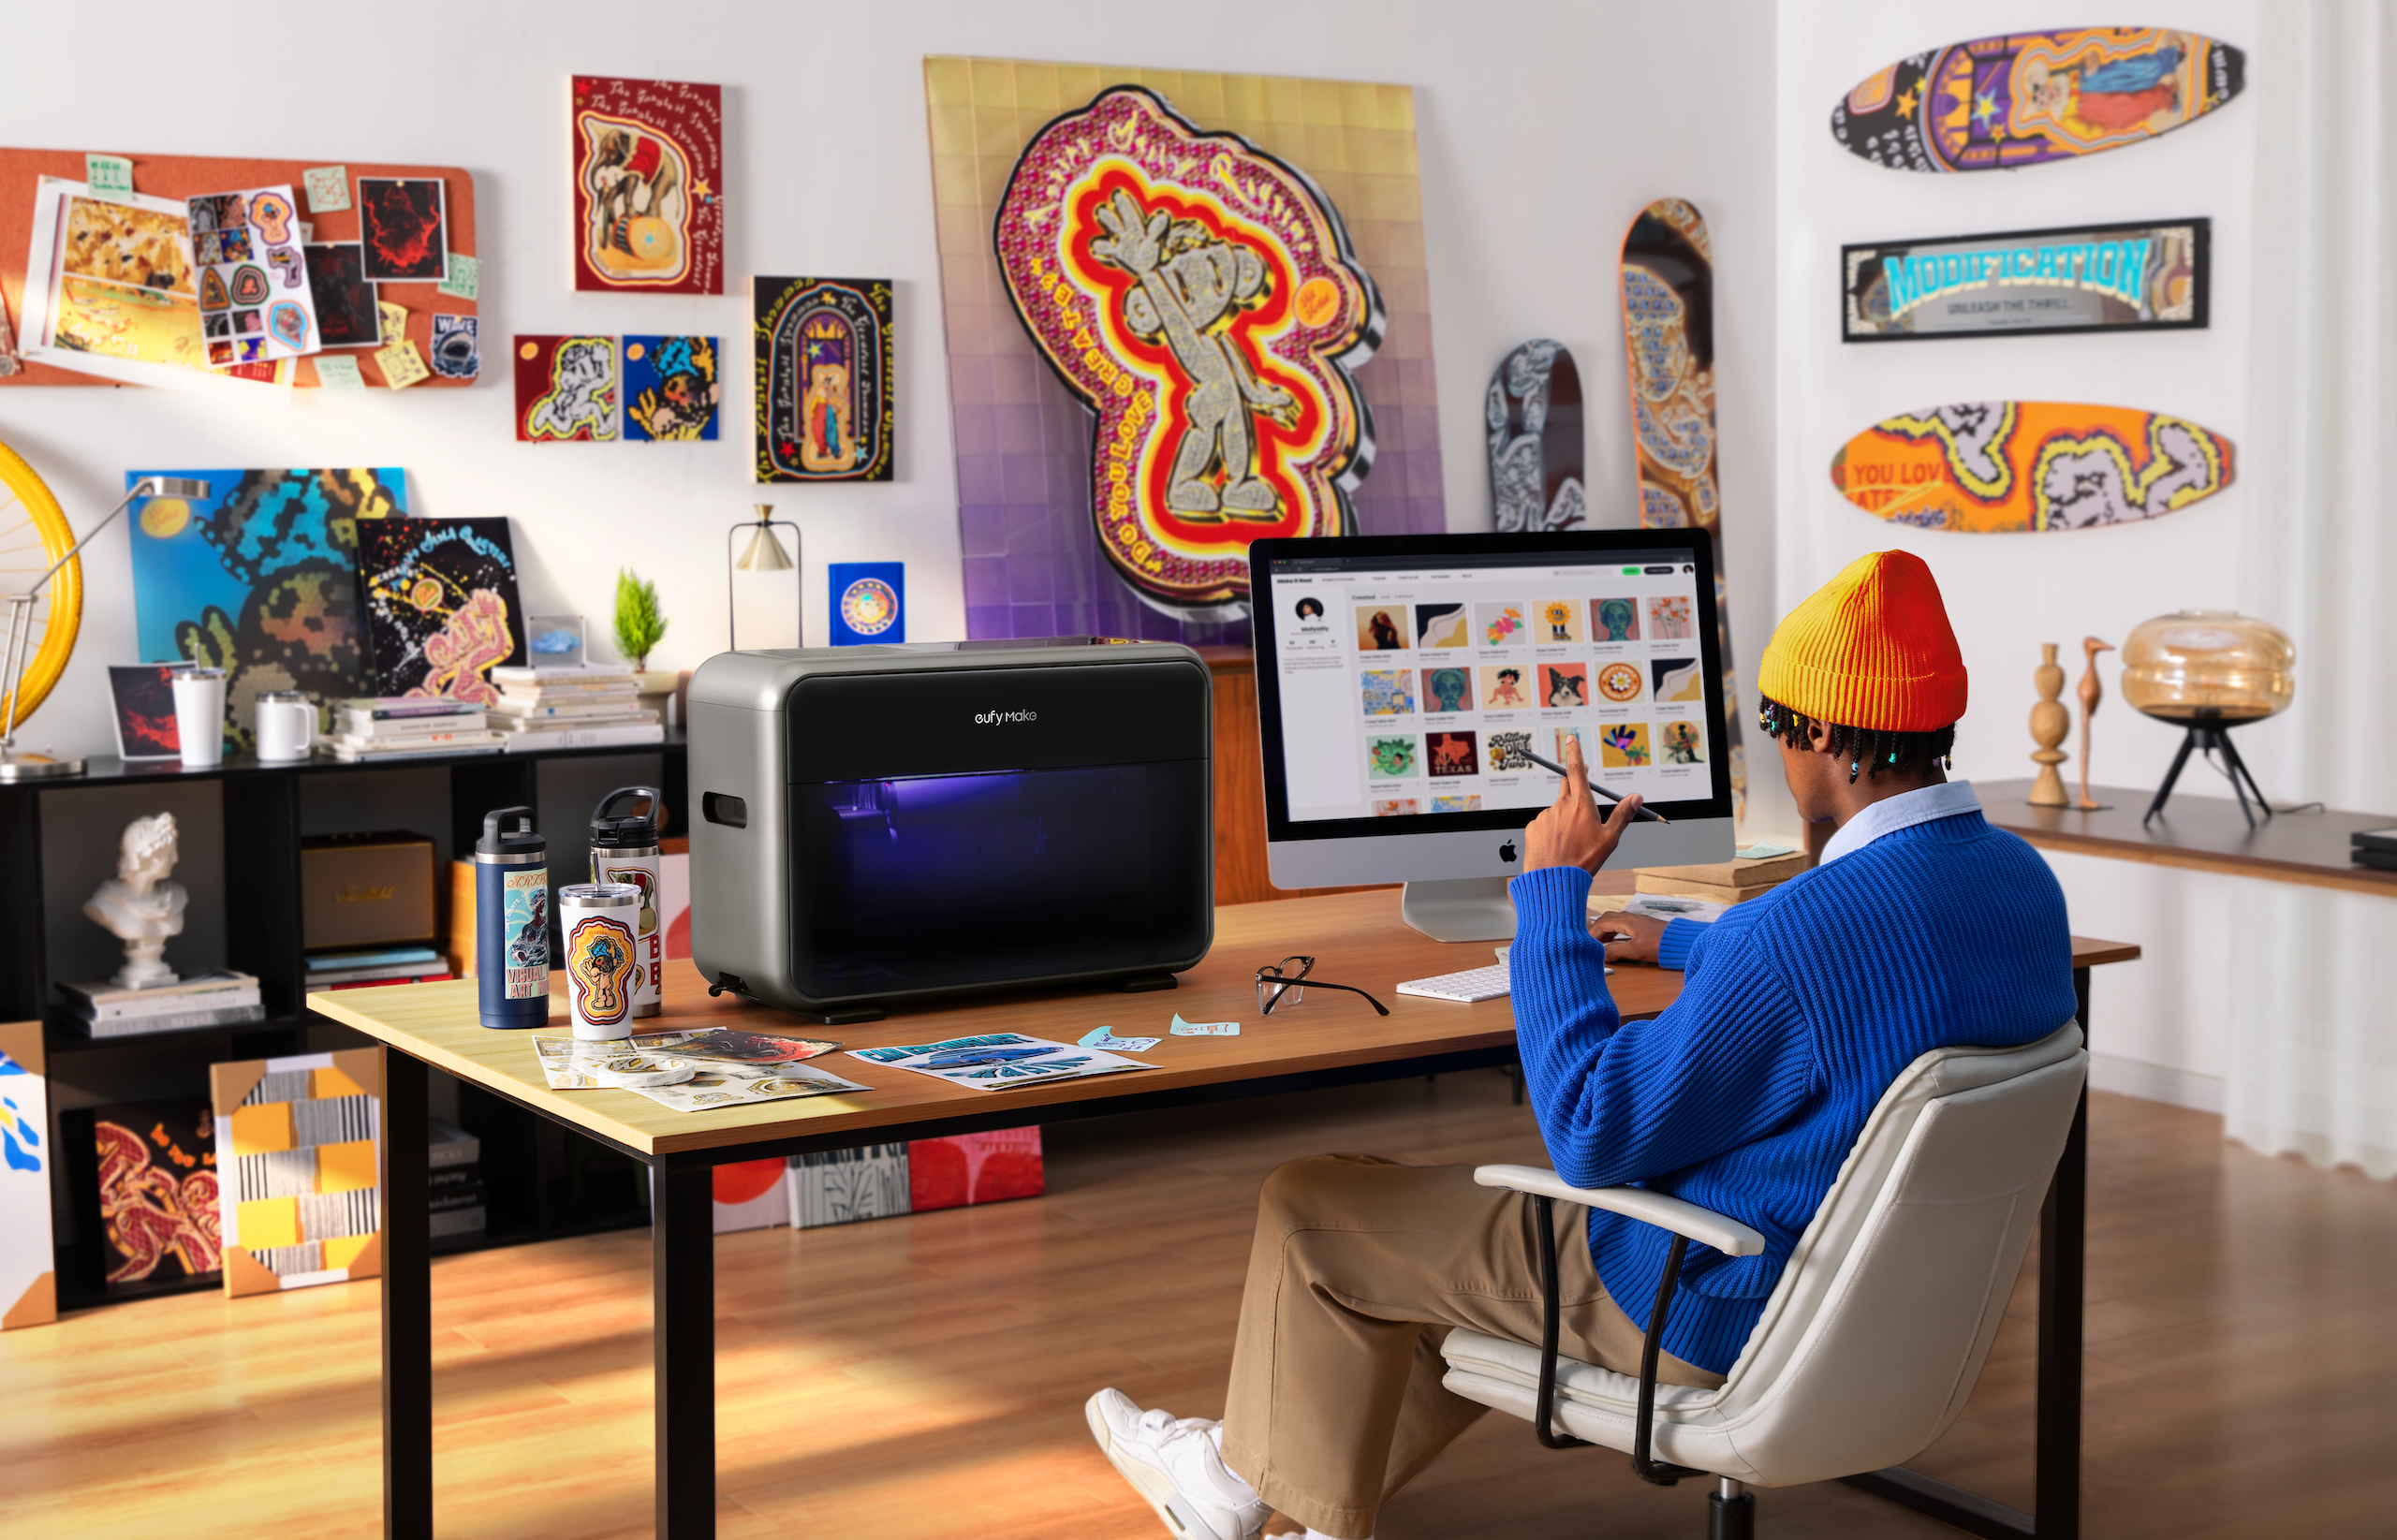
Source: eufyMake
Taking on UV printing with a pre-release machine was challenging, but it’s been a rewarding ride. Once you pass the initial learning curve, the eufyMake E1 is a capable and surprisingly versatile printer. I made plenty of mistakes, but every one of them helped me understand the process a little better. Now that I’ve printed on magnets, metal, wood, canvas, and acrylic, I feel more confident pushing the boundaries further.
One thing worth mentioning is that starting up this printer takes more time than anything I’ve worked with before. It goes through an extended maintenance cycle at power-on and then requires manual ink injection before it’s ready to print. Plan for at least 20 to 30 minutes of prep time before you can get going on a job.
Another thing to be aware of is the odor. The smell from the UV ink is quite pungent and tends to linger, even hours after the printer is shut down. While eufyMake states the ink is non-toxic, it’s still strong enough to be annoying. Be sure to print in a well-ventilated area, and consider opening windows or using an air purifier to help clear the air more quickly.


