Summary
- The DIY PiLiDAR scanner project uses a Raspberry Pi for LiDAR mapping.
- LiDAR scans the surroundings by firing lasers to create a 3D model.
- Raspberry Pi 4, camera, motors, and LiDAR kit are needed for the project.
Have you checked out LiDAR scanners yet? If you haven’t, they’re really handy for taking in data from an environment and reproducing it as a 3D model. If that sounds like something you’d like to try, but you’re unsure where to start, allow me to introduce you to this excellent Raspberry Pi project, which guides you through the steps of creating your own LiDAR scanner.

Related
Raspberry Pi AI Kit hands-on: An affordable way to enhance the SBC’s performance in AI tasks
Unless you’re a developer, there’s not a lot you can do with the AI Kit right now.
This DIY LiDAR scanner uses a Raspberry Pi at its core
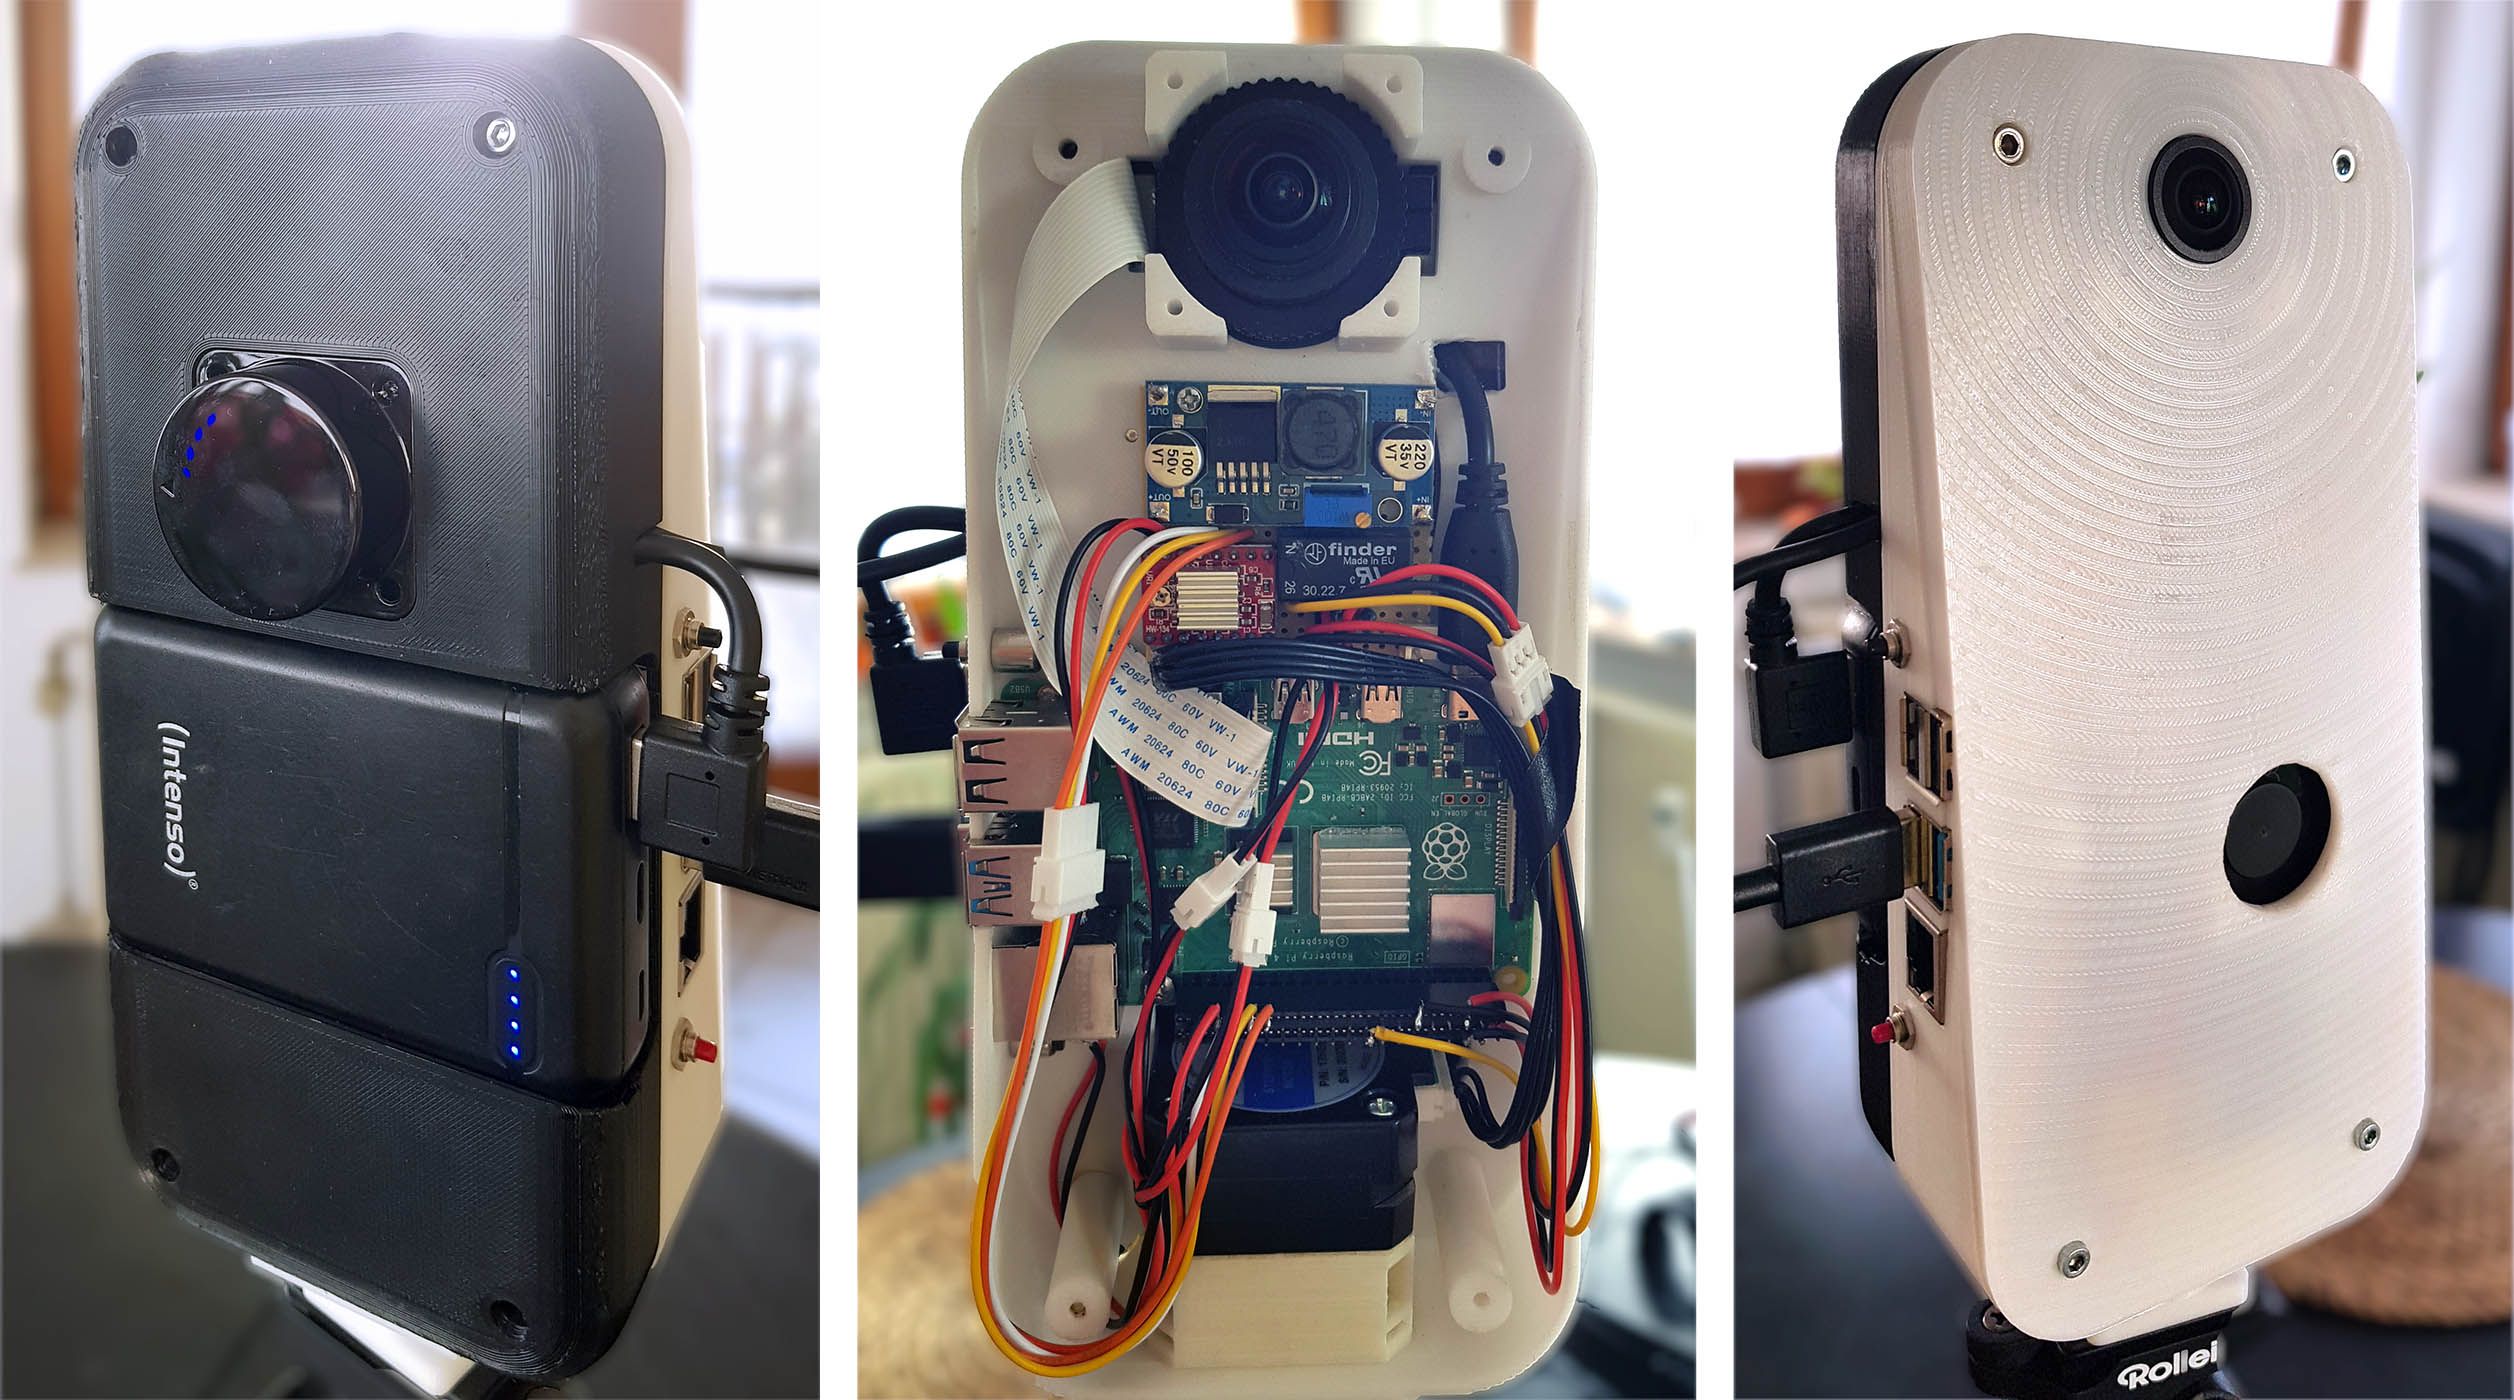
As spotted by Hackaday, this excellent project is called the PiLiDAR, and you can check out its GitHub page for the source code and instructions on how to build it. If you’ve never heard of LiDAR before, it stands for “Light Detection and Ranging.” It can map out an area by firing lasers at it and recording how long it takes for the reflected light to return. It’s a handy way of creating a 3D model of a physical space, and you may have even played horror games that use LiDAR scanners to particularly creepy effect.
The PiLiDAR is a project that brings this technology to the hobbyist’s workbench. Although it’s still a work in progress, you can view some of its results in 3D on its GitHub page. Here’s all the stuff it can do:
- LiDAR: custom serial driver for LDRobot LD06, LD19 or STL27L
- CRC package integrity check
- Hardware PWM calibrated using curve fitting
- 2D live visualization and export (numpy or CSV)
- Panorama: 6K 360° spherical map
- stitched from fisheye photos using Hugin Panorama photo stitcher
- constant camera exposure by reading EXIF data of automatic
- constant white balance by iterative optimization of color gains
- 3D Scene: assembly of 3D scenes from 2D planes based on angle and offsets
- sampling vertex colors from panorama
- Open3D visualization and export (PCD, PLY or e57)
- aligning multiple scenes using global registration and ICP fine-tuning
- Poisson Surface Meshing (very slow on Pi4, recommended to run on PC)
On the hardware side, the PiLiDAR utilizes a Raspberry Pi 4, a Raspberry Pi HQ Camera, stepper motors, and a LDRobot LD06, LD19, or STL27L LiDAR kit. If you follow the instructions included on the GitHub page linked above, you can also map out your living room as a 3D space.
It may seem trivial, but LiDAR has numerous applications beyond simply scanning your cat. For example, you can mount it on an RC car and have it scan its surroundings to create a 3D map of its surroundings, then have it automatically drive from point A to point B. I’m sure the Raspberry Pi community can think of far more creative uses than that, though; they never fail to amaze me.


