As someone who studied computer science and graduated a few years ago, I’d like to think that I have a decent grasp on all things computing. I can generally have a go at most things, and even though networking was a topic that I spent a lot of time with and enjoyed, some of the finer details can be difficult to master. That’s why, when building out my smart home, I’ve focused on doing it right the first time around.
Through a lot of reading, research, and some trial and error, I’ve learned a lot about networking over the past few months. While I had deployed basic systems such as Home Assistant more than a year ago, it’s only relatively recently that I’ve decided to go all in. Here are some of the most important things I’ve learned.
5
Whenever you have a problem, someone else has probably had it too
Or at least, one that’s very similar
There have been numerous times where I’ve been faced with an issue, only to research it and find someone had the same problem that I did, or at least one similar to it. One such case was in my deployment of OPNsense, a firewall and routing platform that’s designed to replace your router. I connect to my ISP over Point-to-Point Protocol over Ethernet (PPPoE), and the router that Vodafone had given me was preconfigured to be plug and play, as you would expect from an ISP router. It actually isn’t a terrible router either, though I previously merely used it as a bridge to my mesh network, which was the primary way I connected to the internet from wireless devices.
With that said, Vodafone also requires the connecting router to connect with a VLAN tag of 10, where a VLAN tag is used by some providers to separate services. I had trouble configuring this on my own, as I needed to hook up my WAN interface (which connects outwards) to my Optical Network Terminal, or ONT. This meant configuring a PPPoE device, assigning the VLAN tag to it, and then assigning the PPPoE device to my WAN interface in order to request an IP address from my ISP.
As it turns out, this is a relatively niche problem in Ireland, as there were very few results where people had achieved exactly what I was trying to achieve here and publicly documented it, and even fewer came with detailed instructions. The ones that did tended to either provide details relating to pfSense (which, while similar, didn’t quite help my particular situation), or were older ones based on OPNsense. However, I figured that the process would be the same across other ISPs in other countries (just with different numbers), so I researched what others did, and came across many examples of how to configure this exact kind of system in countries like the Netherlands, Germany, and even Australia.
While you may not find your exact problem online, chances are, someone has had a similar experience. If you think outside of the box a little bit, you can search for problems that would be similar to yours that might be able to help you. Now I have my own router that I control, and I’ve been able to enable features like intrusion detection that I could never dream of on my ISP router.
4
Some potential problems can be overblown
Though acknowledge them as potential problems, first
When I built out my Zigbee network, I was very careful to follow all of the advice online relating to interference. I used a USB extender, I made sure that my Wi-Fi channels didn’t overlap, and I ensured that my USB extender was USB 2.0, not USB 3.0. The latter was simply because many online say that USB 3.0 causes interference with many Zigbee dongles. This resulted in a rather convoluted setup of ensuring that my dongle is nowhere near any of my mesh nodes, and a fairly messy bit of cabling to ensure that my dongle was away from my computer and not in a USB 3.0 port.
Later, I moved my Home Assistant, Zigbee2MQTT, and MQTT servers to their own Proxmox host on a different machine, in an effort to split my most crucial services from my main server where I frequently test new containers and configurations. That included moving the USB dongle, and in my haste, I simply placed it into a USB 3.0 port on the back of the new machine, and to make matters worse, it was placed directly beside one of my mesh nodes. It was only a good while after did I realize what I had done, yet my Zigbee network continued to work just fine.
While this isn’t to say you shouldn’t follow best practices, the truth is, sometimes those best practices may be incredibly inconvenient, and it’s worth trying it the way you want to first. A Zigbee network also isn’t destructive when it goes down, so there’s an element of risk assessment here. You can just reconfigure it and rebuild your network if there’s a major issue, especially if information from your devices is being sent to an MQTT server or is being processed and logged by another tool like Home Assistant. I’ve seen other people say that using a USB 3.0 port and placing their Zigbee dongle beside a Wi-Fi router wasn’t a problem for them either, so while I’m not saying to just move fast and break things, if it’s not going to destroy your home network or cause any permanent damage, it’s worth a shot to try the “less than perfect” way first if it suits you better.
3
Know when to take risks
Sometimes, it’s just not a good idea
Following on from my previous point relating to Zigbee, it’s still important to know when to take risks. When I deployed my OPNsense router, I knew that it was incredibly important to ensure that it was stable and maintainable. While I could have chucked a load of different services on it alongside it, I decided not to. The problem is, if my OPNsense router goes down, so does my entire network along with my internet access.
In this case, my OPNsense router only runs my OPNsense router. It’s virtualized in Proxmox (to get around an Ethernet adapter that doesn’t have a FreeBSD driver) but aside from that, there’s nothing “unnecessary” running on it. It’s deployed as-is, with an automation to start my OPNsense VM on boot should the server it’s running on crash or face a power outage. I also have a failover in place to handle my LAN routing if my main OPNsense VM goes down (but the rest of the network is up), so that I can still connect easily and troubleshoot the problem.
While I’m happy to take risks, I won’t take them with mission critical systems like these. If it seems like the potential damage of your risk-taking is high, then it’s probably a bad idea to take that risk, and I tend to use that as a litmus test for my network-related decision making. I’ll happily mess around with my Zigbee network and some of my containers, but I’m very, very careful with my OPNsense for this reason.
2
Proper organization is key
Make it easier on yourself in the future
If you want to build your network correctly, you’re going to need to plan it first. Evaluate what devices you have, what’s available to you, and what you want your end result to be. For me, I had a pretty simple plan:
- Build a custom router so that I have more control over my network
- Have better organization when it comes to devices and static IPs
- Prevent IoT devices (often vulnerable to attack) from accessing the internet
- Leave room for expansion in the future
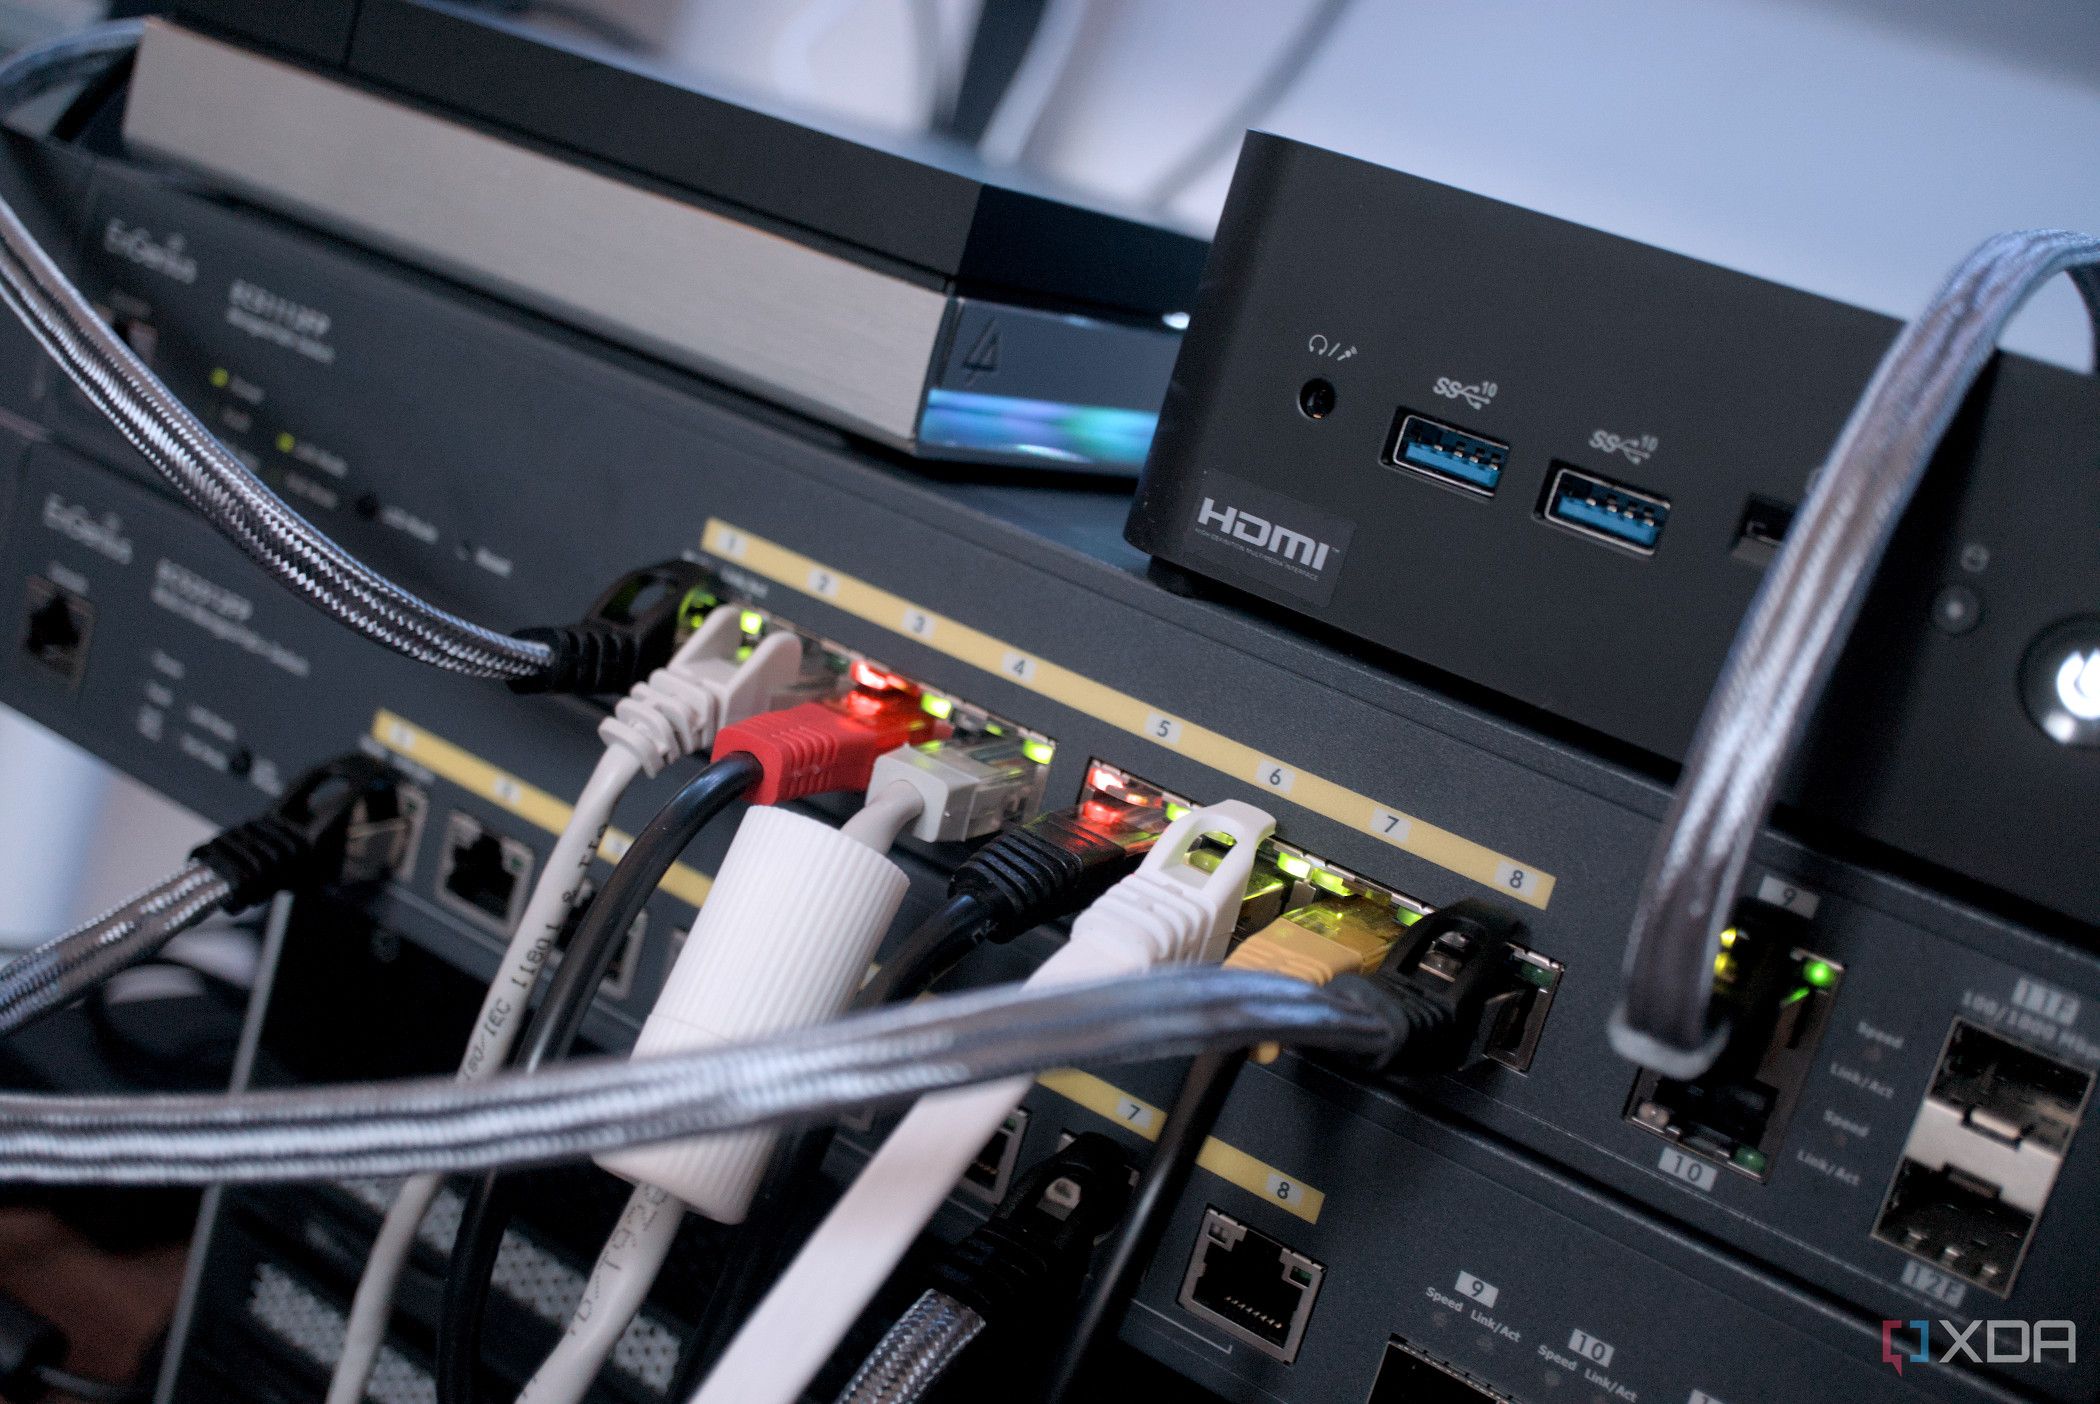
It’s a pretty simple plan, and I’m pretty sure that it’ll grow into its own beast in the future. I have a simple network switch attached to my OPNsense box (a TP-Link SG108) which then handles connections to my main home lab server, my computer, and my mesh network. This is pretty scalable, and I don’t need to uproot too much in the future if I want to take things a step further with an addition of a managed switch, for example.
The other side of things is organization; while I could deploy a Netbox instance and go completely overkill in keeping track of devices, I simply use a Google Sheet to manage my static IPs, which are reserved by the DHCP. Segments of my network are dedicated to specific devices, with 192.168.1.70 through to 192.168.1.100 referring to self-hosted services, for example. This makes it easy for me to remember where services are when I need to access them, and keeps things orderly.
1
Do security right the first time
If you can’t roll your own security solution, a pre-packaged option is better
Security is extremely important when it comes to networking. According to the University of Maryland, a computer on average can be targeted in an automated attack every 39 seconds, mostly trying to access services that are identified with simple combinations of common usernames and passwords. While this isn’t a problem for most people, as your router should filter those out, the second you step into the world of self-hosting services, exposing services to the internet, and even hosting your own OPNsense or pfSense router, security suddenly becomes your responsibility in a pretty big way.
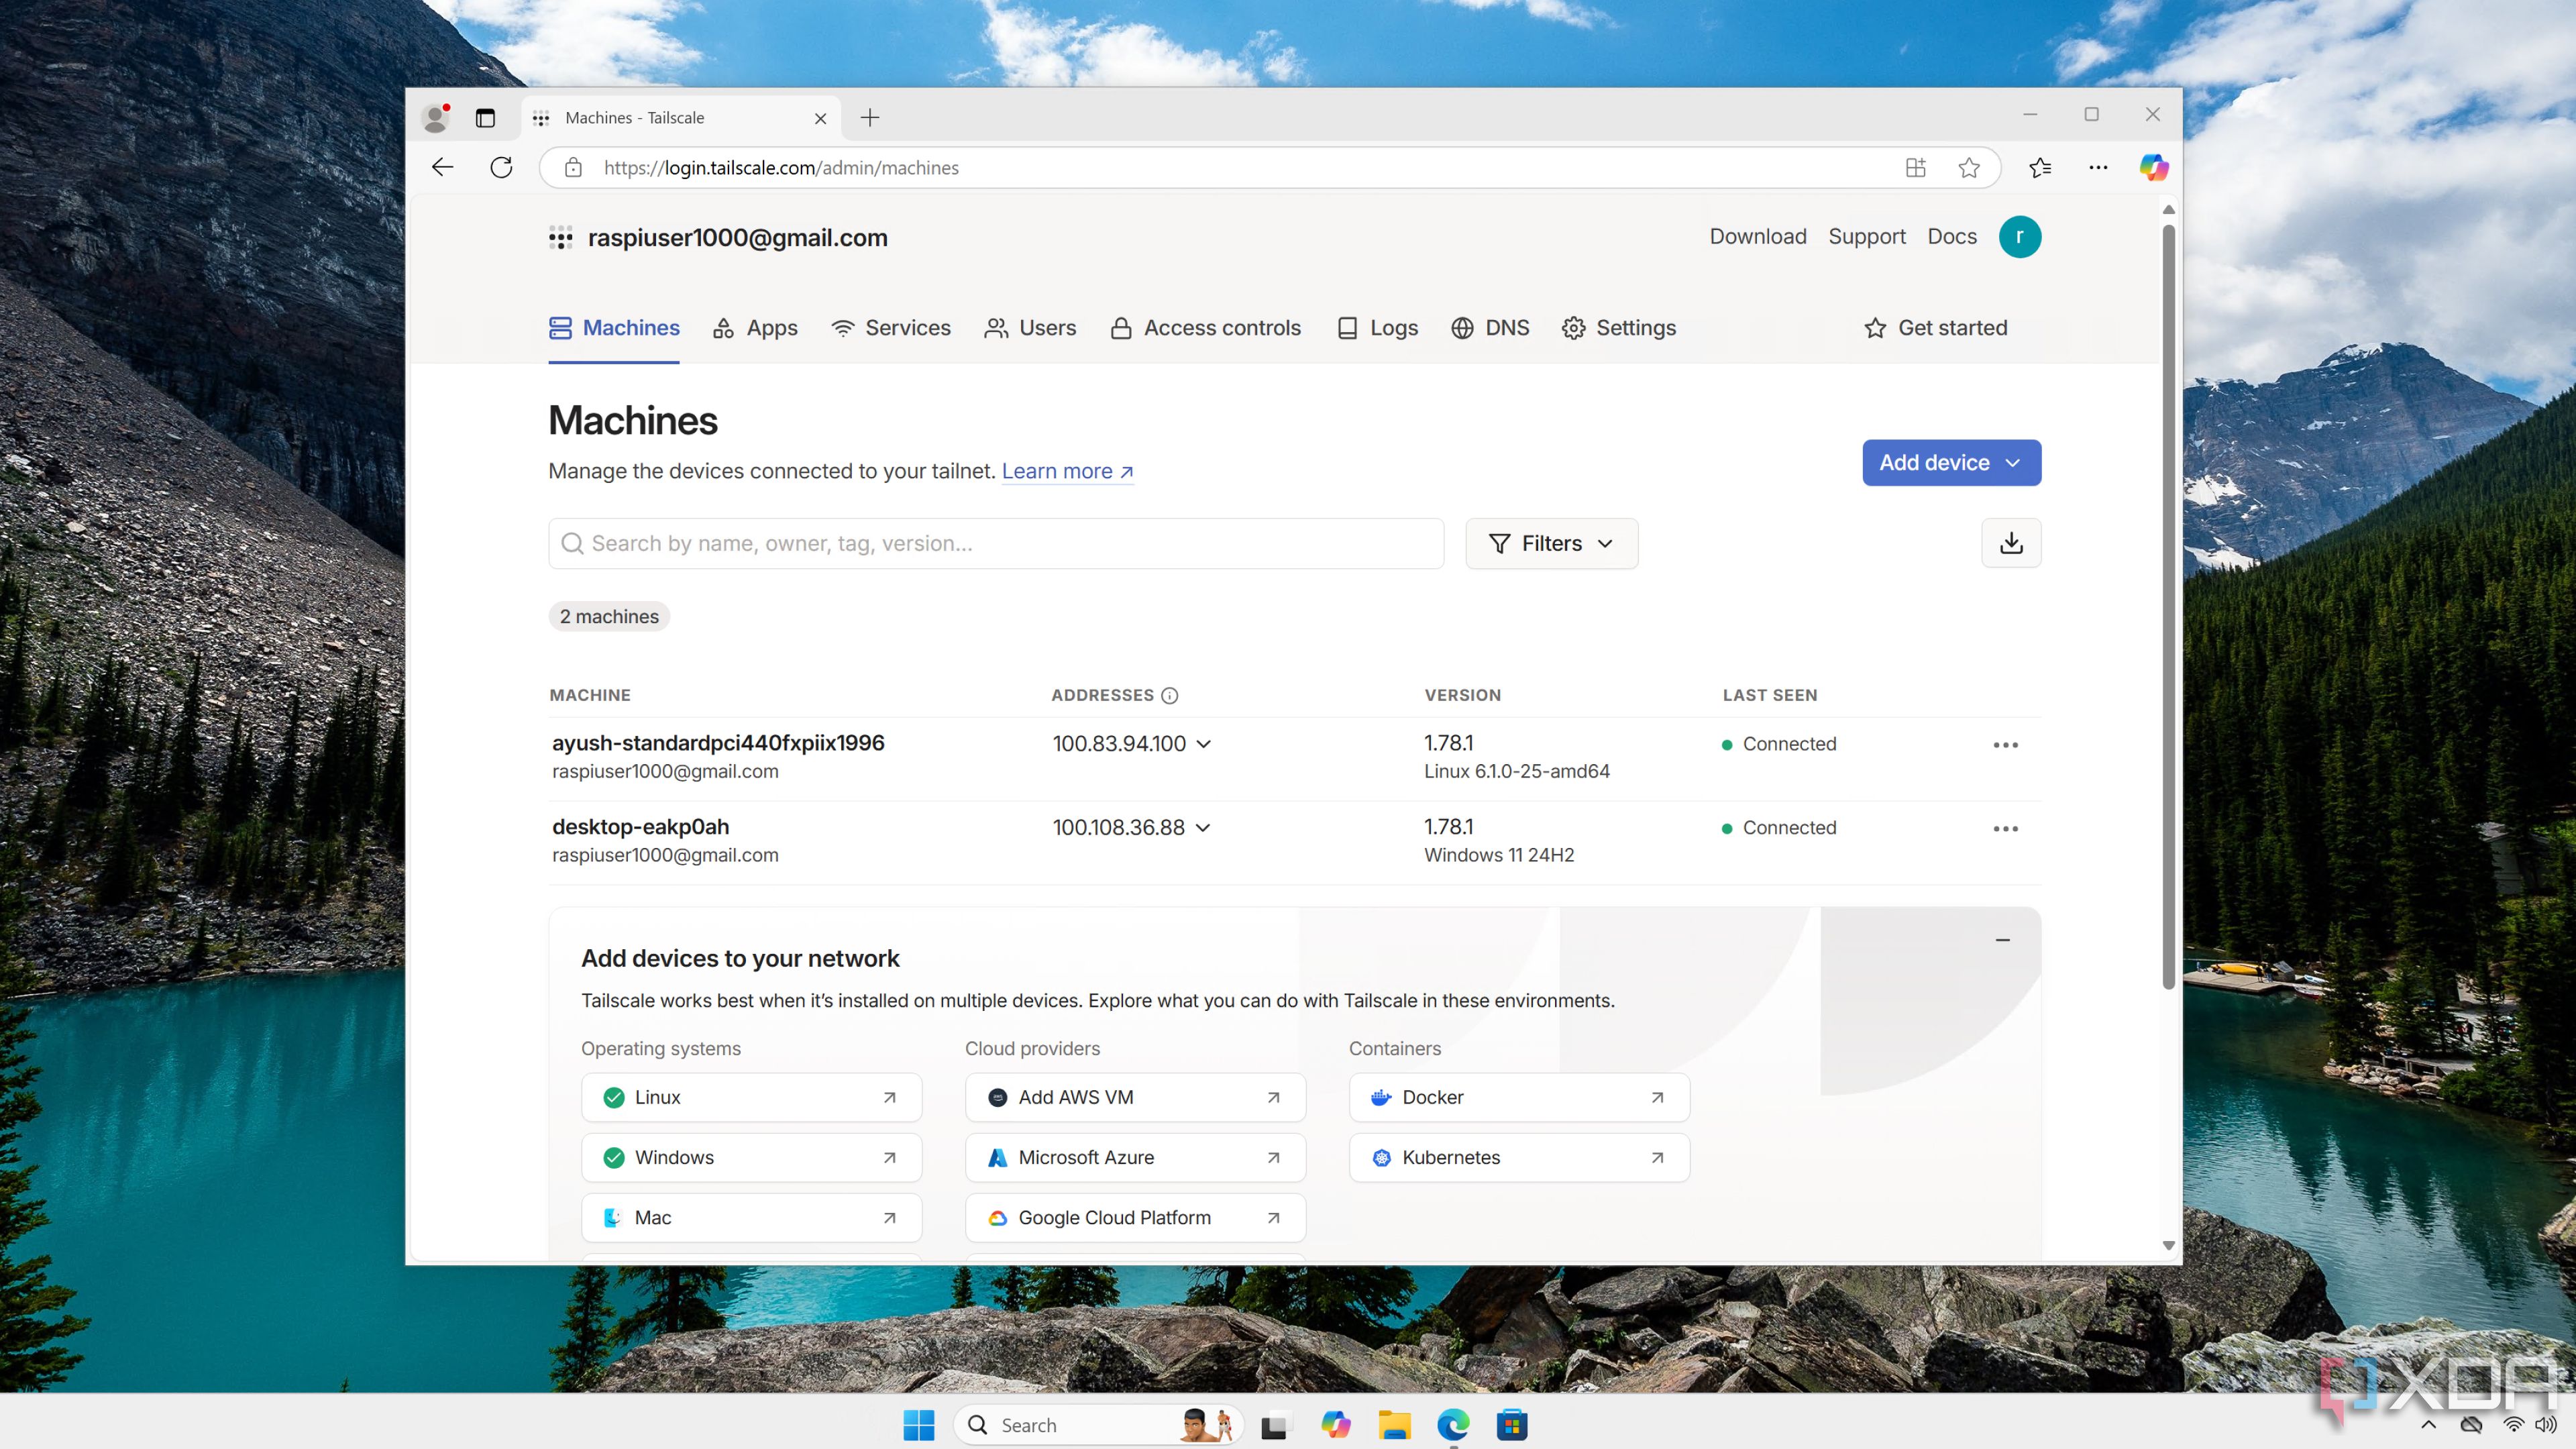
While some would argue that tools such as Tailscale take the do-it-yourself attitude out of home labbing, the truth is that not everyone needs, wants, or cares to learn about some specific aspects of home labbing and self hosting, and that’s okay. If someone doesn’t care for, or doesn’t have the knowledge on how to deploy OpenVPN, Wireguard, or a reverse proxy to access their services remotely in a safe and secure manner, then a tool like Tailscale is simply better. Even if you were to make the argument that introducing a cloud-based service like Tailscale to your network defeats the purpose of self-hosting, it’s still significantly more secure than implementing your own, shoddily implemented security system because you felt you had to self-host everything. A pre-packaged solution done right will be better than a poor implementation that actually makes your network less secure.
That’s why, when building your network for the first time, you should follow zero-trust principles. That means “never trust, always verify”. If you host services that are only accessible through a self-hosted Wireguard VPN, for example, that doesn’t mean you shouldn’t have passwords to login to your self-hosted services. You shouldn’t just expose data shares fully over your network, either. Always assume that a malicious actor is trying to get into your network, and then always assume that they are in your network. Then, think about the steps you would take to prevent potential damage.


