Windows 11 was released in October 2021. I bought a PC a couple of years before it came out, so it arrived with Windows 10 Pro preinstalled. I have other PCs, but still use this six-year-old HP Omen as a primary production machine. Perhaps I’m lazy or didn’t want to mess with a perfectly good Windows system until now. It’s time to upgrade, and I decided to take a calculated risk and opt for an in-place upgrade.
Usually, in these situations, I will perform a clean install and proceed from there. However, it’s been a long time since I did an in-place upgrade, so I decided to go for it. There is nothing wrong with doing an in-place Windows upgrade from one version to another; however, I needed to ensure I took the proper steps to succeed. So, in this instance, I upgraded from Windows 10 22H2 to Windows 11 24H2.
Related
4 Windows 11 Pro features I enable for free with third-party tools
You don’t need to pay extra for Windows 11 Pro if you have Home. You can enable Pro features with free third-party tools.
5
Backup data
Protect data if disaster strikes
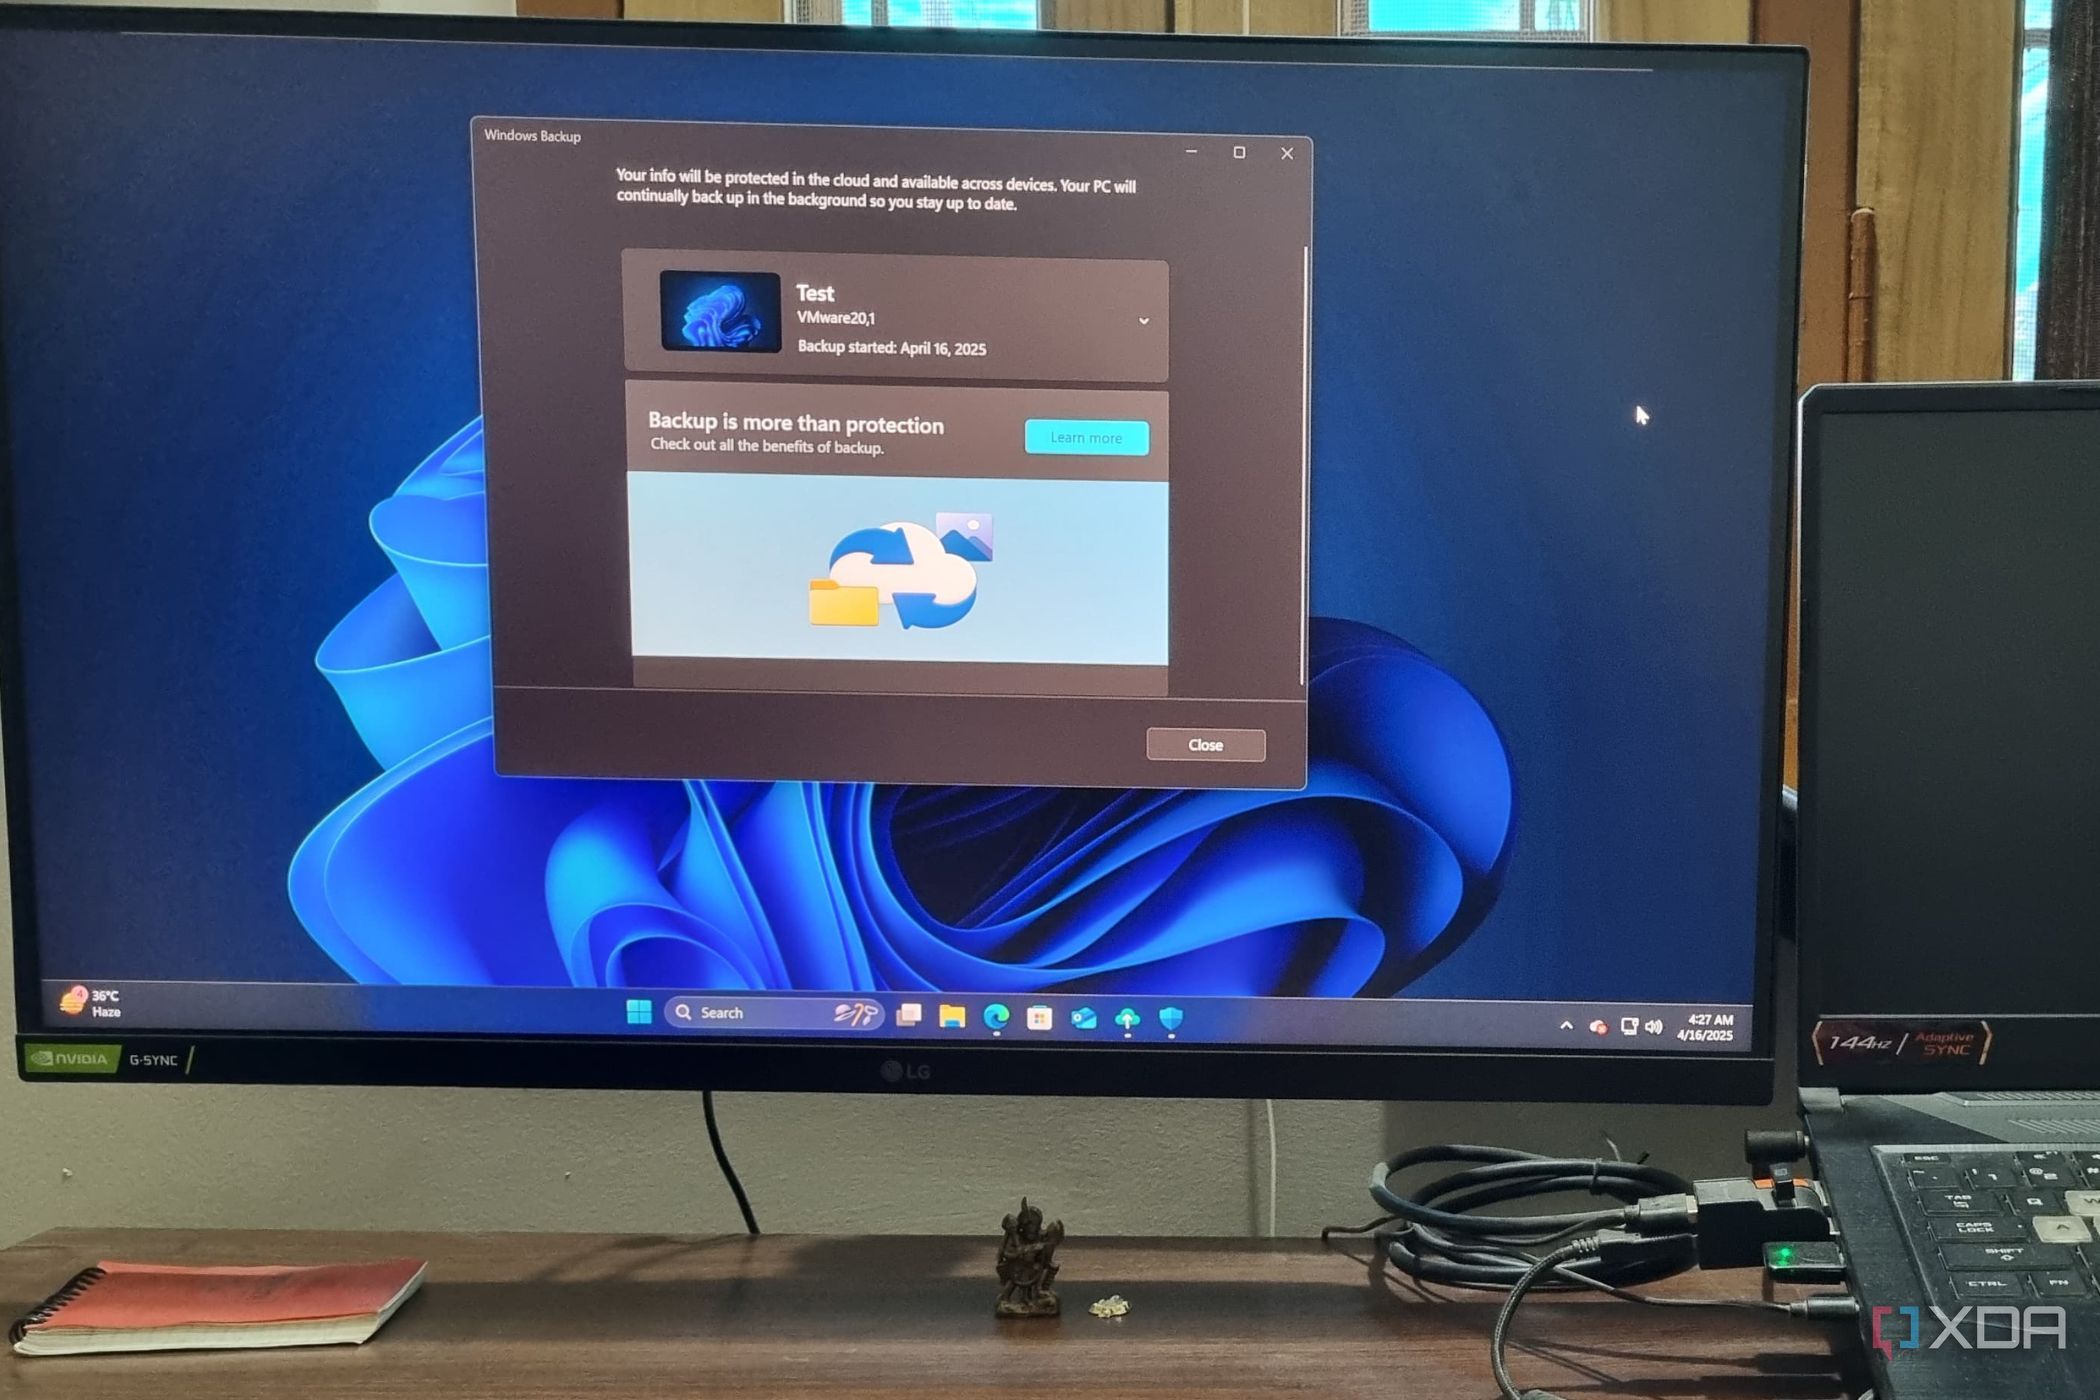
The first and most important thing I did was back up my important files; you should, too. In fact, you should already be backing up your files regularly. Whether you use a cloud storage option, a backup service, or manually copy files to an external drive, your data needs to be backed up, especially before a major upgrade like this.
I have a stringent data backup system. I back up my files to OneDrive and Proton Drive, so there is redundancy in the cloud. For good measure, I also regularly back up my system to SpiderOak. I also manually back up my most essential files to a large 4 TB external drive. So, I have redundant cloud and local backups of my most important files.
Related
5 reasons I use Windows 11 Backup over Macrium Reflect
Backing up your Windows 11 PC doesn’t need to be a complicated and costly affair. This free alternative has most of the things you need.
4
Check system stats
Does your PC meet the minimum system requirements?
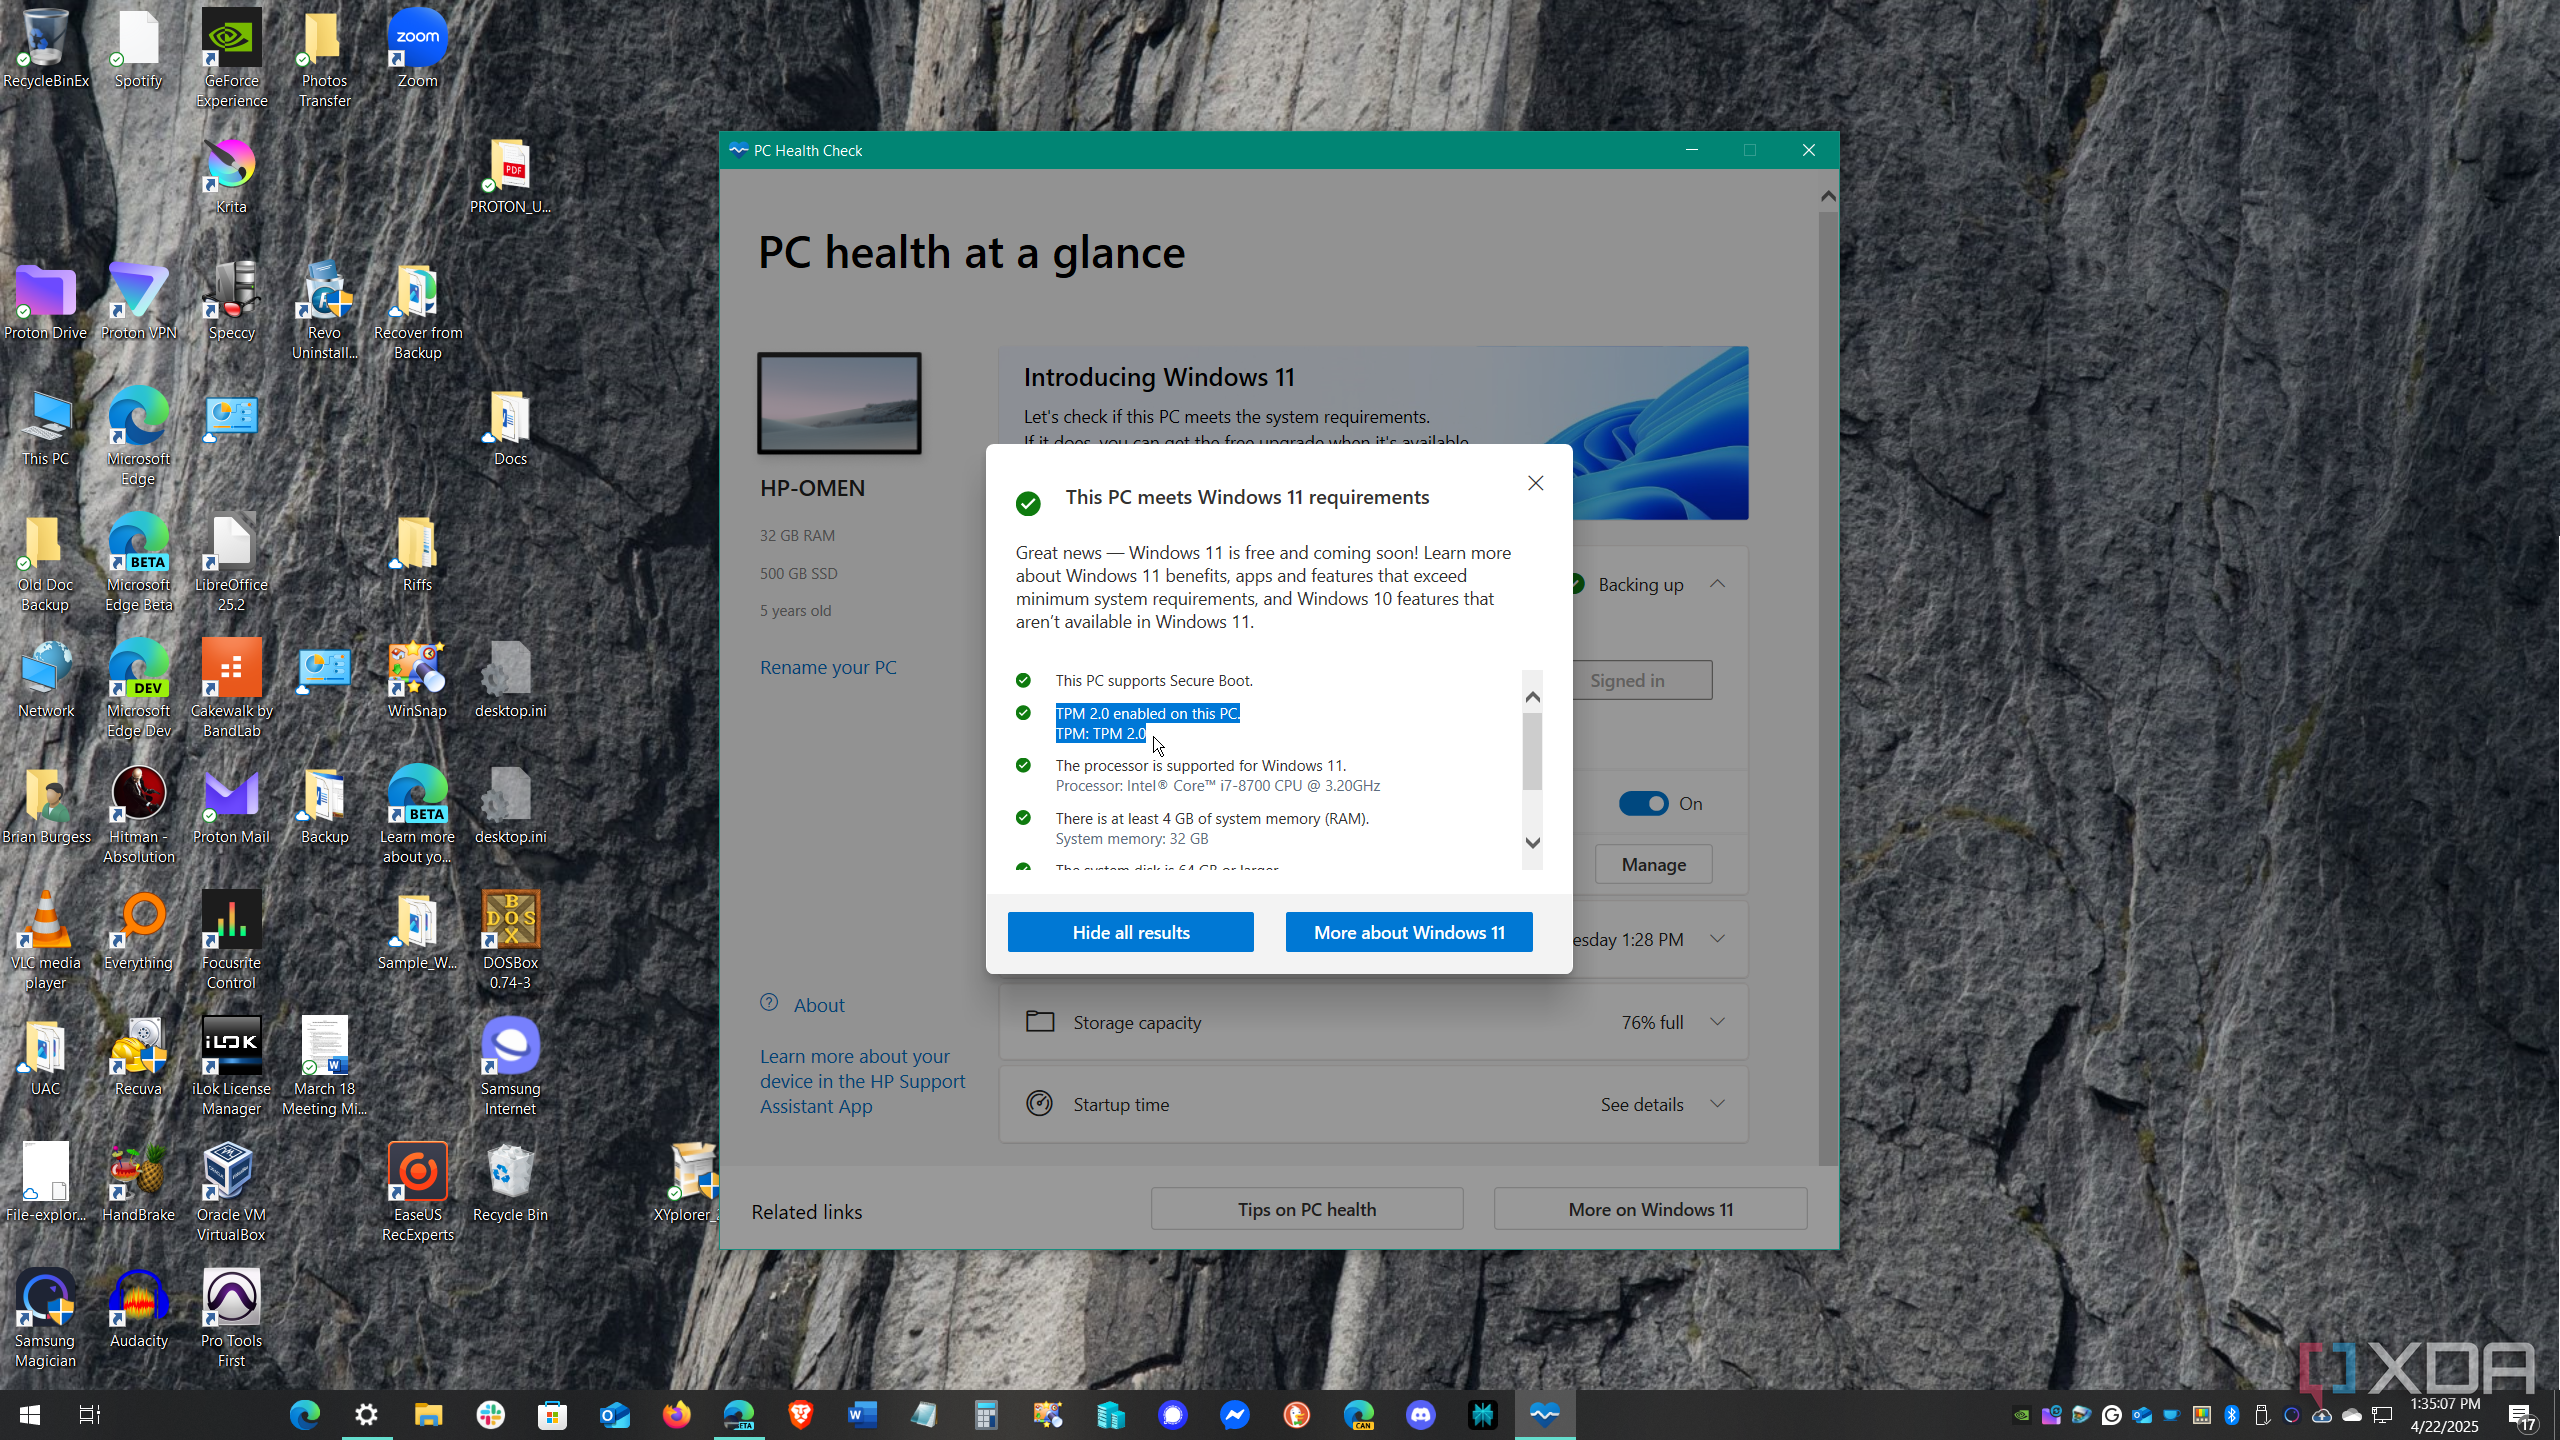
I am upgrading my 6-year-old HP Omen running Windows 10, so ensuring it has decent hardware to run Windows 11 is important. It does and has a few years of life left in it. I’m not a gamer, so having the newest flashy GPU isn’t important to me. However, I run virtual machines and some other software that tax system resources. So, ensuring I have plenty of RAM, storage, and an “ok” GPU matters. You can check if your PC meets them on Microsoft’s support page. You can also use the PC Health Check app, which checks if your PC meets the requirements. I double-checked basic stats using Settings -> System -> About to verify my system’s hardware. Another utility I use to go over my system stats is Speccy, which is free for personal use.
Related
Windows 11 Task Manager’s CPU readings are finally getting an upgrade
Now they’ll actually make proper sense.
3
Get rid of junk
Uninstall unused apps and delete files
First, I took on the files. Since I know the files I need are backed up to their respective services (I double-checked), anything else is junk. So, I deleted all the leftover files and folders I don’t need. Another step I take is to remove junk and temp files. You can delete temp files manually, but I used Disk Cleanup, the legacy tool, which is still the best. It removes much more than Storage Sense, which is mediocre at best for reclaiming drive space.
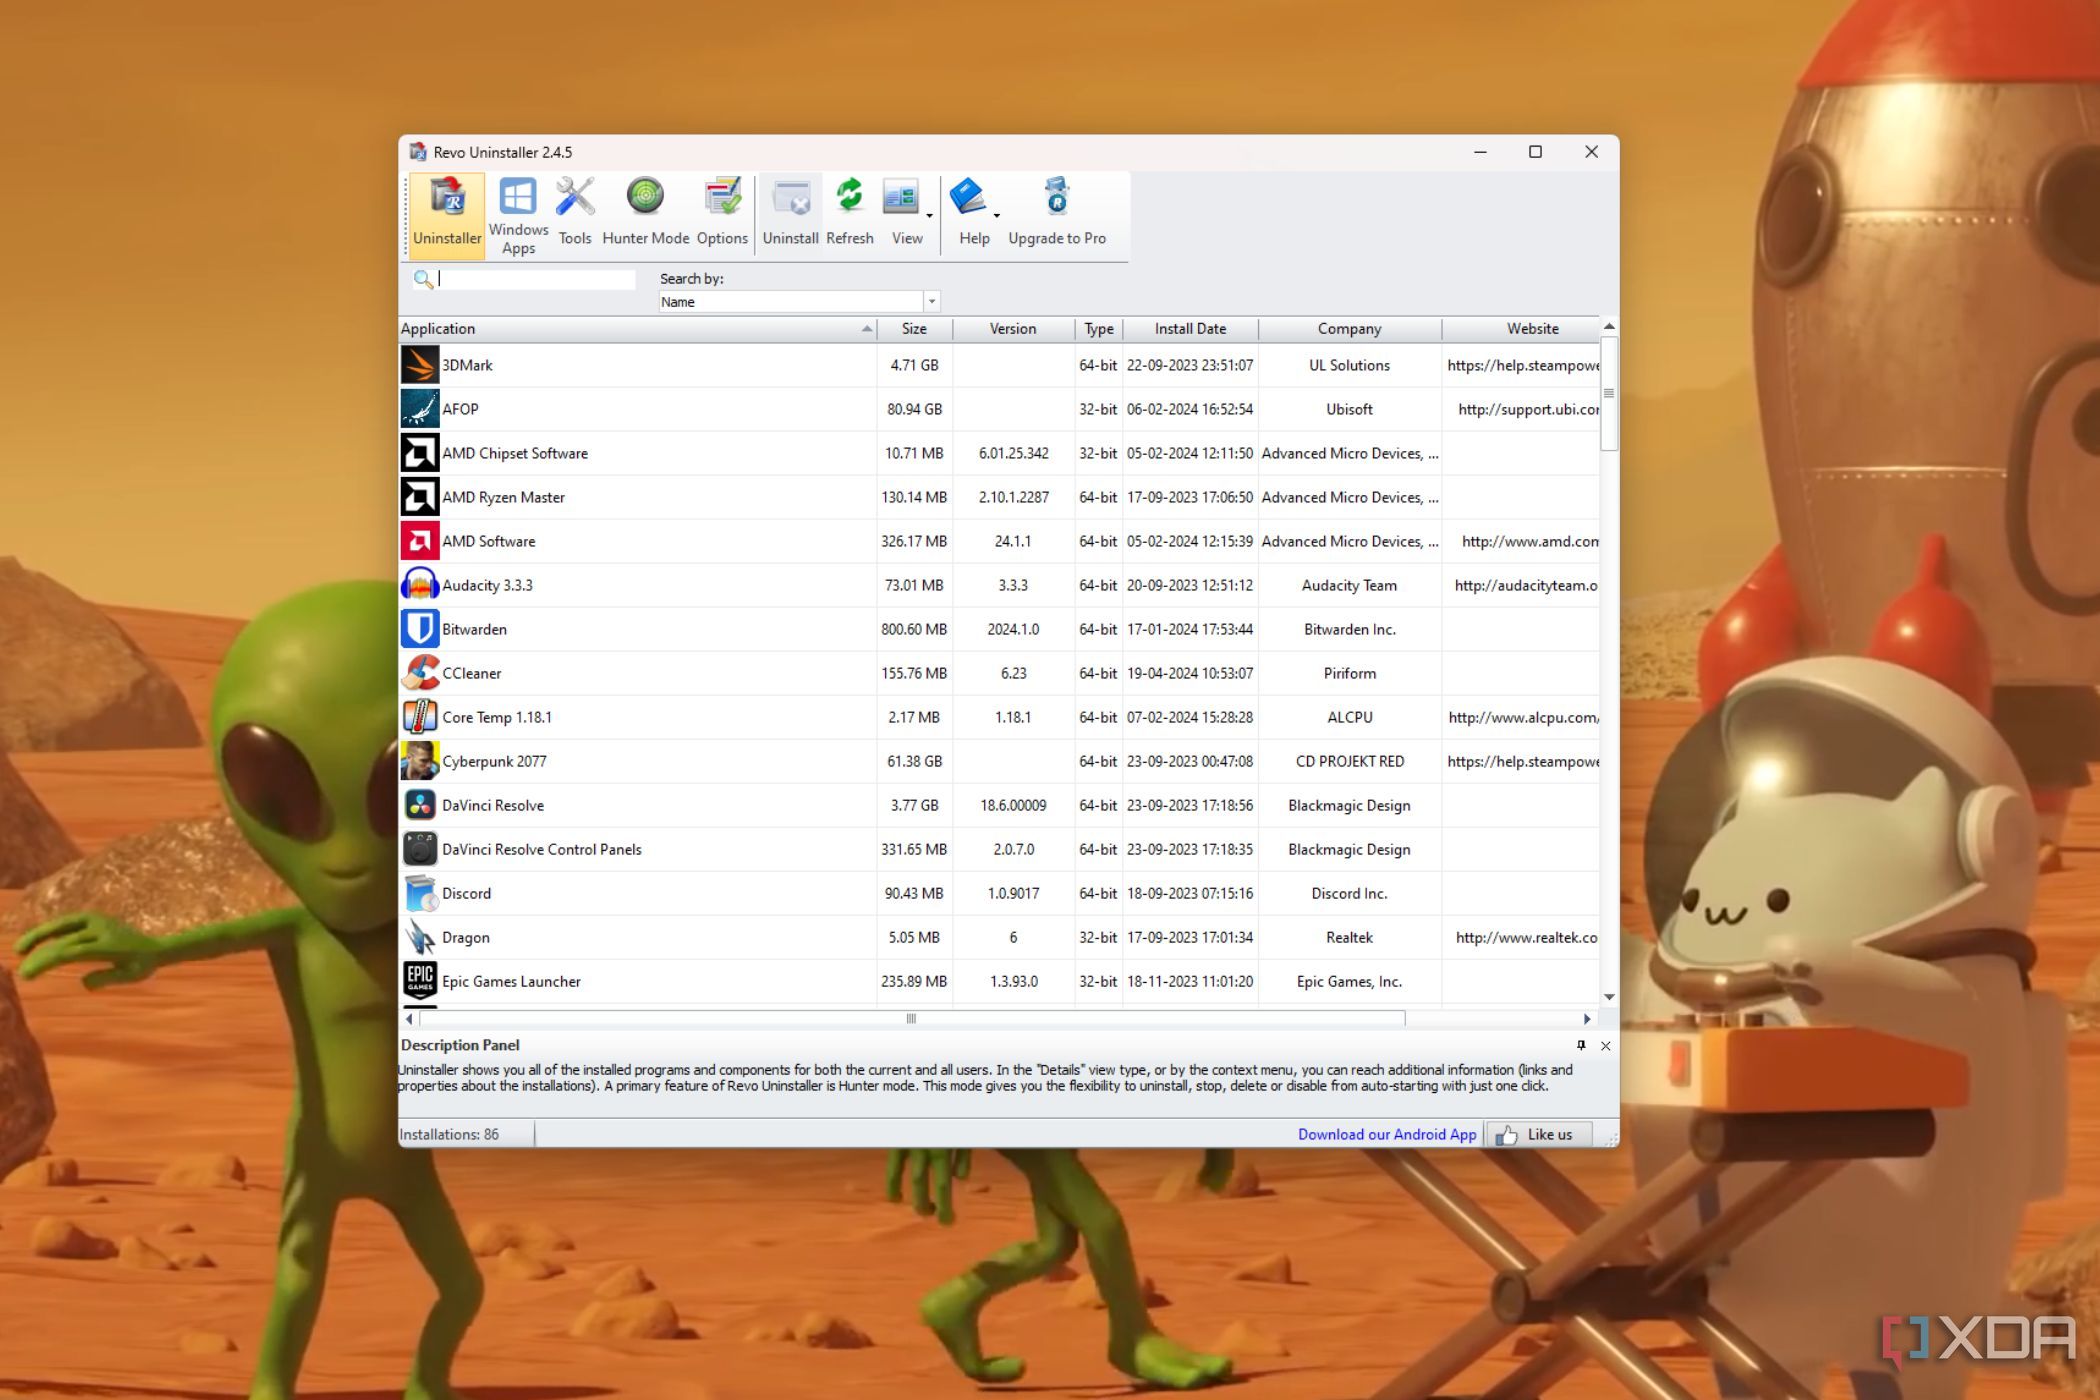
Once the files were removed, I uninstalled all the apps I no longer use. Since this is an older PC running Windows 10, I decided to use Revo Uninstaller to ensure complete app deletion and remove any leftover junk. All apps tend to leave extra files and Registry entries, and Revo does a phenomenal job of eliminating the leftovers.
Related
Why I use Revo Uninstaller and you should too
There are a ton of applications out there that can be fairly stubborn to uninstall, and that’s where Revo comes in.
2
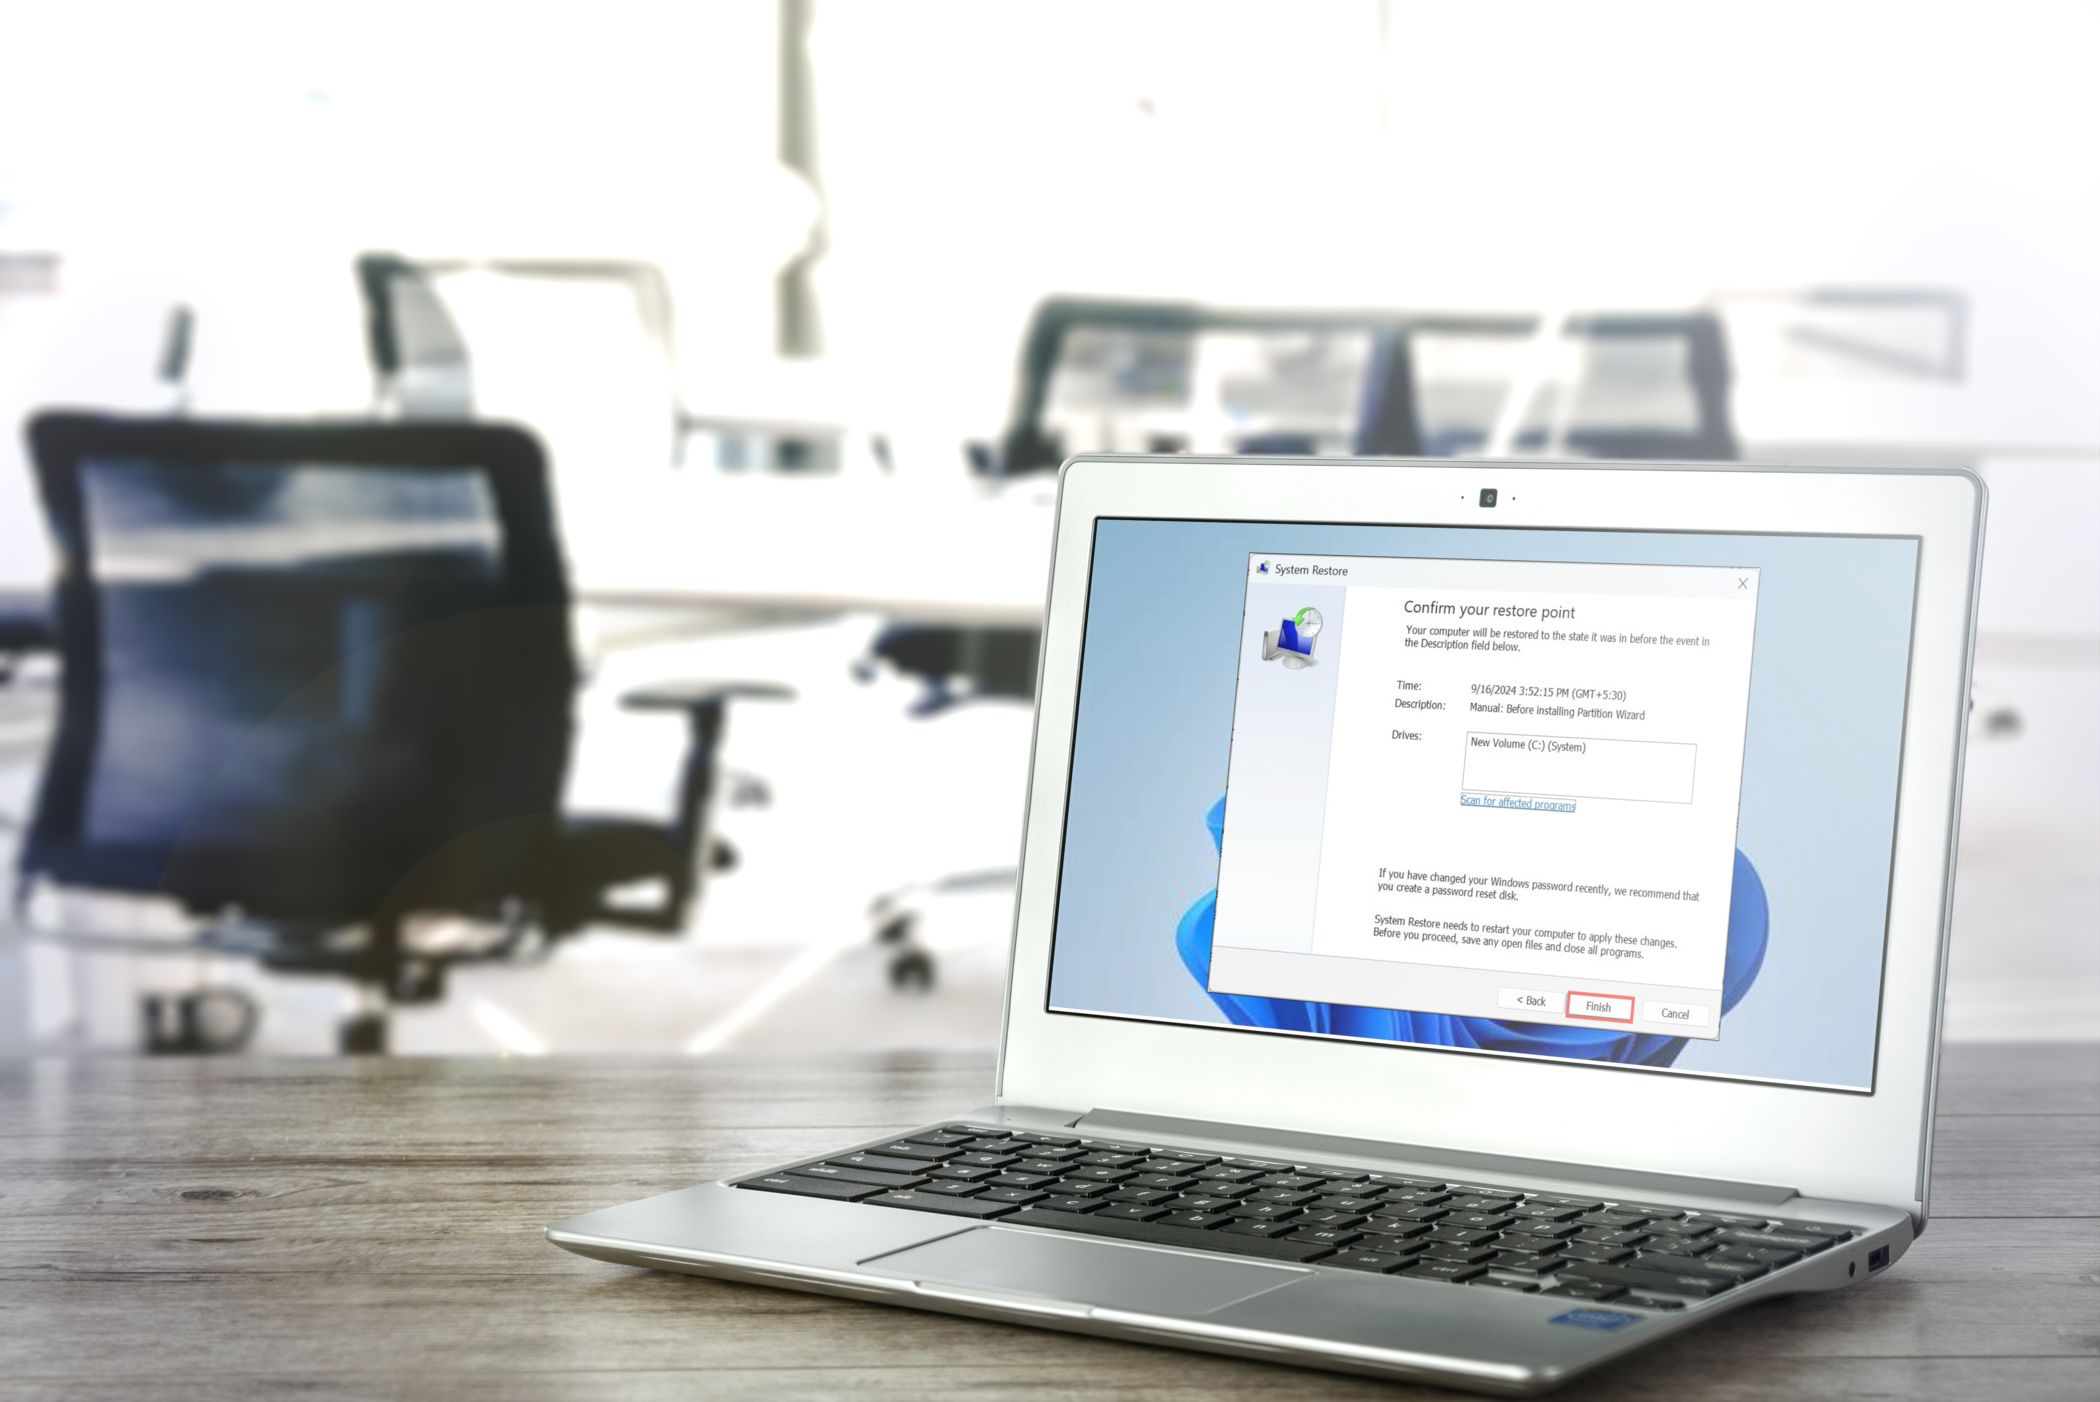
Create a Restore Point
Get your system back if the upgrade doesn’t work
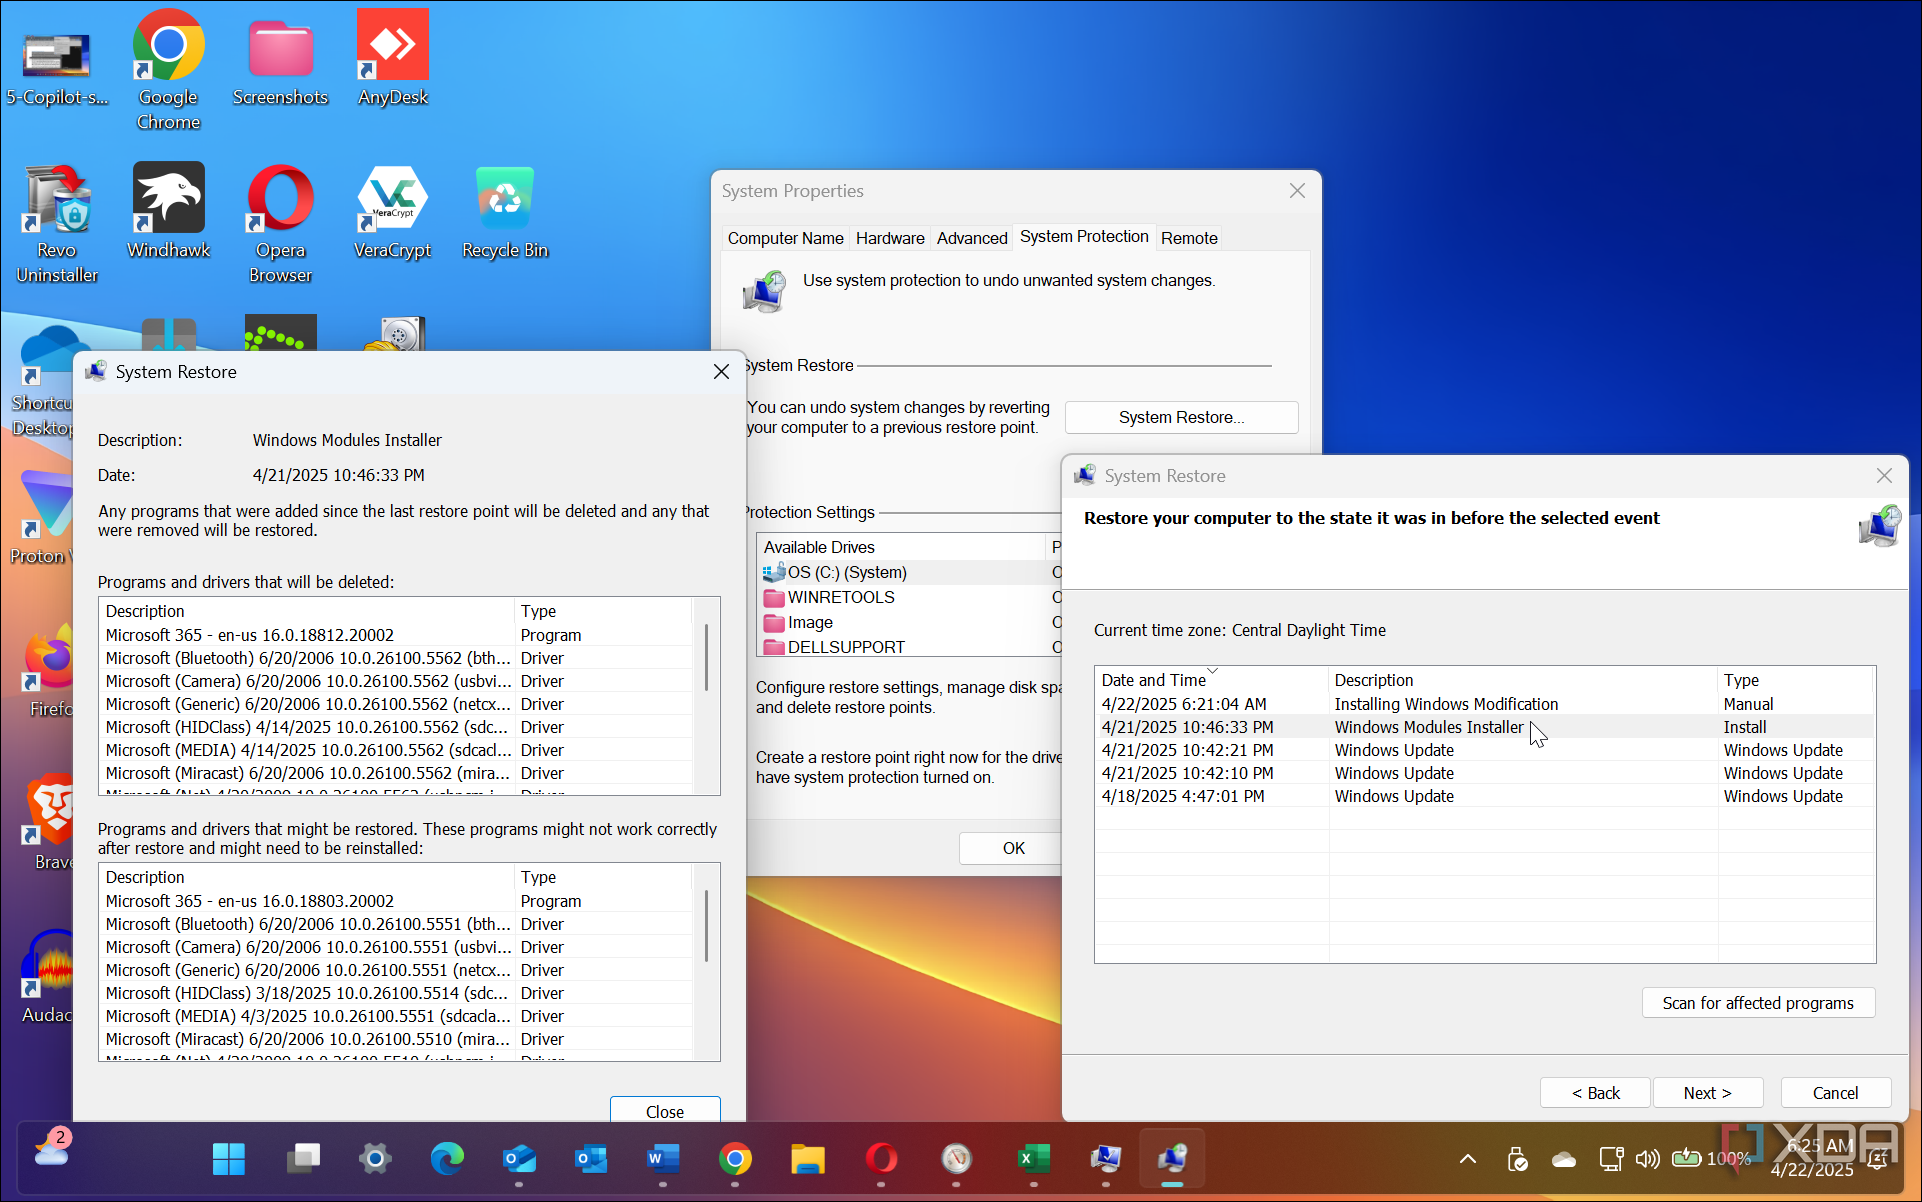
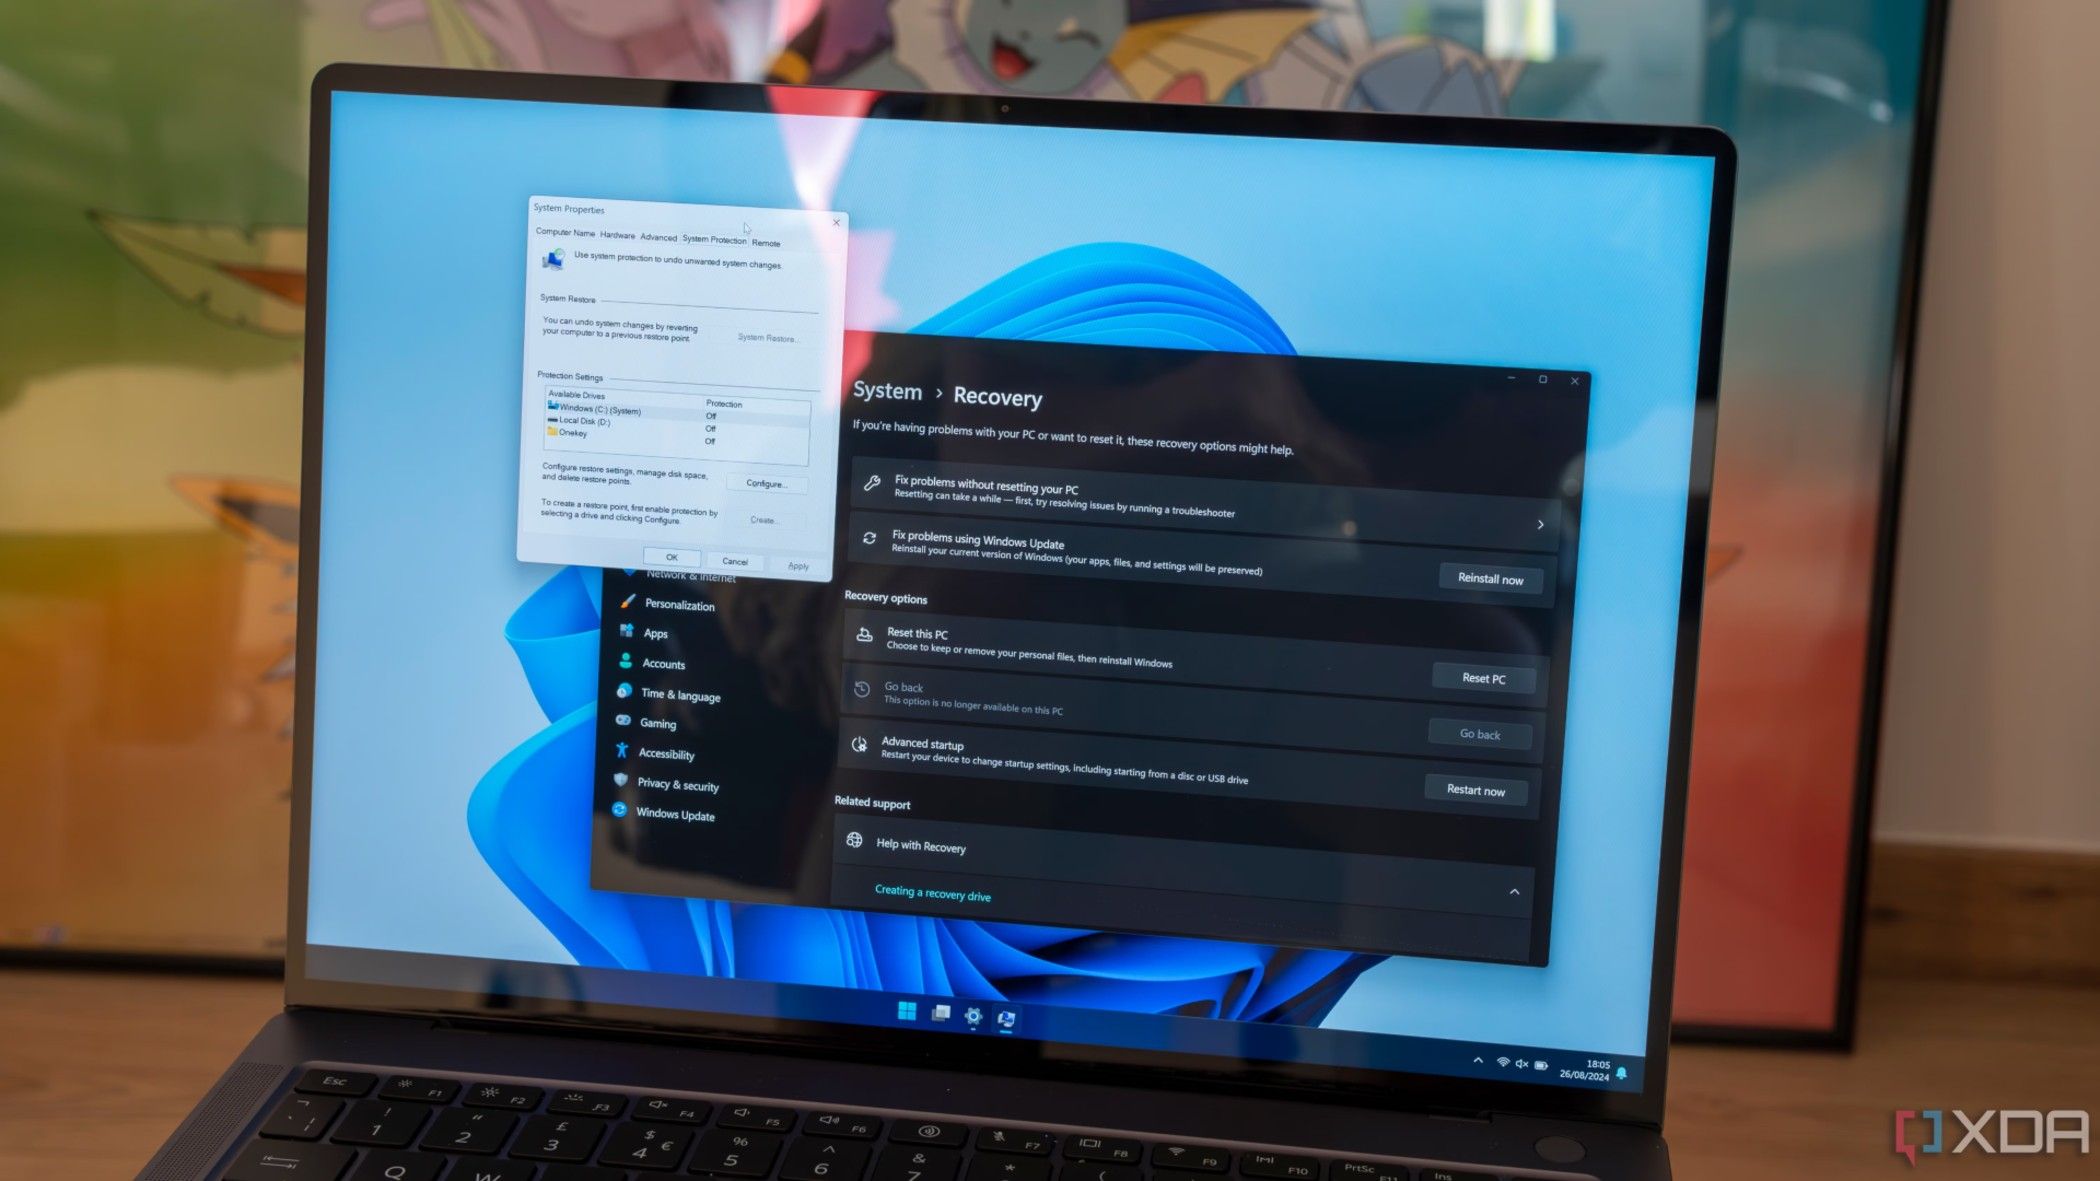
In addition to creating a complete system backup. If something goes wrong, and it certainly can, I can restore my system to the cleaned-up version of Windows 10 I created. I created a restore point after cleaning up my system. The system restore feature is something I wish was enabled by default. However, it can be easily turned on by pressing the Windows key, typing system protection, and selecting Create a restore point. You can turn it on, set its disk space, and create your restore point. Once I had created it, I felt confident about starting the next step.
Related
How to create and utilize restore points on Windows
Learn to configure and create restore points on Windows and utilize them during troubleshooting
1
Install Windows 11
Run the in-place upgrade and configure settings
Once everything was backed up and junk removed, I was ready to rock with the in-place upgrade. Note that there are a couple of ways to do it. The easiest is to go to Settings -> Update & security -> Windows Update and see if Windows 11 is waiting. If it is, let your system handle the upgrade. It works similarly to doing a feature upgrade.
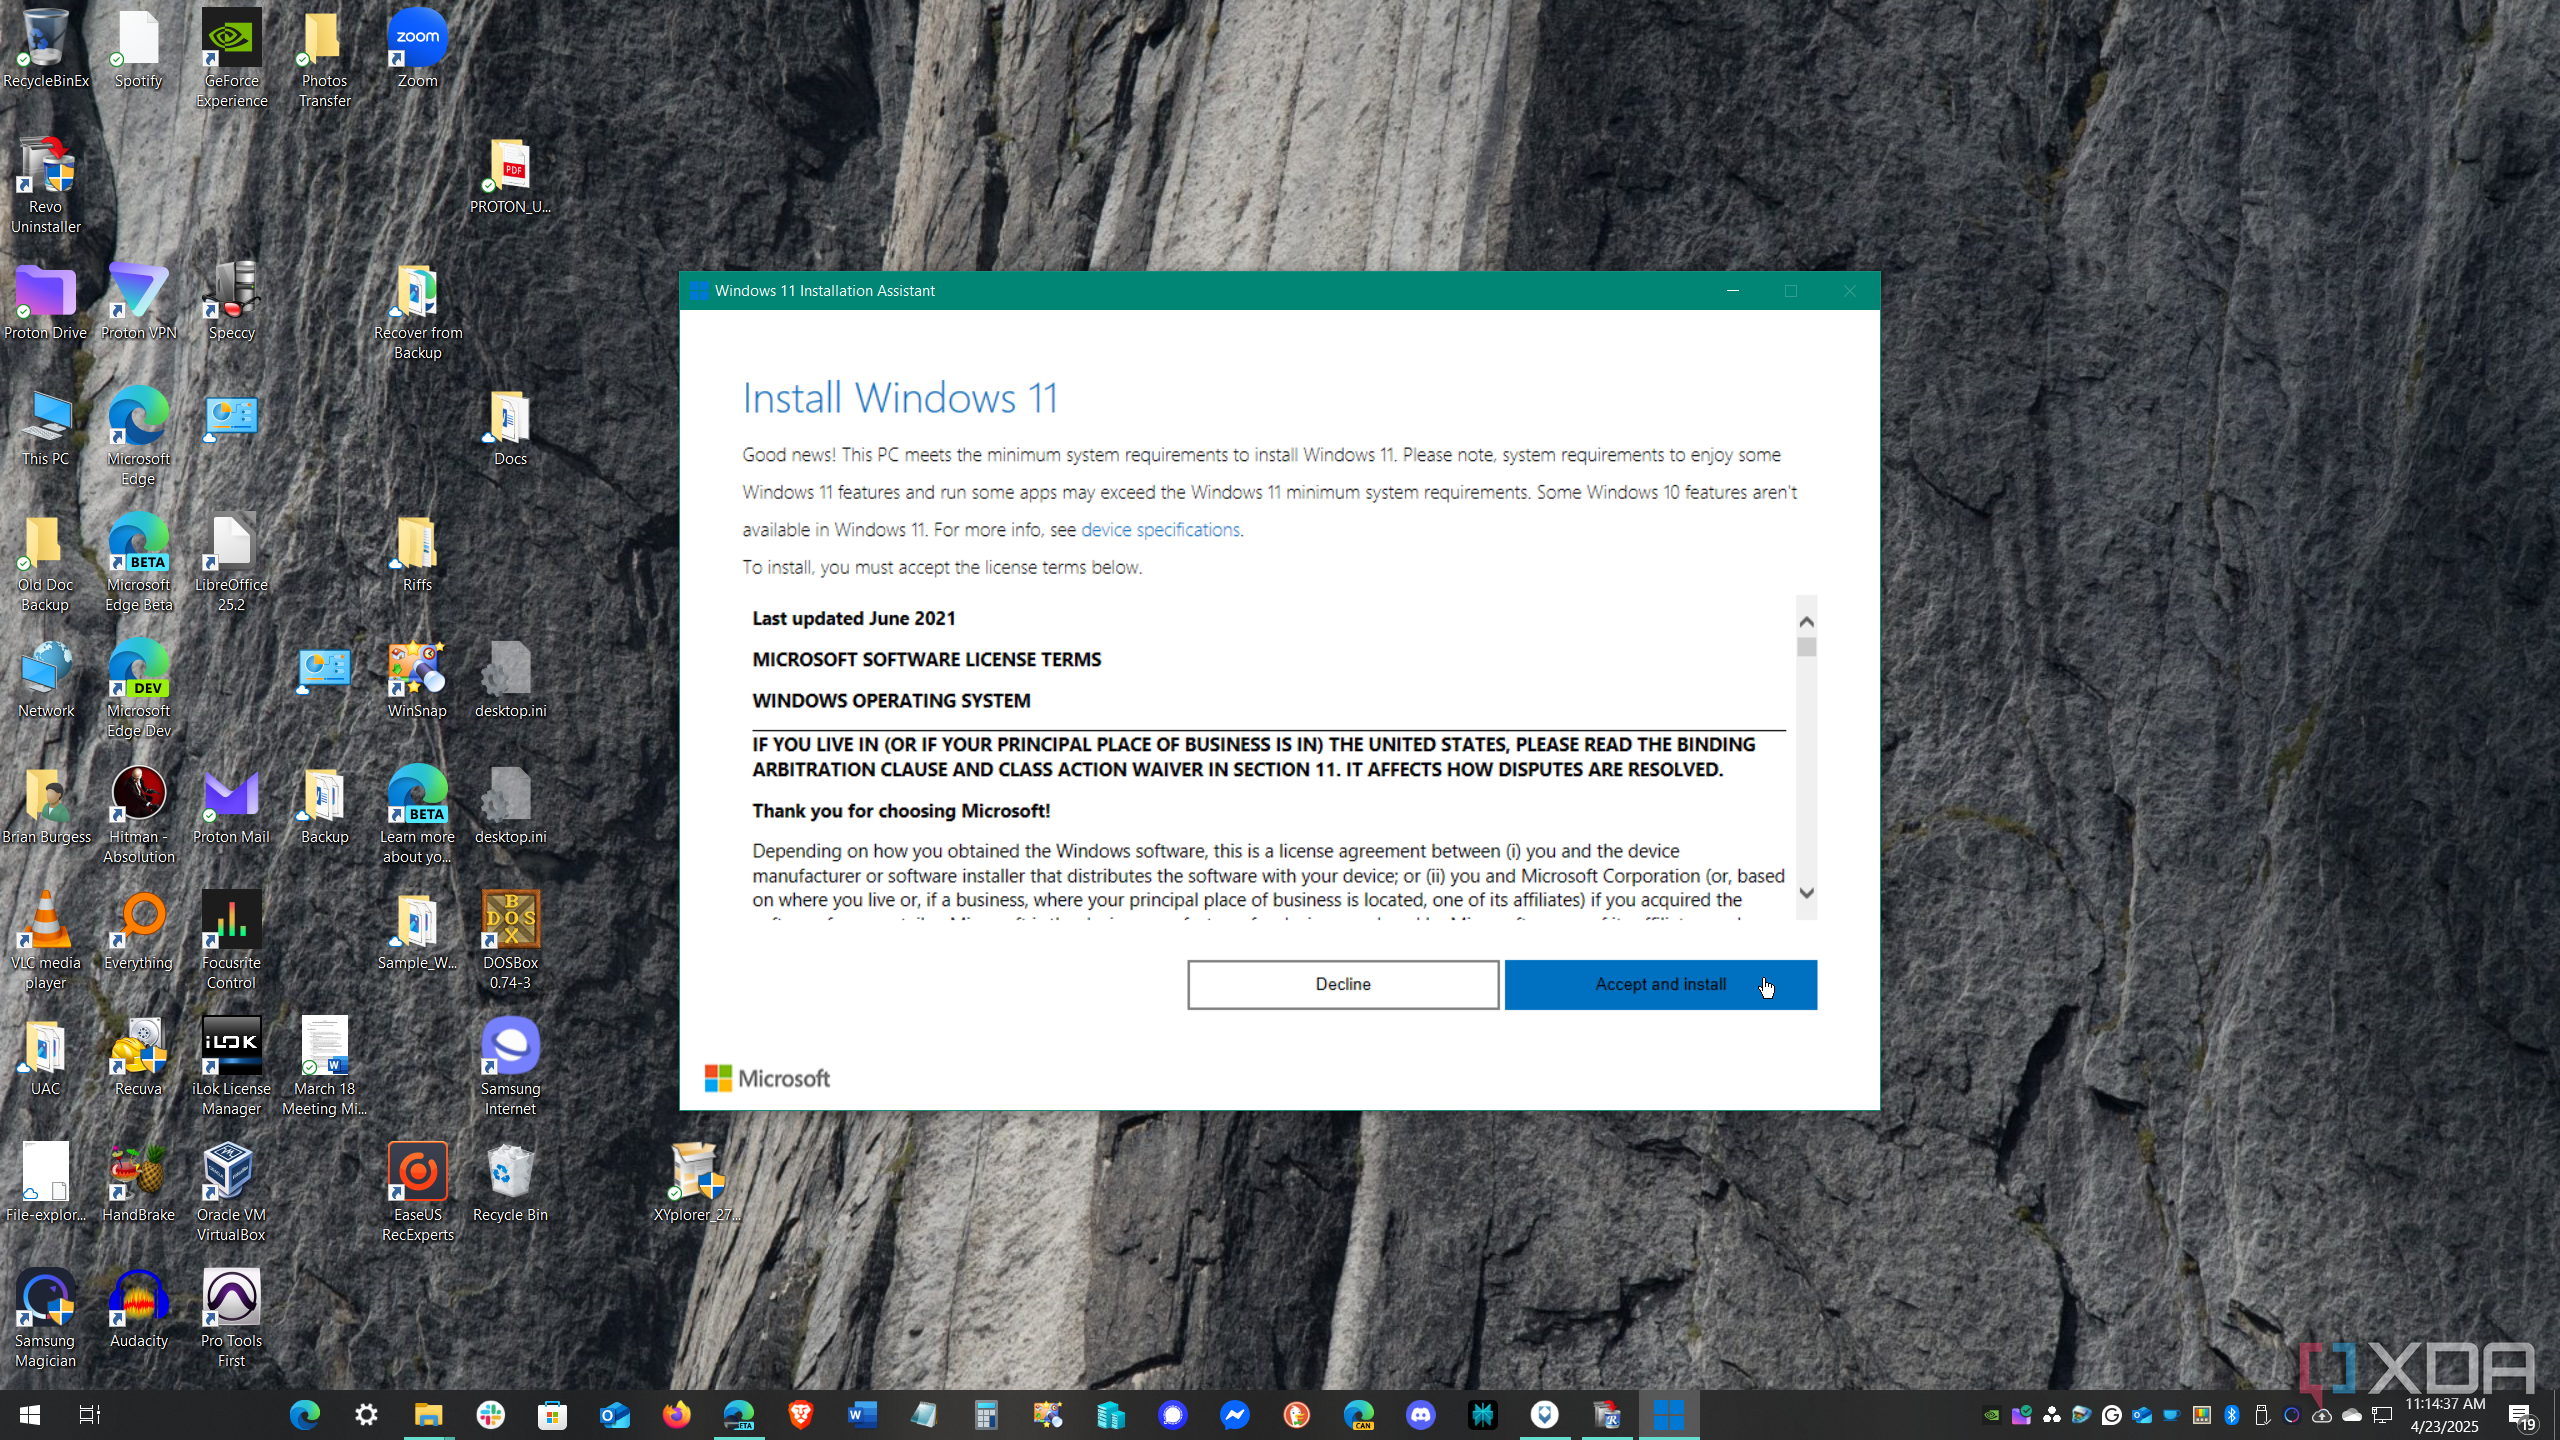
If you don’t see the Windows 11 update, you can use the Windows 11 Installation Assistant, which will walk you through downloading Windows 11 and installing it. You can also download the ISO file and run the setup.exe file to start the upgrade or fresh installation.
I kept files and apps and continued working through the wizard to keep things simple. If you have already installed Windows 11, this process will be easy for you. Remember that the entire process can take a while, and your system will restart many times while the installation completes. Luckily for me, it went off without a hitch. I adjusted a few settings, transferred over my backed-up files, and installed a few apps.
Related
How to install Windows 11 on a new PC
Assembled a new computer and wondering how to install Windows 11? Here’s a guide to help you install Windows on any computer without an OS.
Having a successful in-place upgrade from Windows 10 to 11 on an older PC
After all the work that went into it, I could have backed up my drive, done a clean install, and restored the image. Perhaps, but that comes with its own host of work and problems. It was also fun (for a geek) to review my system and relive what I have done over the past half-decade. This lets me keep the right apps, delete what I don’t need, and create new directories. I actually figured out a new filing and photo backup solution I hadn’t thought of before. Overall, since I took the precautionary pre-upgrade steps, everything worked well. Even if it didn’t, I had a restore point to return to my system’s previous working state. Also, and most importantly, all my data was backed up.


