Your motherboard’s BIOS may look intimidating, but it holds the keys to unlocking extra performance and features for your PC. Entering your BIOS and tweaking a few settings can do quite a bit for the stability, efficiency, and peak power of your PC if you know where to look. Even if you’re a complete newcomer to PCs, there are a few BIOS settings you should tweak to get the most out of your computer.
Related
Please, for the love of all things holy, update your BIOS
I’m doing you a favor, believe me.
5
Enable XMP or EXPO to overclock your memory
The first step for any BIOS optimizations
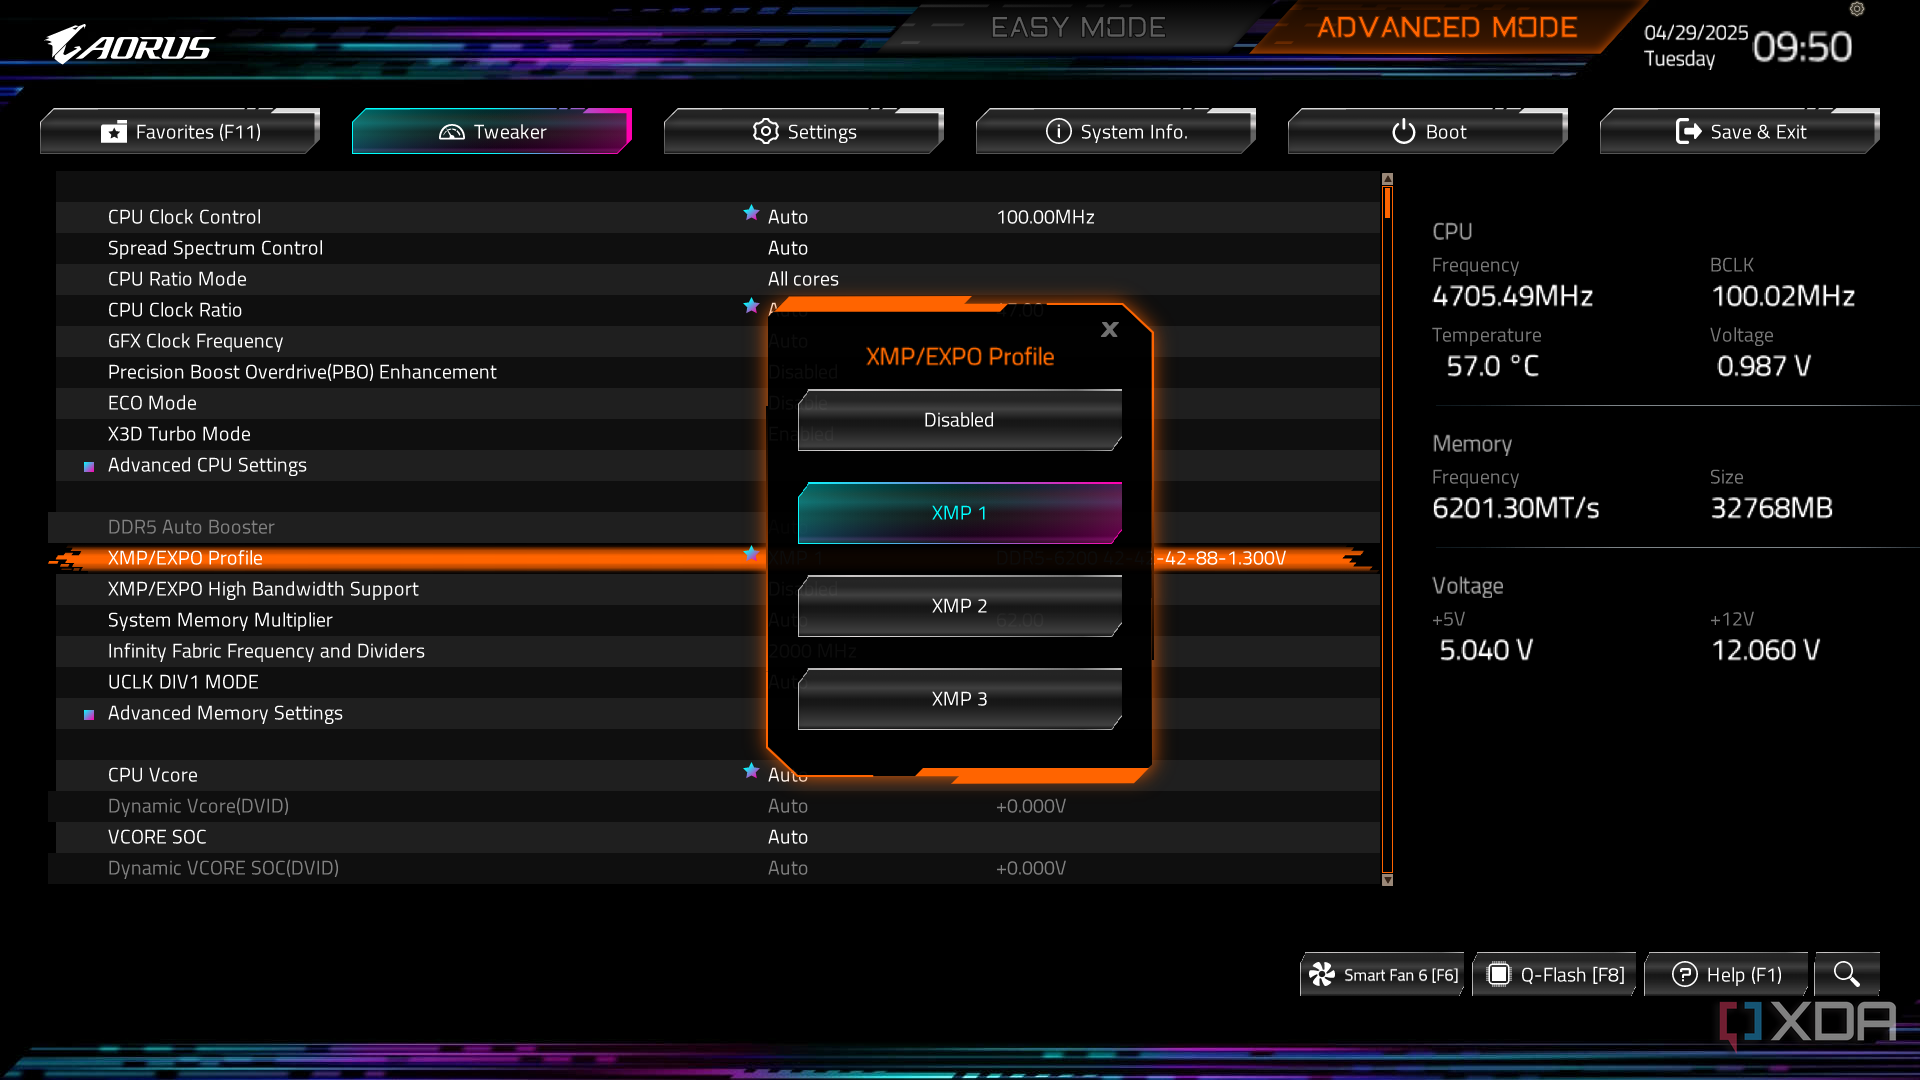
The first thing you should do when you enter your BIOS is check your XMP or EXPO settings. If you aren’t familiar, XMP and EXPO are branded names for memory overclocking profiles included on your RAM. They’re validated for stability, and you’ll only get the rated speed of your memory if you turn on a profile. You’ll almost always see your XMP profile as one of the first options in your BIOS, showing up in the simplified view available on Gigabyte, MSI, and Asus motherboards. Recent memory kits sometimes include several XMP or EXPO profiles; the first profile is almost always the one that achieves the rated speed for your memory kit.
Even if you’ve flicked on an XMP profile, it never hurts to double-check. XMP isn’t enabled by default, so if you load the optimized defaults in your BIOS, it’ll wipe out your XMP settings. Additionally, new BIOS updates will set XMP back to default, so you’ll want to make sure you head back into your BIOS to enable the feature.
Modern motherboards will usually call the overclocking XMP for Intel platforms and EXPO for AMD platforms, but they’re the same thing. You can use XMP memory in an AMD build, just as you can use EXPO memory in an Intel build. If you’re using an older AMD platform, however, you might see the overclocking profiles under a different name. Some boards call the feature DOCP, A-XMP, or AMP. They all reference the overclocking profile that is stored on the memory module.
Related
5 BIOS/UEFI settings most people should never touch
Most PC users don’t need to mess with these BIOS settings
4
Turn on Resizable BAR
It should be on by default, but it doesn’t hurt to double-check
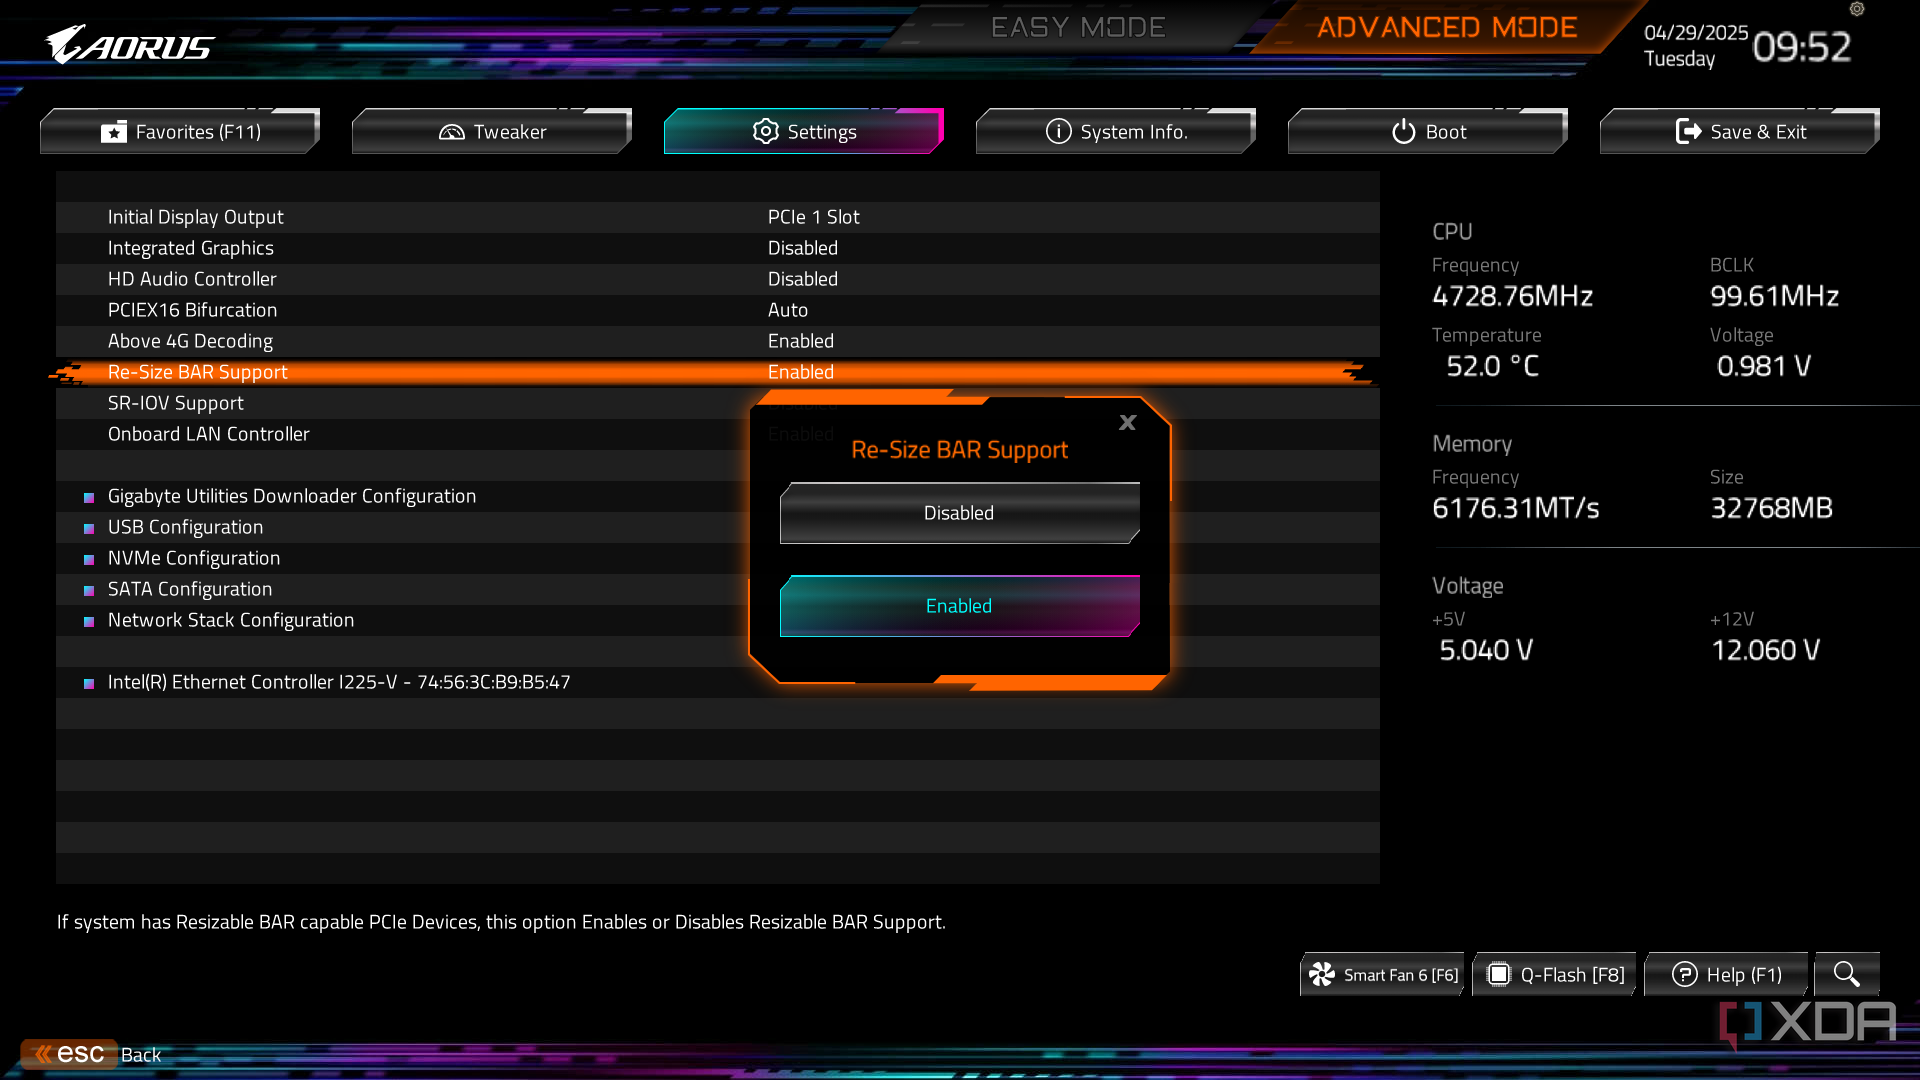
Most modern motherboards have Resizable BAR, or ReBAR, enabled by default. It’s a good idea to double-check and make sure it’s turned on, though. You’ll usually find this within the PCIe settings of your BIOS, but some brands include the ReBAR options within the default, simplified view. There are two settings you need to adjust. In addition to enabling ReBAR, you also need to enable a setting called “Above 4G decoding.” You’ll almost always find this setting right next to where you found your ReBAR setting.
ReBAR is the official name, but you’ll also see this setting referred to as Smart Access Memory (SAM) if you have an AMD CPU and GPU. ReBAR gives your CPU full access to your graphics card’s memory, adjusting the BAR size based on what’s needed at the time. It doesn’t always provide a performance improvement, but in some games, you can see upwards of a 10% jump with ReBAR enabled. It’s worth keeping on even when you don’t see big performance jumps, too. There are some games where you could see a slight performance regression, but it’s normally in the range of 1% to 2%.
If you’re using an Nvidia GPU, make sure to download the Nvidia Profile Inspector, as well. ReBAR is only supported in a few games with Nvidia graphics cards officially, but you can enable the feature for any game through NPI.
Related
4 reasons why Resizable BAR is worth it
Discover the simplicity and benefits of Resizable BAR for enhanced gaming and future-proofing your PC.
3
Use Curve Optimizer to optimize your voltage and frequency
Exclusively for AMD users
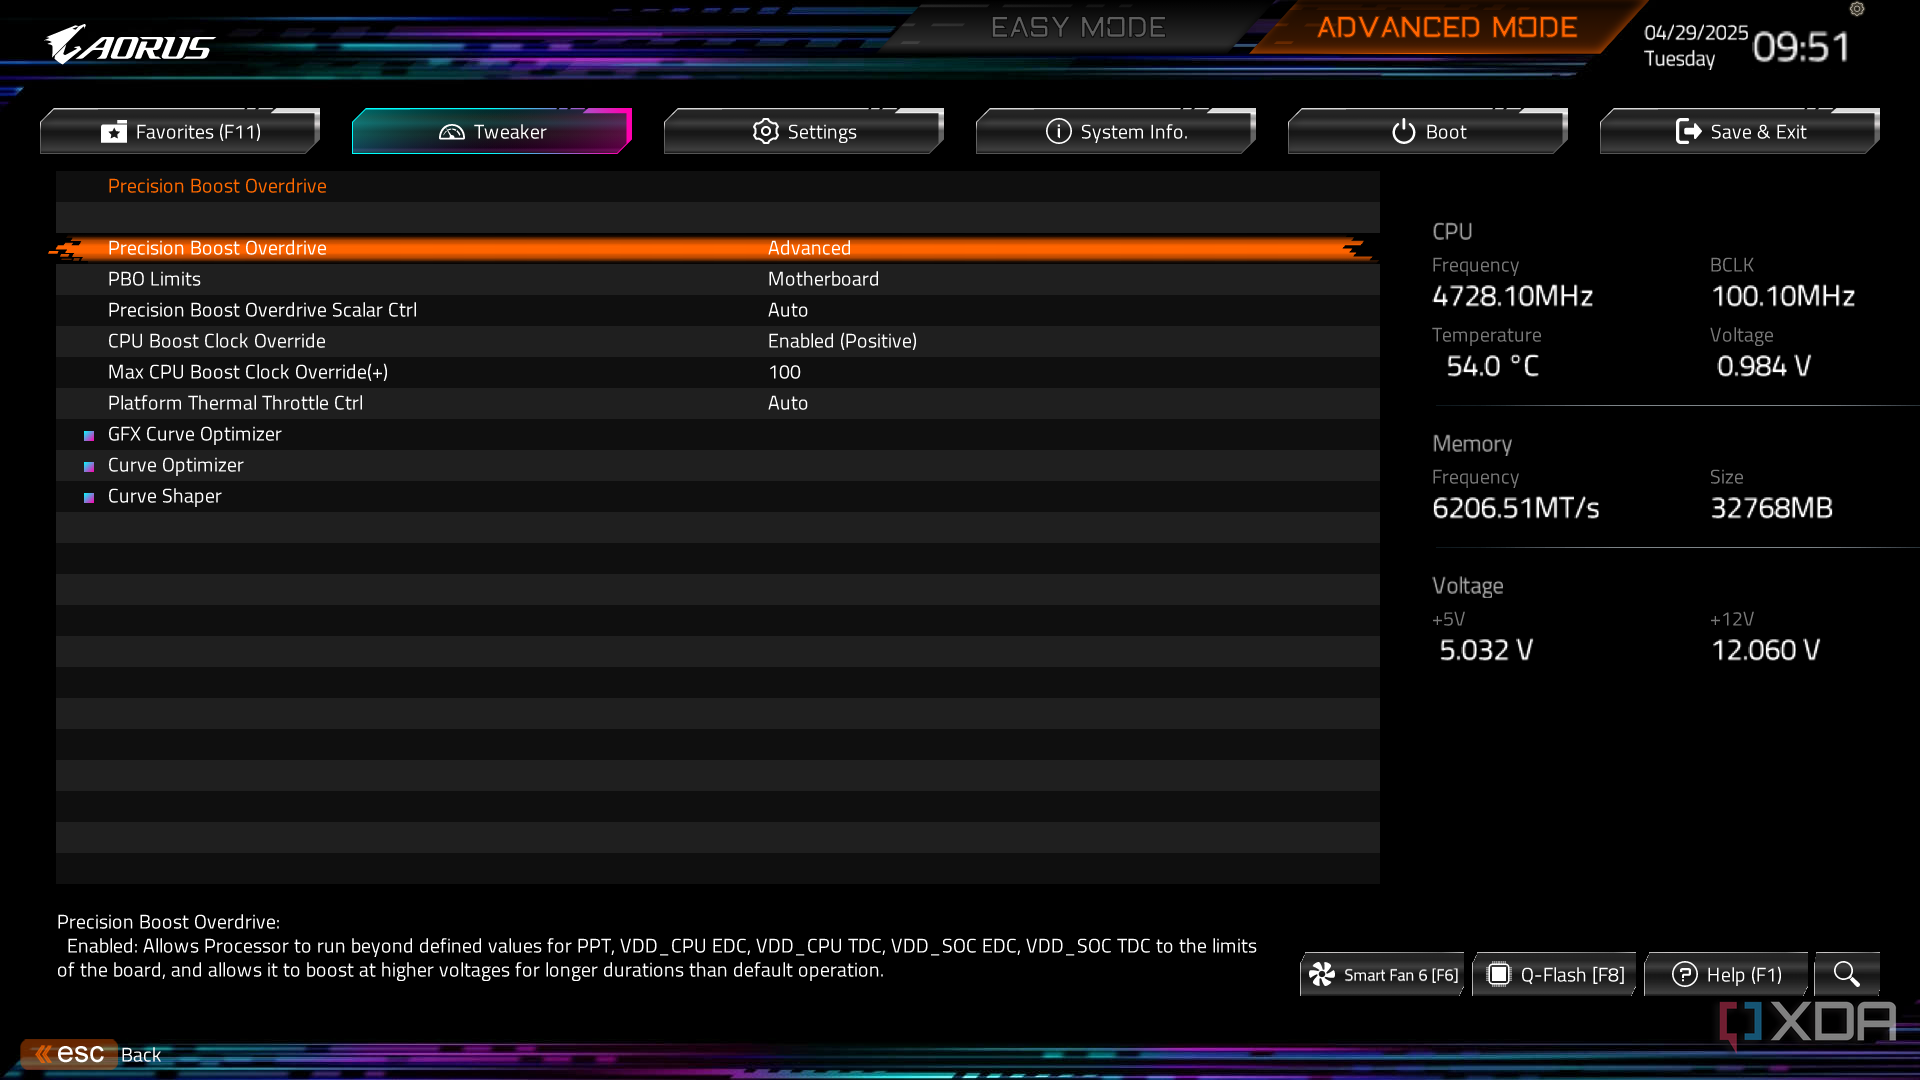
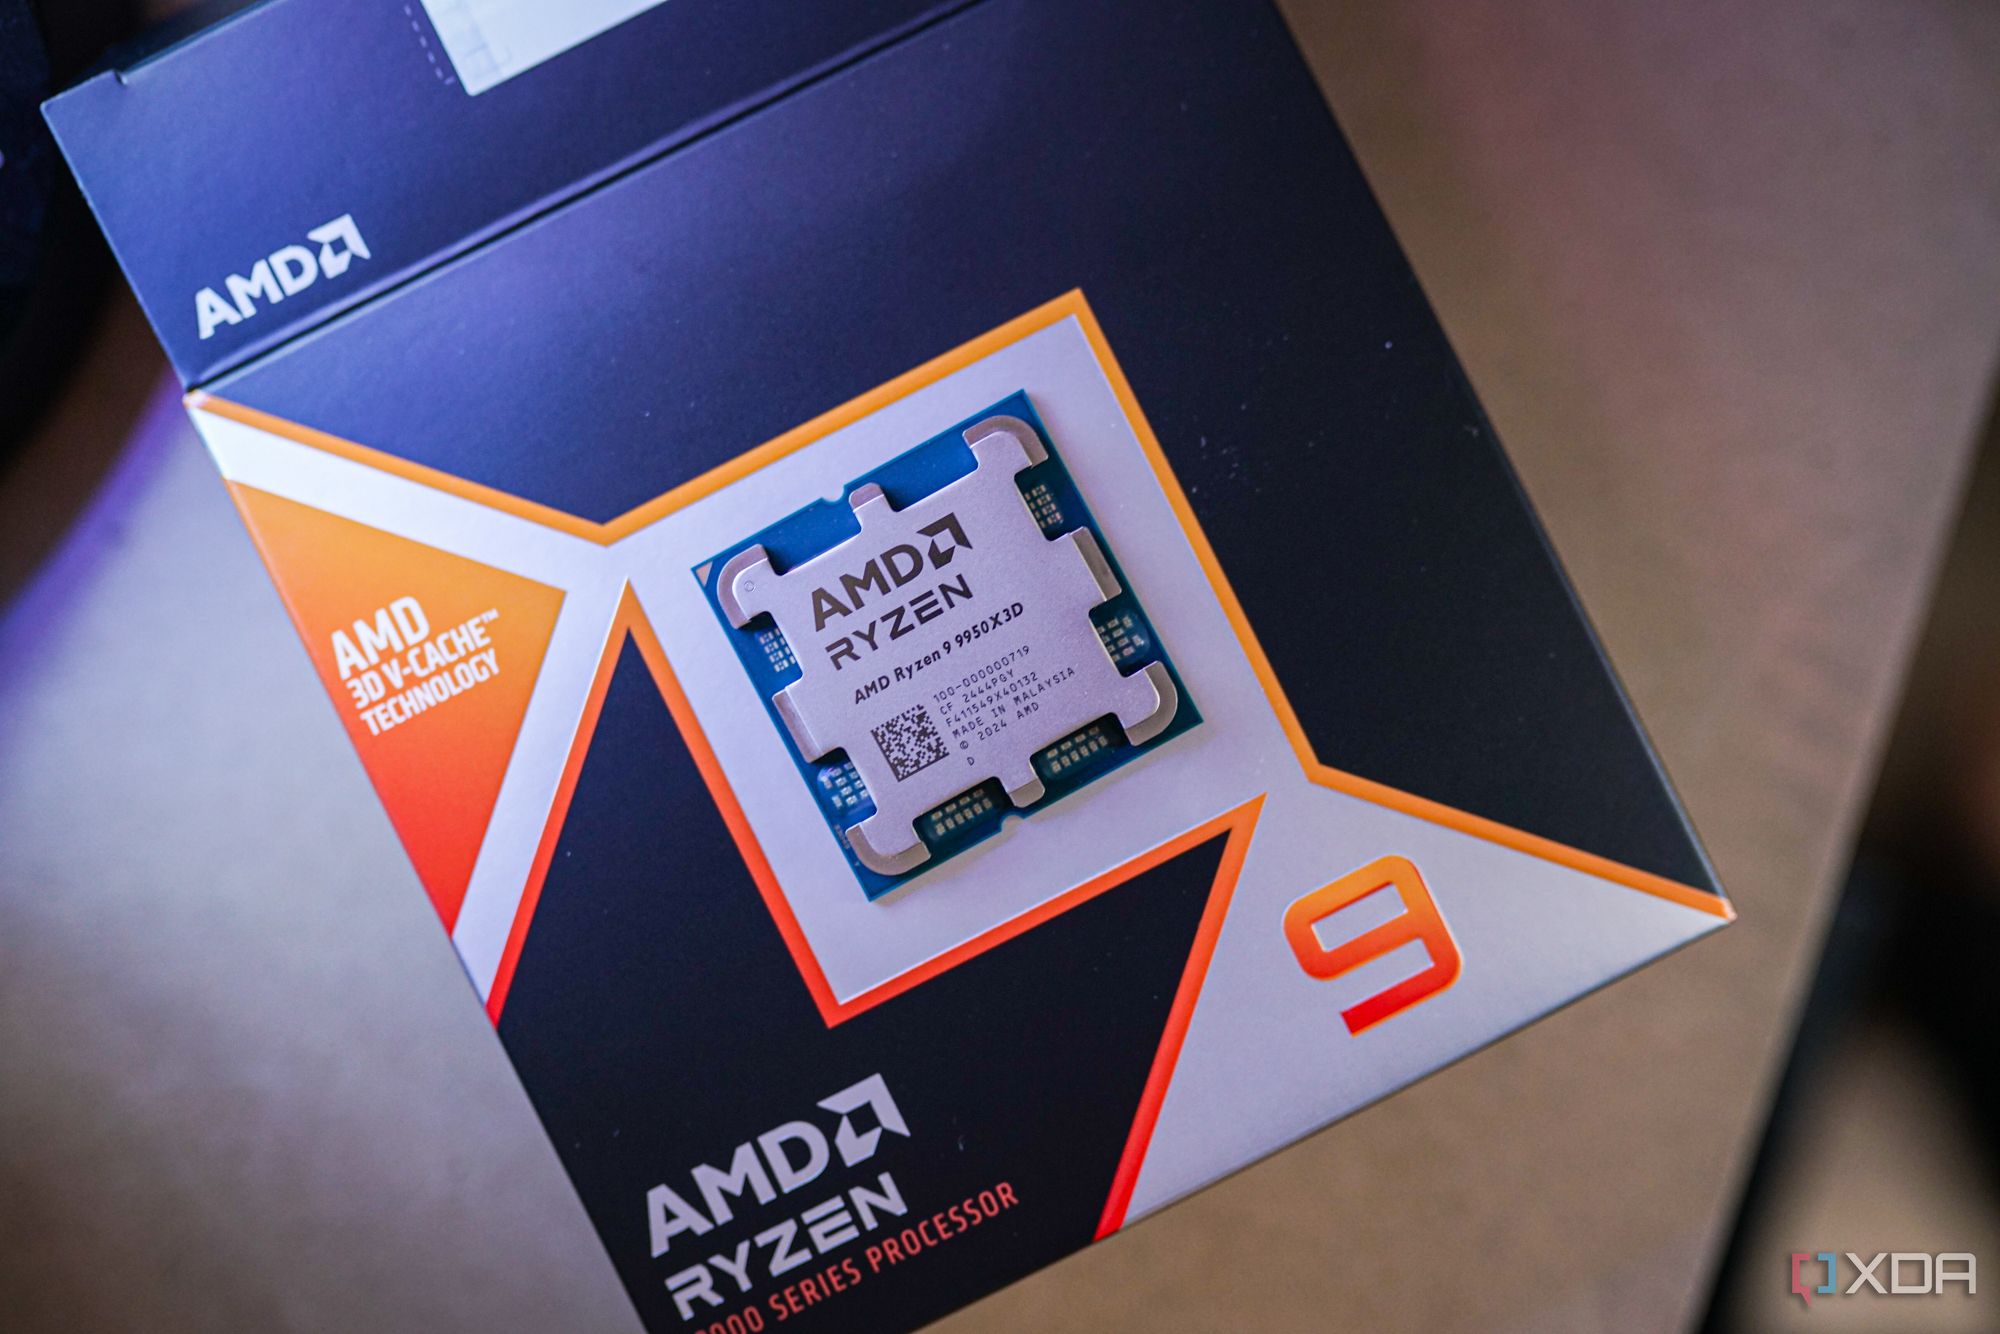
If you have an AMD CPU, you need to use Percision Boost Overdrive (PBO) and the Curve Optimizer. First, PBO. By default, you’ll see PBO set to “Auto” within your BIOS, and that doesn’t do anything. It just allows your processor to reach its maximum rated boost clock speed. If you want the algorithm to push your processor beyond that point, you’ll need to set PBO to “Enabled.” It’s a good idea to leave most BIOS settings set to “Auto,” but PBO is one of the rare few where you need to specifically enable the setting.
Digging a step deeper, you can adjust the Curve Optimizer within your BIOS, which is usually located within the overclocking menu. Curve Optimizer is a PBO feature that allows you to offset your voltage/frequency curve. We have a dense write-up on how Curve Optimizer works and why you should use it, but in short, the feature allows you to achieve a given frequency at a lower voltage if you have adequate silicon. That, in turn, allows you to save power at lower clock speeds, as well as achieve higher clock speeds if you have enough voltage headroom.
Related
6 PBO settings you can change to make your Ryzen CPU run even faster
Get the most out of your AMD CPU.
2
Disable Eco mode/Remove power limits
Give your CPU the power it deserves
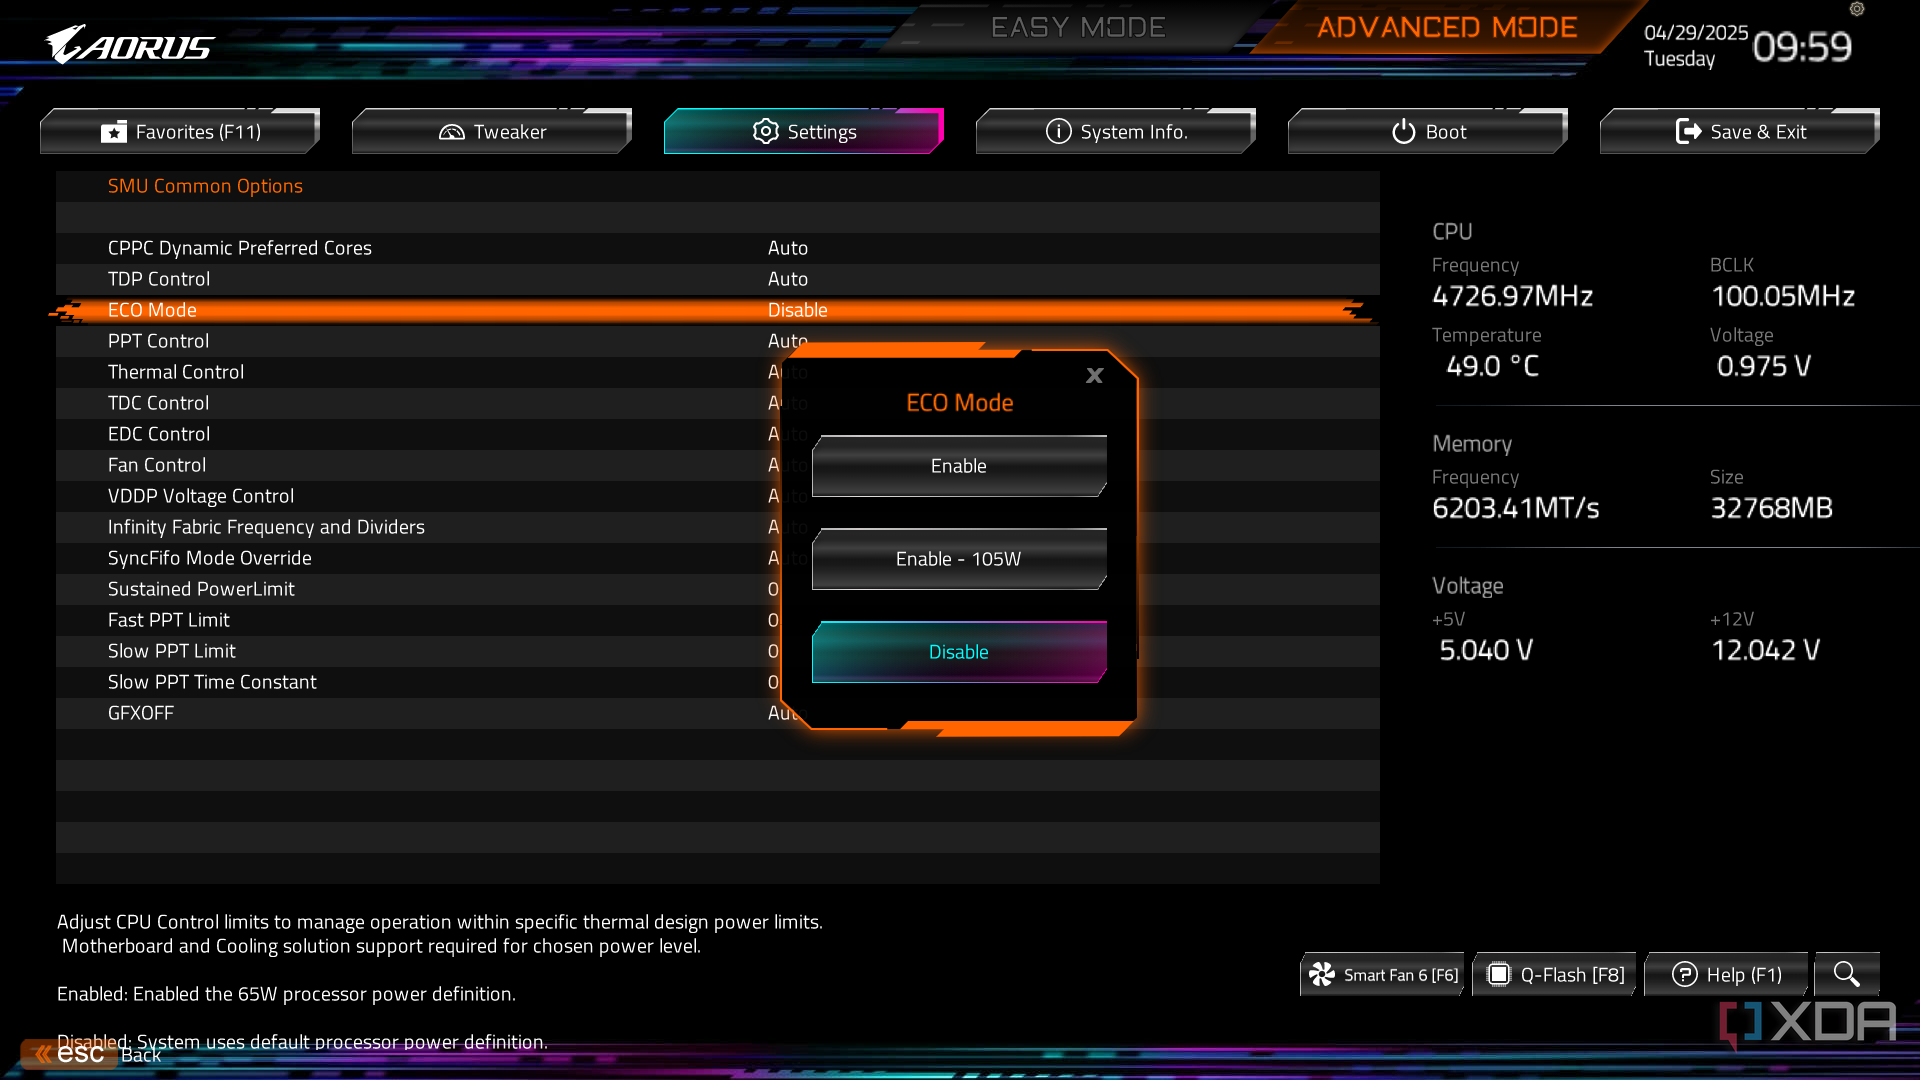
Beyond PBO, I also adjust the BIOS to make sure my CPU is getting all the power it needs. I’m using a Ryzen 7 9800X3D, but you can set the maximum power limits for your processor regardless of if you use Intel or AMD. For AMD, you’ll see Eco mode settings for 65W and 105W depending on your processor. These are great settings if you want the maximum efficiency out of your PC, but for performance chasers, you’ll want to turn Eco mode off. In addition, I manually set my power limits for PBO, using the maximum power limits of my motherboard.
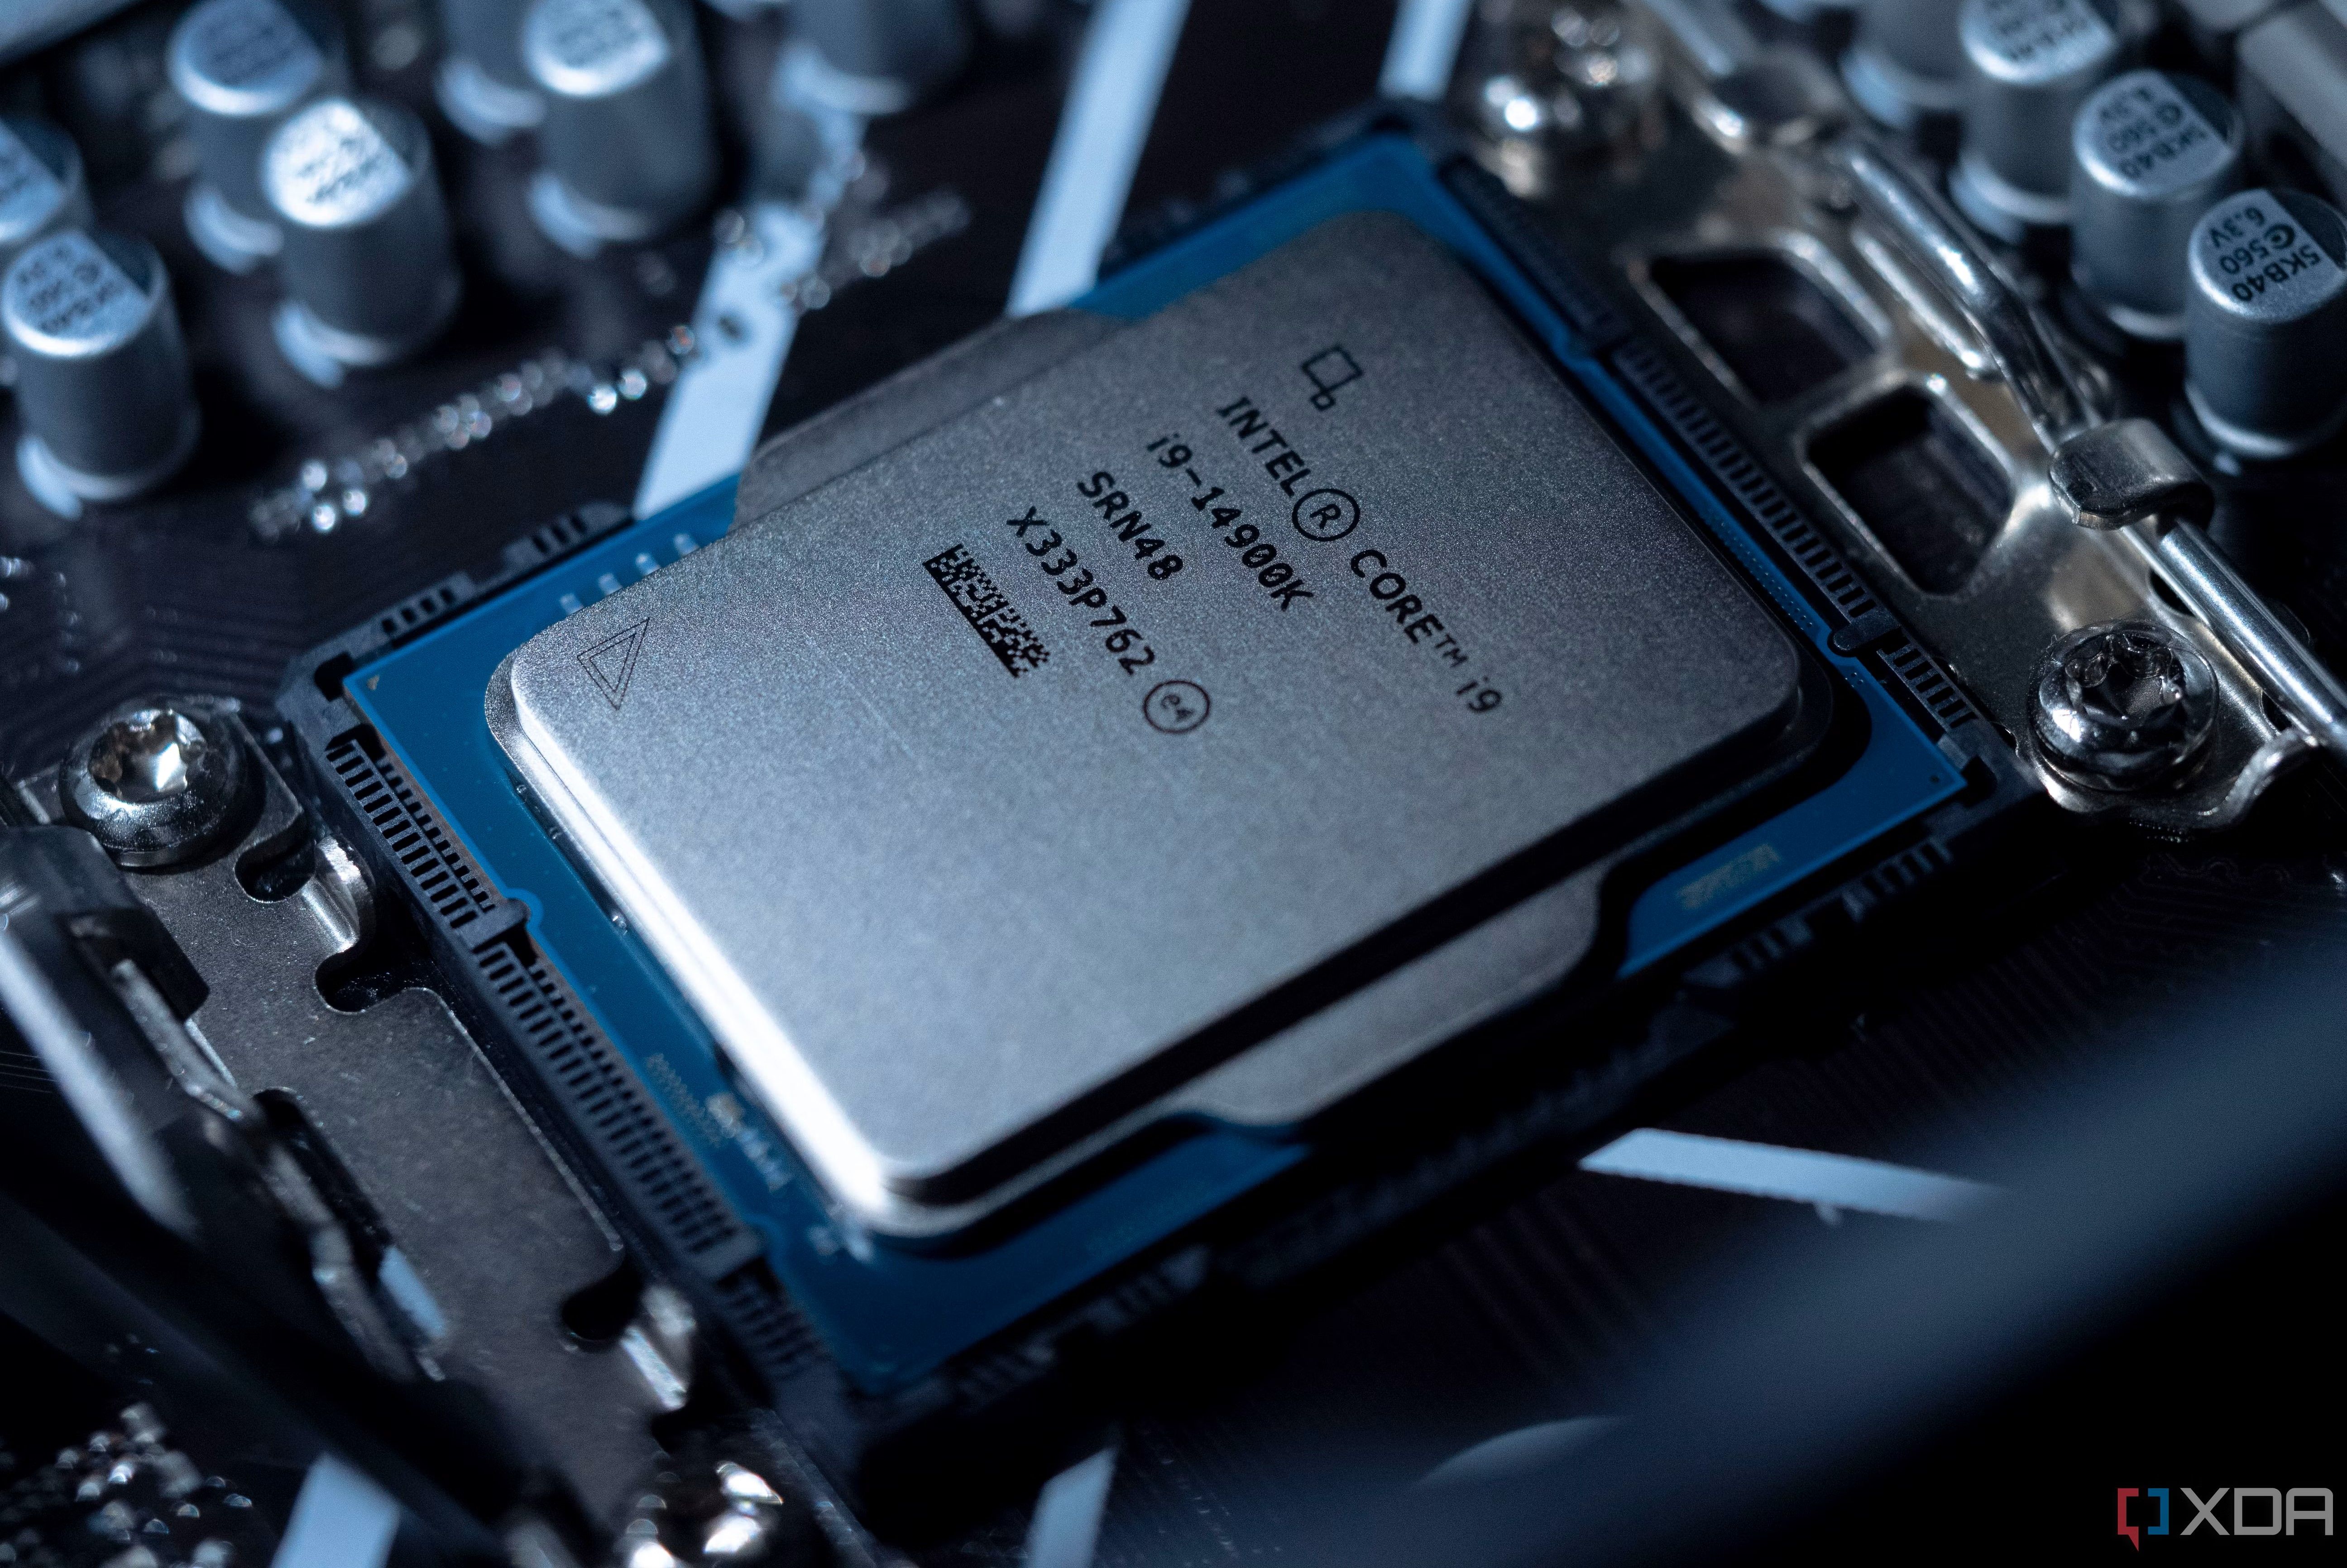
For Intel, you can remove your power limits. There has been a lot of back and forth on power limits for Intel CPUs after the disastrous instability the Core i9-14900K faced, so you’ll need to do some digging for your particular motherboard to see which settings you need to adjust. More recent Intel boards include power profiles, and you’ll want to use the Extreme profile for the best performance. Older motherboards may use different names, or they may not have power limits enabled to begin with; it really depends on your hardware.
In both cases, you need to keep an eye on your cooling. Removing the power limits won’t overclock your processor, but it will allow your processor to draw more power, and therefore, get hotter.
Related
After only one year of use, my Intel Core i9-14900K has deteriorated to the point that it’s unusable
I’m shocked things have gotten so bad.
1
Disable onboard graphics and audio
An optional step to reduce errors
Disabling your onboard graphics and audio won’t improve your performance, but it can solve some issues before they come up. This is an optional step that you shouldn’t take if you’re using your onboard graphics and audio (obviously). For me, I’m using a discrete GPU, so I don’t need onboard graphics, and I get my audio either through a pair of Sony WH-1000XM5 headphones or a Bluetooth speaker. If you use your iGPU, including for features like Quick Sync in Premiere Pro, leave it enabled. And if audio is running through your motherboard, leave your audio enabled.
Disabling these settings is for convenience more than anything. Particularly with integrated graphics, you’ll occasionally run into issues where games prefer using your iGPU over your dGPU. You can easily set your preferred GPU within your graphics software if you run into a problem, but rather than chasing down misbehaving games, I just disable my audio and integrated graphics outright. I take a less is more approach with BIOS settings, and that means disabling things I don’t need.


