Before splurging on new smart home devices, I considered giving several existing devices in my home a second chance. Often deemed dumb devices, lights, TVs, air conditioners, kettles, or chargers require physical switching on. To make my dumb devices smart and talk to a central smart home hub, I chose Home Assistant for that, along with a few accessories for the smart home project.
Also, I wanted to make dumb electronics smart without opening them and soldering chips inside. I chose a non-intrusive approach for the trial run instead of picking those that require opening an electrical outlet. Here’s how I started my smart home journey on a tight budget by turning a few dumb devices smart and controlling them using smart home automation software.
Related
4 unexpected ways Home Assistant has improved my life
3
Using Home Assistant as the control center
Bring devices under one roof
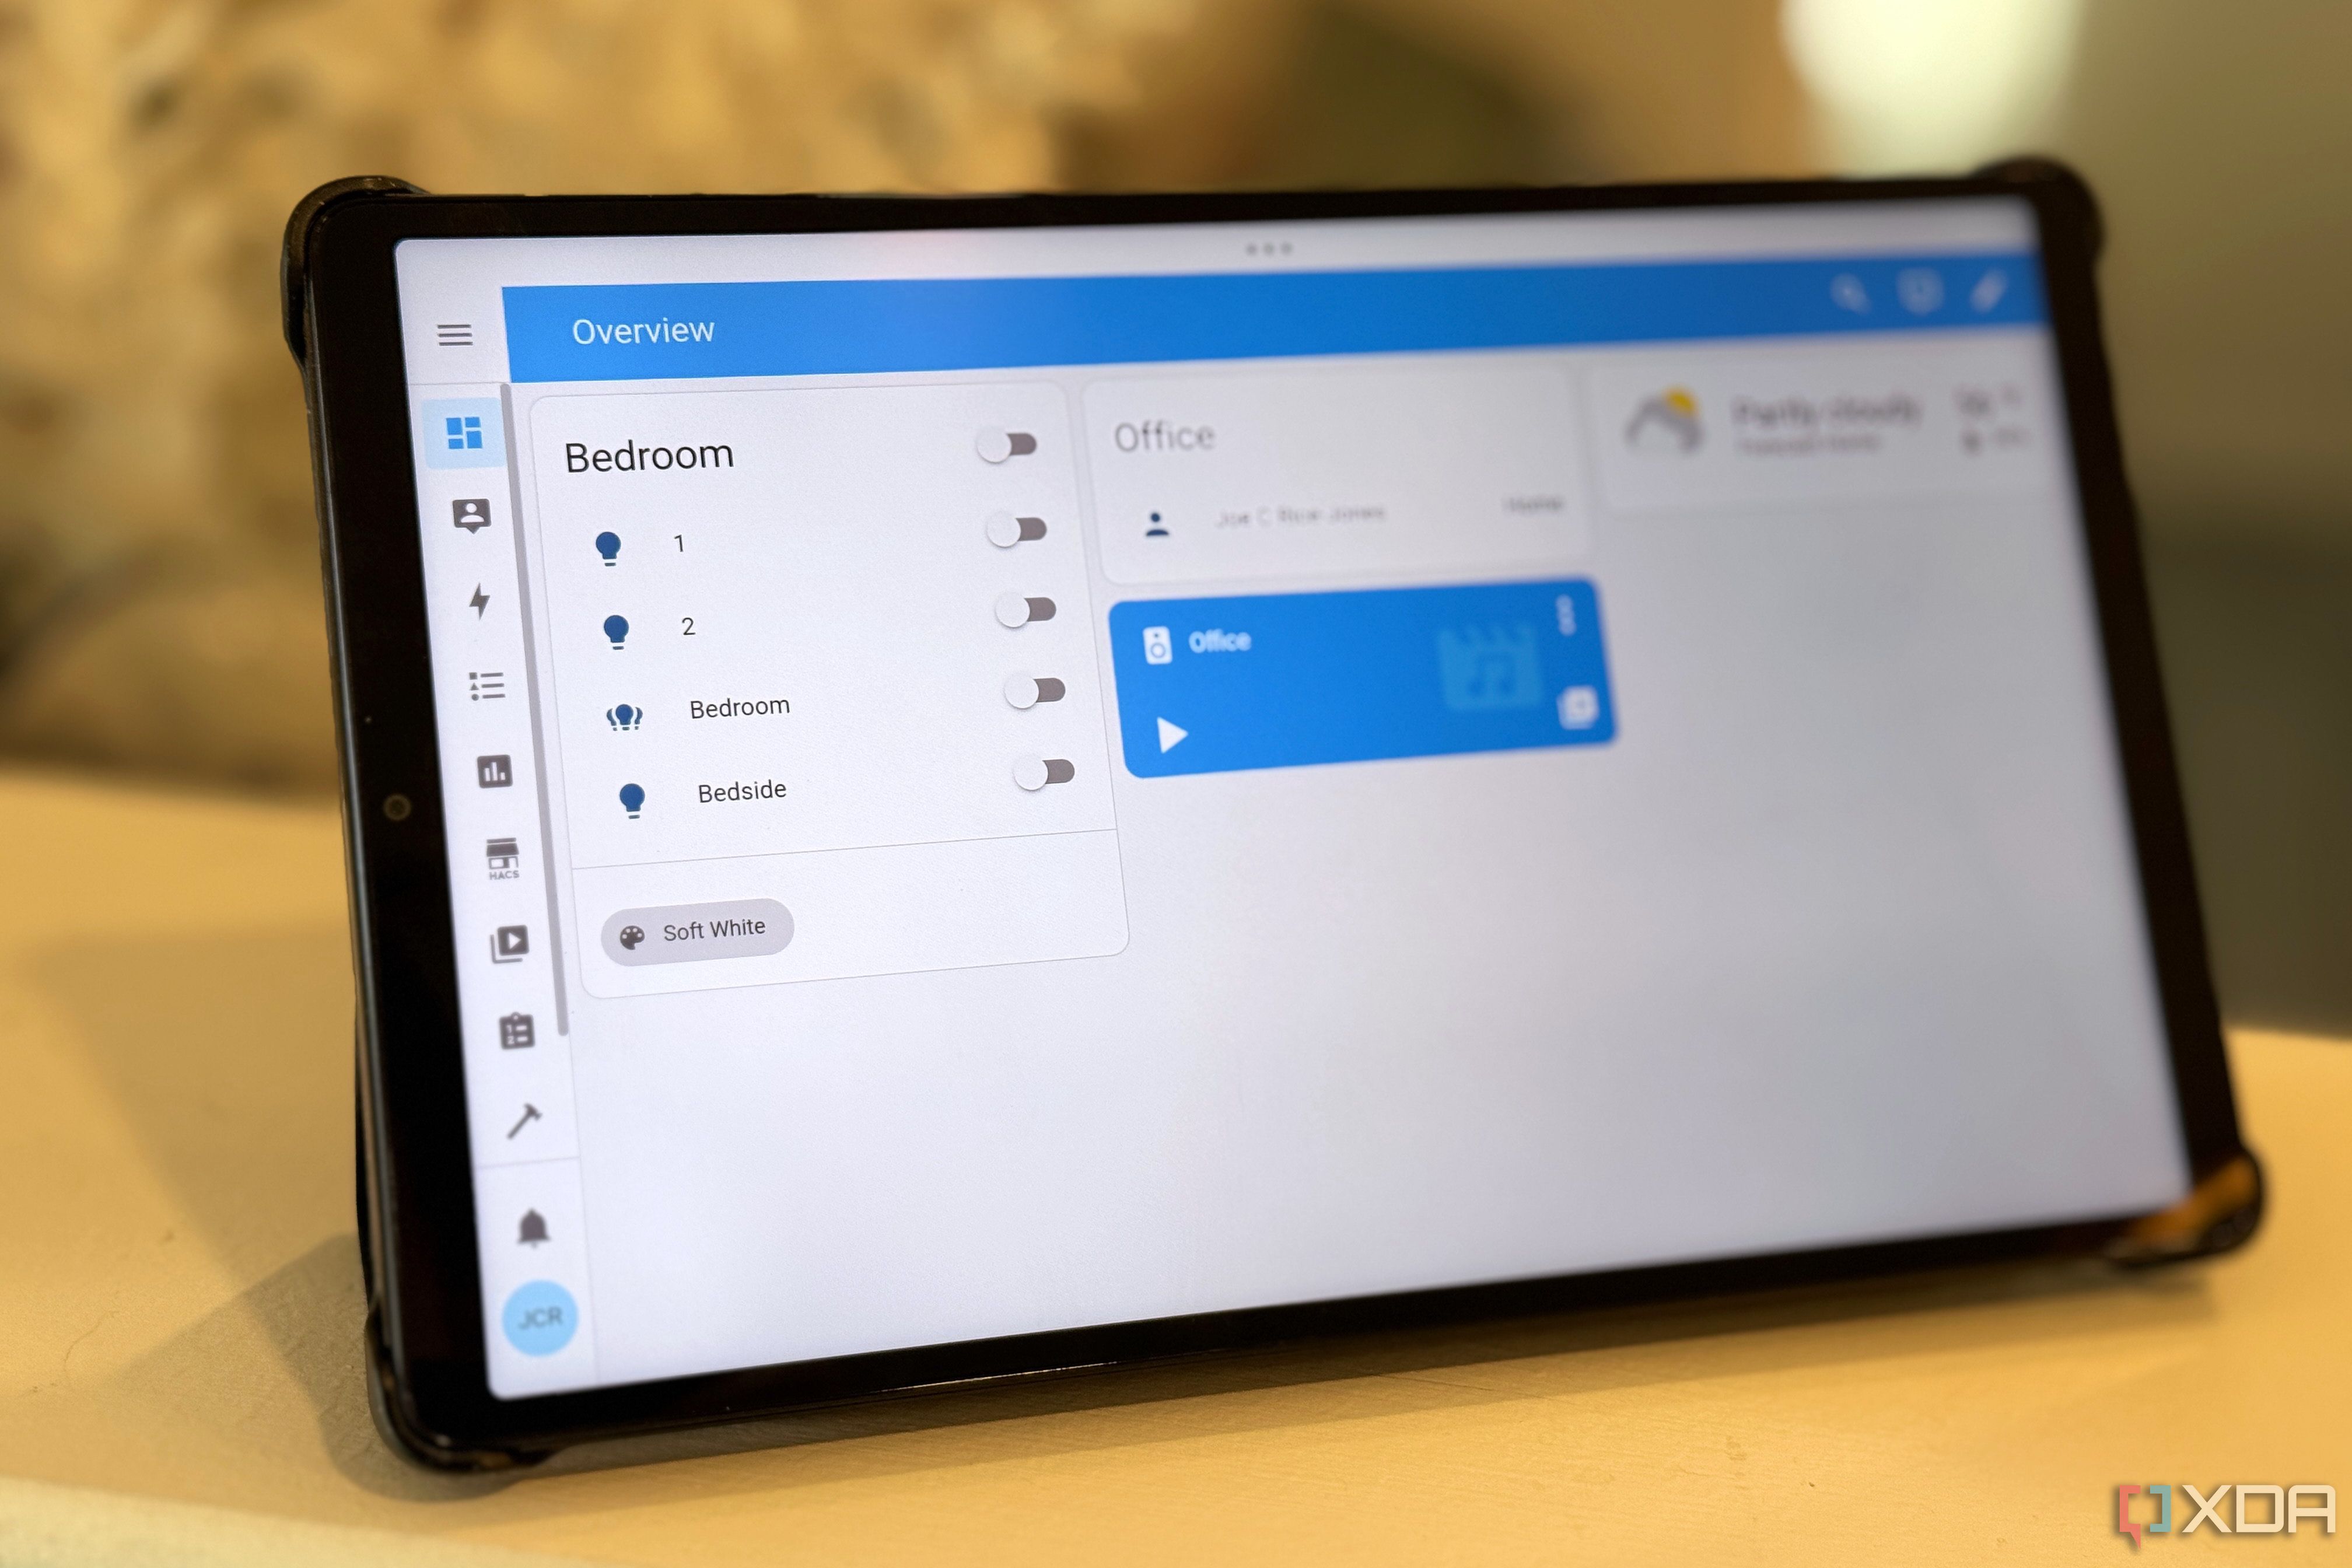
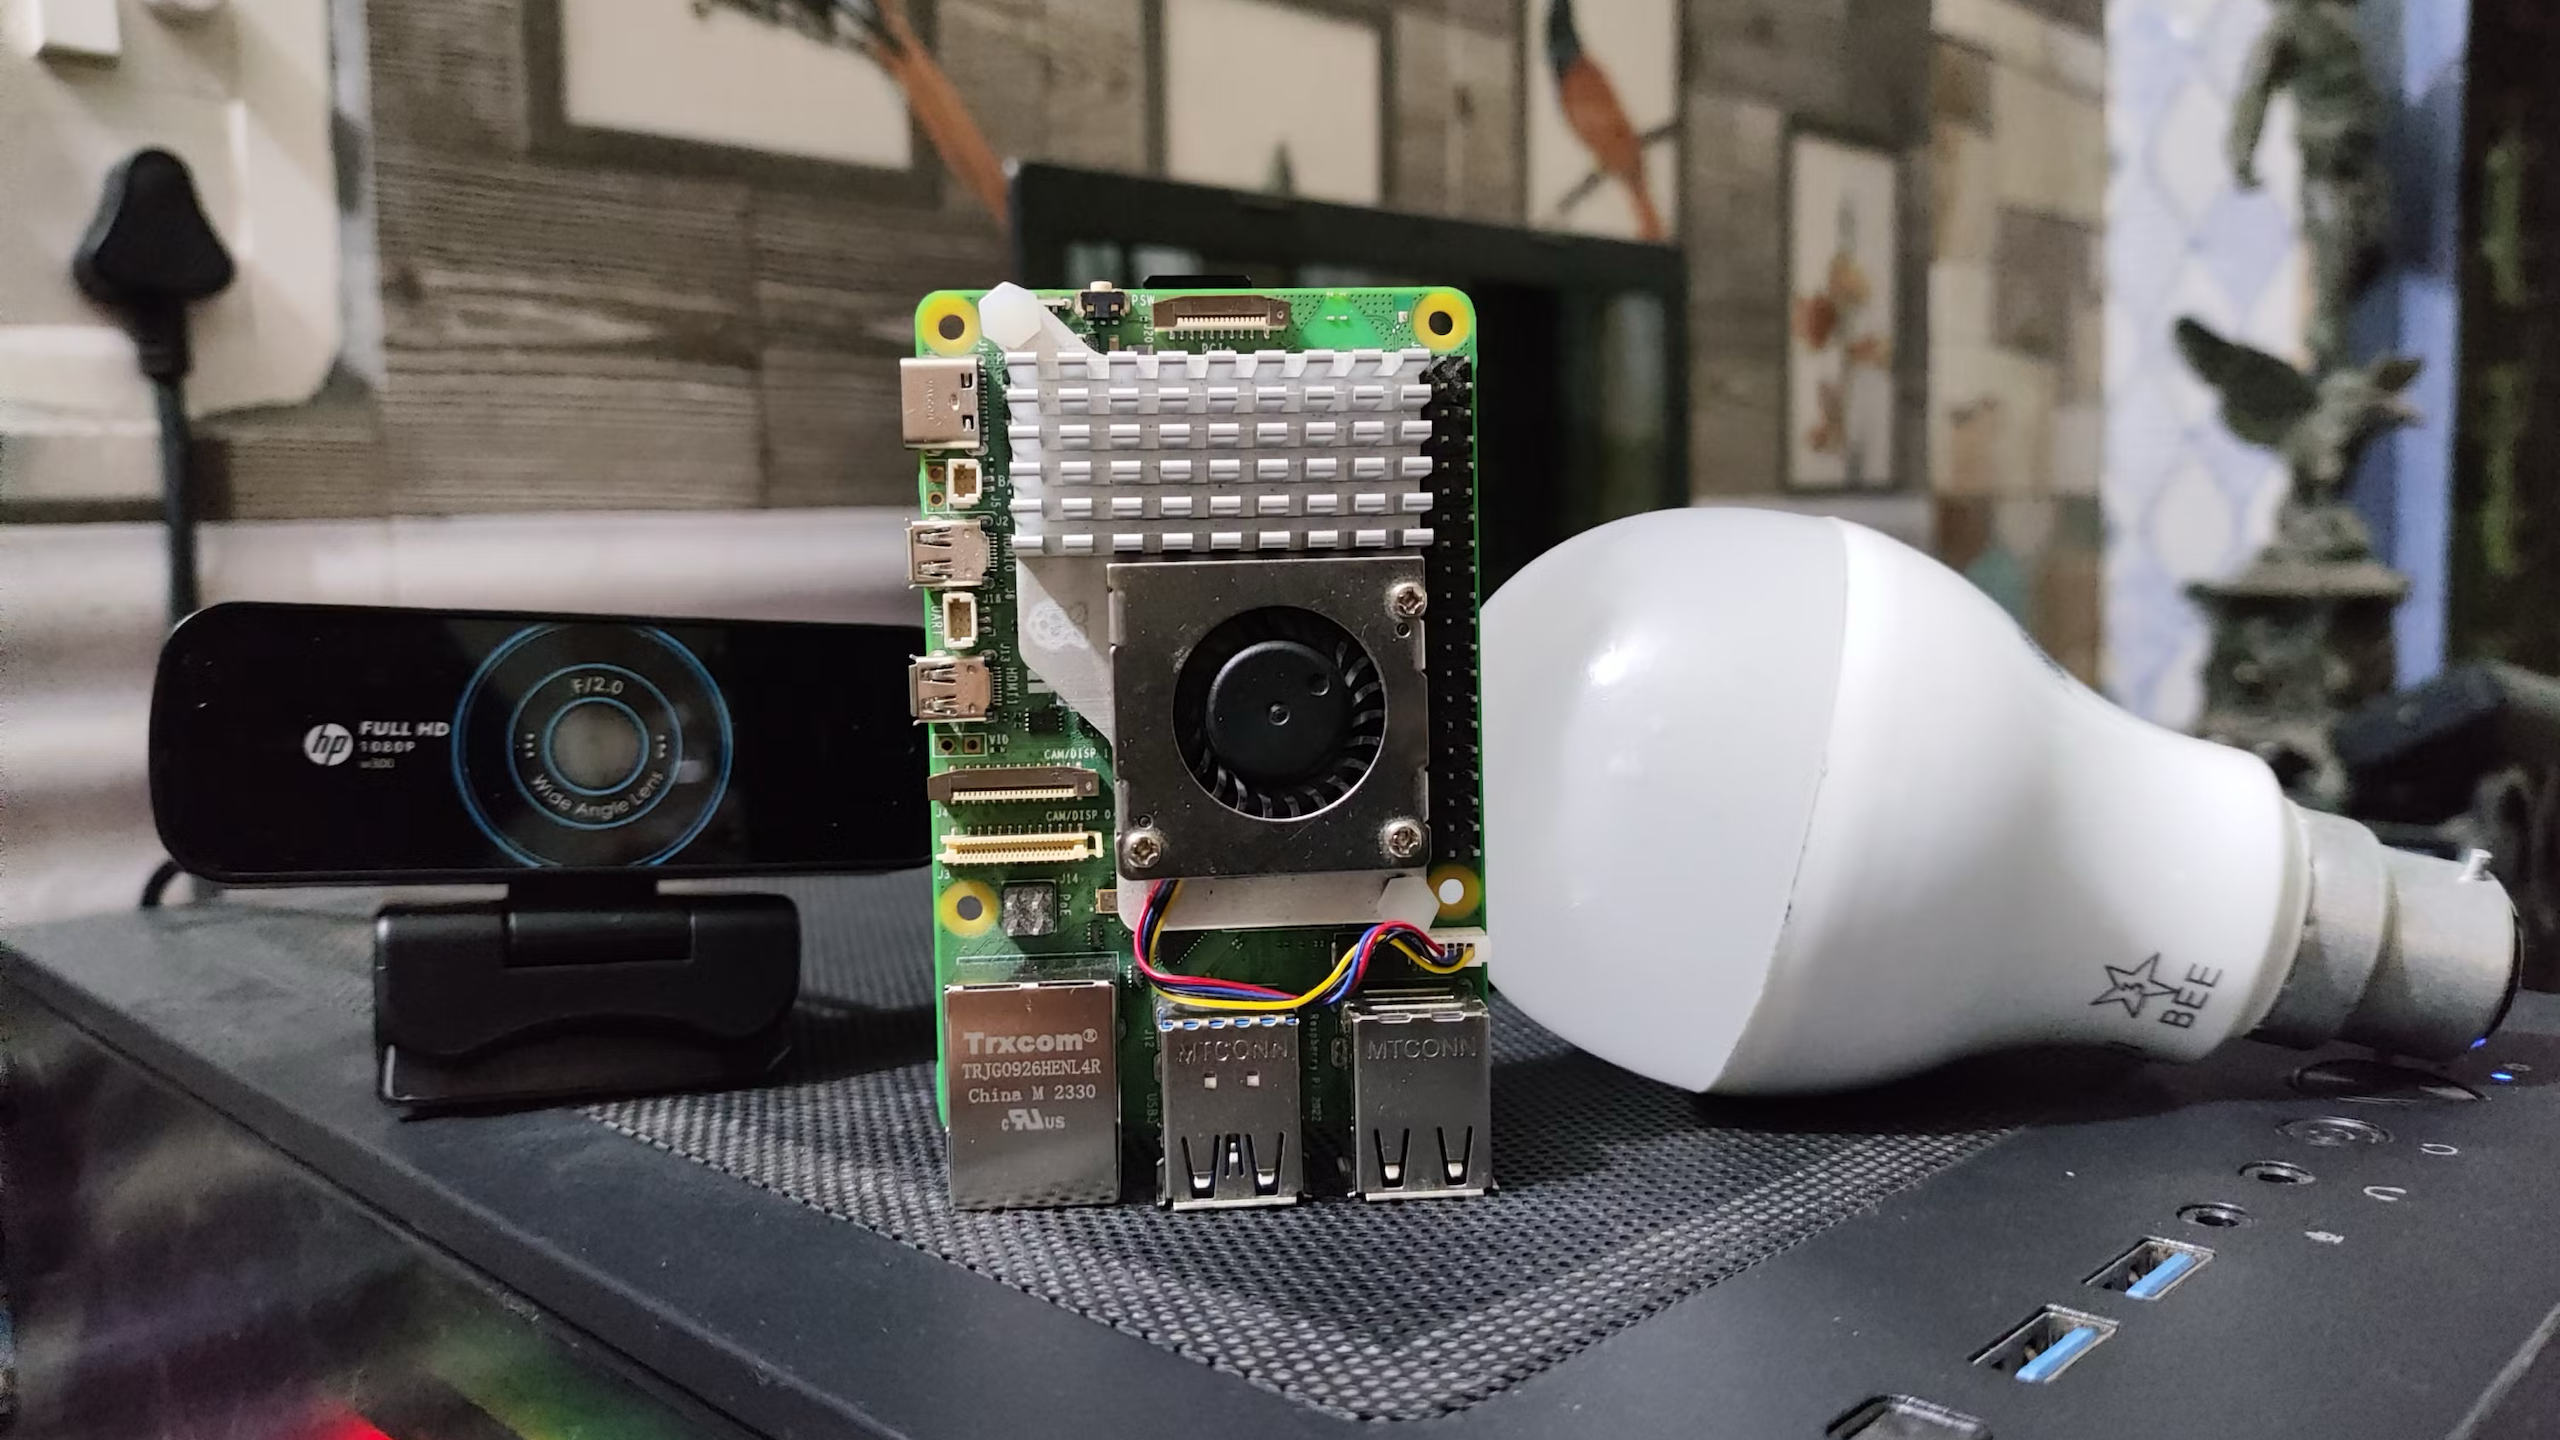
While smart home automation was on the cards, I didn’t want smart devices to work by sending signals over the internet and back home. I decided to install Home Assistant on a Raspberry Pi 4 and use it locally as the brain for my smart home automation goals. Adding the smart devices to Home Assistant was easy, given its support for various hardware. The massive library of integrations covers several protocols, services, and smart devices. The only tedious part was assigning user-friendly names to the smart devices under each integration. Finally, adding cards for each smart device to a dedicated dashboard adds to the convenience of sorting them by zones or areas.
Creating automation for each device is tricky, even though there’s no programming involved. If you’re familiar with the IFTTT logic style, populating automation is fun. Despite the steep learning curve, setting up several smart devices and several automations with them is gratifying. While the overall interface of Home Assistant is consistent, you may occasionally need to modify the YAML configuration files to ensure smart devices function as per your requirements. It bridges the gap between different smart home platforms and brings them under one roof.
2
Leveling up dumb devices with smart plugs
Readying them for automation
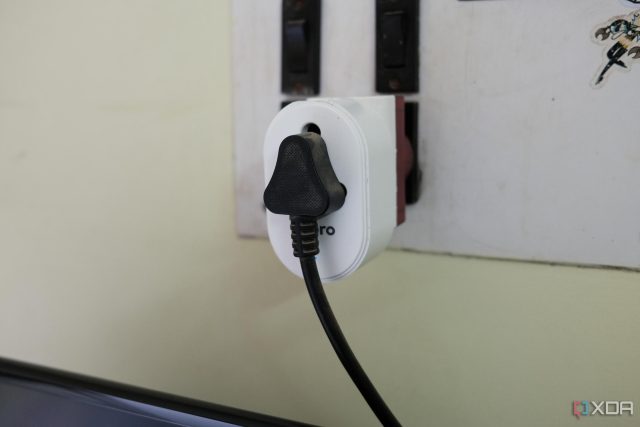
Opening outlets and tinkering with live wires to install smart switches was beyond my skill set. So, I picked up a few smart plugs to equip the dumb devices with some smarts. My requirement was simple – none of the smart plugs should have dedicated cloud-based support to function. But it wasn’t easy to find some. So, I chose some Tuya-supported ones since I had stumbled upon the Tuya-Cloudcutter GitHub page to disconnect those smart plugs from the cloud and run them locally. Later, I could connect them to Home Assistant and run them locally after axing the cloud dependency. But, do note that flashing the ESPHome firmware meant a one-way street and a point of no return.
Not all inexpensive smart plugs last long. Therefore, you need not buy different smart plugs; stick to the popular brands or the ones that work for you. I used a mix of 10A for low-power devices like phone chargers, TVs, and floor lamps, and 16A for high-power electronics like geysers, air conditioners, and washing machines. Before hooking up the heavy electronics, I ran a trial with the low-power electronics. Creating simple automation to turn on lights at dawn or turn off a TV at night was fun. But it did spook my family for a day or two. However, I missed configuring energy monitoring after setting up smart plugs in my room, as not every device supports it.
1
Trials with universal Infrared/Radio Frequency blasters
Required only if necessary
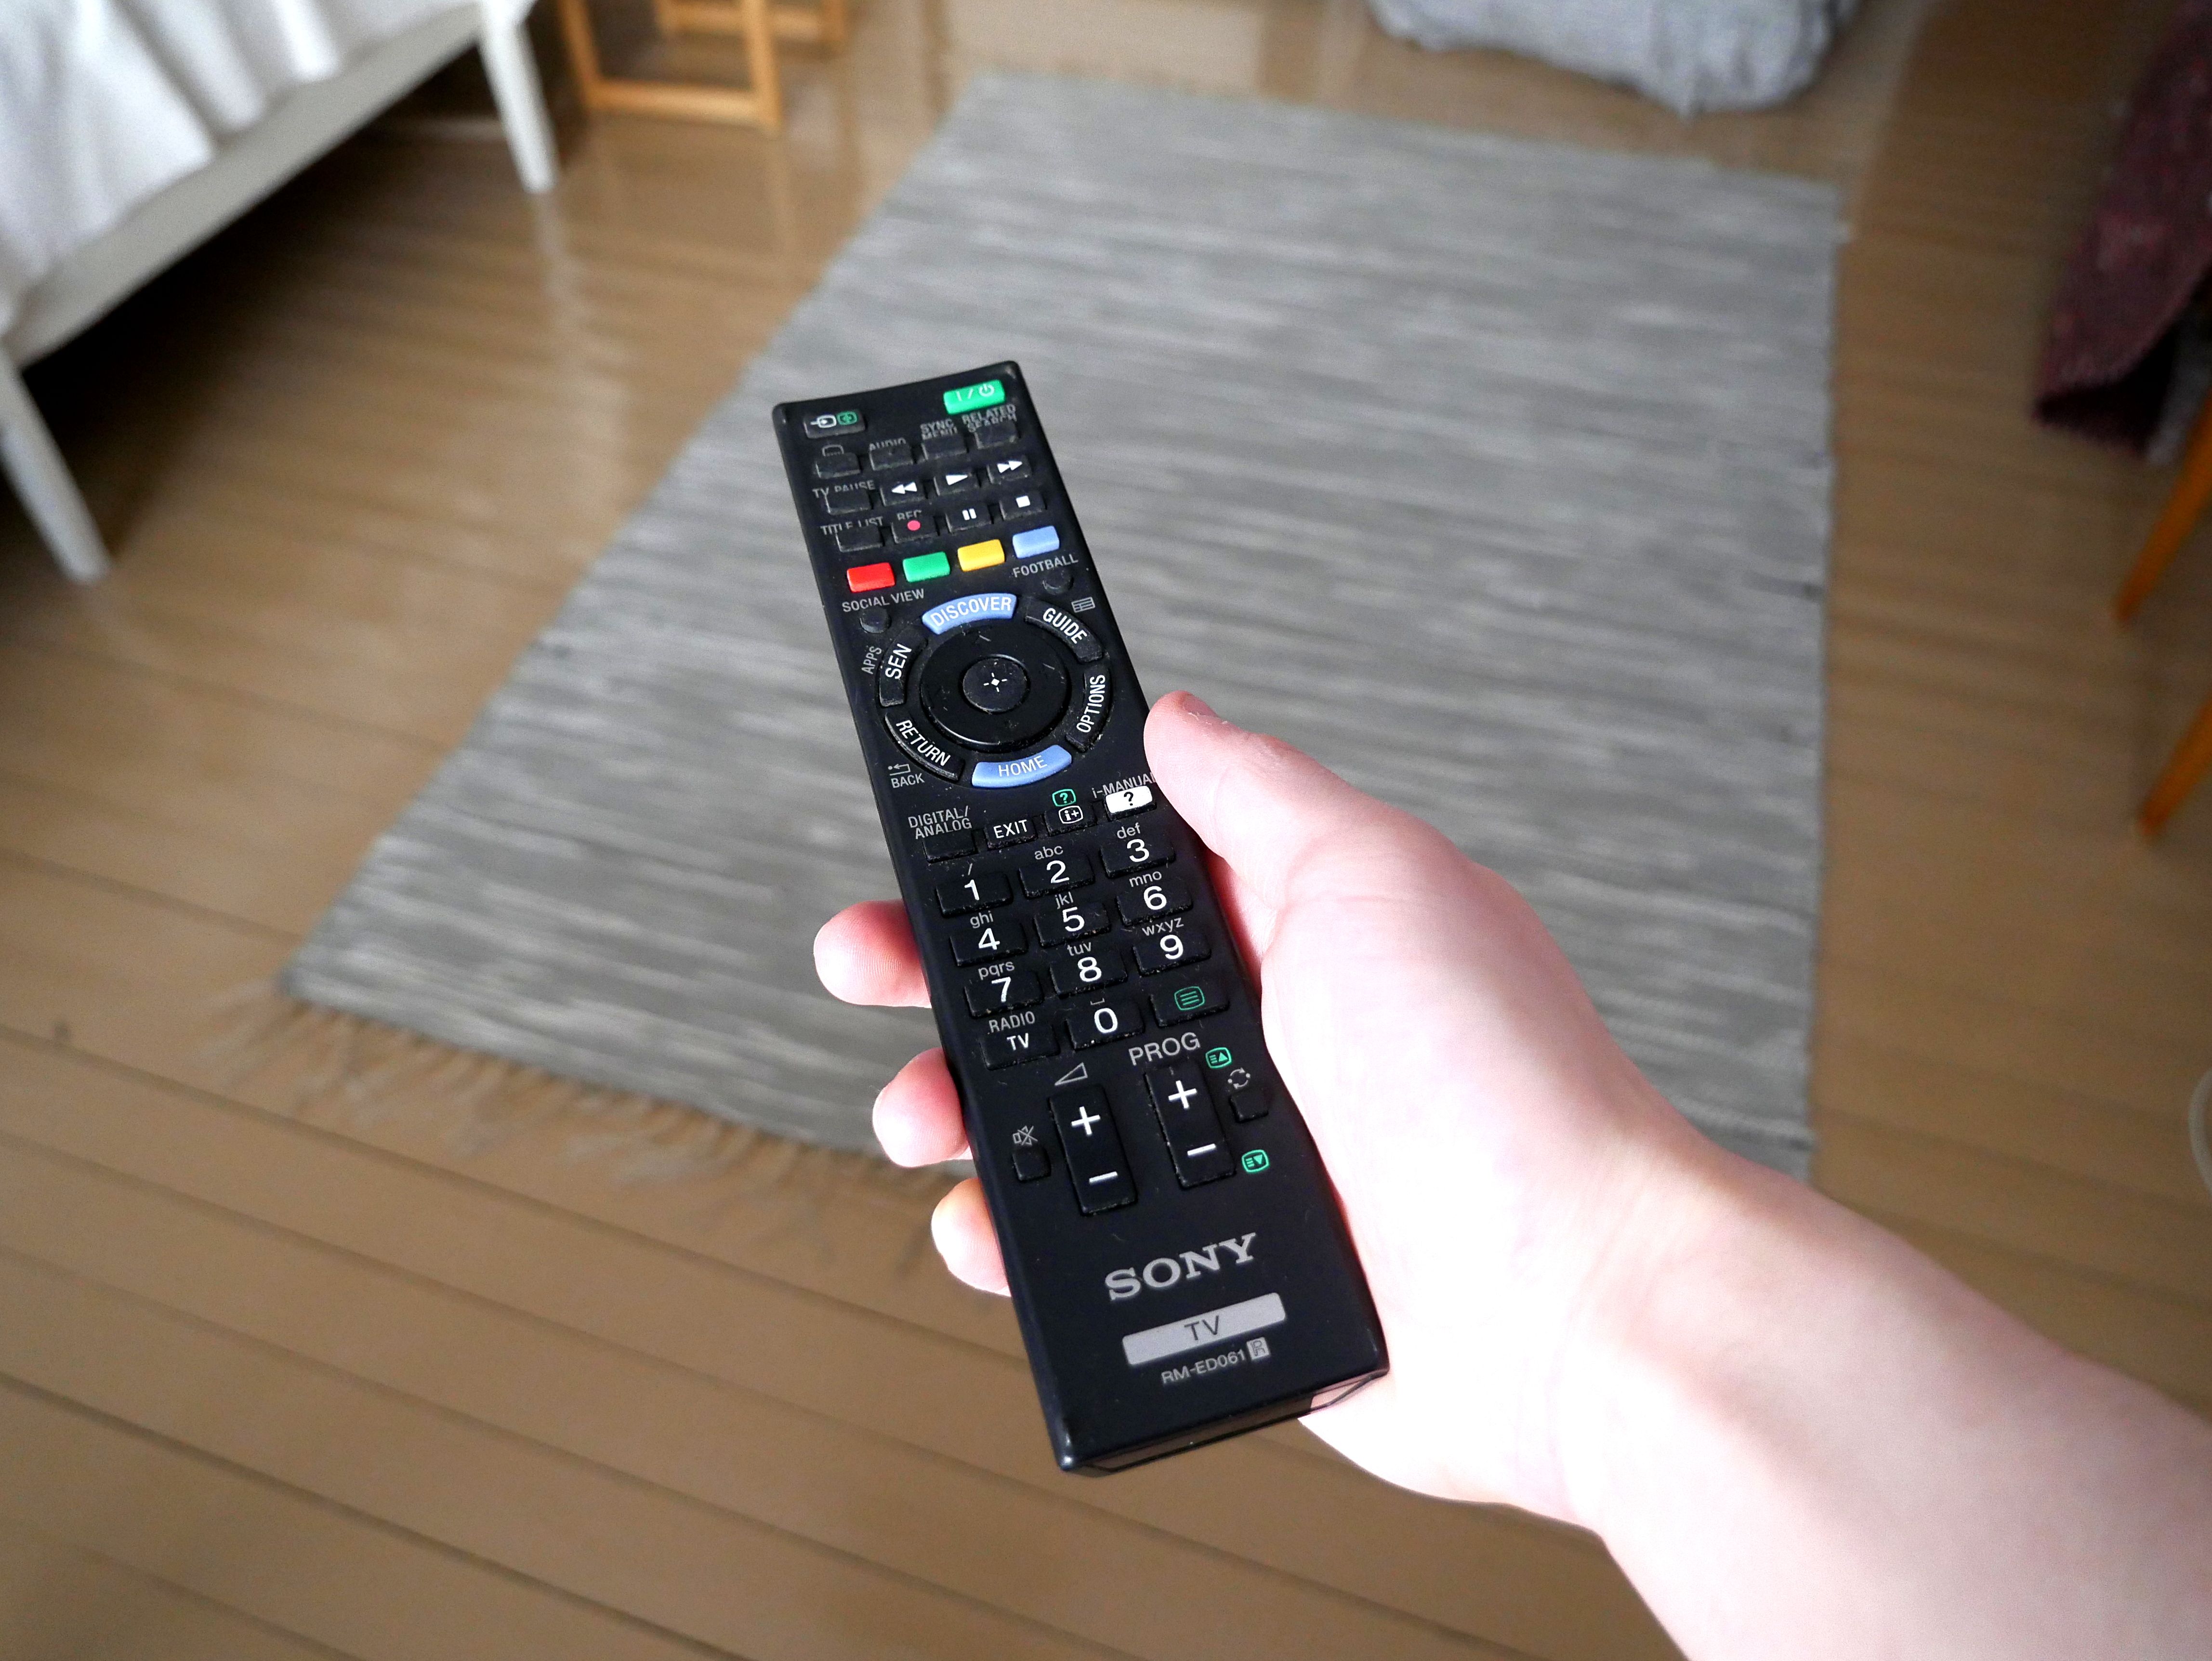
Using different remotes to control specific electronics gets difficult after a while. To cease using remotes, I attempted to put a universal Infrared/Radio Frequency blaster unit in the middle to manage and control the TV and the air conditioner. Getting those remotes to work with an IR/RF blaster unit like the Broadlink RM4 Pro was a learning experience. For starters, infrared can’t operate through concrete walls, which warrants a dedicated IR blaster for each room. Also, the Broadlink RM4 Pro unit communicates using 315MHz (in the US) and 433 MHz (in Europe) frequencies. Any RF device not using either of those frequencies won’t work with it.
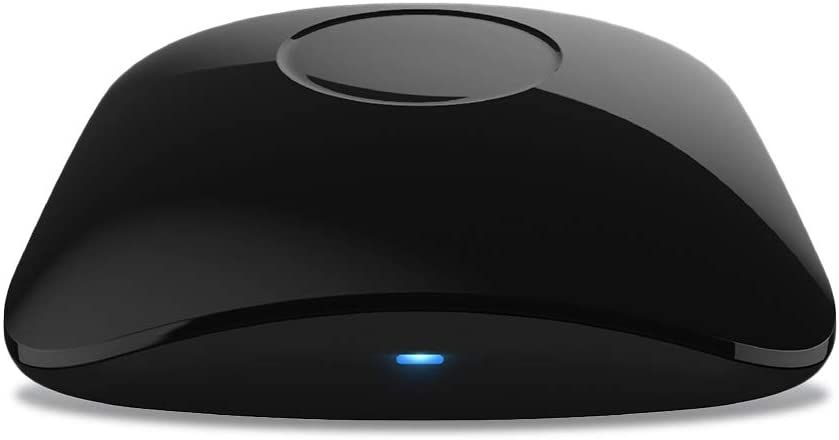
If you have multiple devices that operate with both IR and RF, consider using a universal IR/RF blaster and linking it to Home Assistant to set up automation. Additionally, you’ll enjoy the freedom of not using physical remotes and the convenience of not having to replace their batteries. Unfortunately, I returned the IR/RF blaster unit because controlling an old TV using just that was overkill.
Related
10 tips to turn your Raspberry Pi into a smart home hub
If you’ve got a Raspberry Pi, you may want to consider using it as a smart hub. Here are some tips to help you make it great.
Building a smart home is a marathon
Making dumb electronics work like smart ones is challenging, and you don’t need to do all that in a day. The biggest learning was that I overlooked my family’s comfort and conditioning with smart home automation. My folks used to freak out and toggle the switches whenever automation would switch on or off any dumb device. That is why most of my automation failed, and I couldn’t manage several smart devices with Home Assistant. After my initial tribulations setting up automation for the entire home, I ultimately limited it to my room.
While everyone’s requirements differ, you can start small with Home Assistant on a Raspberry Pi or an old PC before buying big smart device upgrades. Besides smart plugs, consider adding smart buttons, sensors, and IR/RF blasters if they suit your needs. Remember, don’t go overboard with creating a smart home. Wondering how to check the status of those smart devices away from home? You can access the Home Assistant from anywhere once you set up a VPN on your home network or Tailscale instance.


