I’ve been in the 3D printing hobby for a long time. Back then, you had a choice between industrial machines that cost more than your car or hacked-together machines built by hobbyists from assorted parts. MakerBot was making open-source printers housed in wood, which were more approachable as kits, and then the singularity hit. Josef Prusa iterated on several different designs, and the Prusa i3 was born. Built to open-source ideals, it was quickly copied by plenty of other companies, and the era of cheap 3D printing kits began.
When you could pick up a copied design for a hundred bucks or so, why would you go for the more expensive kit? At the time, the hobby was still very much starting, and buying a cheap kit and struggling through assembly, troubleshooting, bed leveling, and everything else before getting to do your first print was a rite of passage for many. I cut my teeth on a couple of i3 clones, before getting access to a more complete but still cheap Monoprice 3D printer, and the improvement to every aspect was astonishing.
Nowadays, I’ve got a couple of Bambu Labs and an FLSUN delta-style printer, and I won’t go back to cheap kit DIY printers ever again. You might call this a hot take, but I don’t think the cheap kits do anyone any favors, and I will always tell someone interested in 3D printing that it’s worth the investment in a properly put-together unit. The only thing cheap about those kits is the initial purchase price, and you’ll soon see how quickly the true cost mounts up.
Related
Creality K2 Plus Combo review: Multi-material 3D printing on a larger scale
For those curious about whether this 3D printer is worth the price tag, we’ve put it through its paces
6
The printer is a tiny fraction of the total costs
Whether it’s tools or upgrades, you’ll end up paying the same as the fully-featured units
The first thing anyone needs to know is that 3D printing is not a cheap hobby. Good printers are expensive, even if they’re a small fraction of what they cost when I started. Filament costs are also much lower, but they do add up over time, depending on the type of thing you’re printing. And as with any other hobby, the hidden costs are what really mount up.
There are tons of tools you might need, especially for a DIY kit. Then there’s filament, a stable desk or table to put the printer on, and we haven’t even gotten to your first print. A filament dryer is a good investment because many filaments suck in water from the air, and then they won’t print well. An enclosure helps with a consistent temperature for more exotic materials to be printed, or to ensure your first layers stick without lifting or warping.
By the time you’ve realized the limitations of that DIY printer kit and sourced the upgrades you need to get better-quality prints from it, that cheap kit will be a cheap kit with plenty of expensive accessories. That negates any initial cost savings and might even be more costly than buying a better printer from the start.
Related
5 useful parts I printed for my 3D printer
Nothing’s cooler than printing accessories for your 3D printer
5
Everything became a consumable
Filament and grease are the least of your worries
When you get your printer as a kit, it’s hard not to see it as an assortment of parts, like it was the day you unboxed it. In some ways, that’s good because it means you know how to repair it and what parts you need. And if it were a well-made DIY kit, I’d agree that’s important to know.
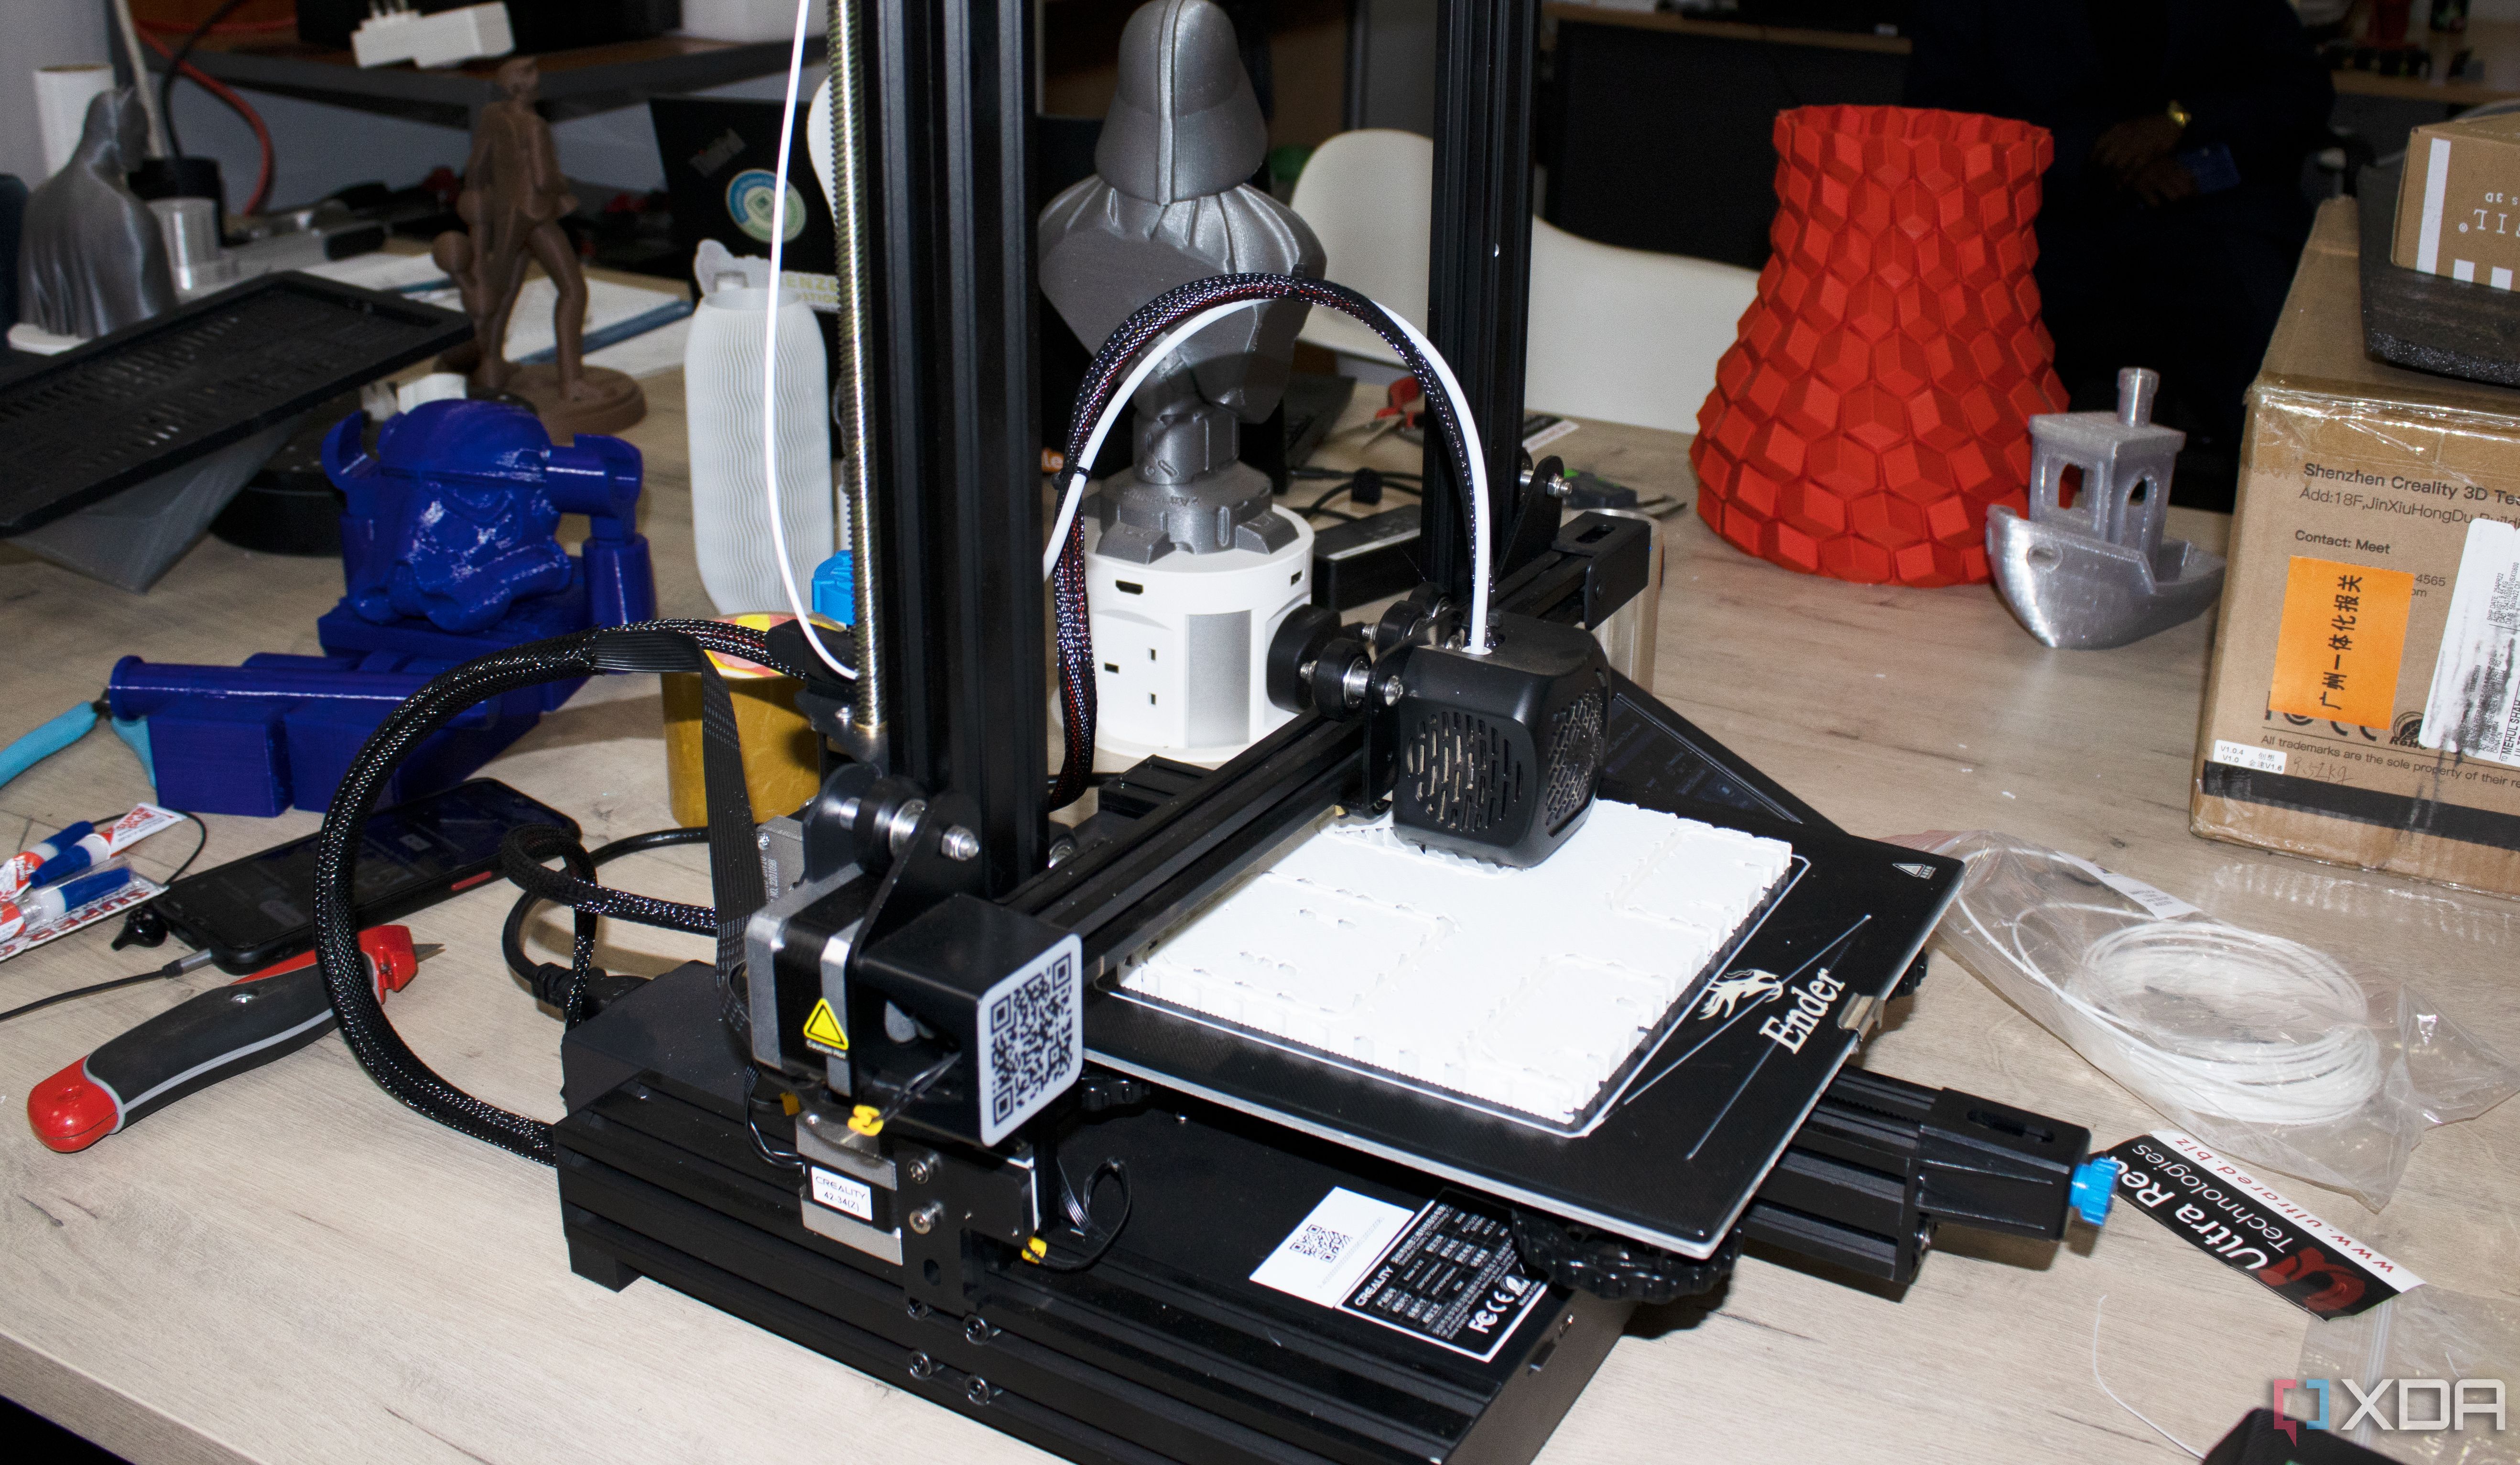
But the thing I’ve found with cheap 3D printer kits is that they’re true to their name, and every part is cheap, until you have to replace it. And you will have to replace parts, probably many of them, because cheap parts break more often. When every part of your printer is a consumable, all you have is a money sink, not a hobby.
Related
10 accessories for your 3D printer you can 3D print
Why buy accessories when you can 3D print them?
4
More time fixing than printing
I just wanted to make cool things, but was thwarted at every turn
Most consumer electronics are set-and-forget, where the most complicated parts include slotting them together and adding a power cable. That includes 3D printers, if you buy a ready-assembled model from Creality, FLSUN, Bambu Lab, or others. It doesn’t include DIY kits; the cheaper the kit, the more annoyances it comes with. Moving parts and vibrations shake your assembled kit apart, things wear from rubbing, and it’s your task to figure out which parts are still in alignment and which need tweaking.
It got to the point where I didn’t want to print anymore, because I dreaded whatever new issue would stop my print partway. That’s even if I managed to start printing, because there were plenty of times when I’d begin to level the bed or test flow rates, and something would either be out of alignment or break, or I’d snap a wire accidentally. Modern, midrange printers are much better at this, and the number of parts to adjust are greatly reduced so you can print more, and worry less.
Related
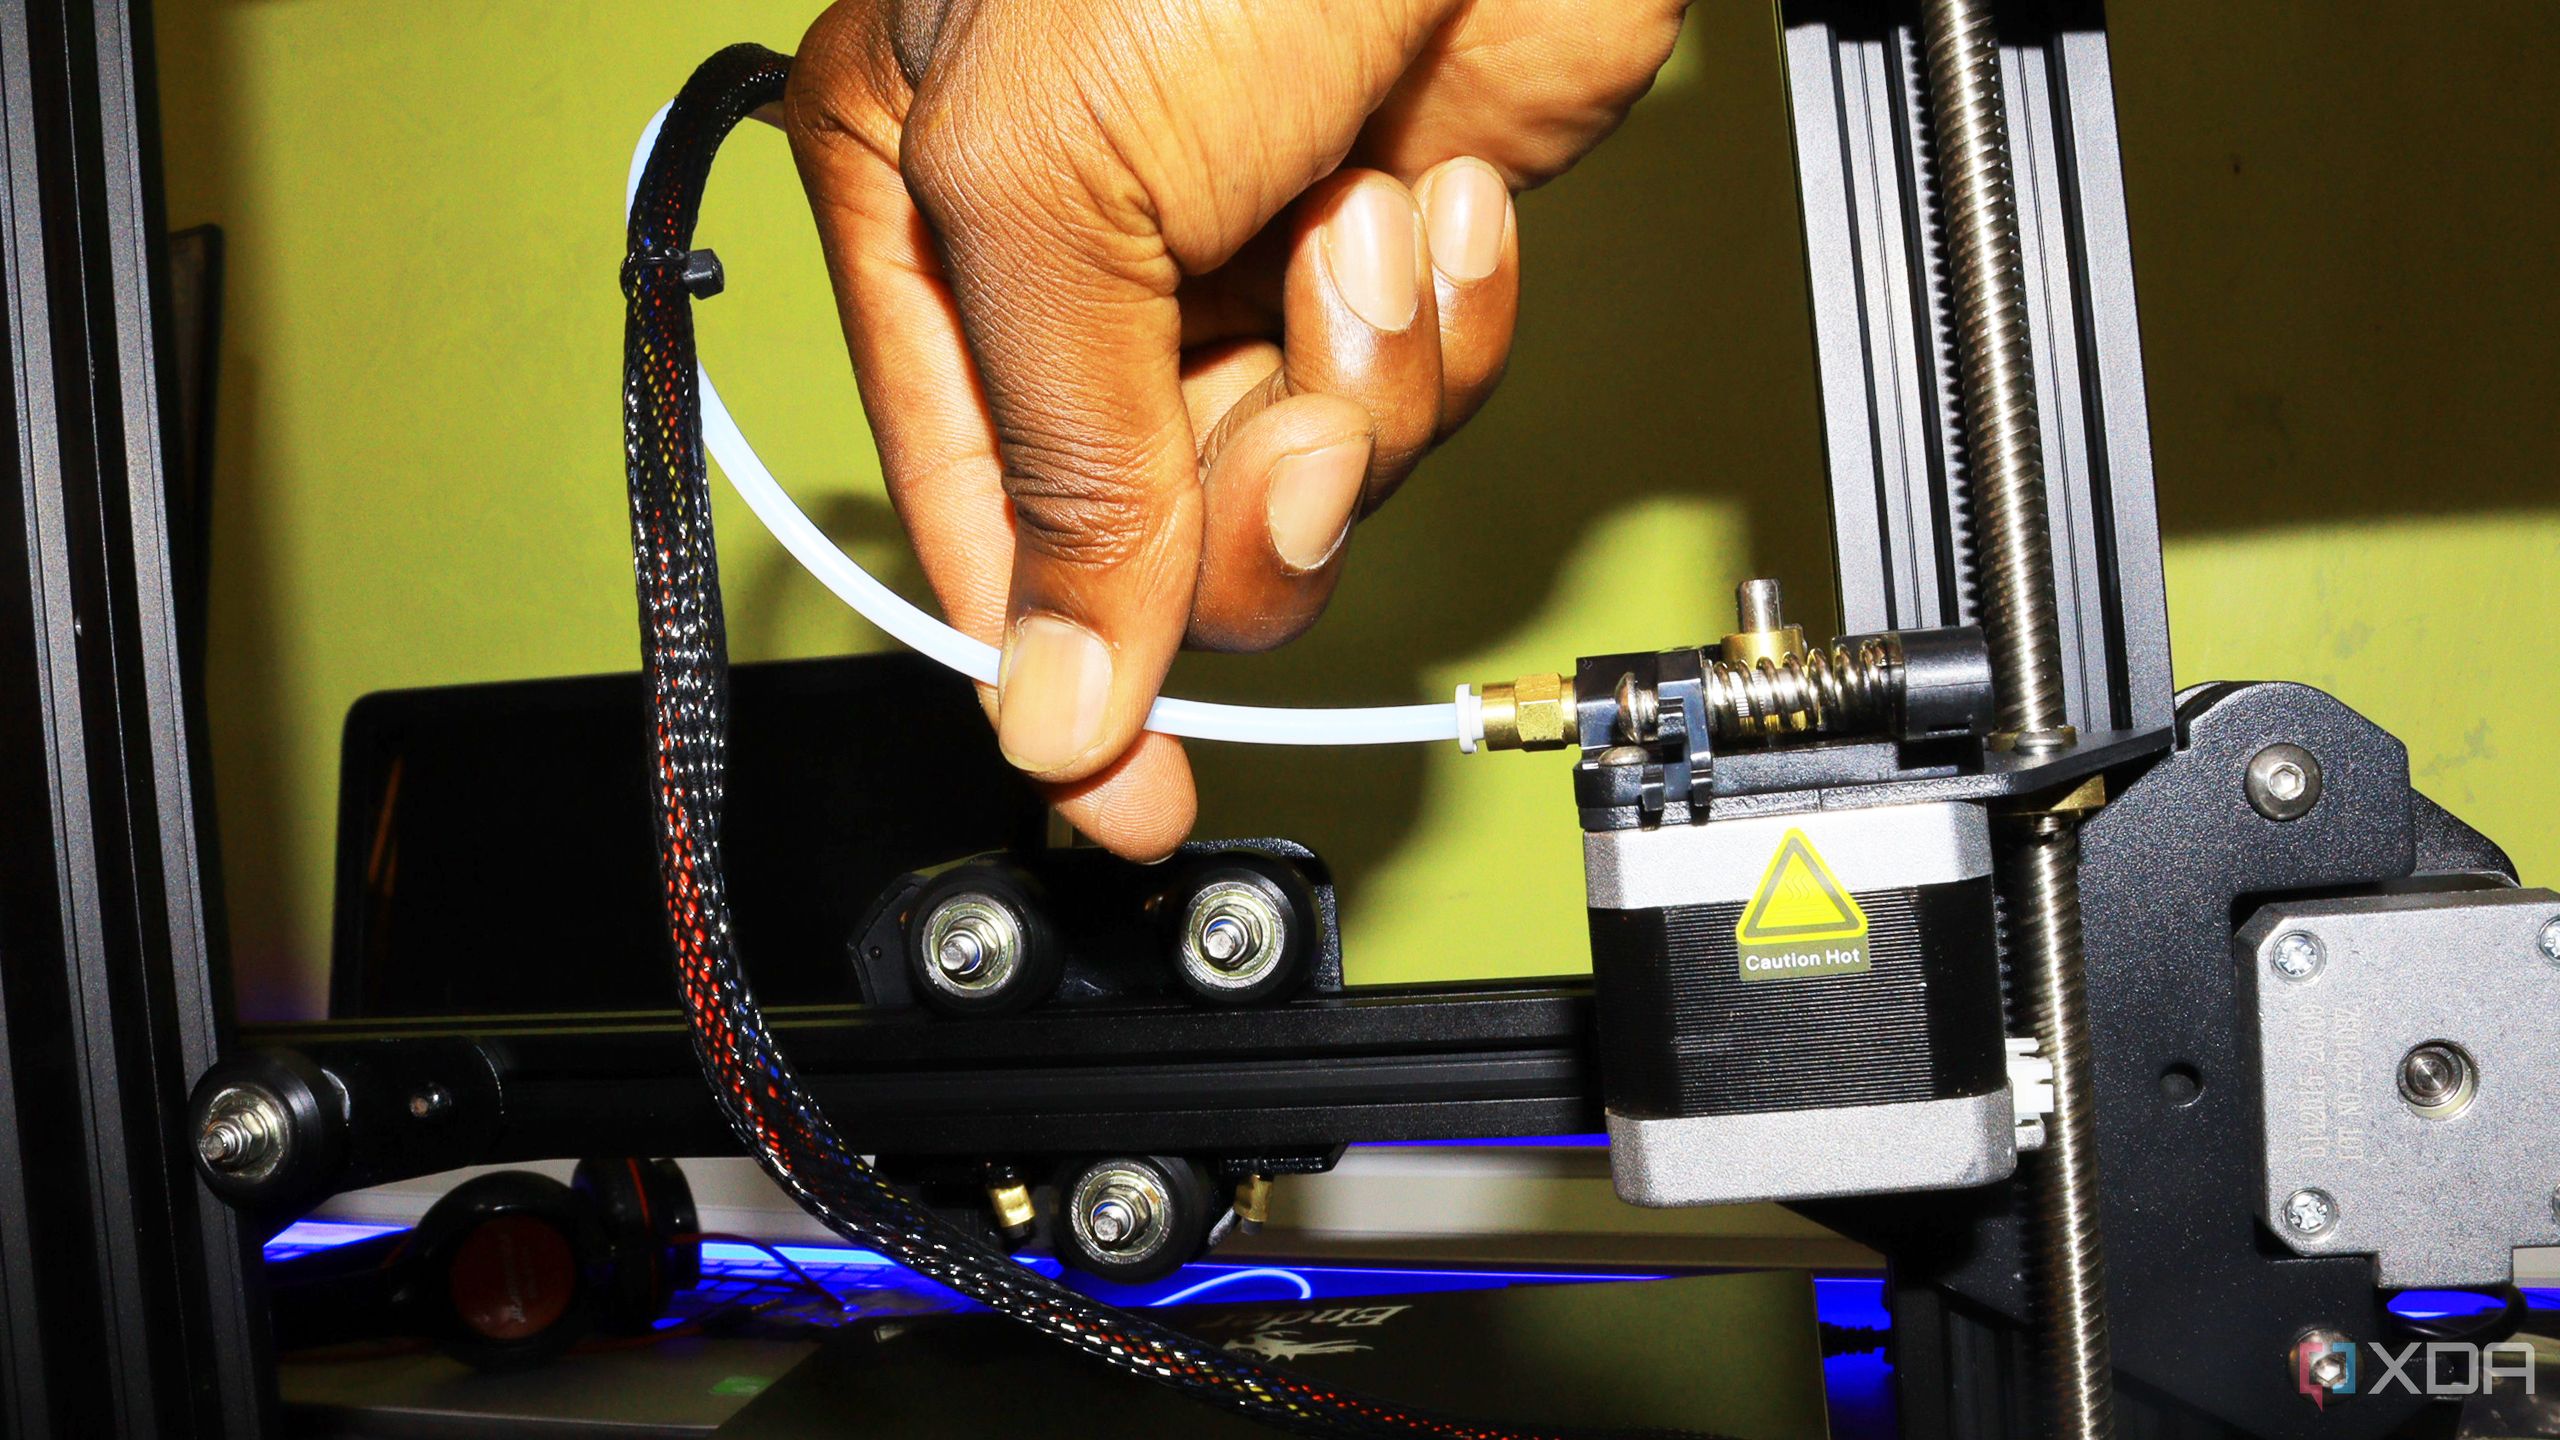
How to keep your 3D printer in perfect shape for consistently flawless prints
Having your 3D printer in perfect shape involves a series of activities that you need to undertake. Below, we highlight the main ones.
3
They reduced my CAD learning time
The thing they don’t tell you about 3D printing is that you need to get good at design
Actually, printing your designs is a very small part of the overall 3D printing hobby, because once you get past the stage of printing other people’s designs, making your own requires some learning—lots of learning, really. Whether it’s CAD programs or 3D sculpting ones, it all takes a lot more effort than you might think to make printable designs. And when you’re spending all your time fixing your DIY printer instead of designing or printing, you don’t have the spare time to learn the digital tools you’ll need.
Related
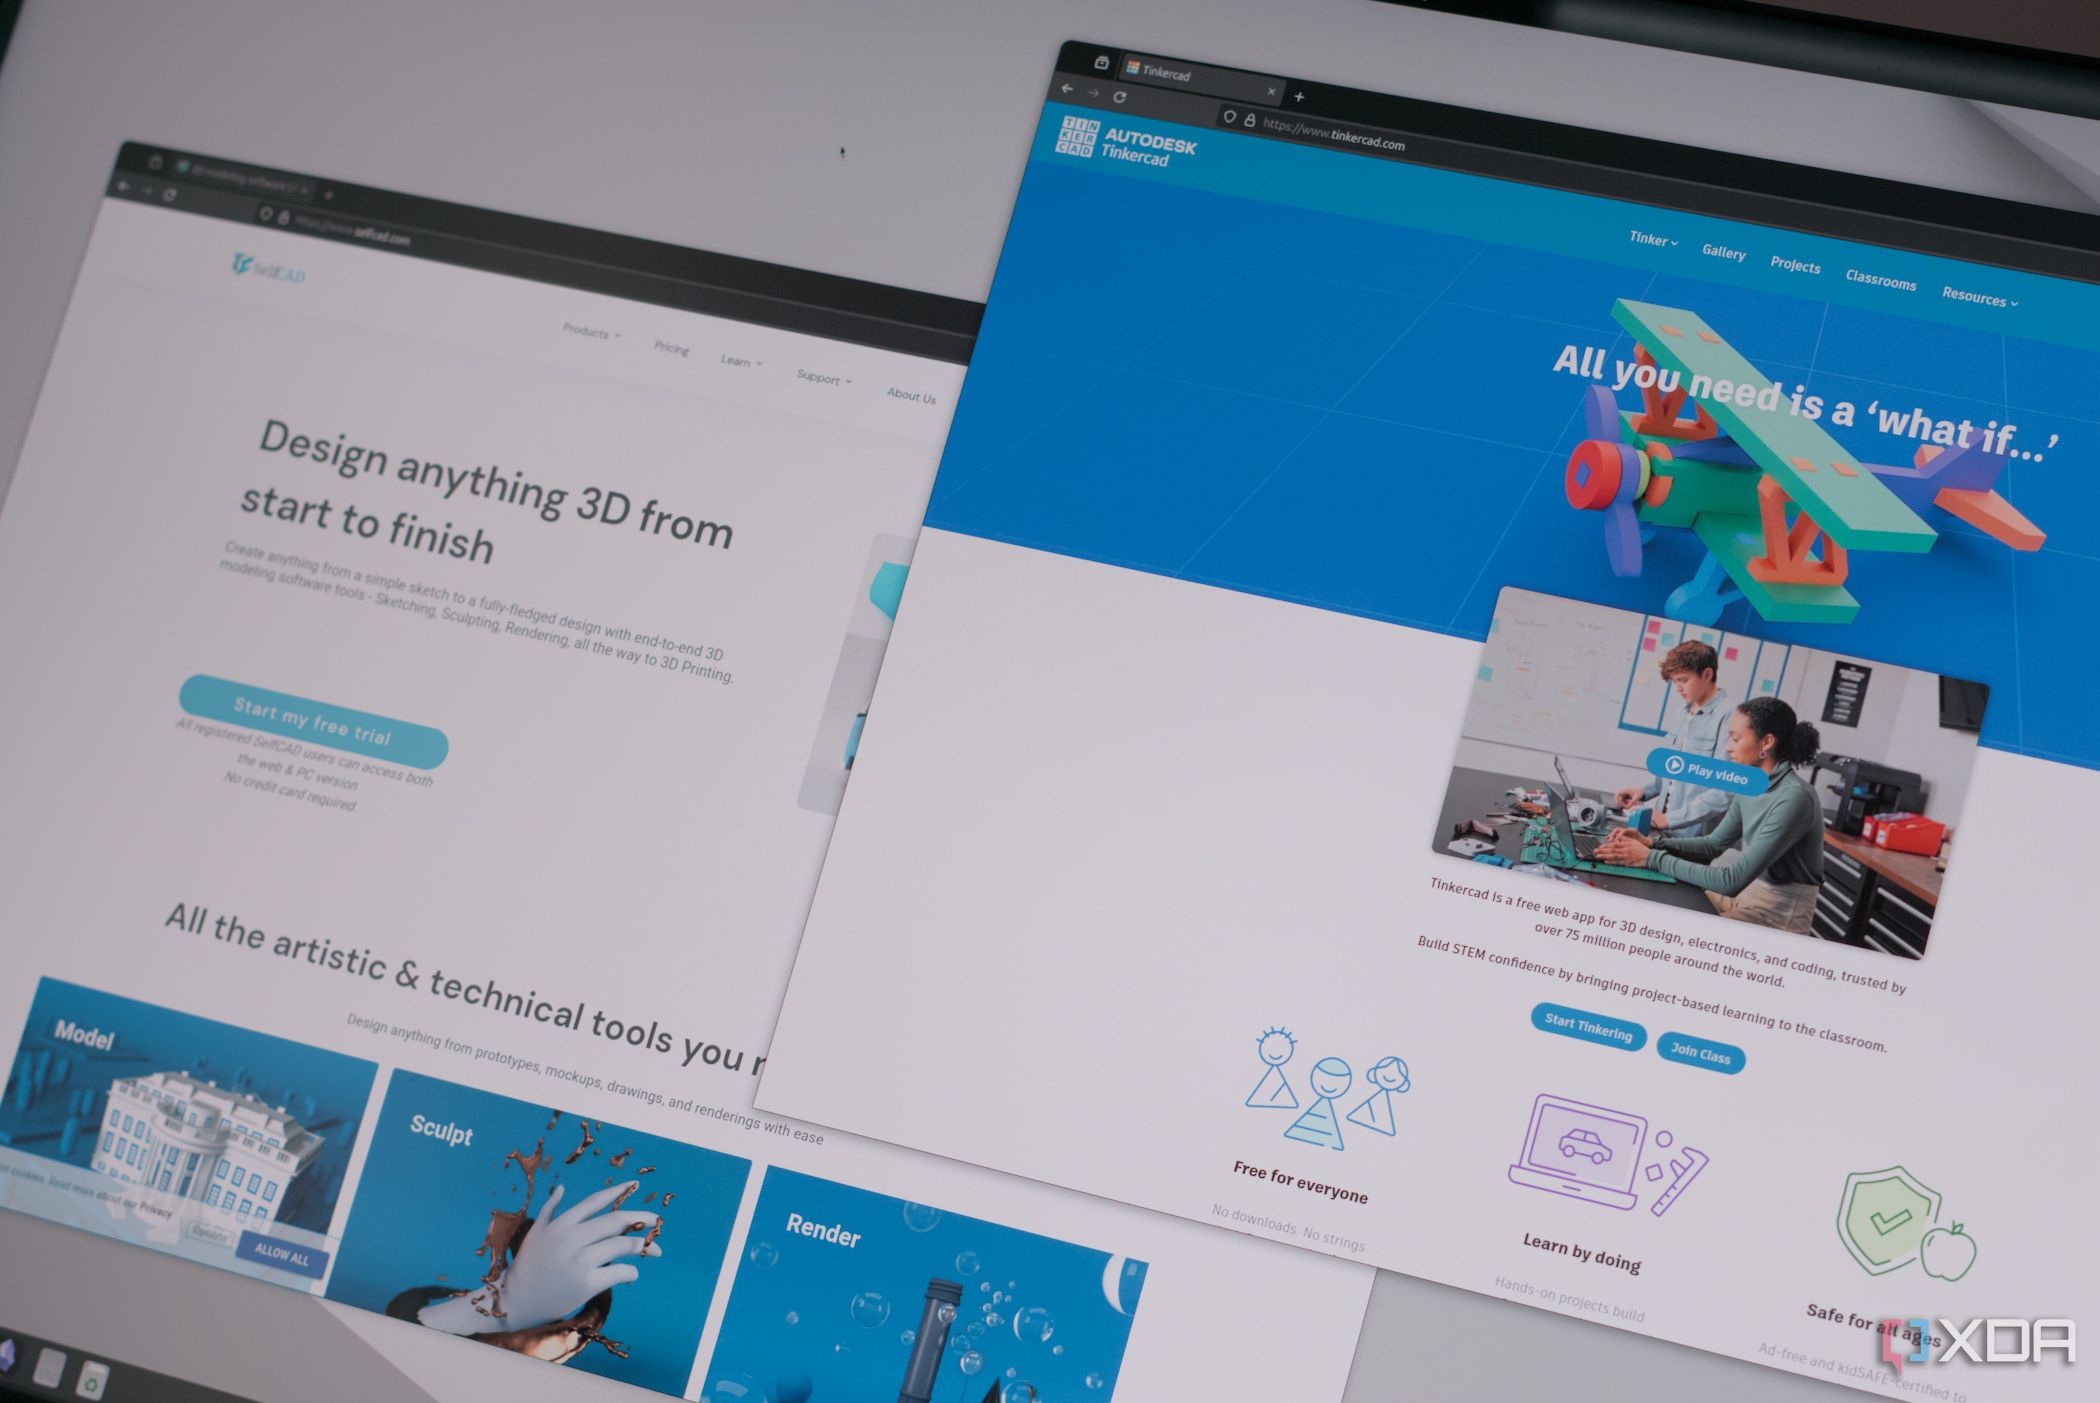
4 reasons why I finally switched from TinkerCAD for SelfCAD
TinkerCAD is a great, beginner-friendly software. However, it’s limited in functionality, so I had to switch to SelfCAD.
2
They aren’t well-made
And sometimes they’re downright dangerous
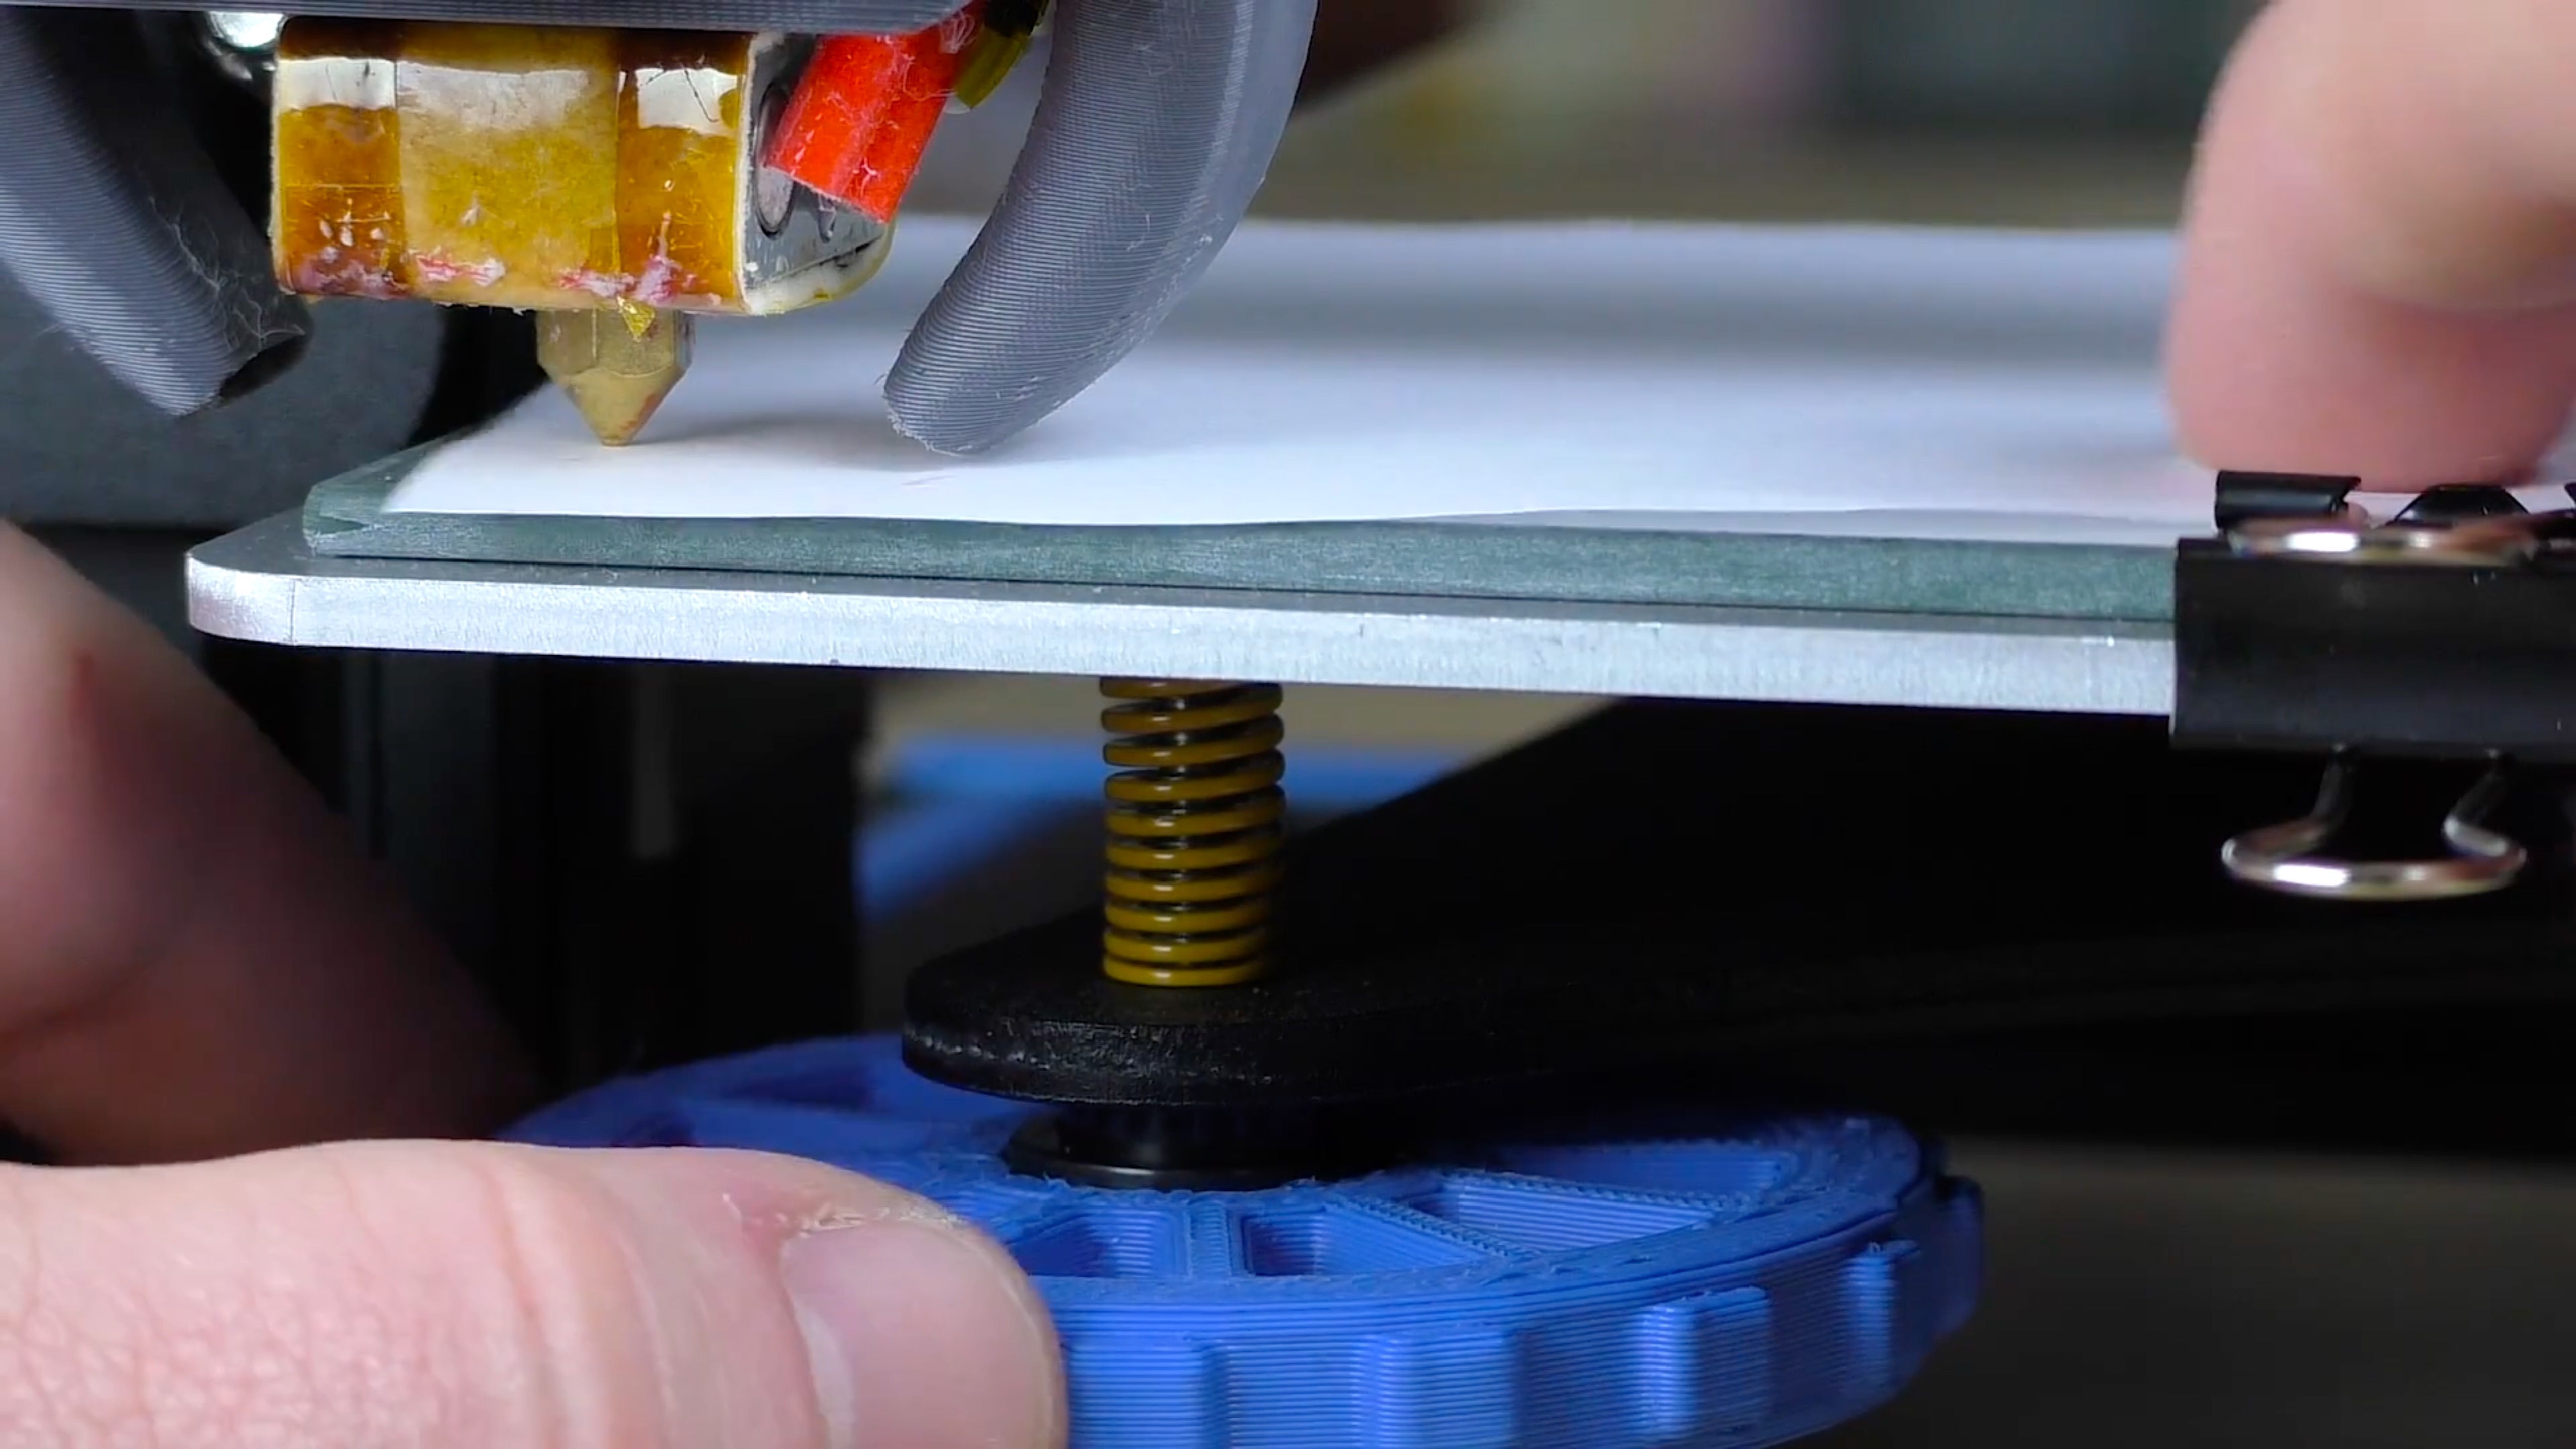
Trying to level your 3D printer’s bed by how much the nozzle drags across a sheet of paper is a headache I was quick to eliminate
Cheap DIY 3D printer kits aren’t just annoying to put together or keep running; they can be dangerous. To get to the price they’re sold at, many components are constructed to the lowest quality possible, and that’s not a good thing when you’re dealing with multiple electronic systems. Several printer companies are known to be fire hazards, and it’s worth researching the brand and the particular model before you make a purchasing decision, because Reddit and other places are full of 3D printing hobbyists who narrowly escaped when things went up in flames.
The hot end that squeezes out molten plastic is at high temperatures anyway. Still, you have a recipe for disaster when you factor in improper wiring, overheated motors, lack of thermal protection in the firmware, and sensors to control it. It’s even more of a risk with a cheap kit because there could be any number of issues to be aware of, but if you’re starting out, you might not know what to look for. This is also an issue with more expensive DIY kits and with prebuilt printers, but cheap kits are notorious.
Related
Best 3D printers in 2024
3D printers are more affordable than ever in 2024. Here are our favorite 3D printers to consider before buying.
1
Missing quality-of-life features
You’ll want at least some of these features while you’re learning
It’s hard to convey just how awesome it is to buy a 3D printer, get it delivered, and be printing within an hour of it arriving. The first printer I put together took that long just to unpack the dozens of tiny bags of components, and that was before I started to put anything together. But it’s not just how quickly you can get started that’s amazing, it’s all the advanced features that modern printers come with, things that I couldn’t have dreamed of using back then.
Take something as simple as bed leveling. The old way had you adjusting screws under the bed to move the corners, and you had to do everything manually. It was a long process on some printers because it depended on how much you spent and how easy it was. But my Bambu Lab X1C has LiDAR for bed leveling, and everything is done automatically, adjusting for every tiny change in Z-height by measuring and then adding adjustments to the printer’s code. It’s magical to watch, and I still get chills watching the process.
Every other part of 3D printing was laborious and manual like this, from flow adjustments to the filament’s feed rate. Nothing was automated unless you built the sensors and the code to check them, and so on. Modern 3D printers are so far removed from the DIY kits (unless you buy the expensive kits), and come with so many features that make your life easier.
Related
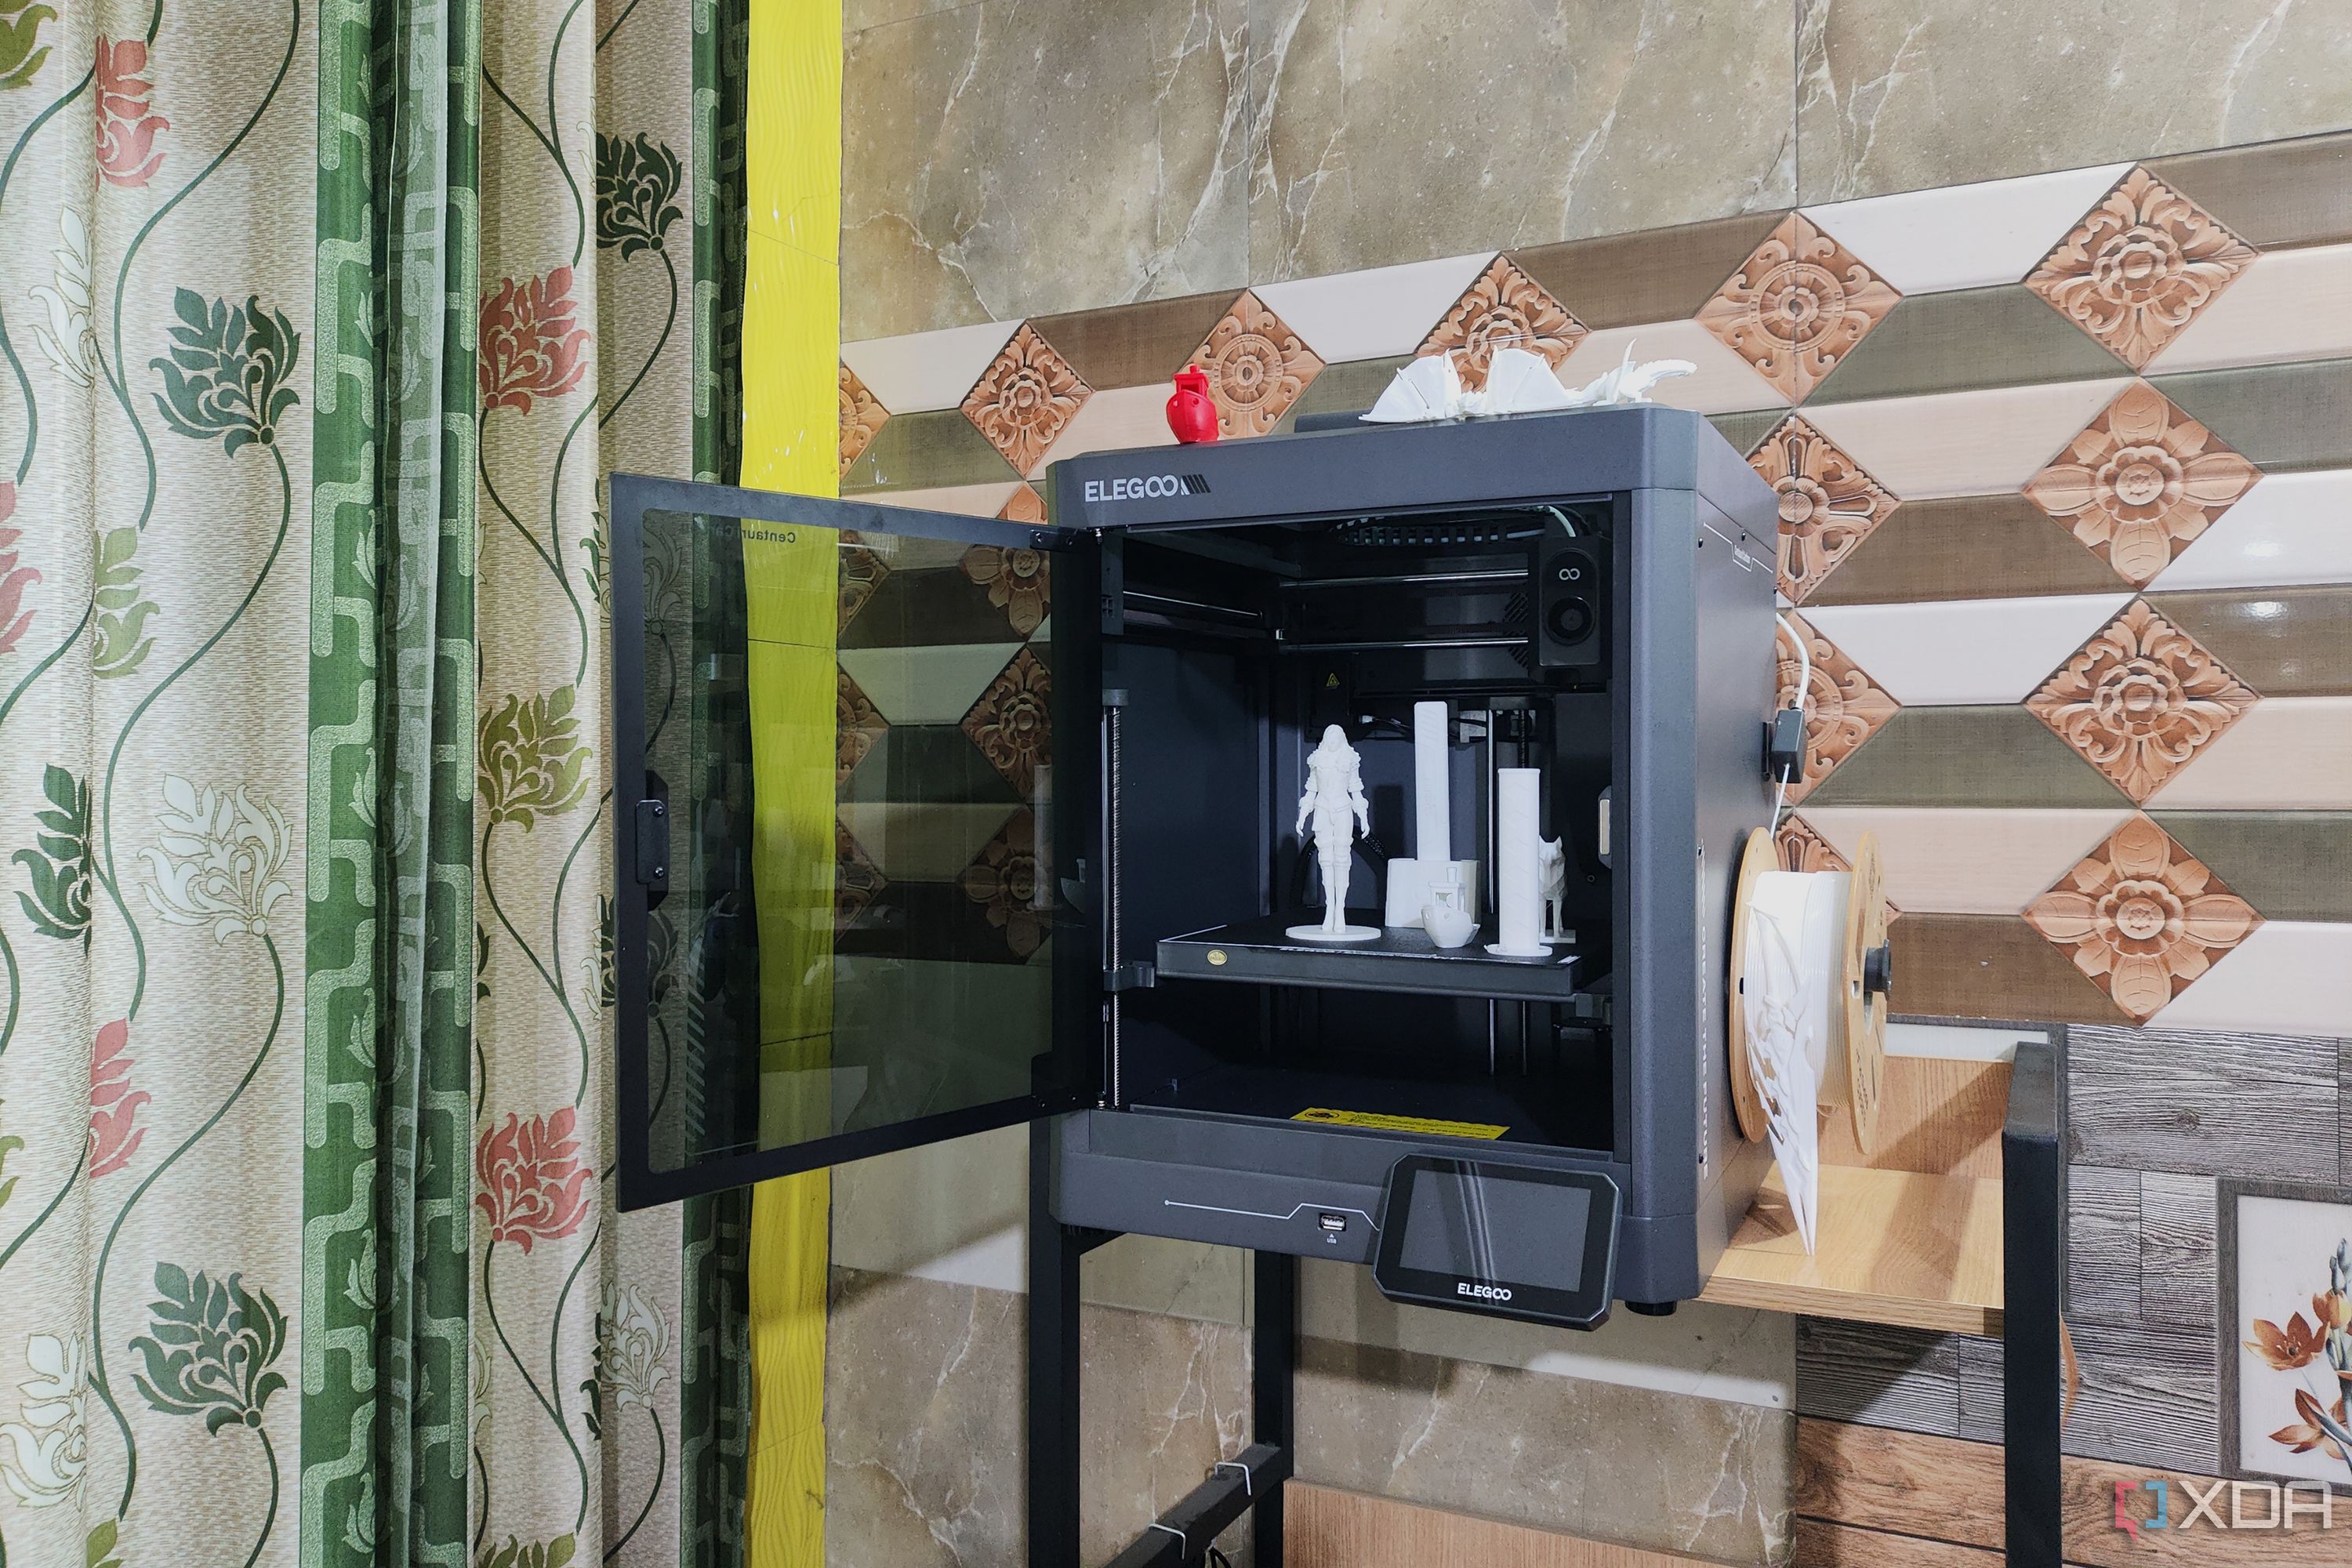
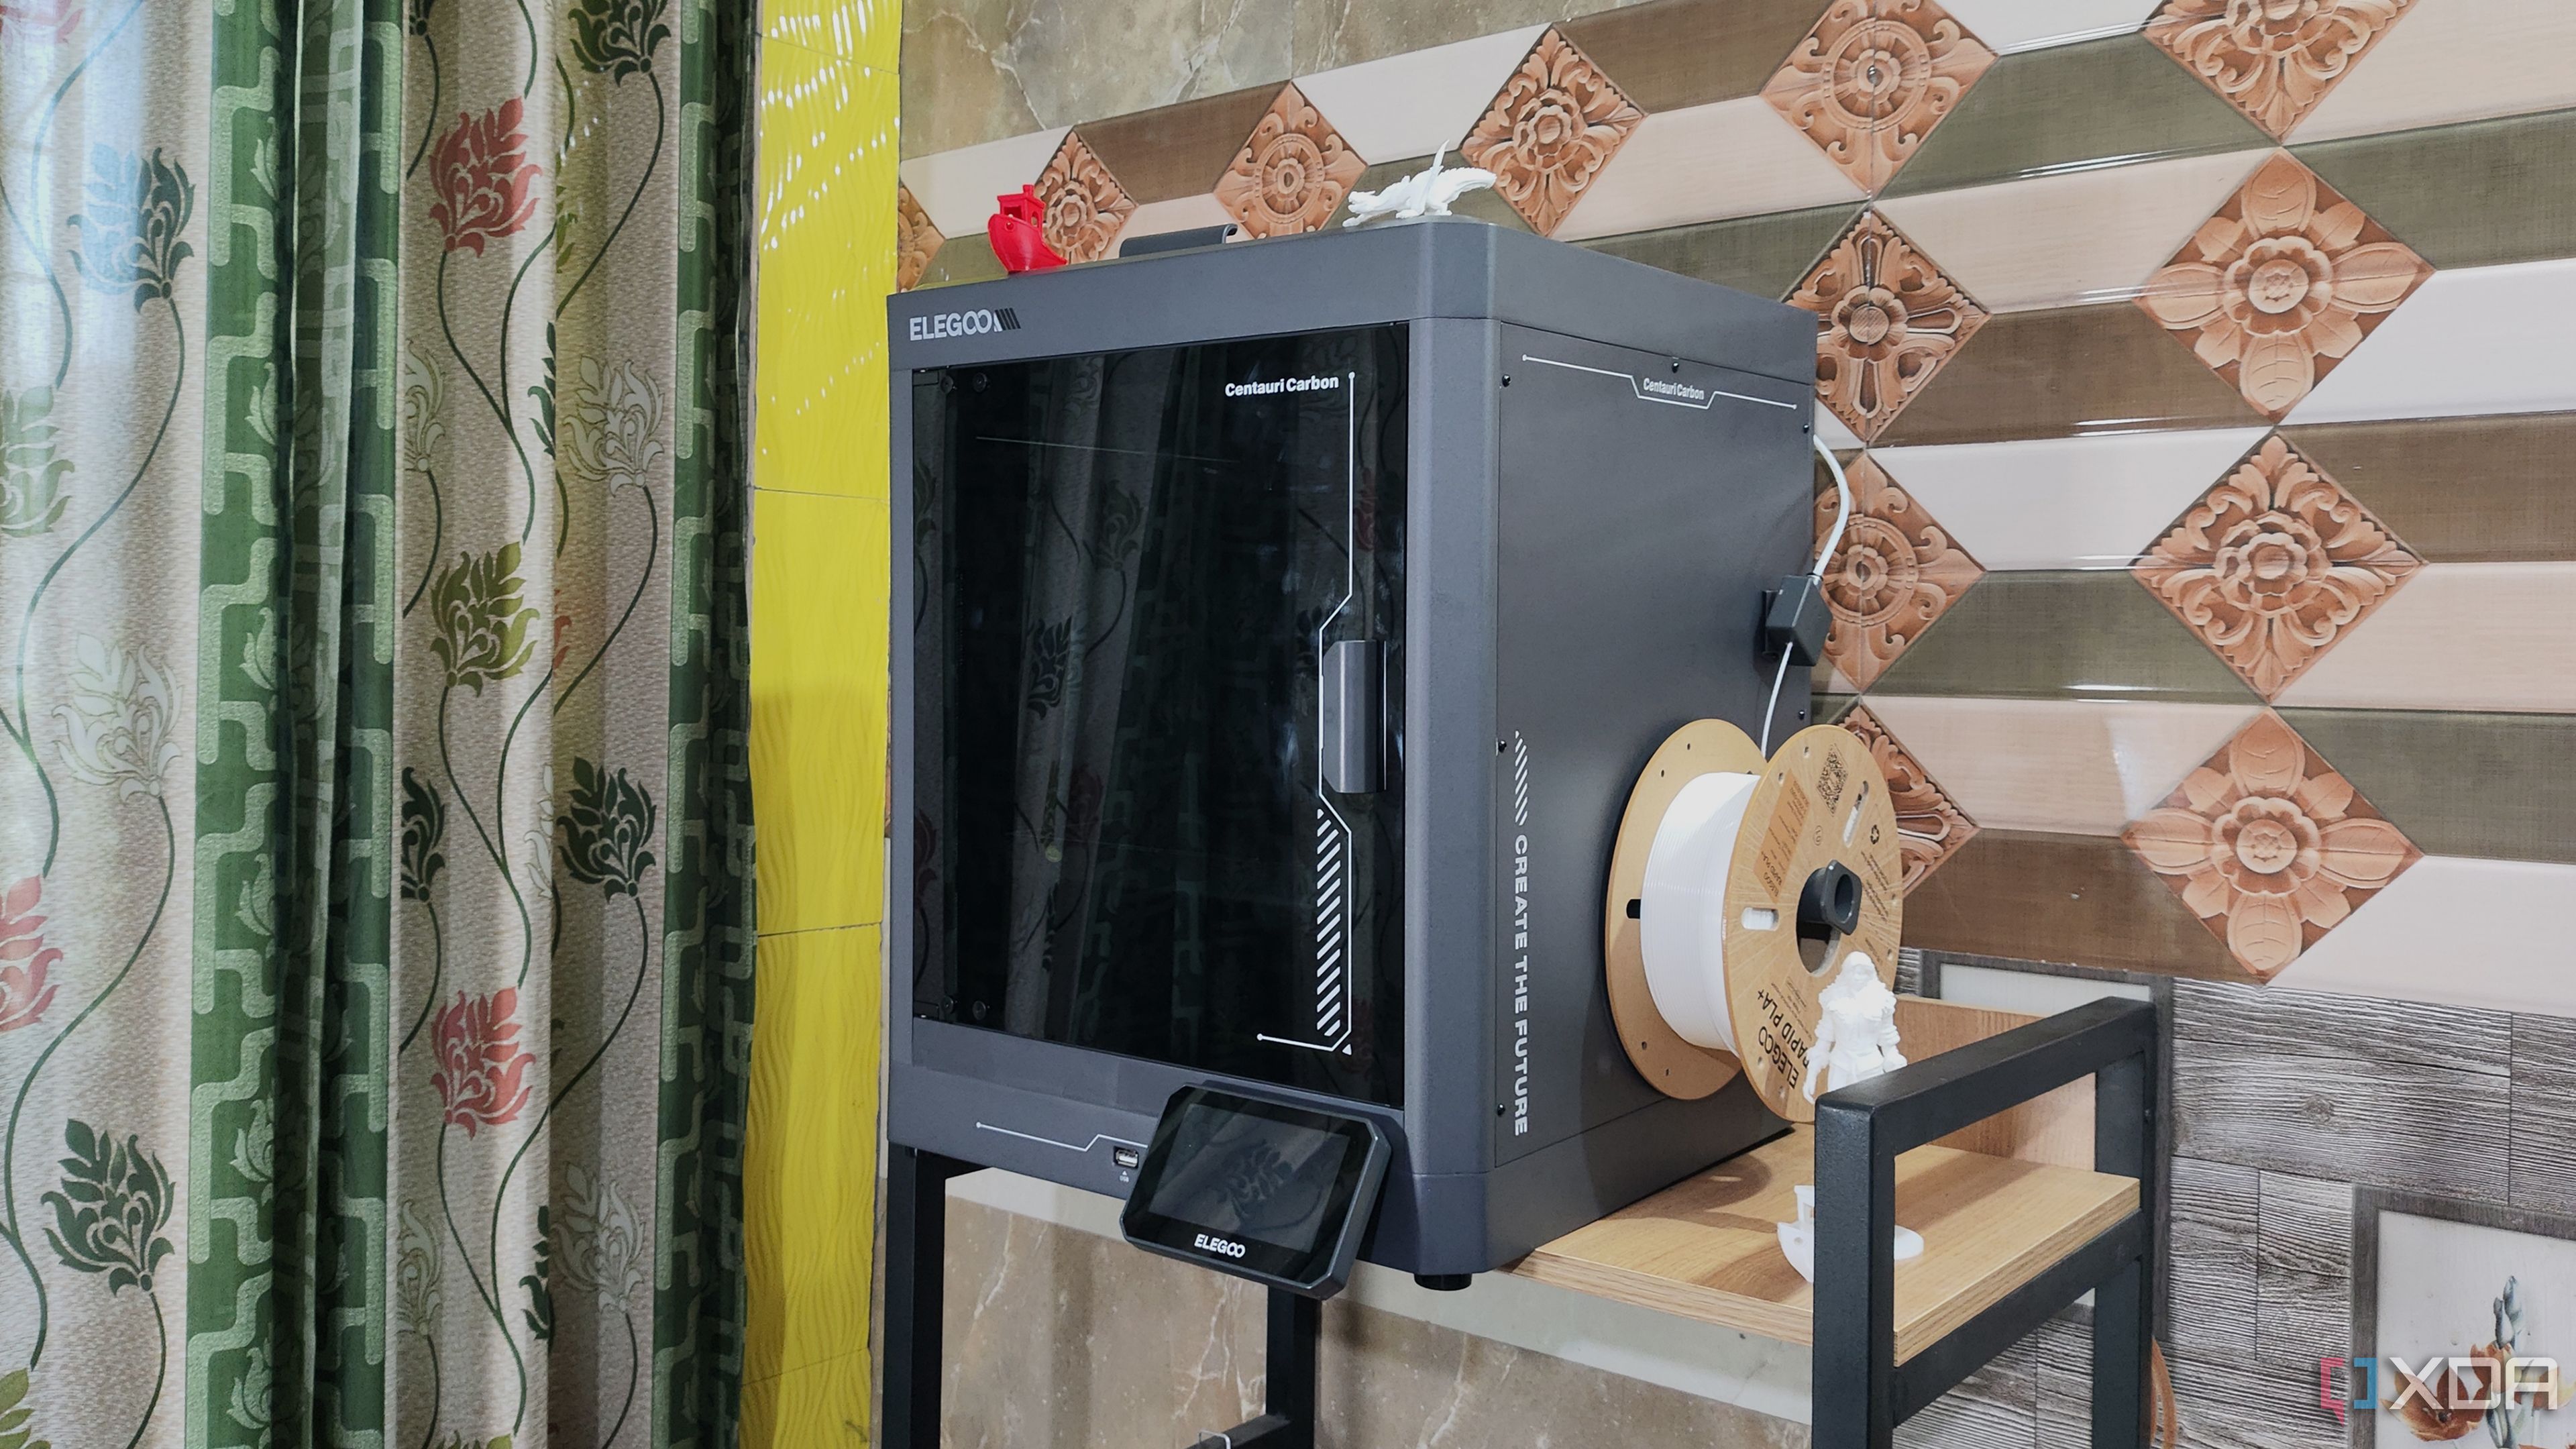
The Elegoo Centauri Carbon is the king of budget-friendly enclosed FDM 3D printers
The Elegoo Centauri Carbon is an enclosed XY 3D printer that can deliver high-quality prints without taxing your wallet
There’s no reason to struggle with a cheap 3D printer nowadays
When I first got into 3D printing, anything a hobbyist could afford was technically a cheap printer, because the commercial ones were five figures. However, the tech has advanced and trickled down to the consumer market, and you can get some genuinely excellent 3D printers for a few hundred bucks. The only thing you get with cheap printers now is a headache, and more maintenance issues that are a decent learning experience, but detract from the enjoyment. Get something with value, so that when something does go wrong, it’s a smaller obstacle to fix than having to struggle with every stage of the printing process.


