Summary
- Multi-pass settings over single-pass for cleaner edges
- Adjust speed and power to avoid overheating materials
- Align machine, manage smoke, and let material cool for best results
In laser engraving, there’s a delicate balance between speed, power, and precision. I’ve found that multi-pass engraving is the key for materials that need a deeper cut or a cleaner edge. Layering up the passes can produce much smoother results rather than blasting through in one go and risking burns, charred edges, or warped material. Here are my top four tips for dialing in my settings to get consistent and clean cuts every time.

Related
I discovered 5 projects that blend 3D printing and laser engraving
I don’t think my love of laser engraving or 3D printing is a secret, but even better would be combining the two. These projects do just that
4
Using multi-pass engraving settings instead of single-pass
Less scorching, cleaner edges, and better control
Single-pass cutting often requires cranking the power high and slowing down the speed. That can overheat the material, leading to melted edges on acrylic or excessive charring on wood. Multi-pass engraving lets me avoid that by using lower power settings and gradually working through the material. It also helps reduce smoke stains around the edges, which makes post-processing easier.
Another benefit is accuracy. You’re less likely to get material shifting or edge wobble when you go slower and lighter. I’ve had intricate shapes completely ruined by one aggressive pass, especially on thinner stock. With multiple light passes, my machine has more time to keep precise motion without skipping or drifting. This makes a noticeable difference for small text or delicate designs.
I also get better results with layered materials like plywood. Since the glue between layers can react unpredictably to high heat, multiple lower-intensity passes let the laser handle each layer with more finesse. That means fewer burned pockets or uneven cuts where knots or glue seams are present.
3
Dial in my multi-pass settings for the best quality cuts
Balancing speed, power, and number of passes
I start with the material thickness, then pick a power level around 30–50% of what I’d typically use for a single-pass cut. For 3mm plywood, for instance, I might run 35% power at 300mm/min and do 5–7 passes. I drop the speed a bit further with acrylic and reduce the power to prevent clouding or edge melting. If I’m engraving rather than cutting, I use even lower power with faster passes.
My general rule is to test on scrap first—the same batch, same thickness. I run one pass, check the depth, and multiply by the number of passes I’ll need to go through. Feeler gauges are my best friend here since I’d rather do one or two extra passes than risk overshooting and wrecking a near-perfect piece. It takes longer, but it saves material and frustration.
I also ensure the laser’s focus is set correctly before every job. I sometimes refocus slightly lower partway through for deeper cuts to keep the beam aligned with the deepening cut. Not every machine supports this mid-job, but it’s worth trying if yours does—it can reduce char buildup at the bottom edge.

Related
5 DIY laser engraving ideas that make fantastic gifts
If you have a laser engraver, you’ve got an easy path to making some fantastic gifts for your friends and loved ones
2
Tips to avoid common multi-pass issues
Staying aligned, smoke management, and cooling
The most crucial factor in clean multi-pass engraving is alignment. You’ll get fuzzy or jagged edges if the machine doesn’t return to the same path each time. Make sure your belts are correctly tensioned and your frame is stable. I’ve also found that slowing down acceleration settings helps reduce mechanical wobble between passes.
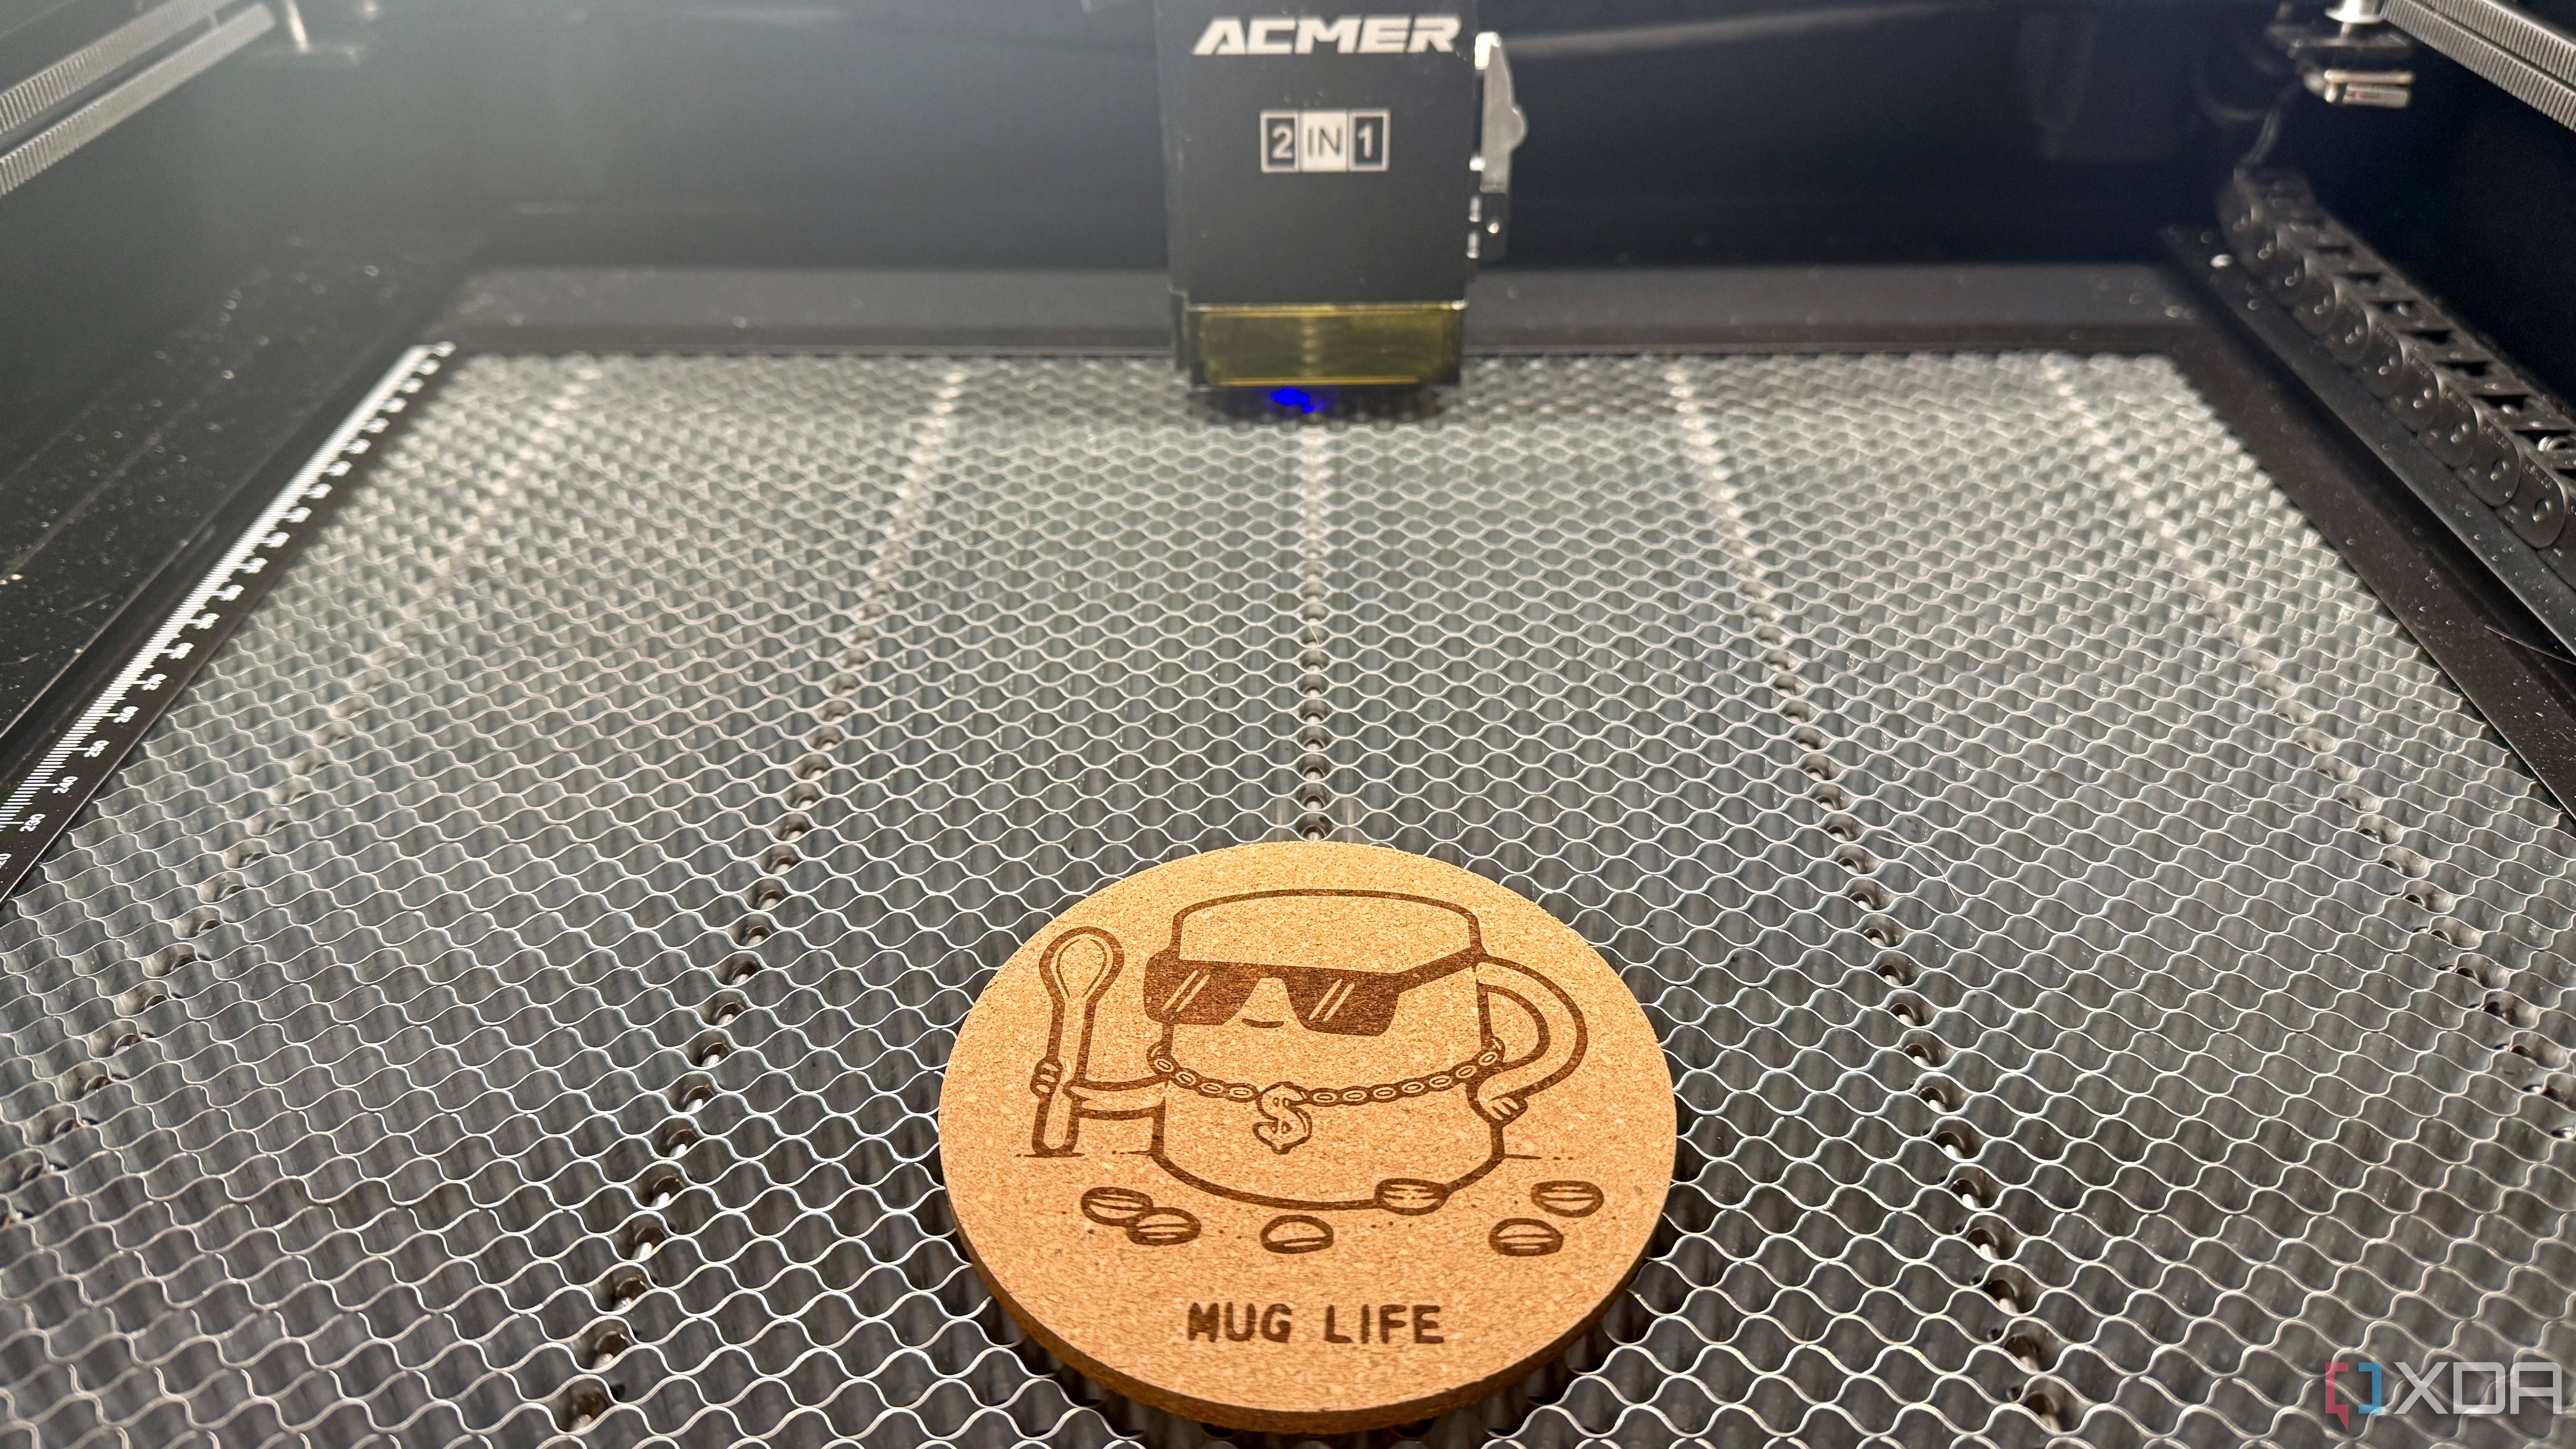
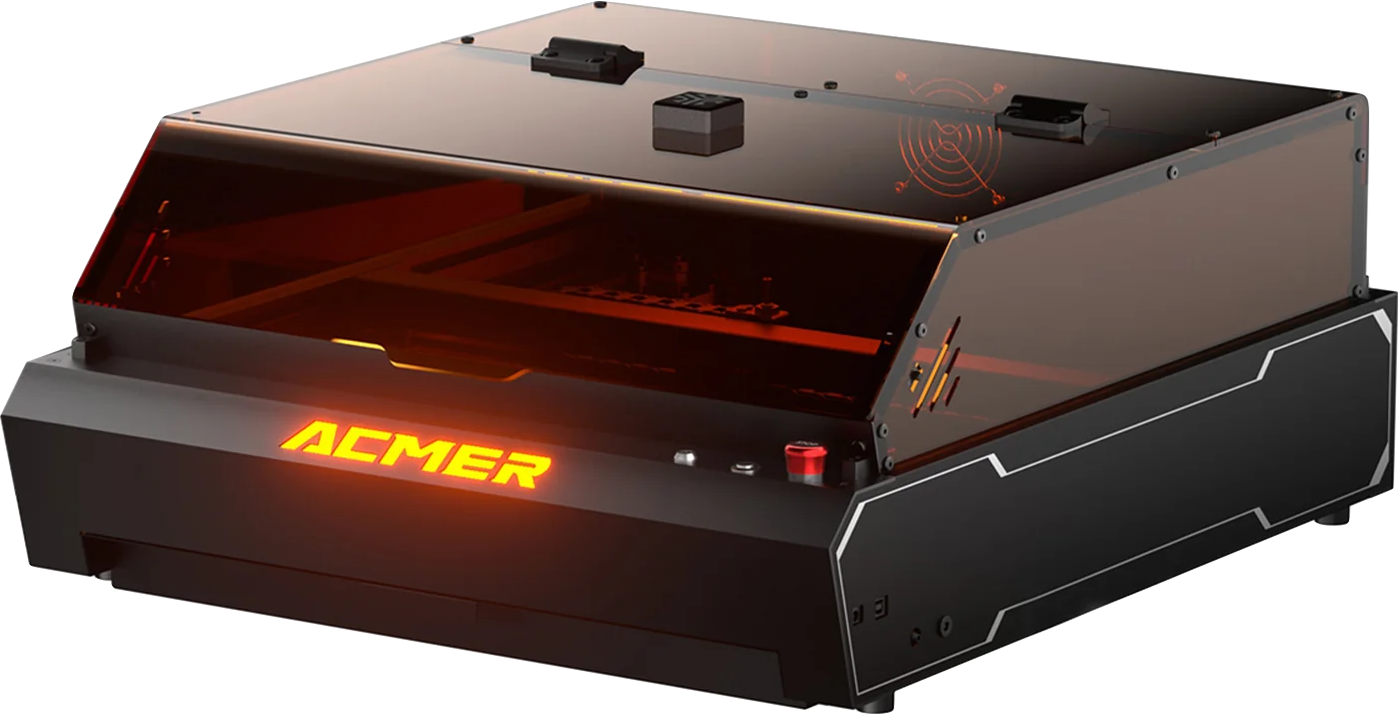
Smoke and debris buildup can also mess with your results. My Acmer P3 2-in-1 includes air assist, which I keep running throughout the job. My engraver’s fan and separate air purifier pull smoke away from the work area. Between passes, I sometimes pause to lightly wipe the surface if soot is accumulating. This keeps the laser from burning through gunk and affecting the cut.
Lastly, I give the material a few seconds to cool between passes on longer jobs. This helps avoid warping or bubbling, especially with plastics. If you’re doing ten or more passes, that heat can really build up. It’s tempting to rush through, but patience keeps the results consistent.
1
My go-to materials and favorite combos
What works best for my laser cutter
For woods, I mostly use 3mm and 6mm Baltic birch plywood. It’s dense but cuts cleanly with five to ten passes at 35–40% power. MDF also works well, though it creates more smoke, so I double down on ventilation. This is as easy as turning up its fan since I’ve got an air purifier attached to my laser engraver. I like hardwoods like maple and cherry for engraving, where lighter passes give a great contrast without scorching.
When cutting acrylic, I stick to cast rather than extruded. I’ve had the best luck using 20% power, 200mm/min, and 6 to 8 passes on 3mm-thick sheets. It gives me a polished, almost flame-polished edge without needing to sand or polish later. I drop the speed to 100mm/min on thicker acrylic and add a couple more passes.
I don’t often use leather or fabric for deep cuts, but I do two or three light passes at fast speeds for engravings. Anything more tends to char or curl the edges. I avoid PVC completely — it’s toxic and not worth the risk to your health or your machine.
Getting clean cuts without compromise takes patience
Multi-pass engraving is a slower process, giving me far more control over the final product. Whether cutting acrylic panels or etching detailed designs into wood, the ability to layer up the effect with precision always pays off. It’s not just about depth — it’s about quality. You’ll see how much cleaner your projects can look once you dial in the balance of speed, power, and passes.

Acmer P3 2-in-1 Laser Engraver


