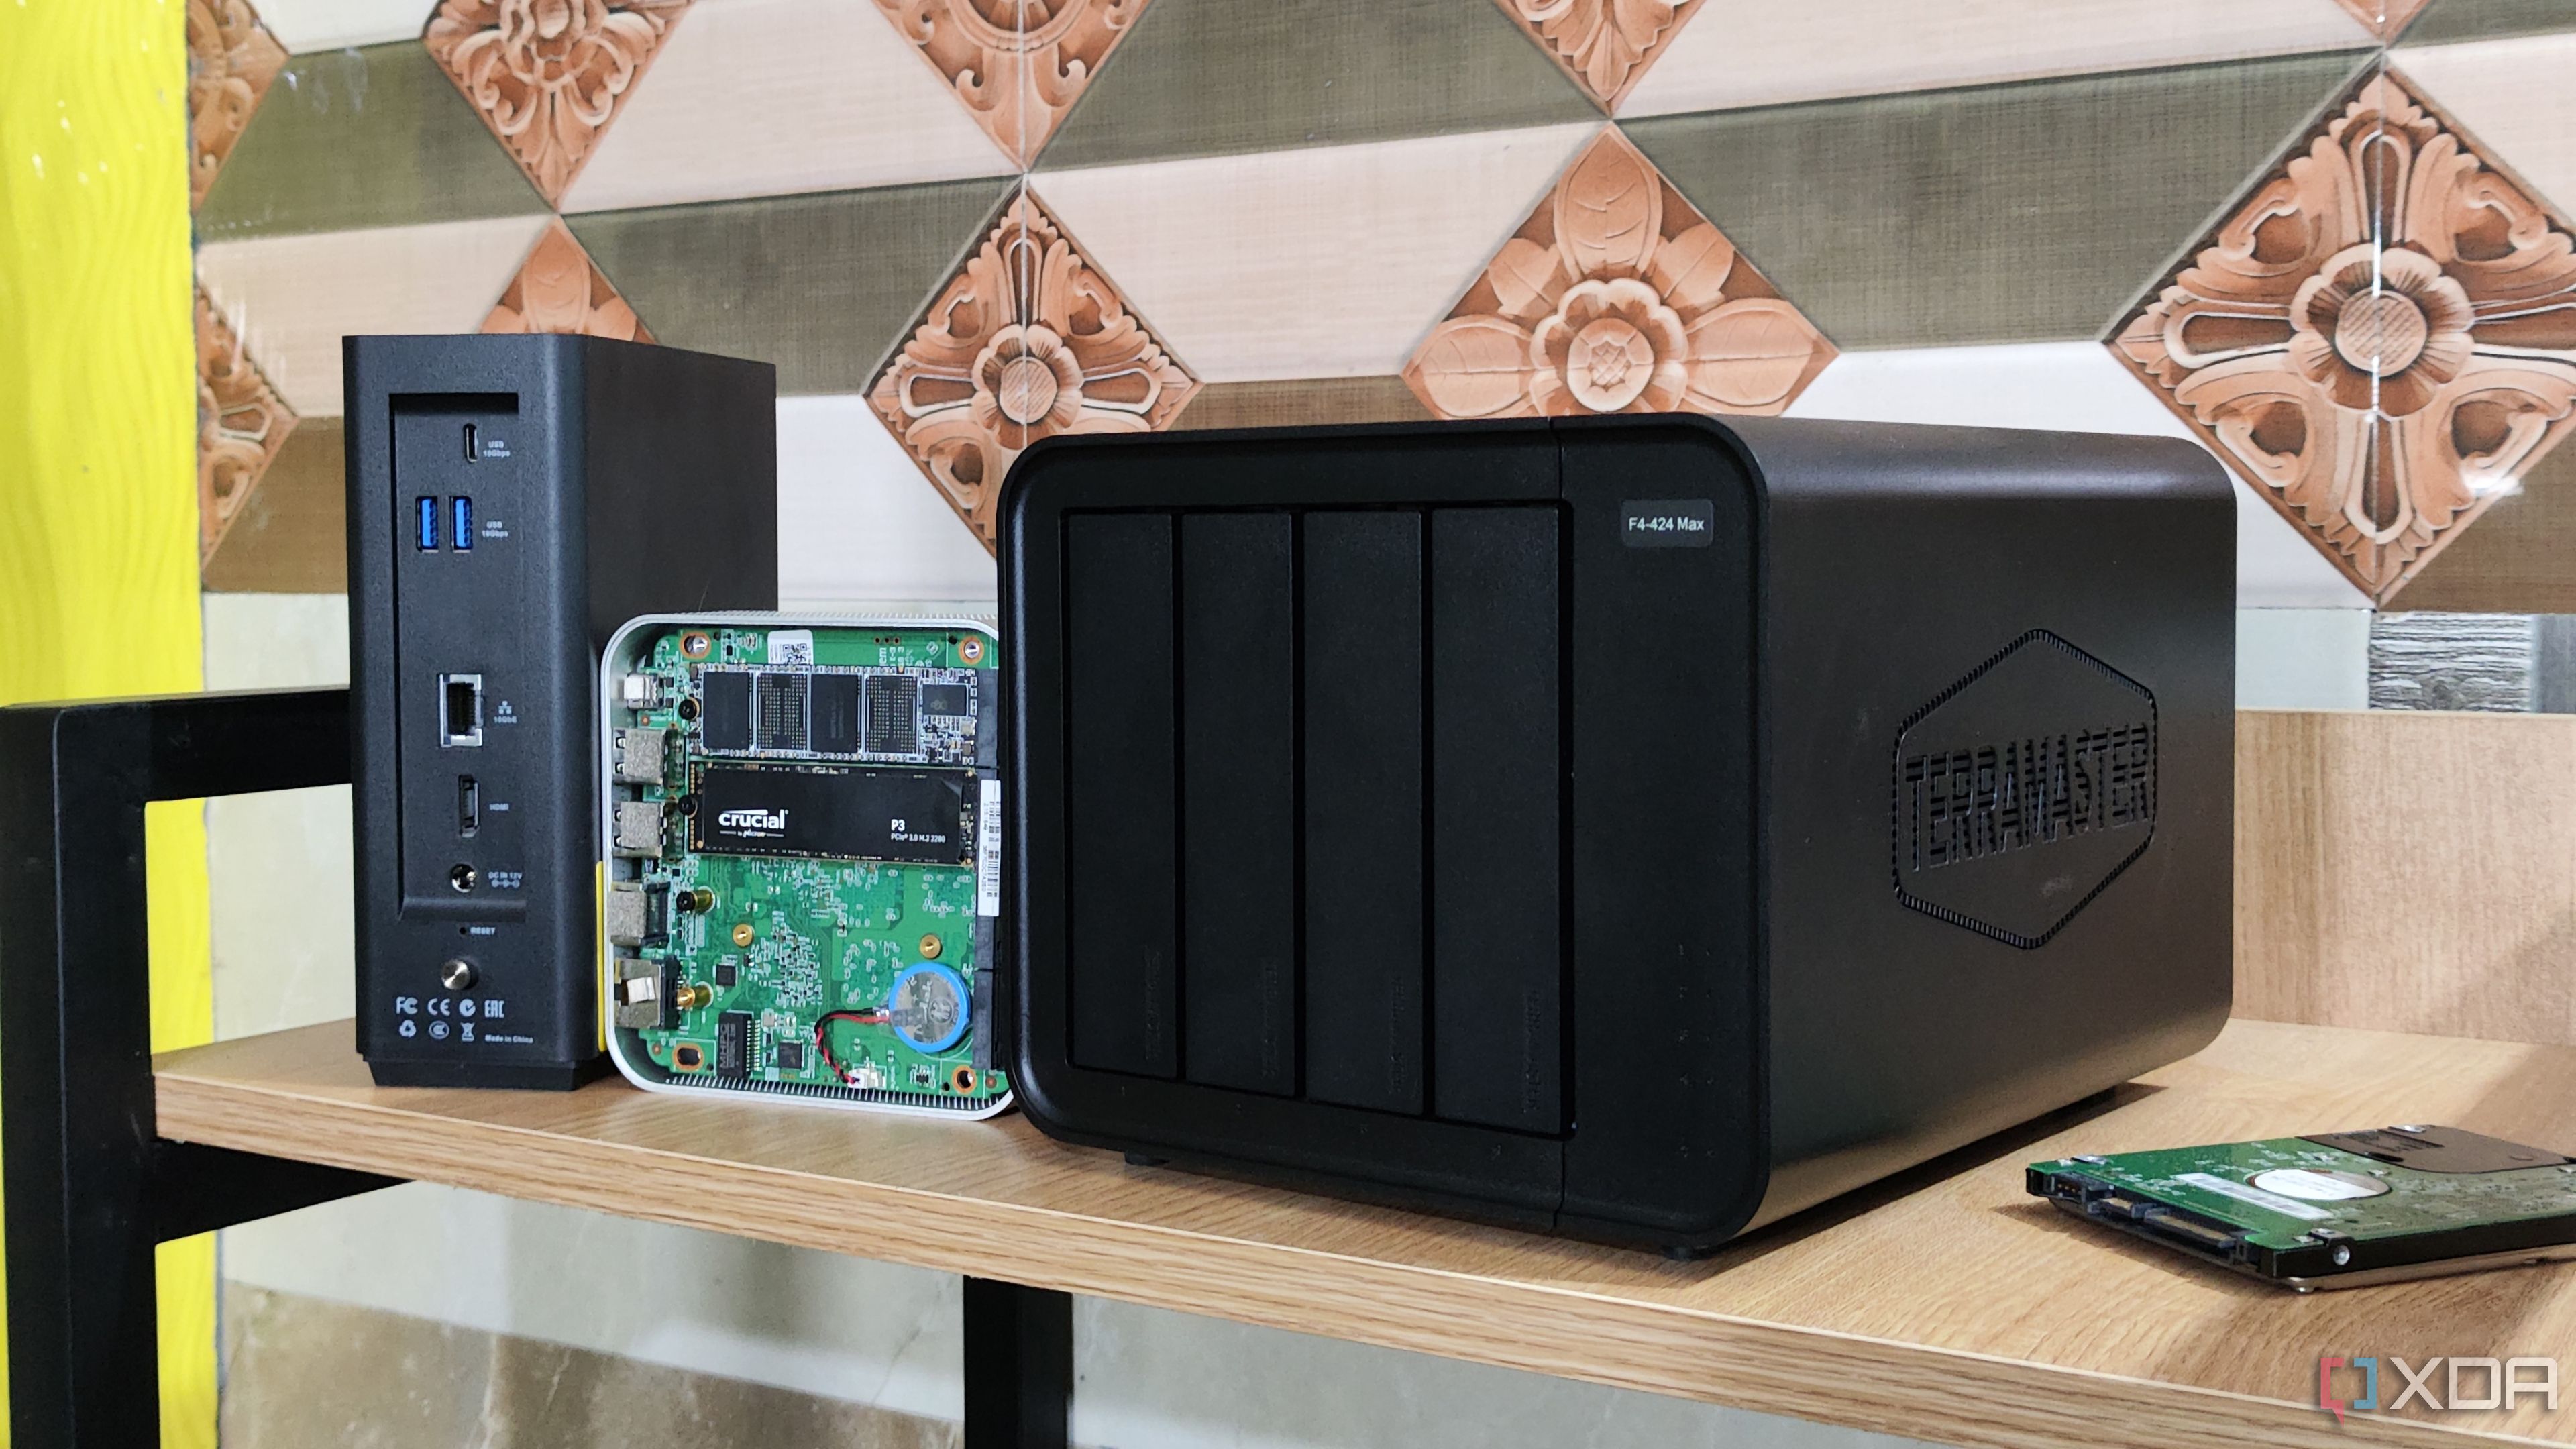
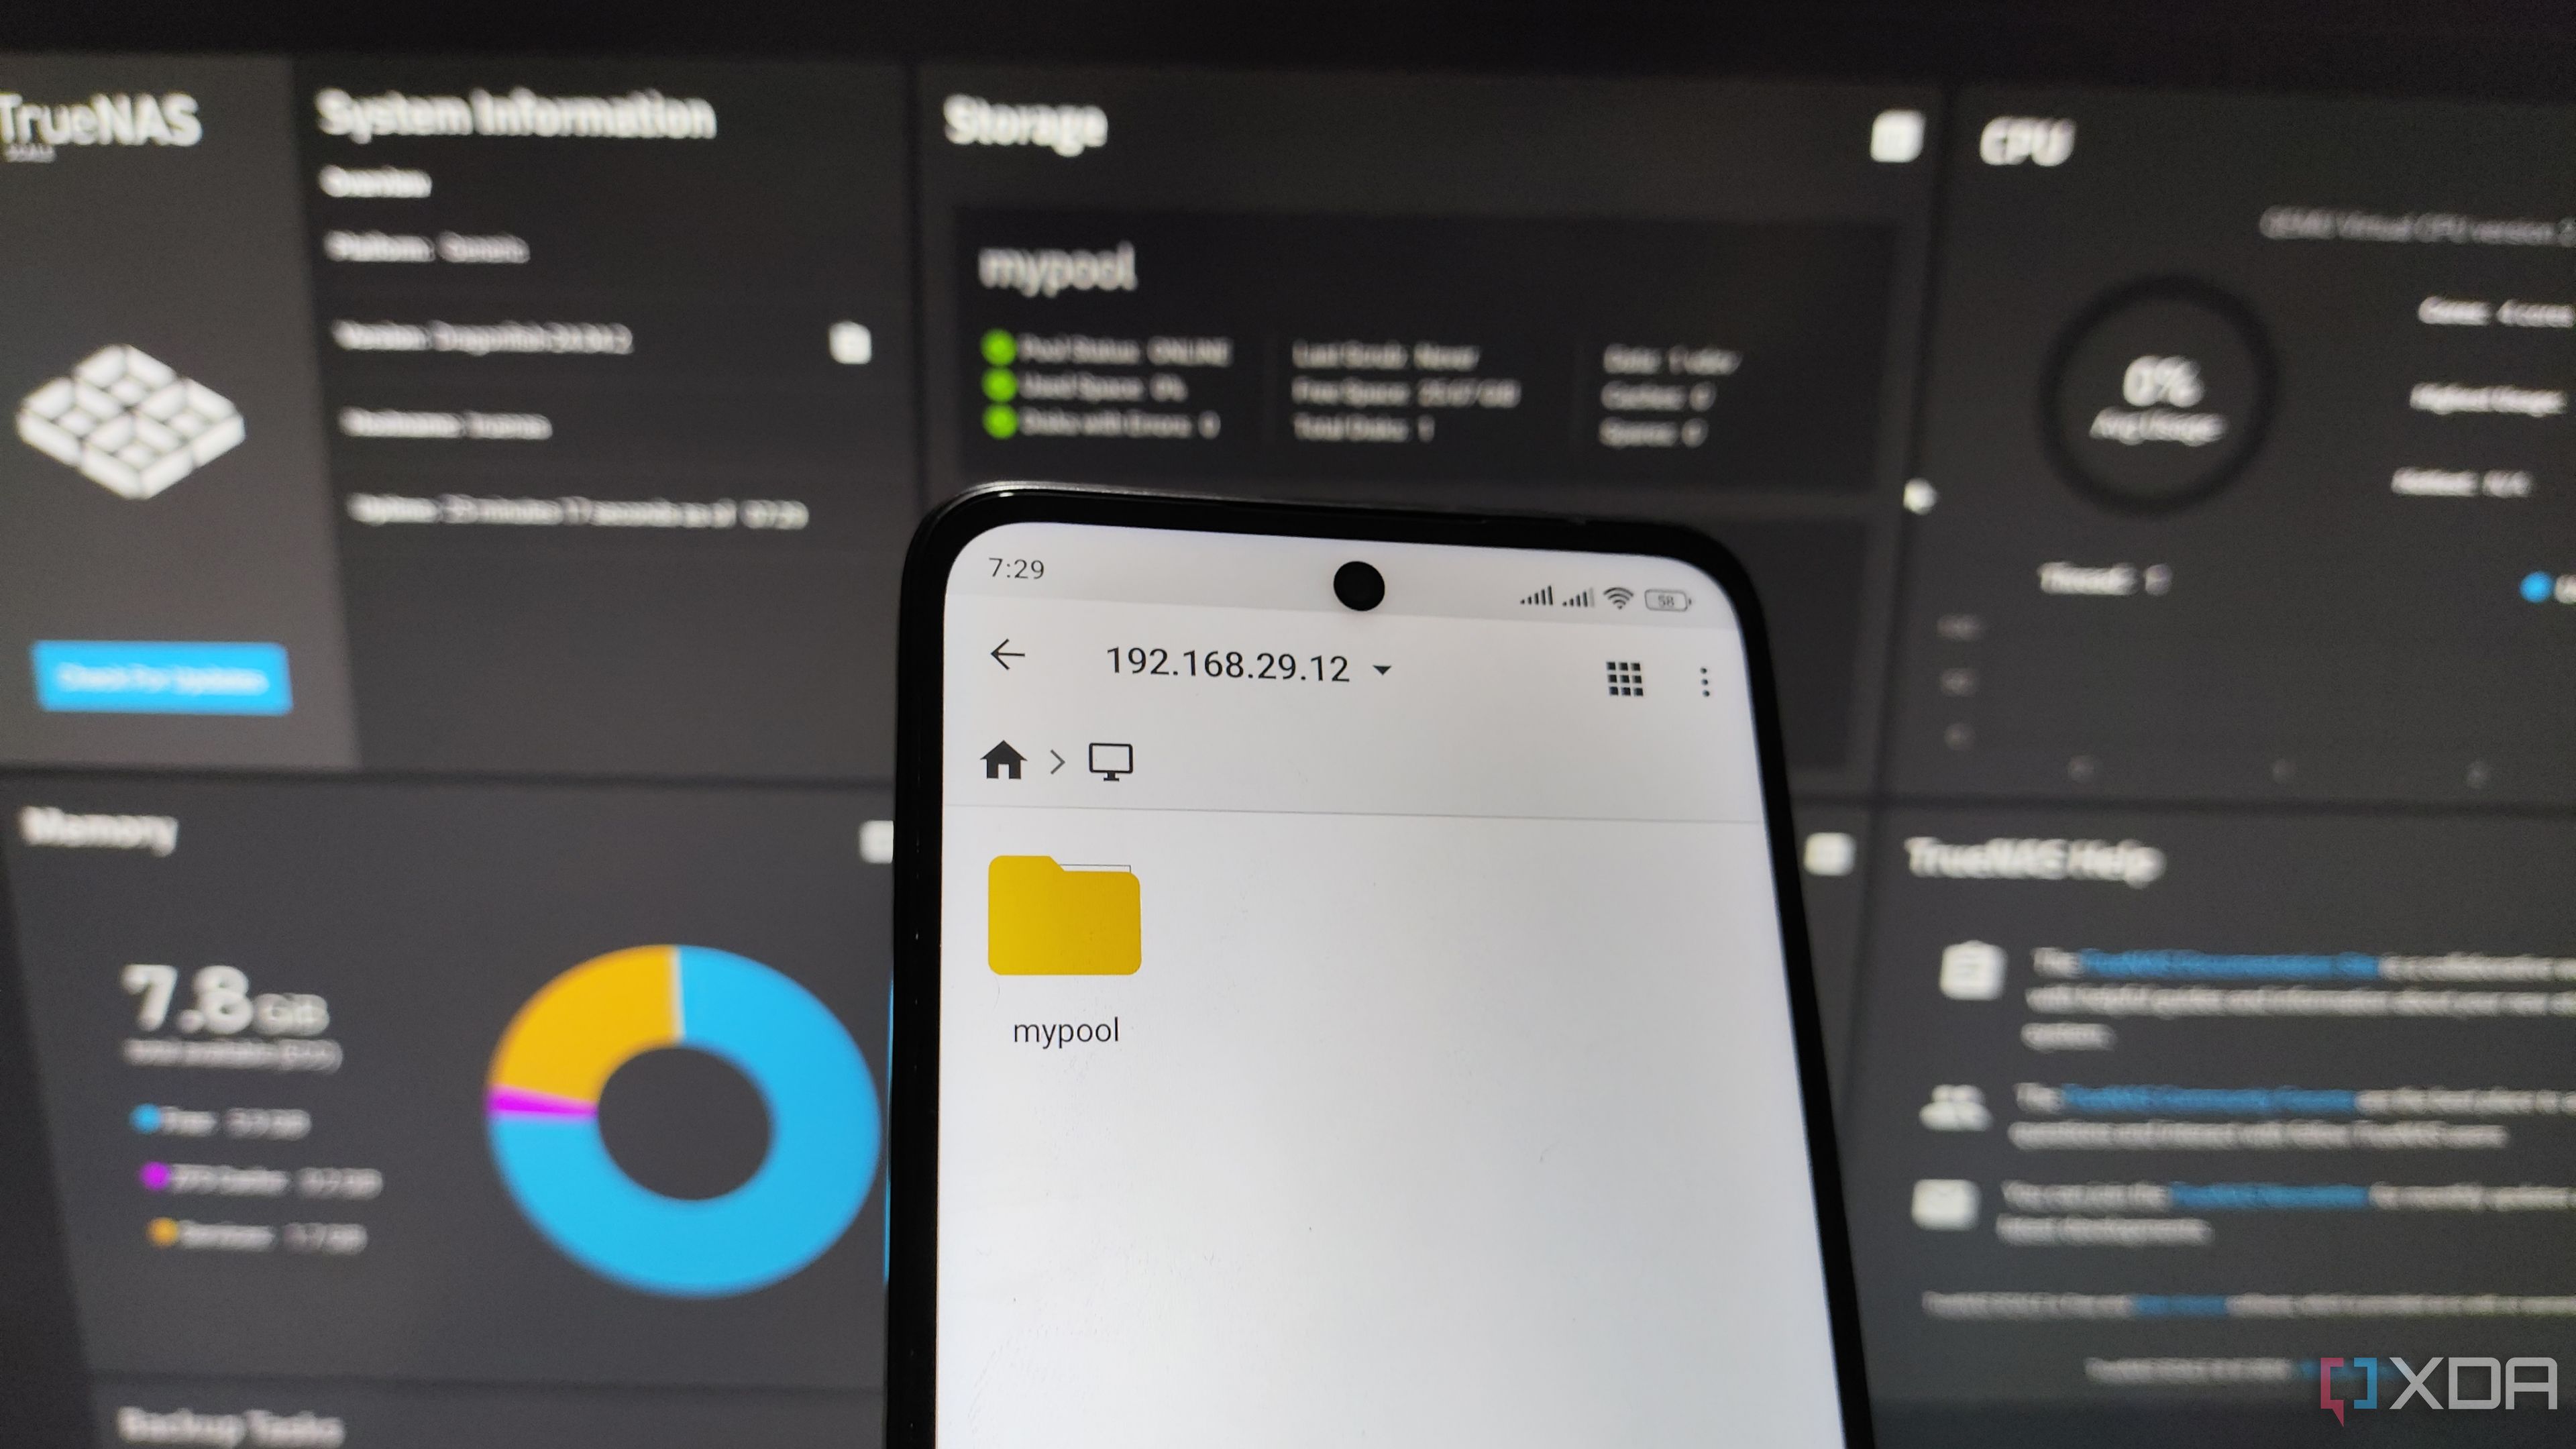
After using cloud storage platforms like Google Drive and iCloud for years, I finally decided to set up my own storage server and hence, picked up a NAS device. There are tons of options in the market, and you can buy any of the best NAS devices for your home or office to host your storage. I decided to get one from Synology since the brand has been around for a while and is quite popular in this domain. Moreover, since this was going to be my first NAS, I didn’t want to spend too much and was looking for a budget option. Once the NAS device was delivered, I started setting it up for use as a cloud service replacement. That’s when I realized that things weren’t going to be as straightforward as I’d imagined.
Most gadgets in recent times are plug-and-play with minimal setup required when using them for the first time. However, I figured that a NAS was more complex and required additional effort. I faced quite a few issues when setting up my NAS for the first time, but I found my way through all of them thanks to the help of my colleagues at XDA. That’s when I decided to document my experience, since it could potentially help more people who are thinking of exploring the world of NAS devices. There are simple problems with straightforward fixes that anyone can carry out.
Related
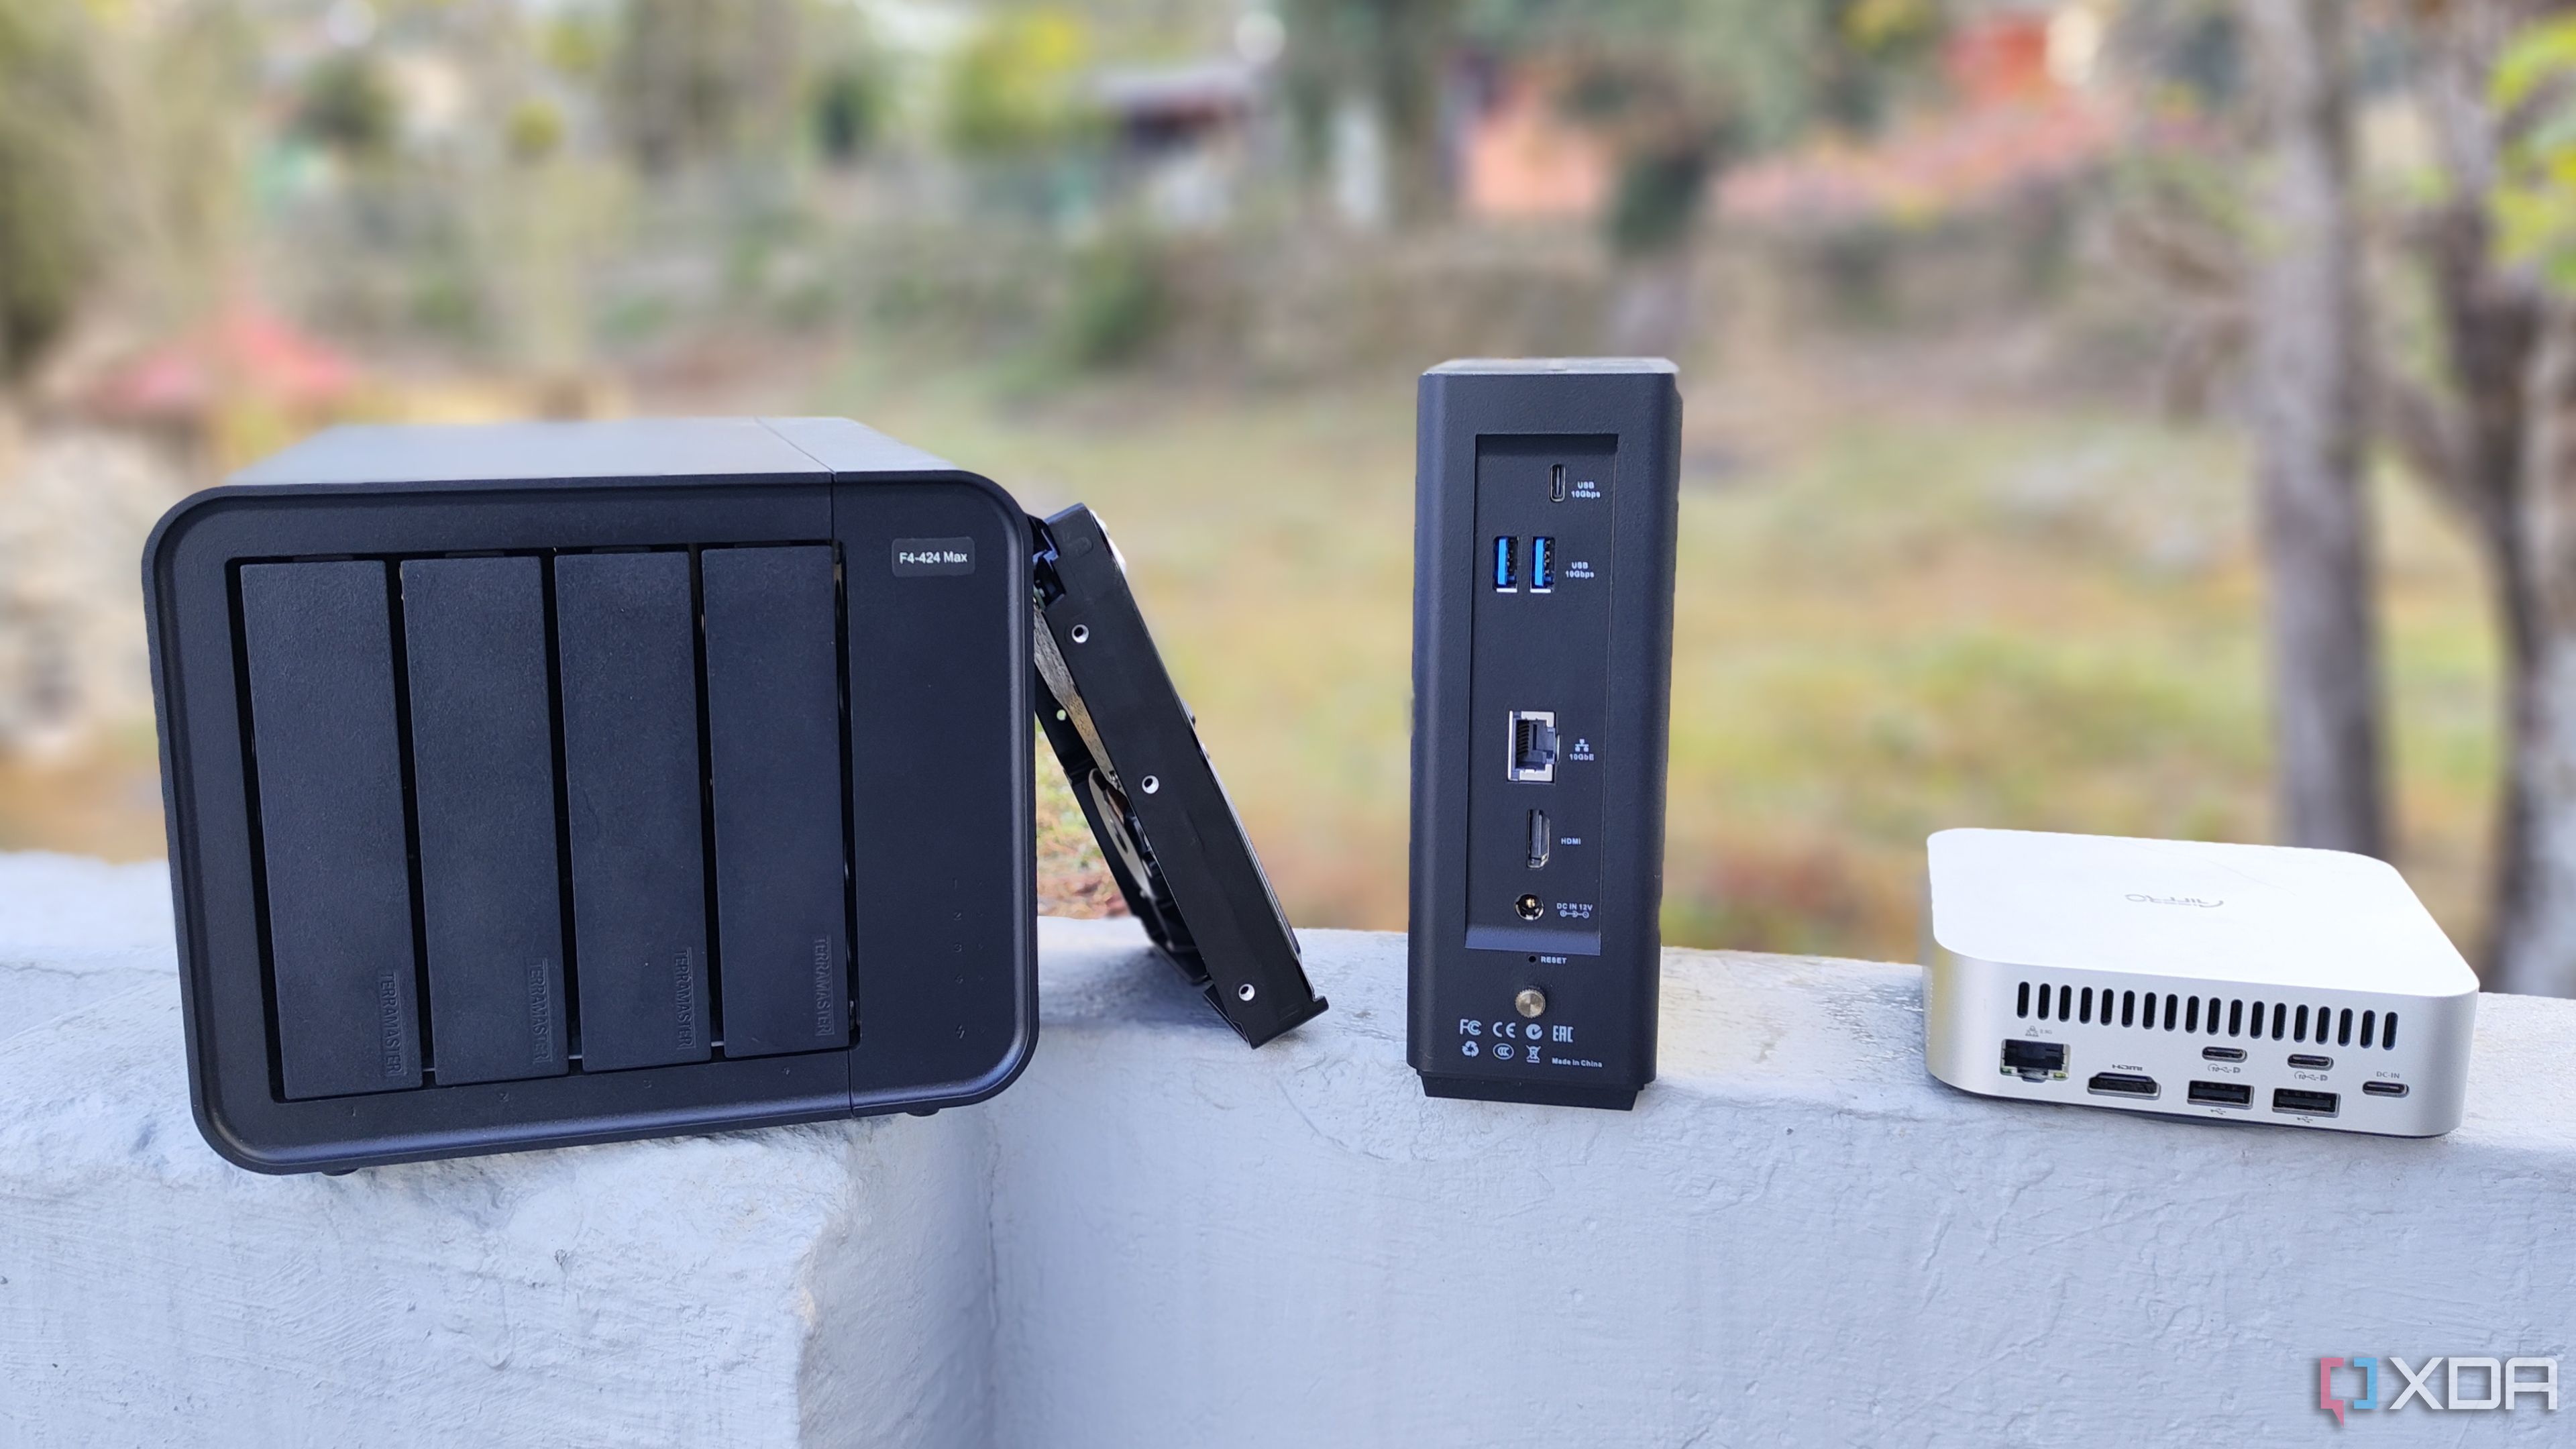
6 things nobody tells you about NAS devices and networking
Discovering along the journey isn’t always practical
5
Can’t see the NAS on the network
The most common error
One of the preliminary steps when setting up a new NAS device is turning it on and connecting it to your network. Now, this can be done either by using an RJ45 Ethernet cable or Wi-Fi. The issue can be caused regardless of the connection preference. Once you’ve eliminated the basics, like ensuring the cable is connected properly and entering the correct Wi-Fi password, the next step would be to check if you’re connecting the NAS device to the same network as your computer.
Once that’s out of the way, it’s time to eliminate any issues caused by incorrect network configurations, firewall settings, or IP conflicts. Access your router’s settings page and check if the NAS has been assigned an IP address. This would mean it is connected to the network. If you’re using antivirus software, disable it temporarily to avoid issues with the firewall. Then, use the software from the manufacturer to try and detect the device once again.
4
Unable to detect the drive
Where’s the HDD?
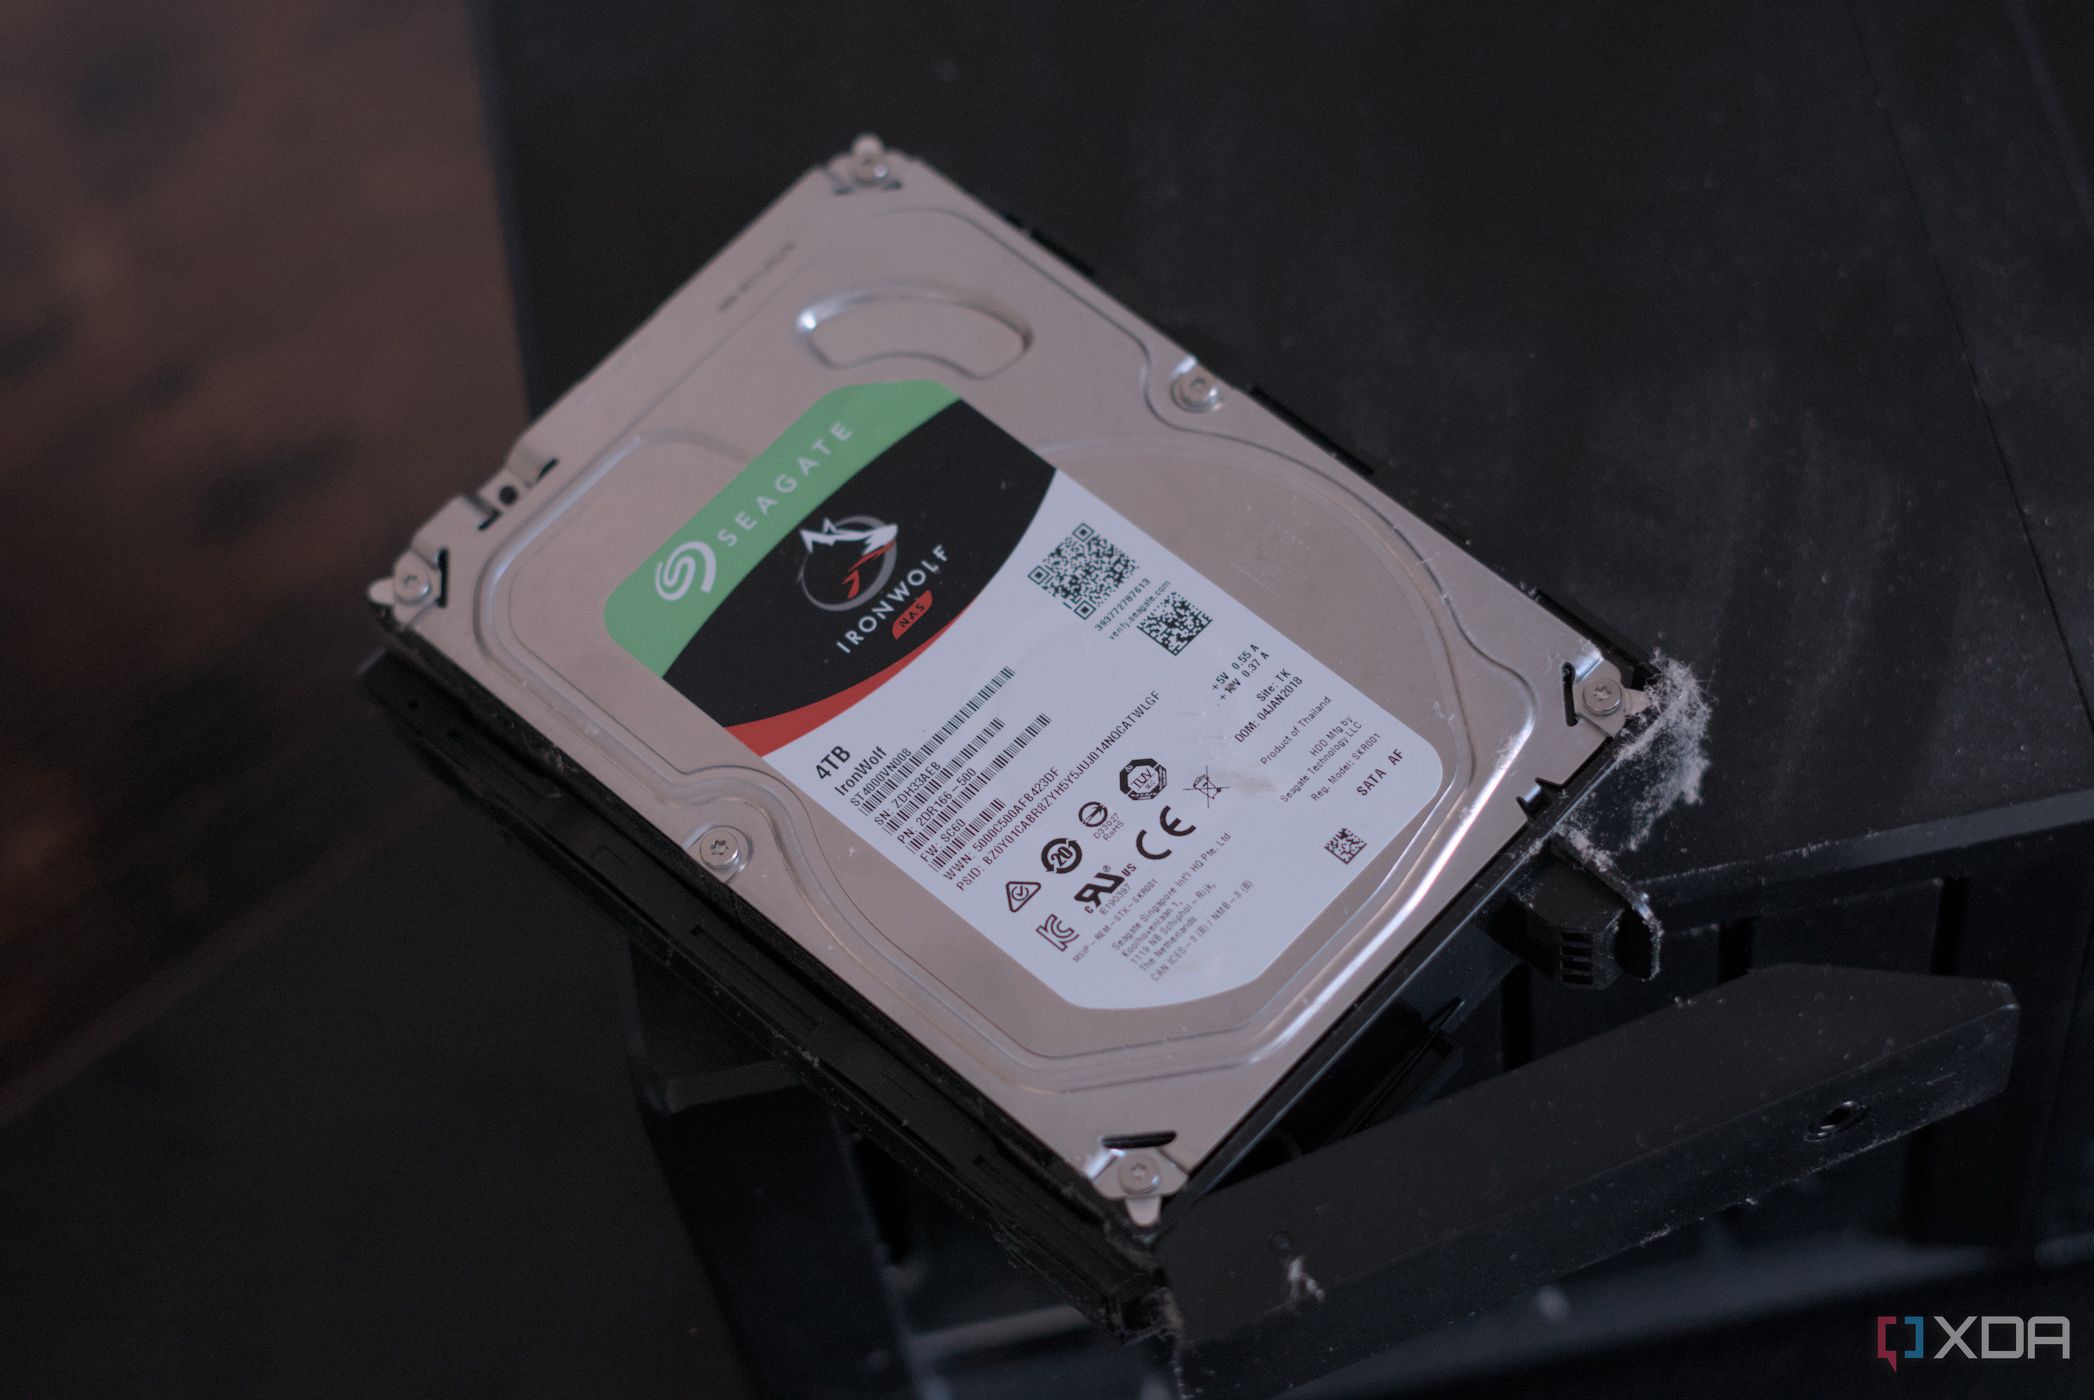
The heart of any NAS device is the hard disks you install inside it. That is where all the data is stored. If the hard disk you inserted isn’t showing up, the first step is to ensure you’re using a compatible one. Check the manufacturer’s website or the included paperwork with your NAS device to see the list of compatible drives. Once that’s out of the way, unplug the drive and reinsert it to ensure the connection is solid.
If that doesn’t help either, disconnect the drive and try plugging it into a computer to see if it’s functional. If you’re using an old hard drive, it may be damaged, so this is a good way to rule out any such possibility. Finally, update the firmware of the NAS, and try using a different drive to see if that works. If none of your drives are working, there could be an issue with the connectors on the device. I faced this exact issue, so I had to return the unit I received. The replacement device worked just fine.
Related
I self-hosted a Google Photos alternative with a Synology NAS — here’s how it went
Build your own photo management platform with a NAS!
3
Slow network performance
Files taking forever to load?
Once I set up my NAS device, I tried accessing some files on the drive and realized it was way too slow. I tried updating the firmware, ensuring I used the 5 GHz Wi-Fi network, and checked if there was any sort of backup or indexing going on in the background that caused a bottleneck, but there was nothing of that sort. That’s when I decided to switch away from the wireless configuration, and that was exactly what was needed.
I used wired connections instead of going the wireless route, and that did the trick for me. Although wireless connections should also work fine for most people, and the difference shouldn’t be as drastic as it was in my case, using an Ethernet cable is certainly more reliable. It’s also possible that my router was limiting the bandwidth to the NAS device, so if you’re using it wirelessly, use your router’s settings page to whitelist the device.
2
Access denied errors
Unable to display shared files
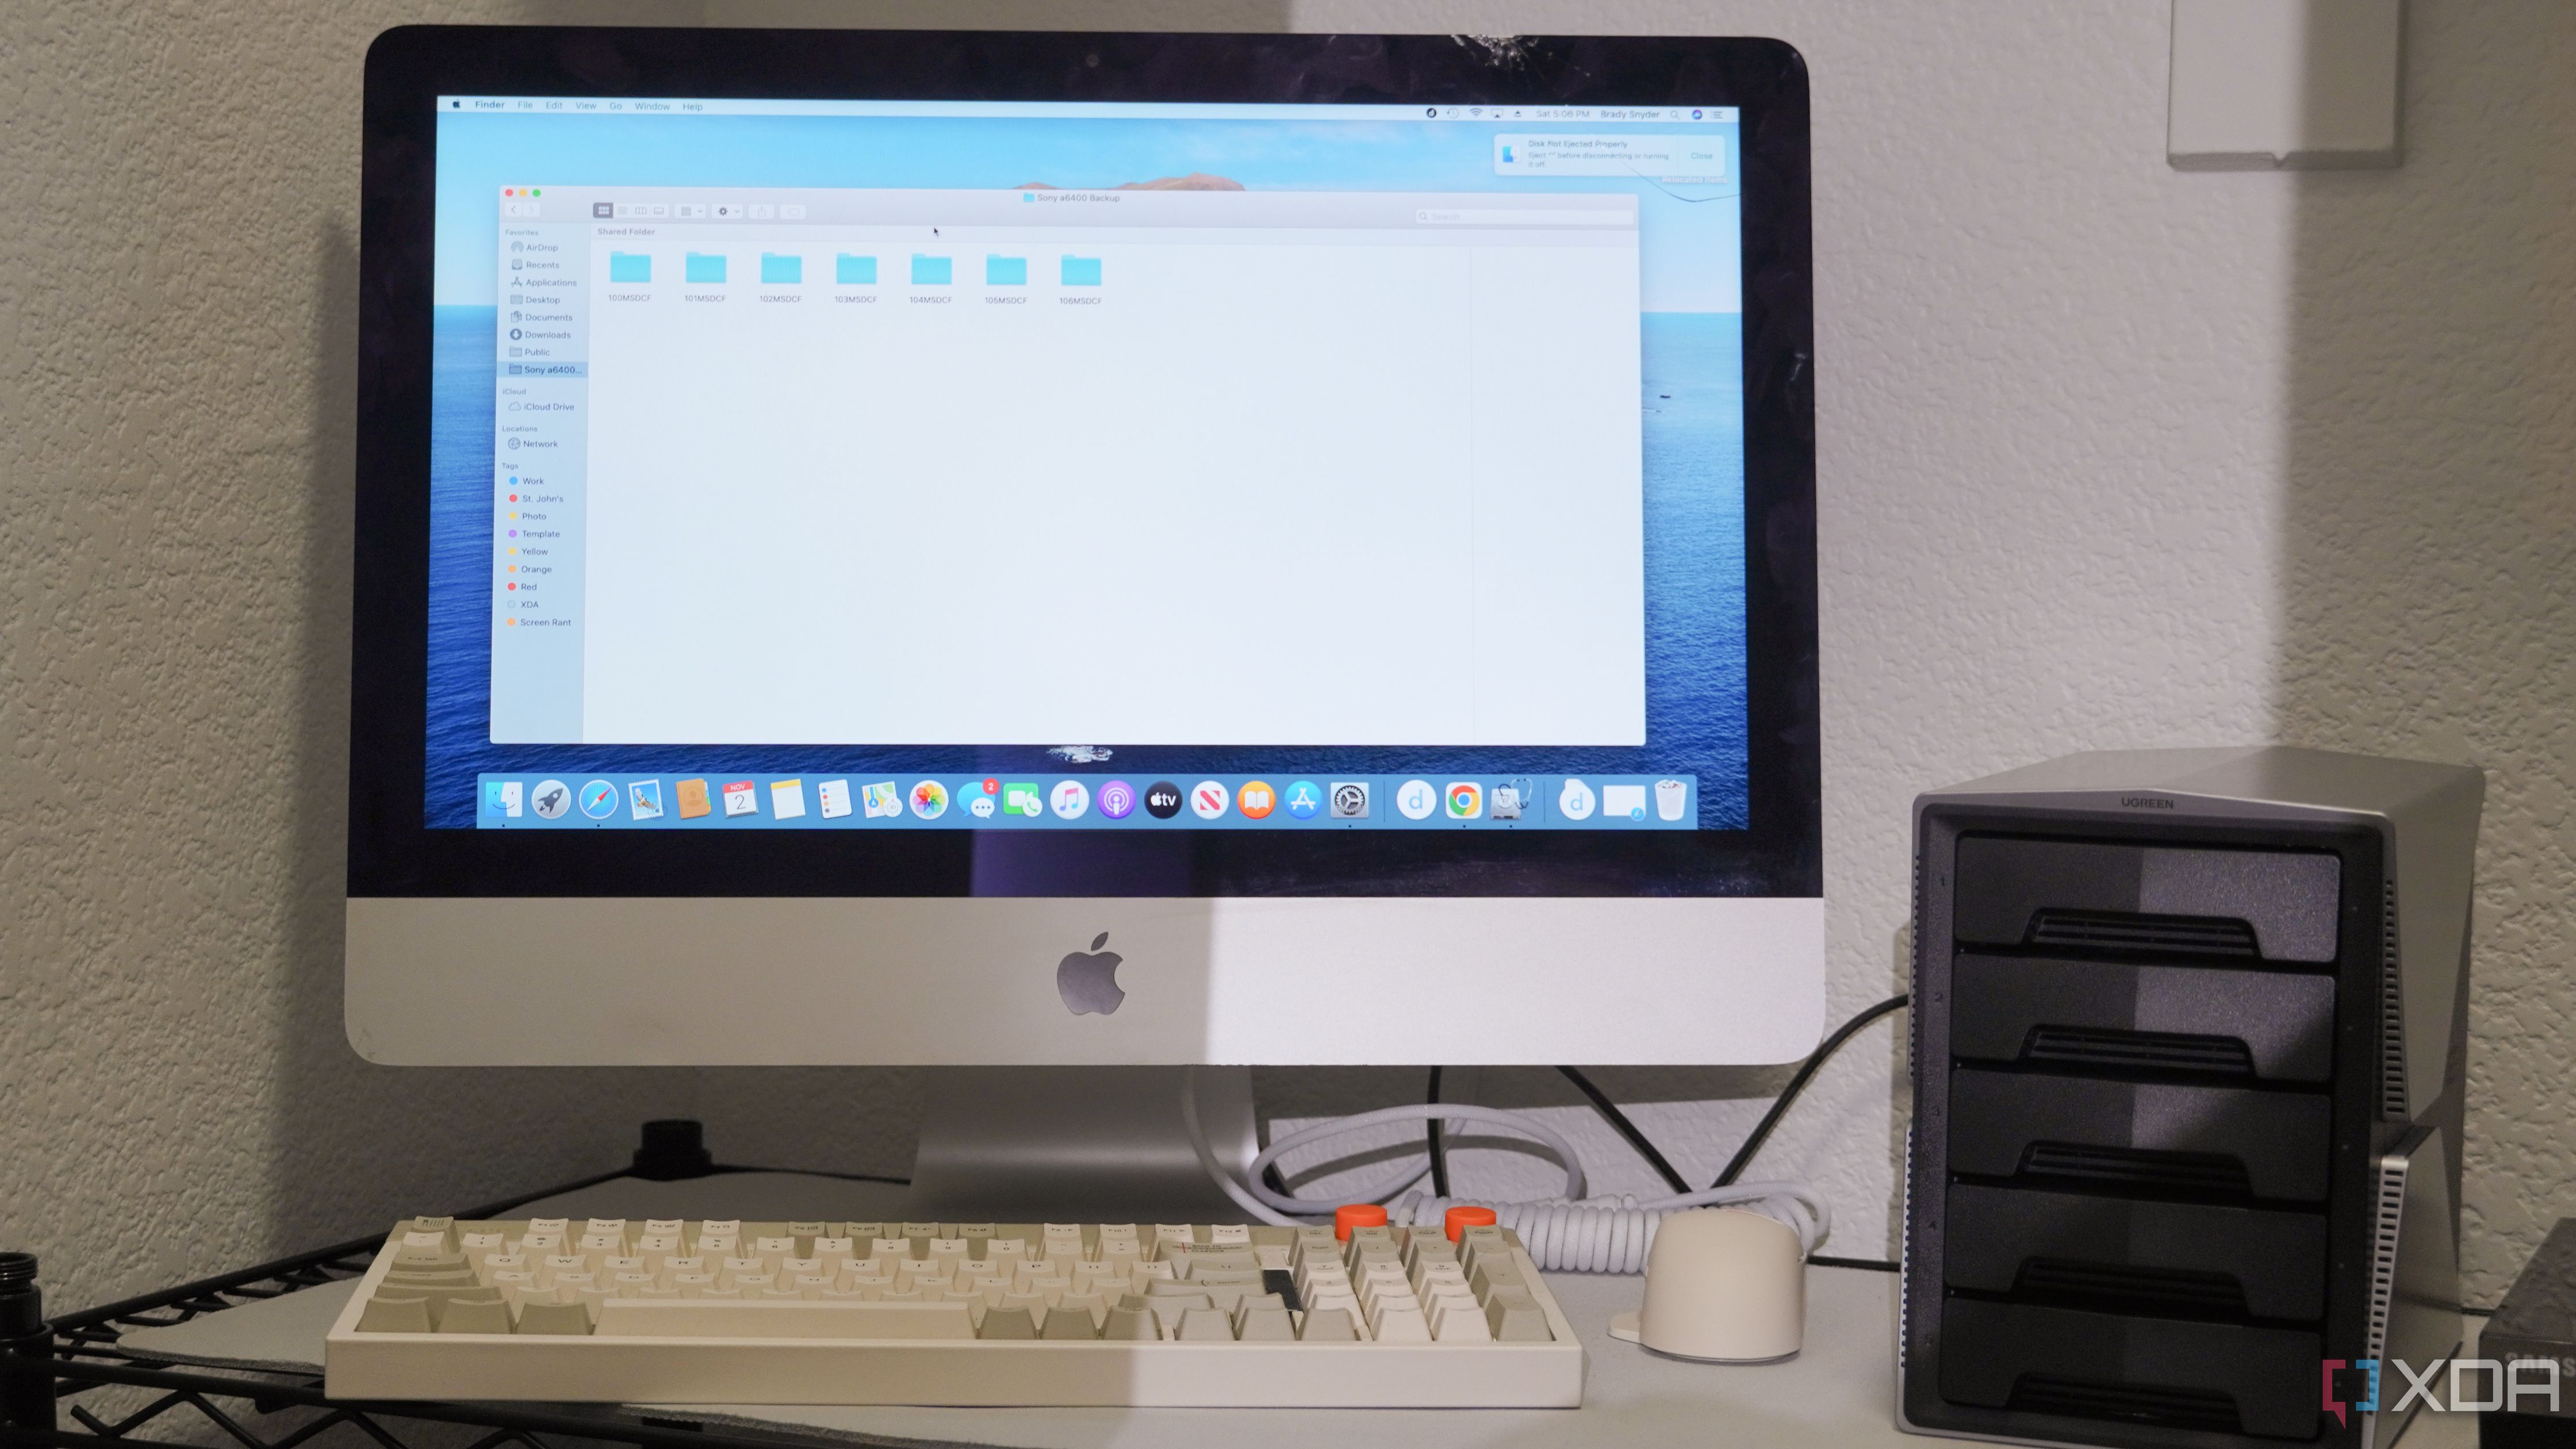
The primary reason I set up a NAS is that I could seamlessly share files with everyone in my family, and all of us could access them without paying for cloud storage. However, I shared a folder consisting of pictures from our recent vacation with my parents, and they kept seeing the ‘Access Denied’ error. The first fix in such situations is to log into the admin interface of your NAS and ensure you’ve provided read and write permissions for the relevant folders.
If your NAS supports forming groups, and you are trying to share a file or folder with a group, check the group permissions as well. In my case, these were all sorted. What worked for me was resetting the folder permissions to default and then resharing them. Not sure what the issue was, but simple problems like these can often be fixed by toggling something off and on.
Related
7 Docker containers you should run on your Synology NAS
Turn your Synology NAS into a Docker hub.
1
Cannot access the NAS remotely
Beats the purpose of setting it up
The whole point of setting up a NAS is to be able to access it from anywhere around the world. Weirdly, I was unable to do exactly that when I first set up the device. The obvious solution is to check if remote access is enabled in the admin panel. If it is, it’s time to move on to the solution that worked for me – configure port forwarding on the router for the NAS’s required ports. This is because I wanted to use FTP and not the manufacturer’s cloud platform.
Check the paperwork accompanying your NAS for the right port numbers. Then, head to the router’s settings page and go to the port forwarding section. Here, enter the IP address of your NAS and the relevant port number and save the settings. You should now be able to access the drives remotely via the IP address and port.
Seamlessly access your files
If you’ve never done it before, setting up an NAS device for the first time and uploading all your files to the storage server to make it accessible remotely can be rather intimidating. However, the solutions are rather simple if you face minor hiccups. Moreover, the enthusiast community online is quite helpful, so if you face an error apart from the ones I experienced, you will almost always find solutions on multiple forums or communities.
Related
Self-hosting vs. cloud storage: Which one really protects your data?
Between convenience and data control, both come with trade-offs


