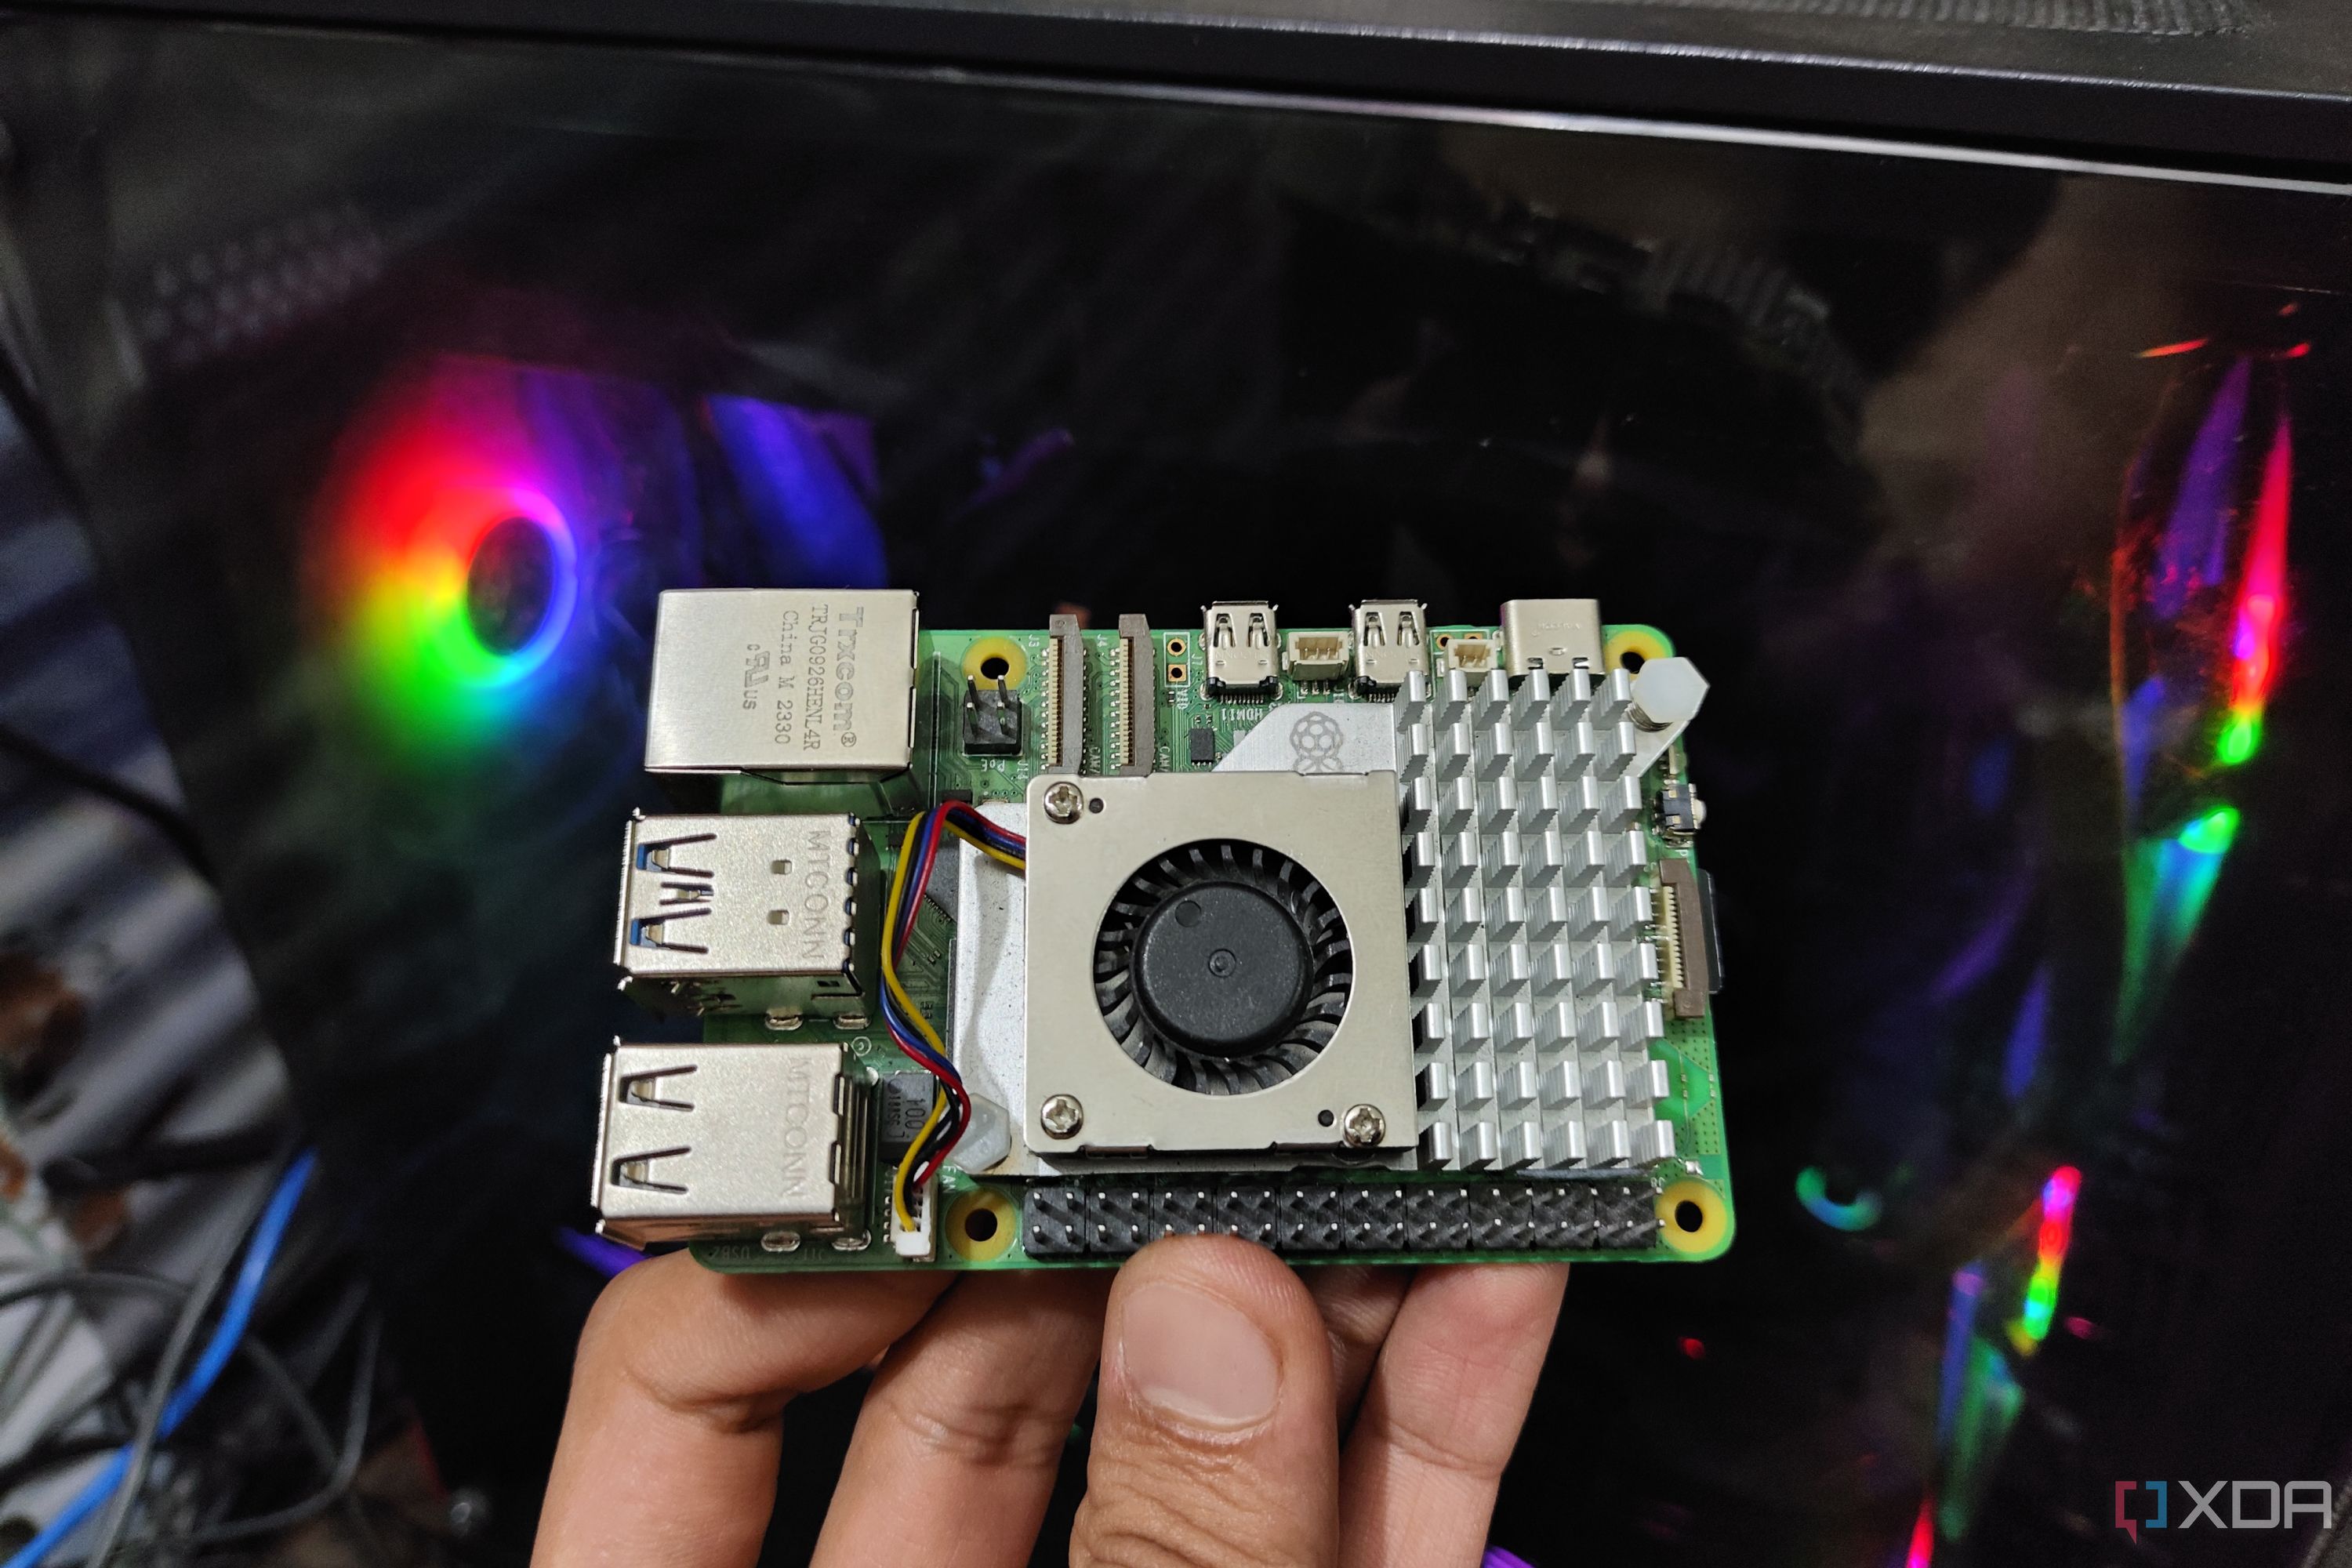
The Raspberry Pi is more than just a tiny computer; you can use it to automate your daily life by scheduling essential tasks, such as backing up your files, monitoring your network, and even controlling smart devices at home. When I first started using the Raspberry Pi, I manually executed most scripts and programs. It worked for a while, but it was easy to forget something important. Once I discovered task scheduling, everything became much more efficient and reliable. Now, I rely on scheduled scripts to handle routine operations without constant supervision. Below, I’ll share several methods for scheduling tasks on a Raspberry Pi. I have tried them, and even though I mainly use cron jobs, you can you can review each one and choose the one that best suits your workflow and experience level.

Related
5 ways to make your Raspberry Pi feel more like a desktop computer
Turn your Raspberry Pi into a PC with these easy steps.
3
Cron jobs
The flexible and popular way to schedule tasks
Cron jobs allow you to automate tasks and have them run at specified intervals. You can define tasks using the Crontab utility, identifying the exact minute, hour, day of the month, month, and day of the week on which the task should run. To set it up, open the terminal and enter ‘crontab -e’ to edit your cron table in the text editor. The cron table is a file that lists scheduled tasks that run at specific times and dates. Each line in a cron table represents a separate job, including a schedule and the command to execute.
When you run crontab -e for the first time, you will be prompted to choose a text editor for editing the cron table. You will see options like nano and vim. Select the editor using the given numbers, and if you want to change it later, run the command select-editor. Nano is the easiest editor to choose. After choosing the editor, you will see the crontab file with instructions at the top. They start with a hash (#) and help explain the syntax. Edit your tasks, then save and exit the editor when you’re finished.

Related
How I turned my old Raspberry Pi into a home office suite that’s better than Microsoft 365
Why spend your hard-earned money on Microsoft 365 when you can host a local office server on your Raspberry Pi?
2
Anacron
Run periodic commands
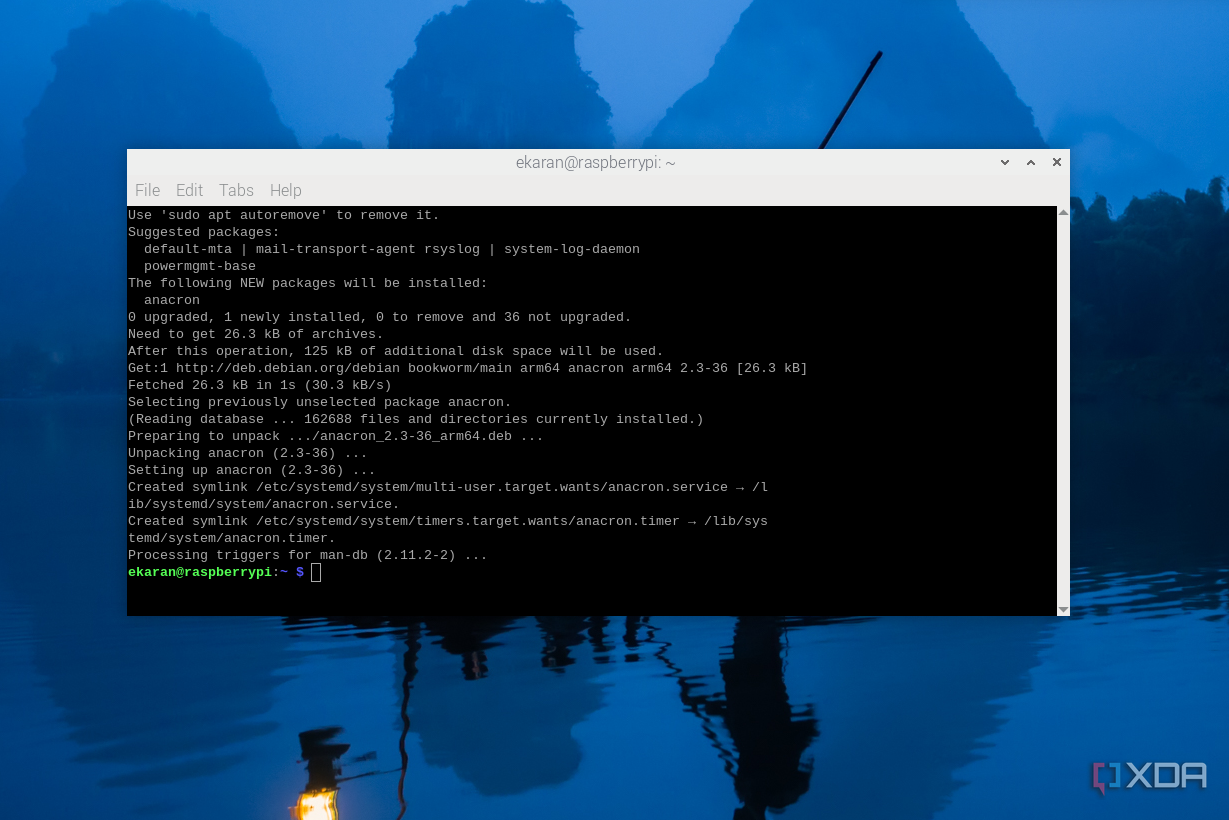
For period commands that don’t stay powered 24/7. Unlike cron, which expects the system to be running at the exact scheduled time, Anacron is excellent for catching up on missed jobs. For example, if you plan a backup script, but the Pi is off at the intended time, Anacron will automatically run that script the next time the system boots up. To start using it, install it by running the command sudo apt install anacron. Then, define tasks in the /etc/anacrontab file. Each line in the file represents a job and includes elements such as the number of days, the delay in minutes before execution, the job identifier, and the shell command to be executed.
In addition to editing /etc/anacrontab, you can also use standard directories like /etc/cron.daily, /etc/cron.weekly, /etc/cron.monthly. You can drop your executable script into one of these folders, and Anacron will handle the scheduling.

Related
7 mistakes to avoid when turning a Raspberry Pi into a personal cloud
Using your Raspberry Pi as a personal cloud server is a great idea, but there are a few mistakes you must avoid
1
Apache Airflow
Schedule and manage complex tasks
Airflow is built in Python and allows you to define workflows as code using Directed Acyclic Graphs (DAGs). Each DAG represents a series of tasks with dependencies, and these tasks can range from running Python scripts to executing shell commands, triggering APIs, or even managing database operations. To use it, you first need to install Python and then set up a virtual environment where it will run. Start by updating and upgrading packages by running the command sudo apt-get update and sudo apt-get upgrade. Run the command sudo apt-get install python3 python3-pip. Set up the virtual environment by running’ pip3 install virtualenv’, then’ virtualenv venv_airflow’.
Install Airflow by running: pip install “apache-airflow==2.7.3″ –constraint https://raw.githubusercontent.com/apache/airflow/constraints-2.7.3/constraints-3.8.txt”. You can then initialize Airflow by running export AIRFLOW_HOME=~/airflow, then airflow db init. Start the Airflow services by running the scheduler using the command airflow scheduler. In a separate terminal, start the web server by running the command’ airflow webserver– port 8080′. Access UI by visiting http://
Automate repetitive tasks on the Raspberry Pi
Instead of having programs run in the background or manually running them, you can schedule and automate them based on things like hours, days of the week, or even months. If you’re using a Raspberry Pi and not scheduling your tasks, you’re missing out on a key aspect of what makes this small board so capable. You can schedule tasks like weather updates and send notifications, automate updates and upgrades to your system, control lights, schedule temperature and humidity readings, and more. The list is endless.


