I rode the first wave of smart home devices but immediately quit when I learned that smart speakers record my talks (and snores). For far too long, I’ve treated those smart lights and smart TVs as dumb devices. That recently changed when I discovered how my esteemed colleague, Adam Conway, used Home Assistant with Zigbee to set up smart home automation in his home. The premise of using software to automate all kinds of smart devices without any expensive hardware sounds amazing!
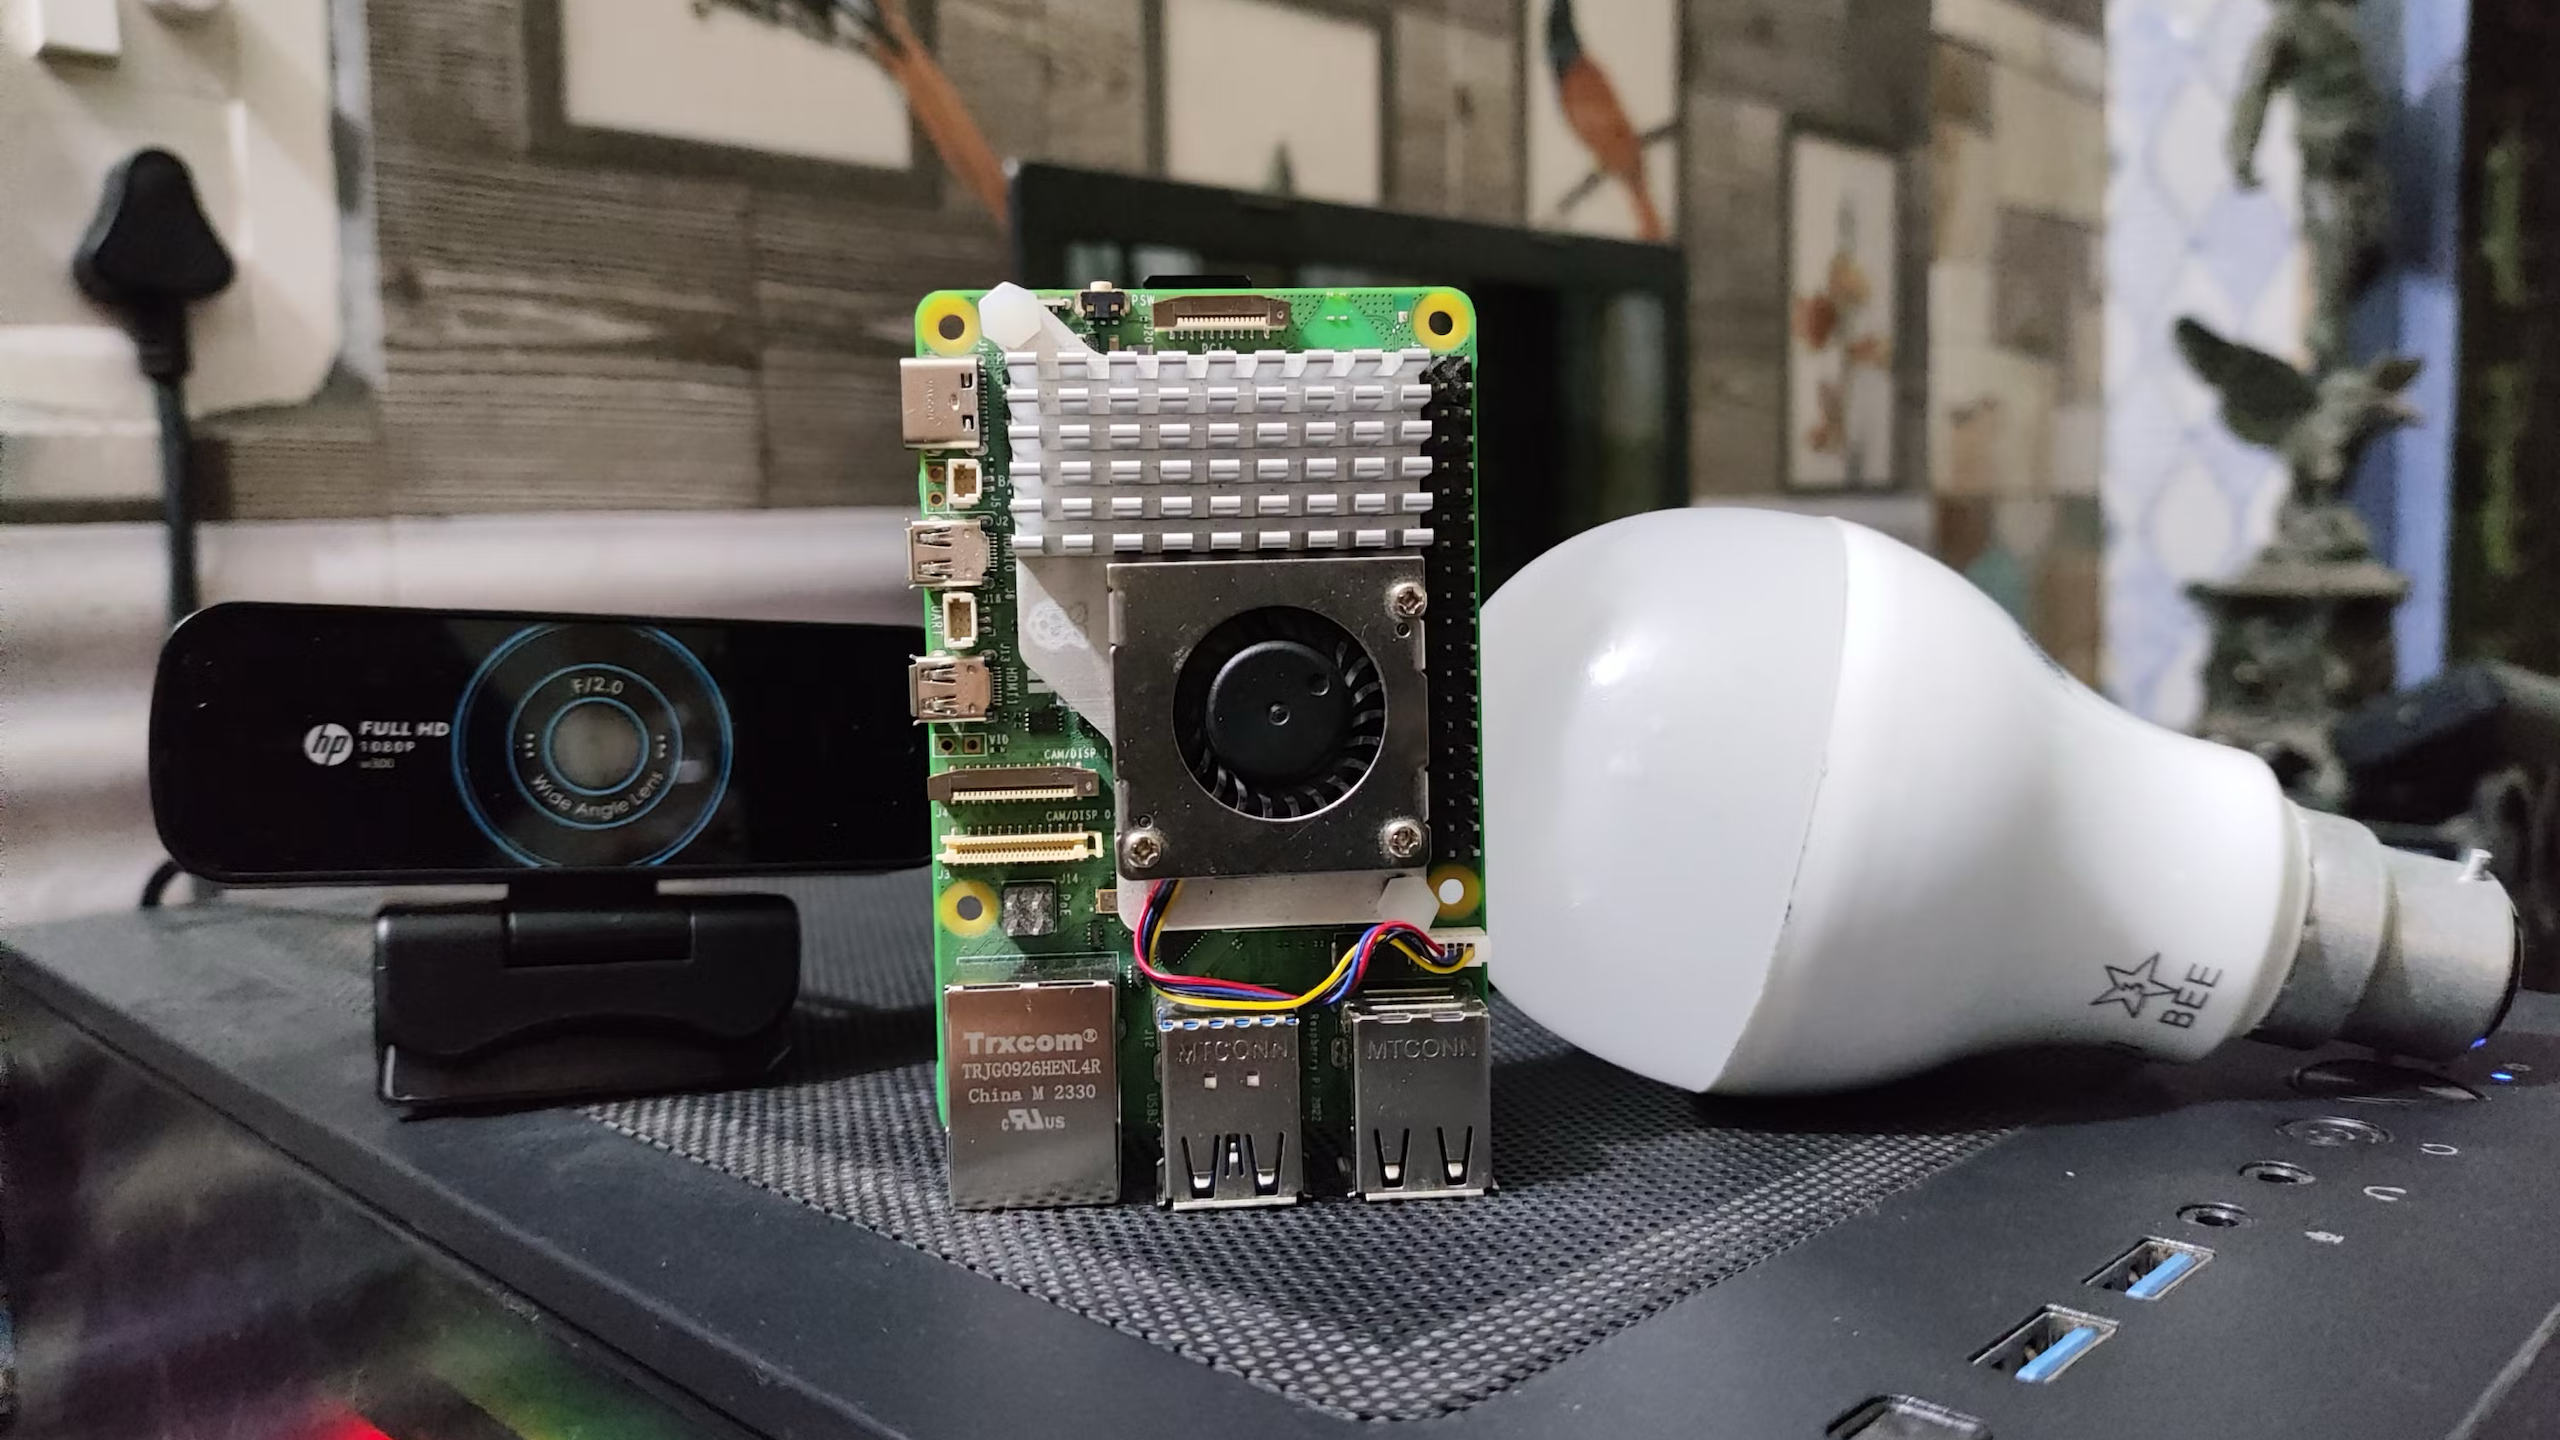
Home Assistant’s minimal hardware requirements reflect that it’s efficient. While you can unlock its potential on a PC, that would be an overkill machine for smart home automation. After carefully weighing my options, I chose to run Home Assistant on my Raspberry Pi 4 with 4GB of RAM. Here are a few things to consider should you plan to install it on an SBC like a Raspberry Pi to get you started:
- A Raspberry Pi 4/5 or an SBC with 4GB of RAM or more
- LAN cable to connect Pi to the router directly
- At least 32GB microSD card from Application Class 2 grade
The Application Class 2 cards are specifically suitable for Android phones and tablets. Since such cards support random but small reads and writes, they won’t go bad quickly.
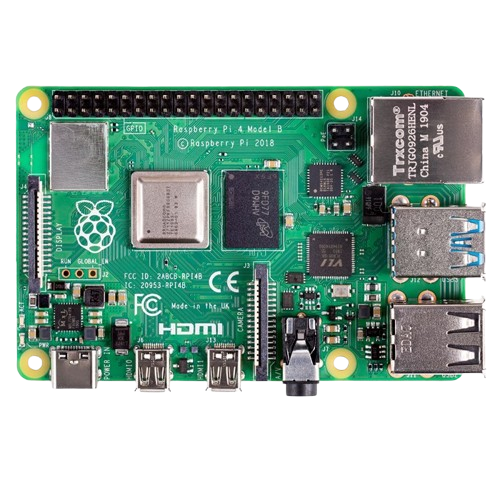
After initial hesitation, I bit the bullet to gather controls for my smart devices into a single view. And I tried to follow the best practices for turning a Raspberry Pi into a smart home hub. You’d be surprised how Home Assistant can revive those smart devices reaching the end of their life and turn your home into a smart home powerhouse.

Related
What are Zigbee networks, and should you use them in your smart home?
The best way to connect IoT devices is wirelessly.
Why I chose the difficult path to install Home Assistant directly
Didn’t want to make a dedicated smart home machine
Home Assistant seems daunting if you like plug-and-play gadgets. The beginner’s guide to Home Assistant can start you off the right way – from installation to setup. However, I wasn’t ready to wipe self-hosted apps and data on my SSD that runs Pi OS Lite on Pi 4B. When I deployed it as a docker container in Portainer, I got an “Unhealthy System” error regularly and couldn’t even proceed to install the add-ons. So, I manually installed Home Assistant Supervised from GitHub, not the whole OS, alongside other apps on my Pi’s SSD.
While I did install Home Assistant on a microSD card, it felt more responsive on the SSD. I followed these steps to install Home Assistant Supervised on Raspberry Pi OS Lite based on Debian 12 Bookworm.
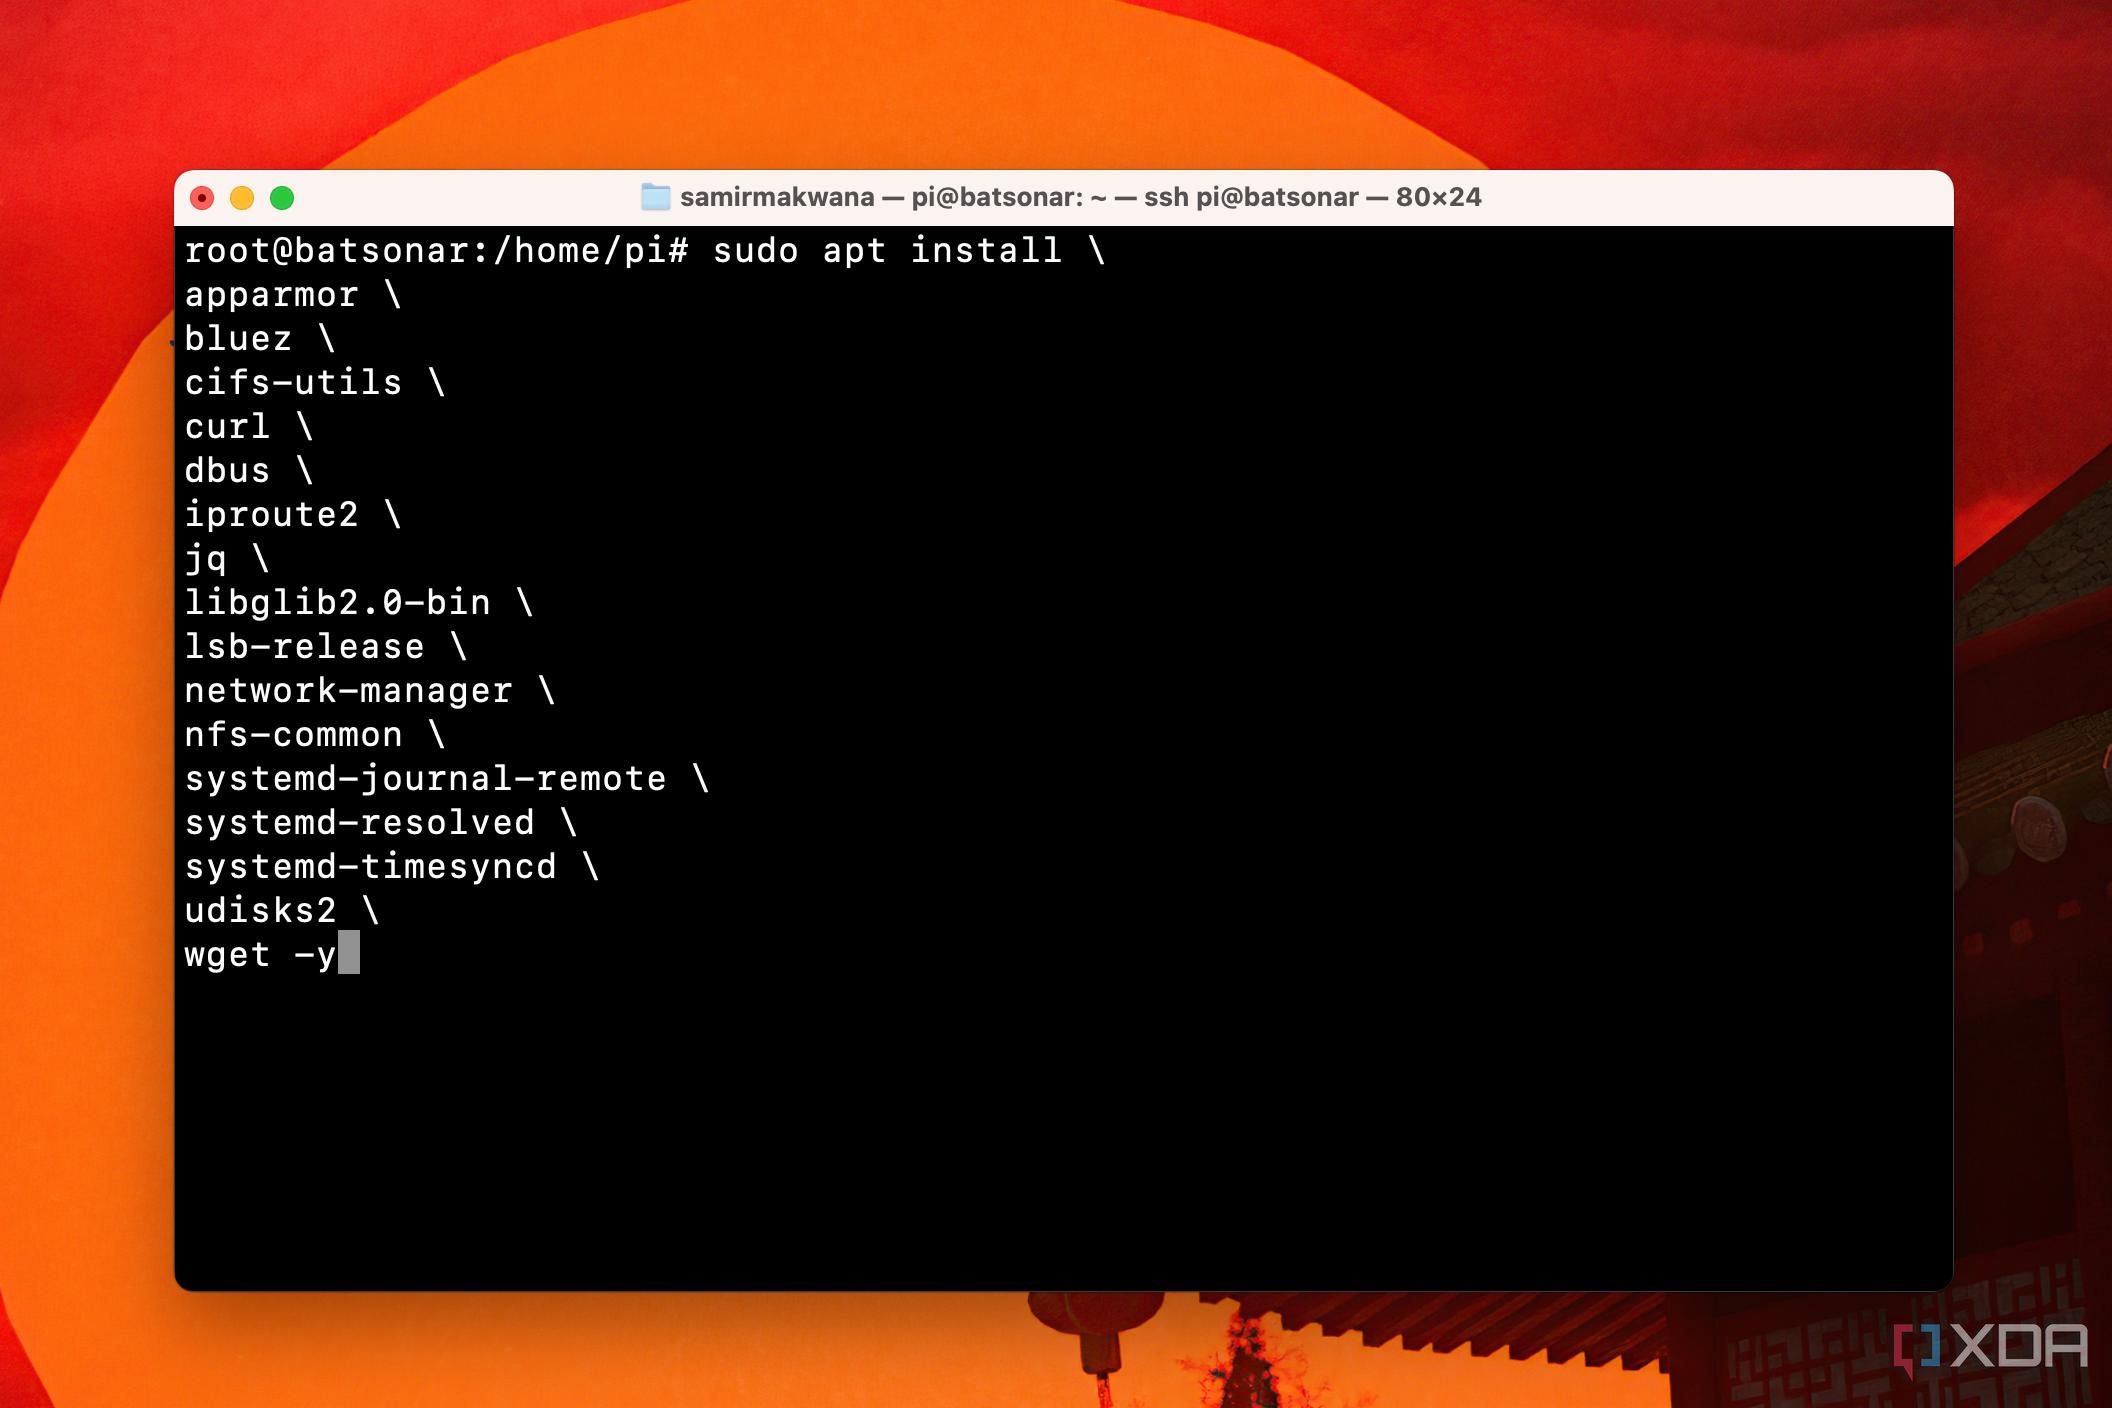
1. Install the necessary dependencies for the Home Assistant Supervised.
sudo apt install
apparmor
bluez
cifs-utils
curl
dbus
iproute2
jq
libglib2.0-bin
lsb-release
network-manager
nfs-common
systemd-journal-remote
systemd-resolved
systemd-timesyncd
udisks2
wget -y
2. Install Docker if you don’t have it on your Pi.
curl -fsSL get.docker.com | sh
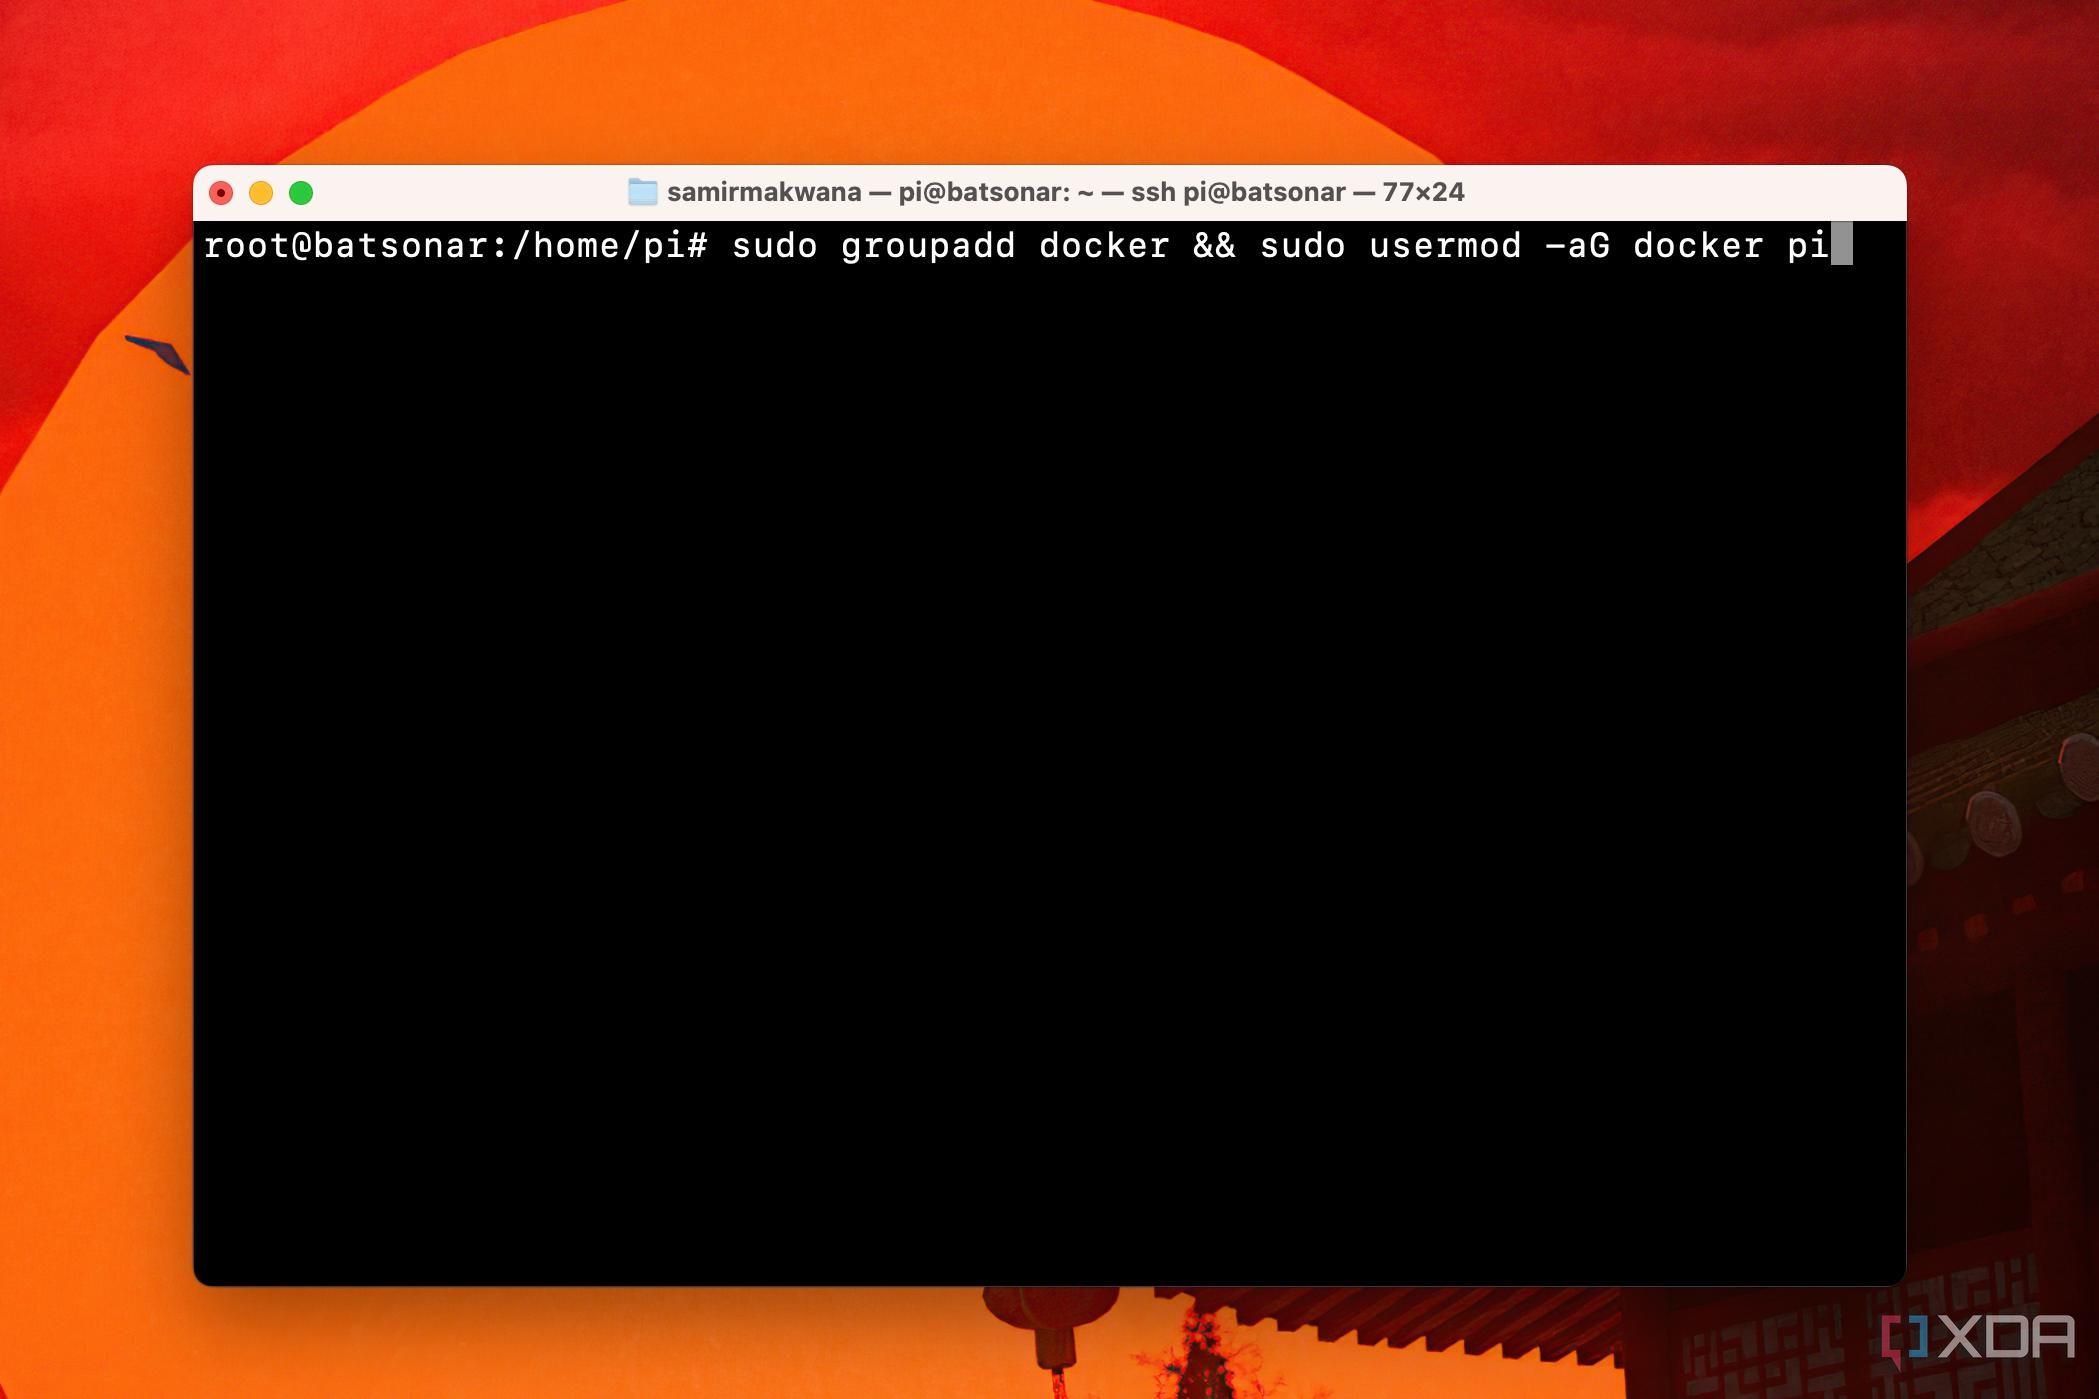
3. Create a group for Docker and add a user “docker” to that group.
sudo groupadd docker && sudo usermod -aG docker $USER
Note that you need to use your Pi’s username in the place of $USER in the command.
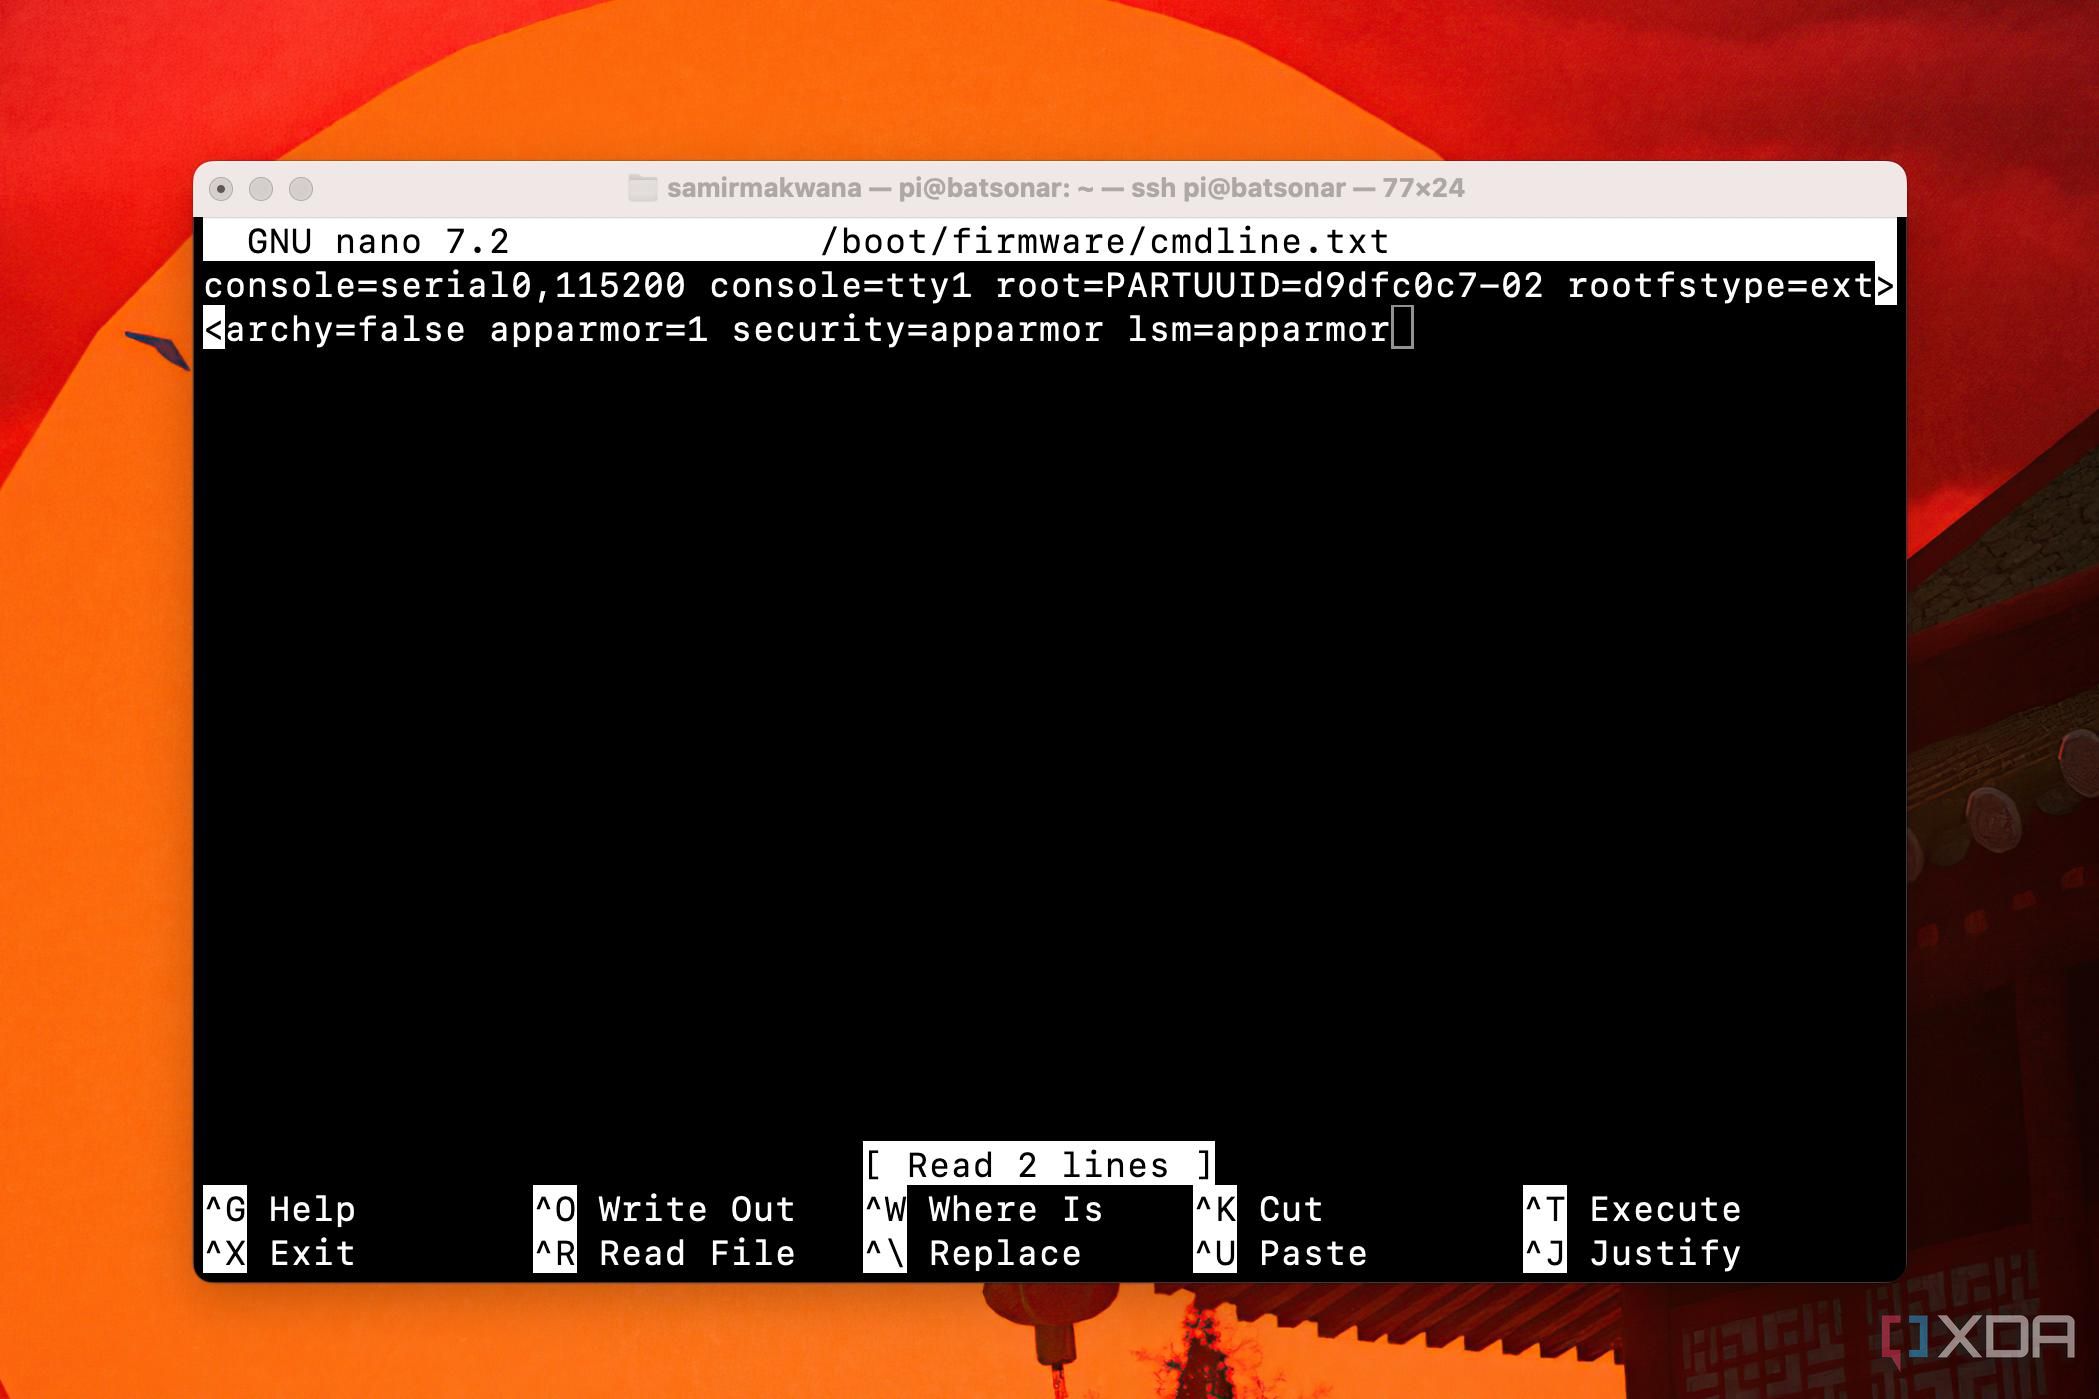
4. Edit the Raspberry Pi’s boot configuration file to add important values to detect and use the vital dependencies every time it boots.
sudo nano /boot/firmware/cmdline.txt
5. Copy and paste the following line at the end.
systemd.unified_cgroup_hierarchy=false apparmor=1 security=apparmor
Press Control + O to append that text to the cmdline.txt file, press Enter/Return to confirm, and hit Control + X to close it.
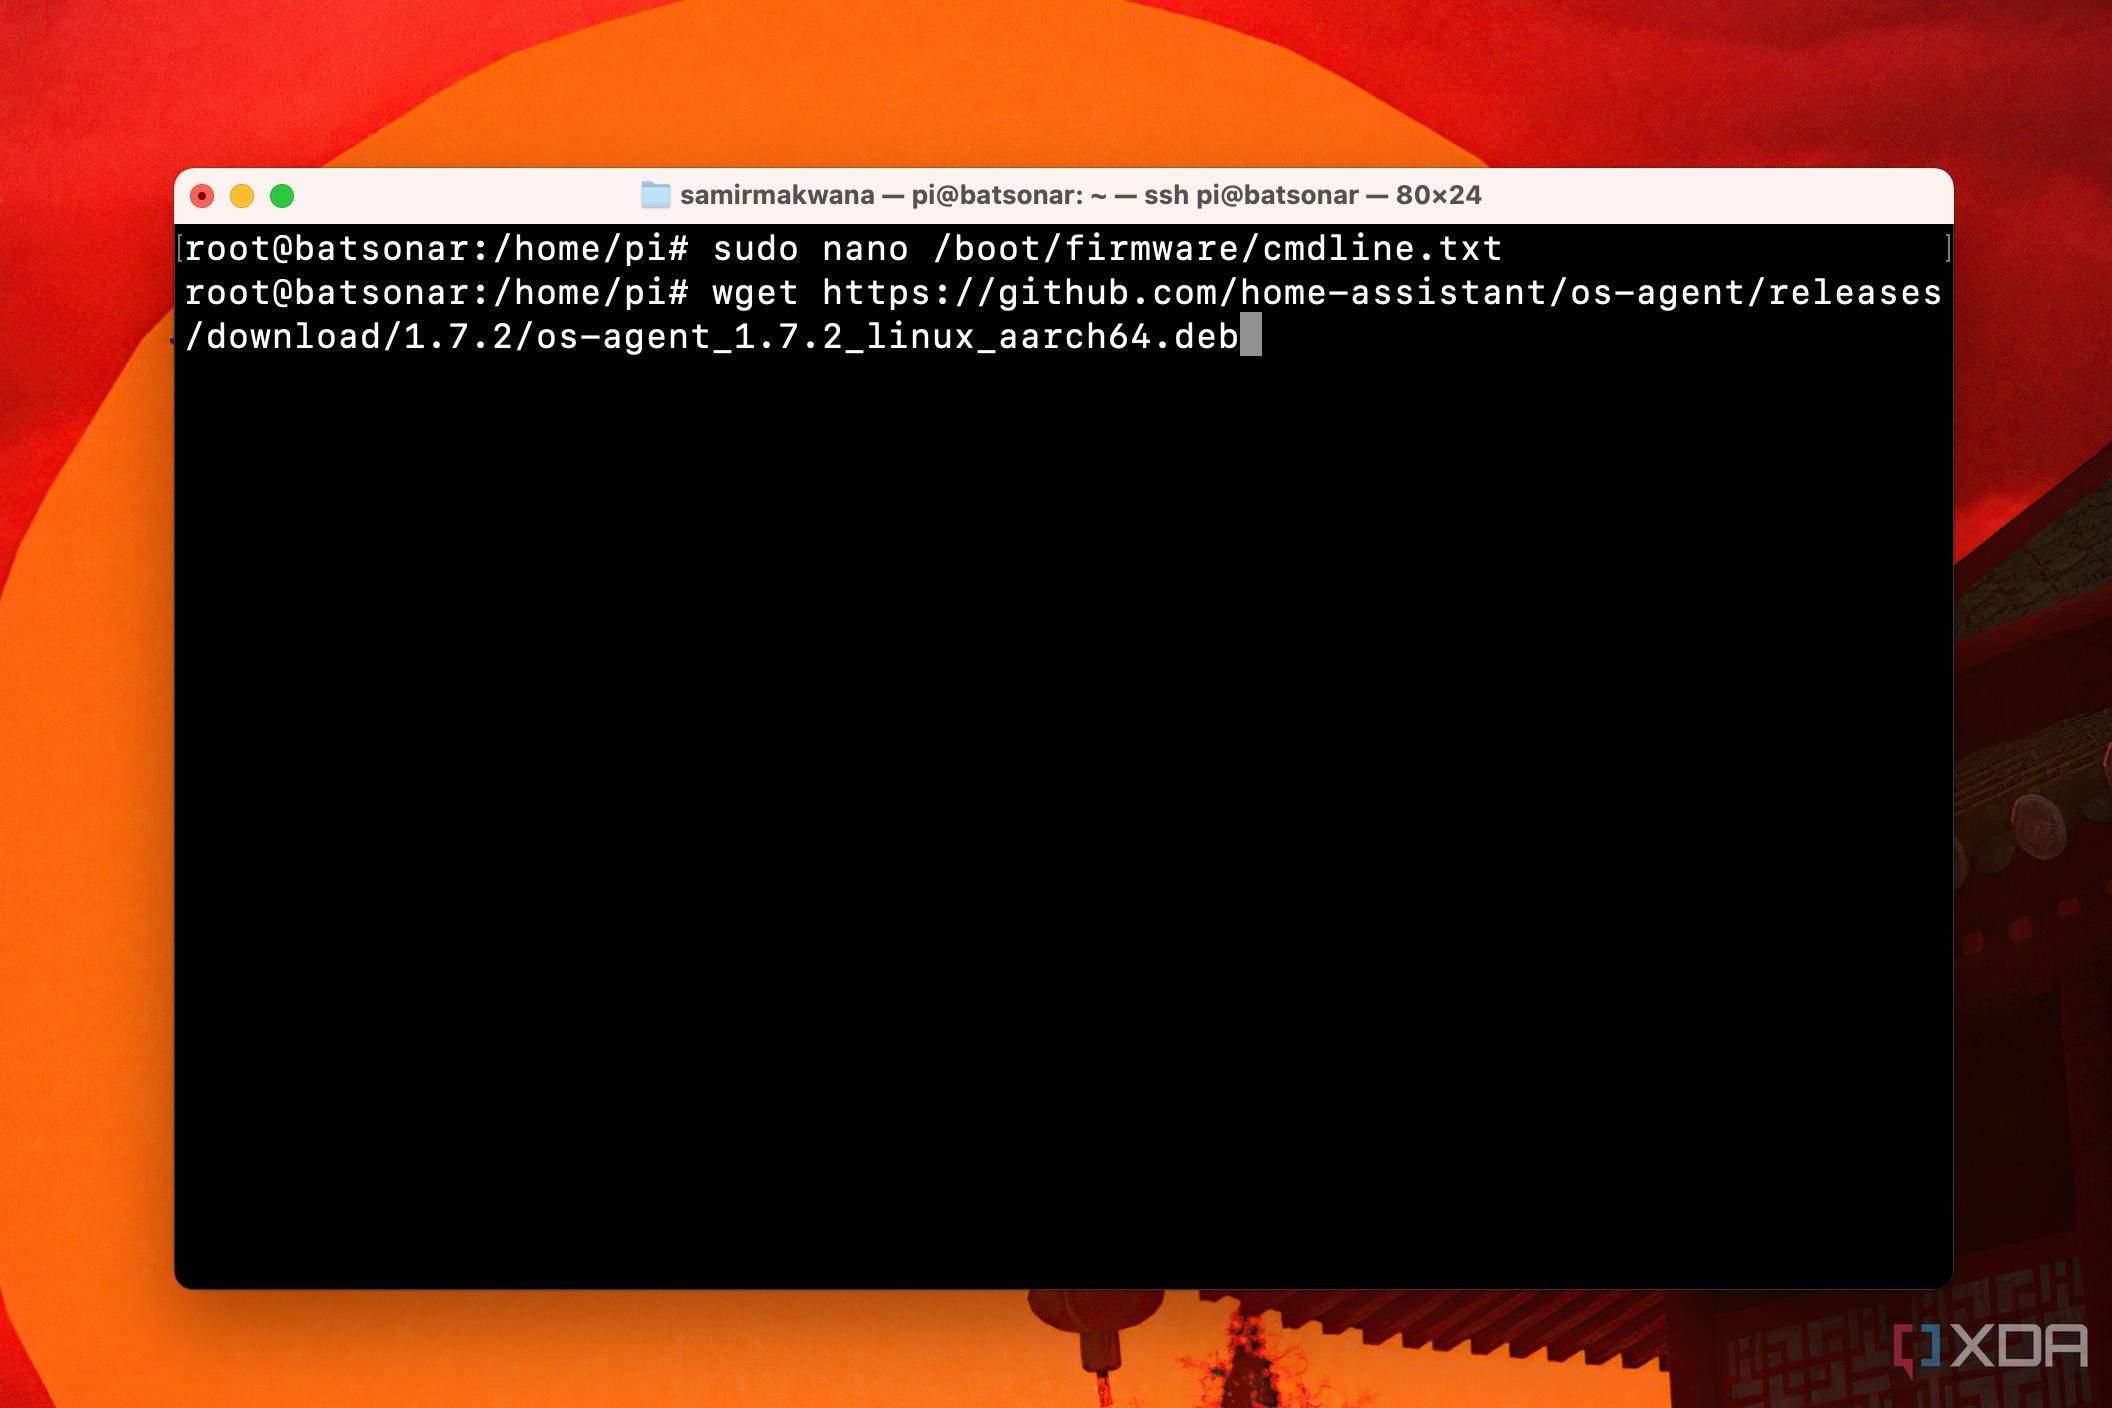
6. Grab the 64-bit OS Agent .deb package so the Home Assistant Supervised can talk to the host OS. Download the Home Assistant’s OS-Agent.
wget https://github.com/home-assistant/os-agent/releases/download/1.7.2/os-agent_1.7.2_linux_aarch64.deb
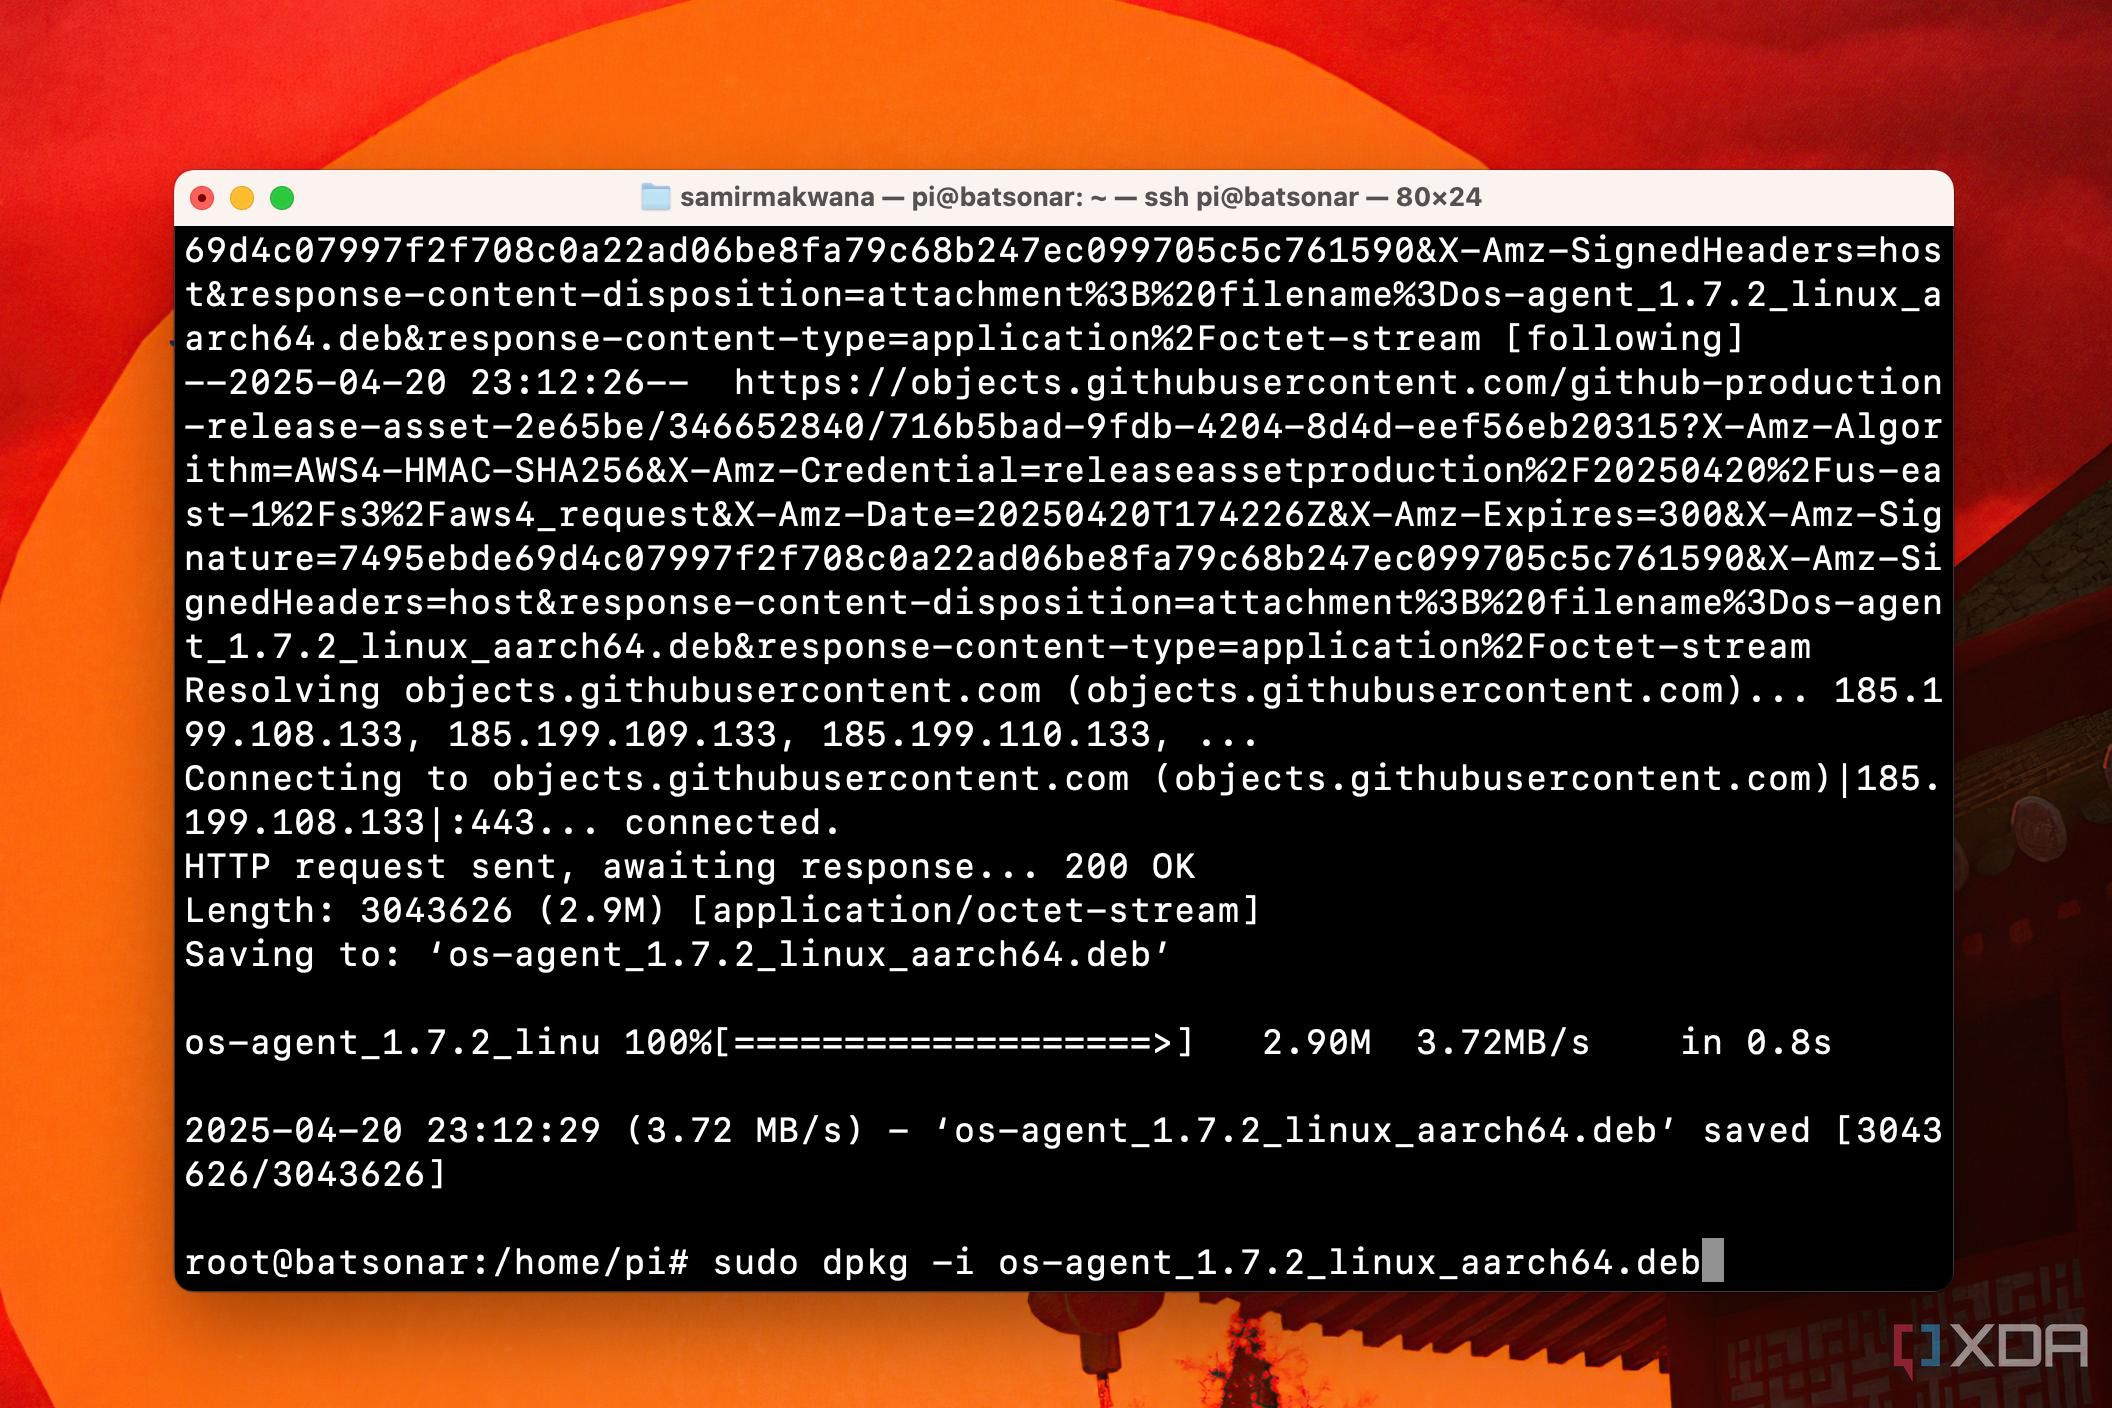
7. Install the 64-bit OS-Agent .deb package.
sudo dpkg -i os-agent_1.7.2_linux_aarch64.deb
8. Grab the Home Assistant Supervised package.
wget -O homeassistant-supervised.deb https://github.com/home-assistant/supervised-installer/releases/latest/download/homeassistant-supervised.deb
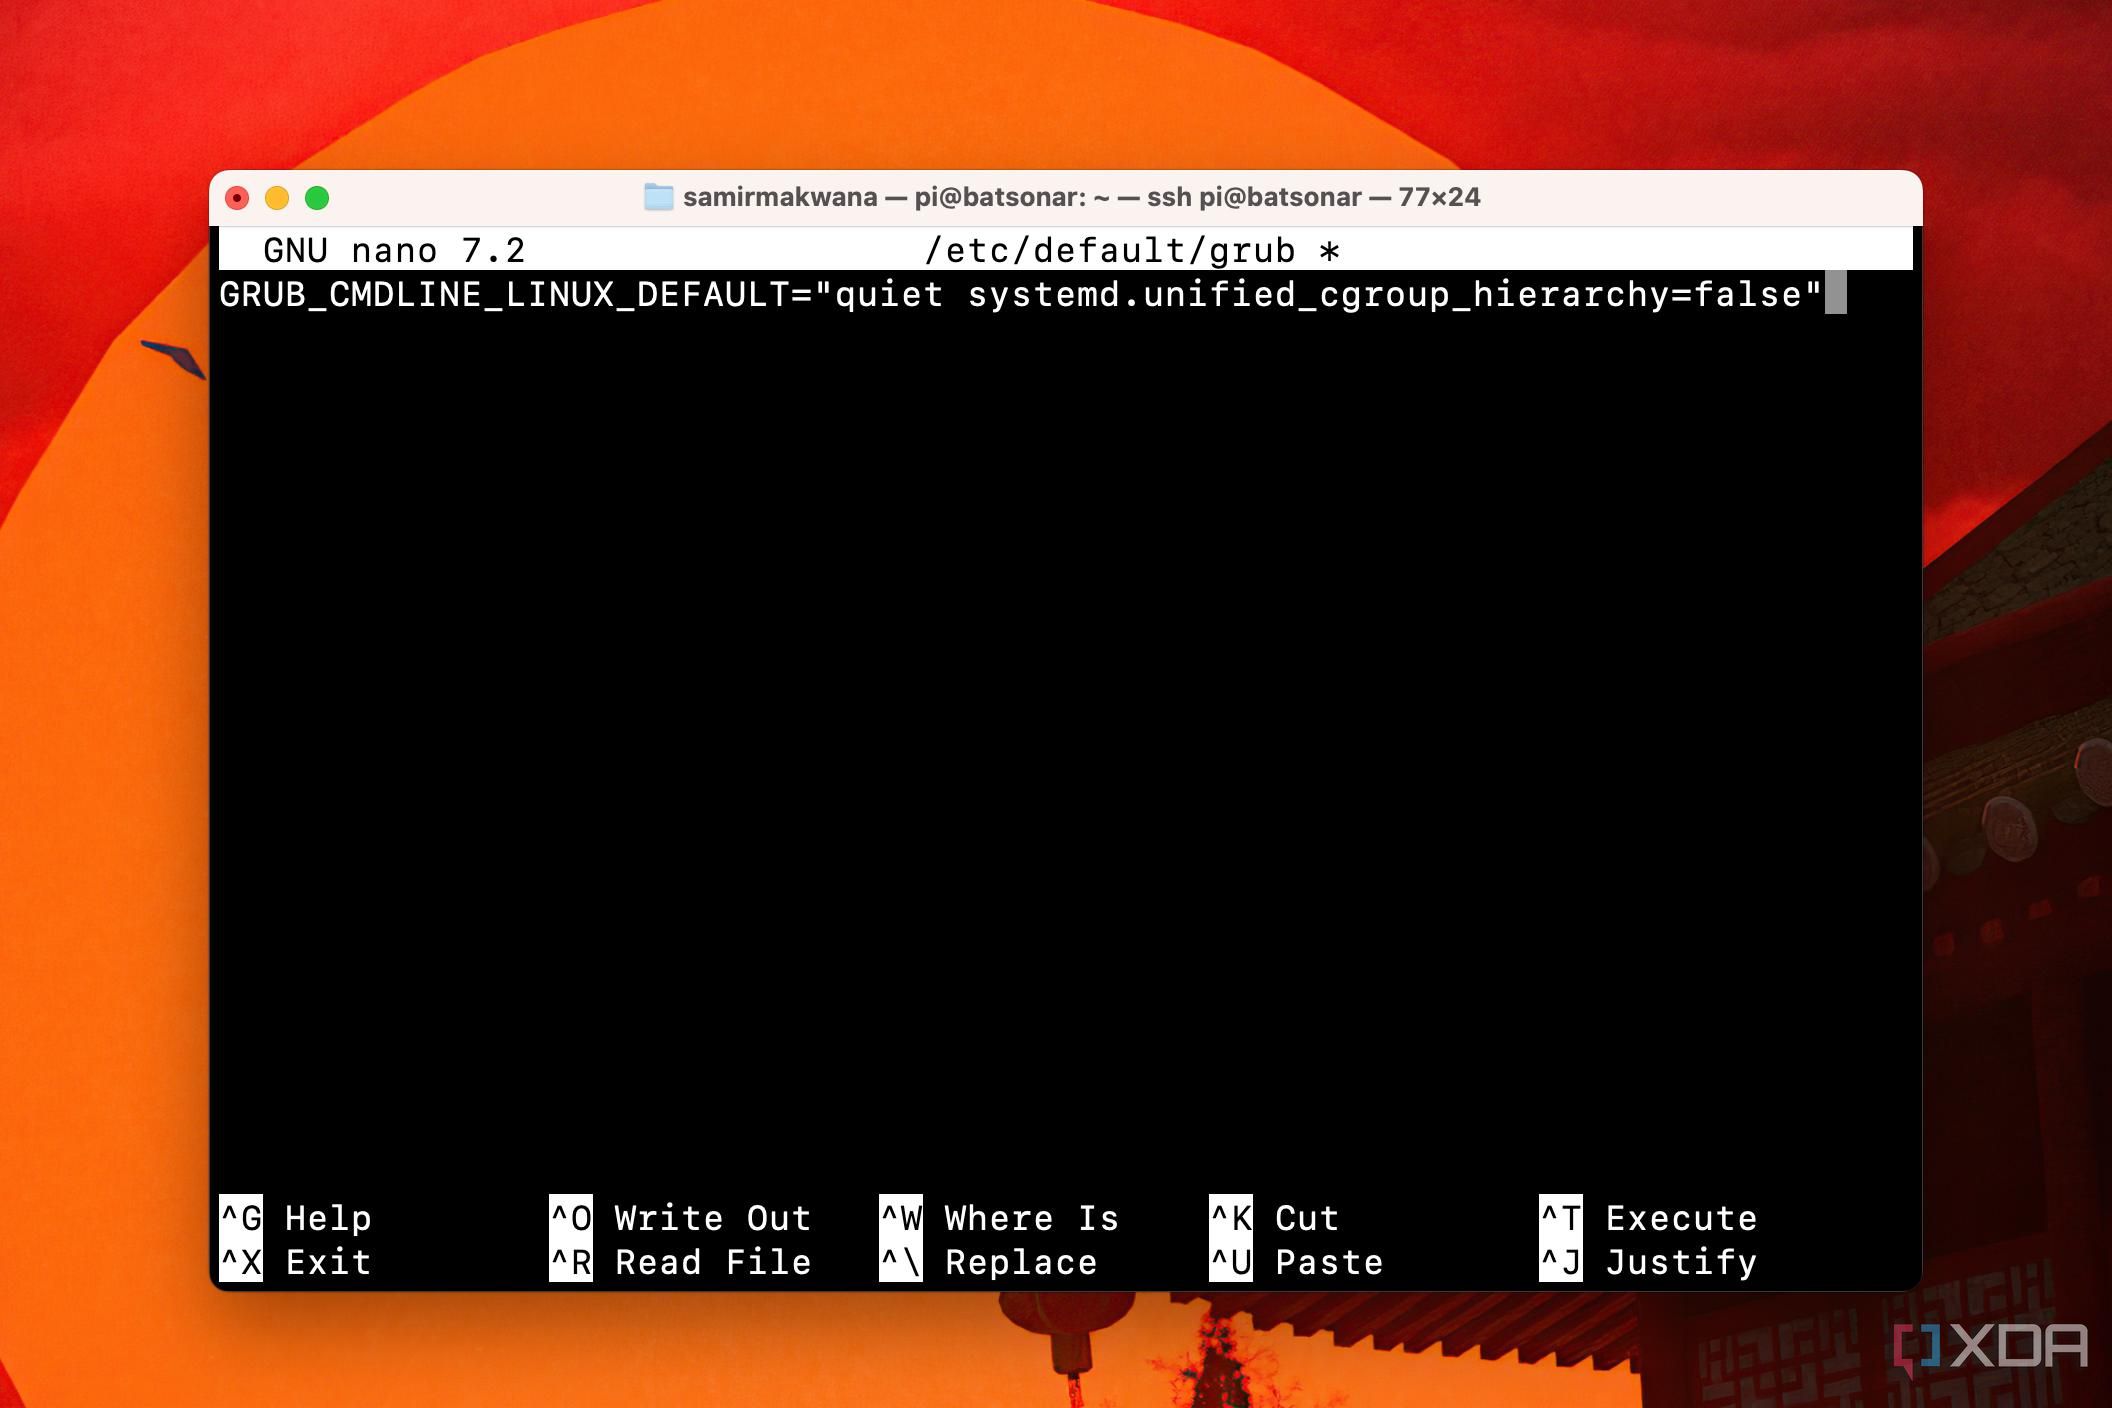
10. You must create an empty grub file before installing the Home Assistant Supervised package. Otherwise, you’ll get an incomplete installation error when upgrading the Pi’s software packages.
nano /etc/default/grub
11. Paste this text to prevent the “unsupported system” or “couldn’t find update-grub” command error when finalizing Home Assistant Supervised’s installation.
GRUB_CMDLINE_LINUX_DEFAULT="quiet systemd.unified_cgroup_hierarchy=false"
Press Control + O to write to the file and hit Control + X to close it. Then, run the following command to apply the changes.
sudo update-grub
12. Install the Home Assistant Supervised package.
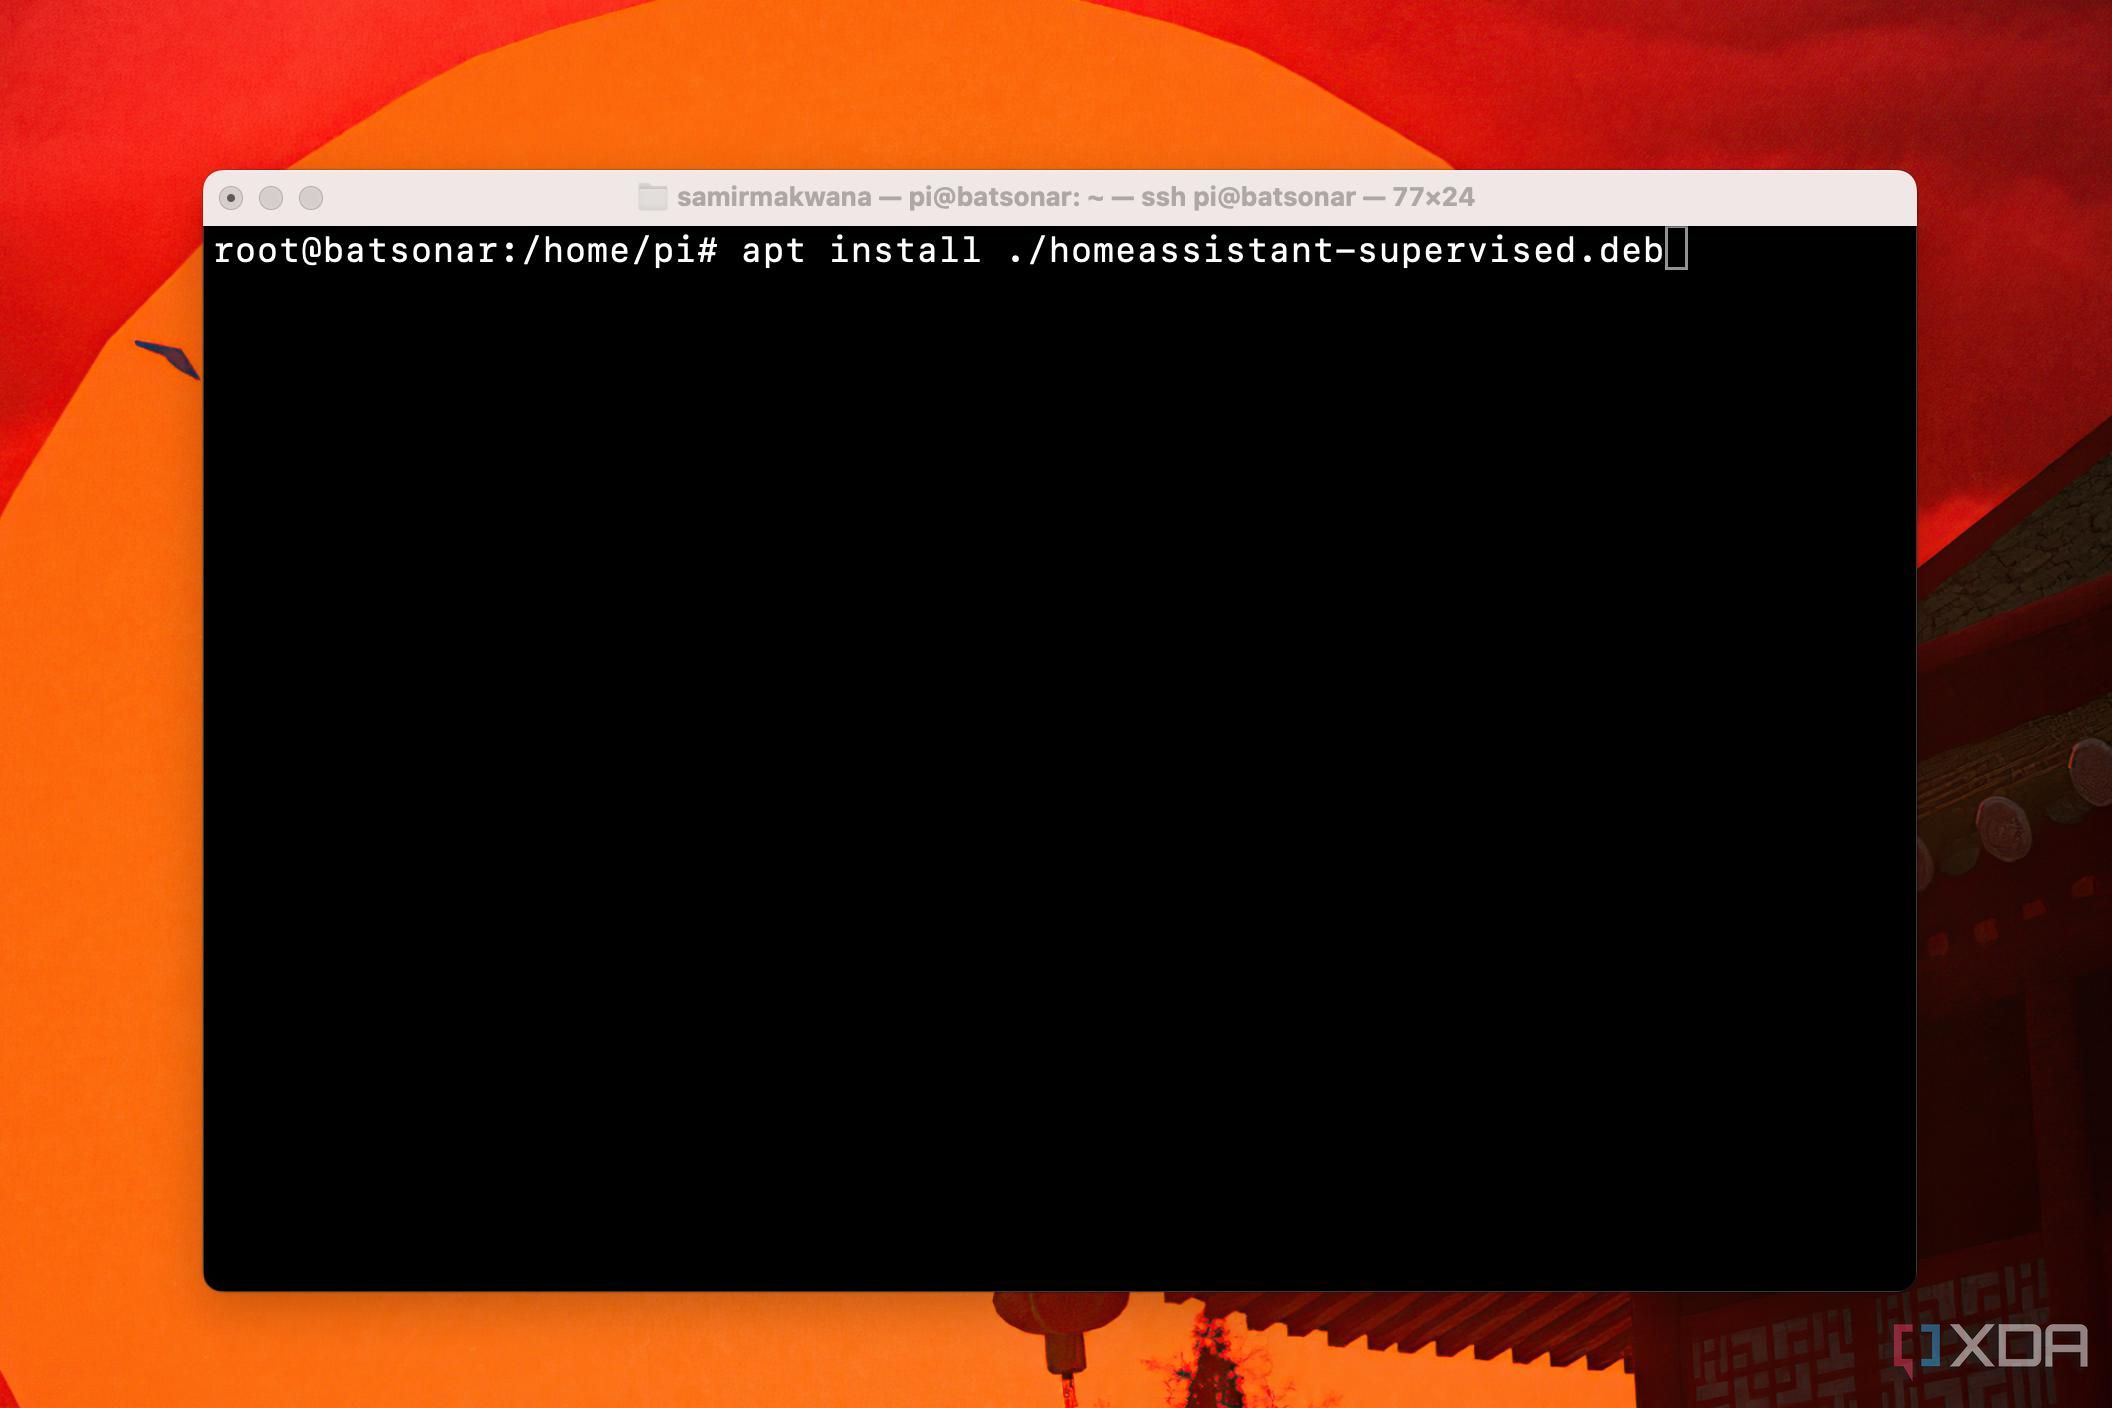
apt install ./homeassistant-supervised.deb
After installing, I issued the command reboot to restart my Raspberry Pi and waited 5–10 minutes before accessing the Home Assistant interface.
Adding smart devices to Home Assistant is a cakewalk
Configuring cards and setting automation demands patience
After the Home Assistant loads completely, you can’t use it on a Raspberry Pi. I used my Mac as a second computer and opened the http://homeassistant.local:8123 link to continue the setup.
You get a dashboard with tiles for auto-detected devices. Navigate to Settings > Devices and Services, and Home Assistant will detect most of your smart devices automatically. You can also use the Add Integrations or Add Devices buttons in the respective tabs to add them manually. I plugged a Sonoff Zigbee Coordinator (Dongle-E) into the Raspberry Pi to detect the second-generation Philips Hue bulbs. However, the Zigbee coordinator only detects end devices when you factory reset them.
Factory resetting the Hue bulbs was challenging. Both lacked Bluetooth, and I had lost their manuals that carried the setup codes. Also, I didn’t have a Hue bridge. Hence, I attempted to power cycle the bulbs multiple times to perform a factory reset. Besides, my family kept flipping the switch to turn off the bulb. That left me struggling to figure out why the Home Assistant wouldn’t detect the bulb.
Alternatively, you can use the Alexa app with an Amazon Echo speaker as a Zigbee hub to discover and reset the Hue bulb to its factory settings. The Zigbee Home Automation integration made the Sonoff dongle quickly detect and set them up.
Zigbee Home Automation is a plug-and-play integration. In contrast, Zigbee2MQTT is an advanced alternative with rich support for adding devices and fetching OTA firmware updates.
Following that, the rich Integrations library of Home Assistant made it easy to set up the popular smart devices. For instance, I used the Wake On LAN integration to turn on my LG OLED C2 TV using its Turn on with Mobile setting. I set up my smart TV, smart bulbs, streaming boxes, and router within an hour of tinkering with Home Assistant’s interface.
Home Assistant’s open-source shines with Assist, a voice assistant baked inside. You can set up a local voice assistant and control the data it can access.
Related
5 cool things you can do with Home Assistant
Home Assistant is the best way to control all your smart home devices, but it can be so much more if you use a little imagination.
Building a unified command central for smart devices
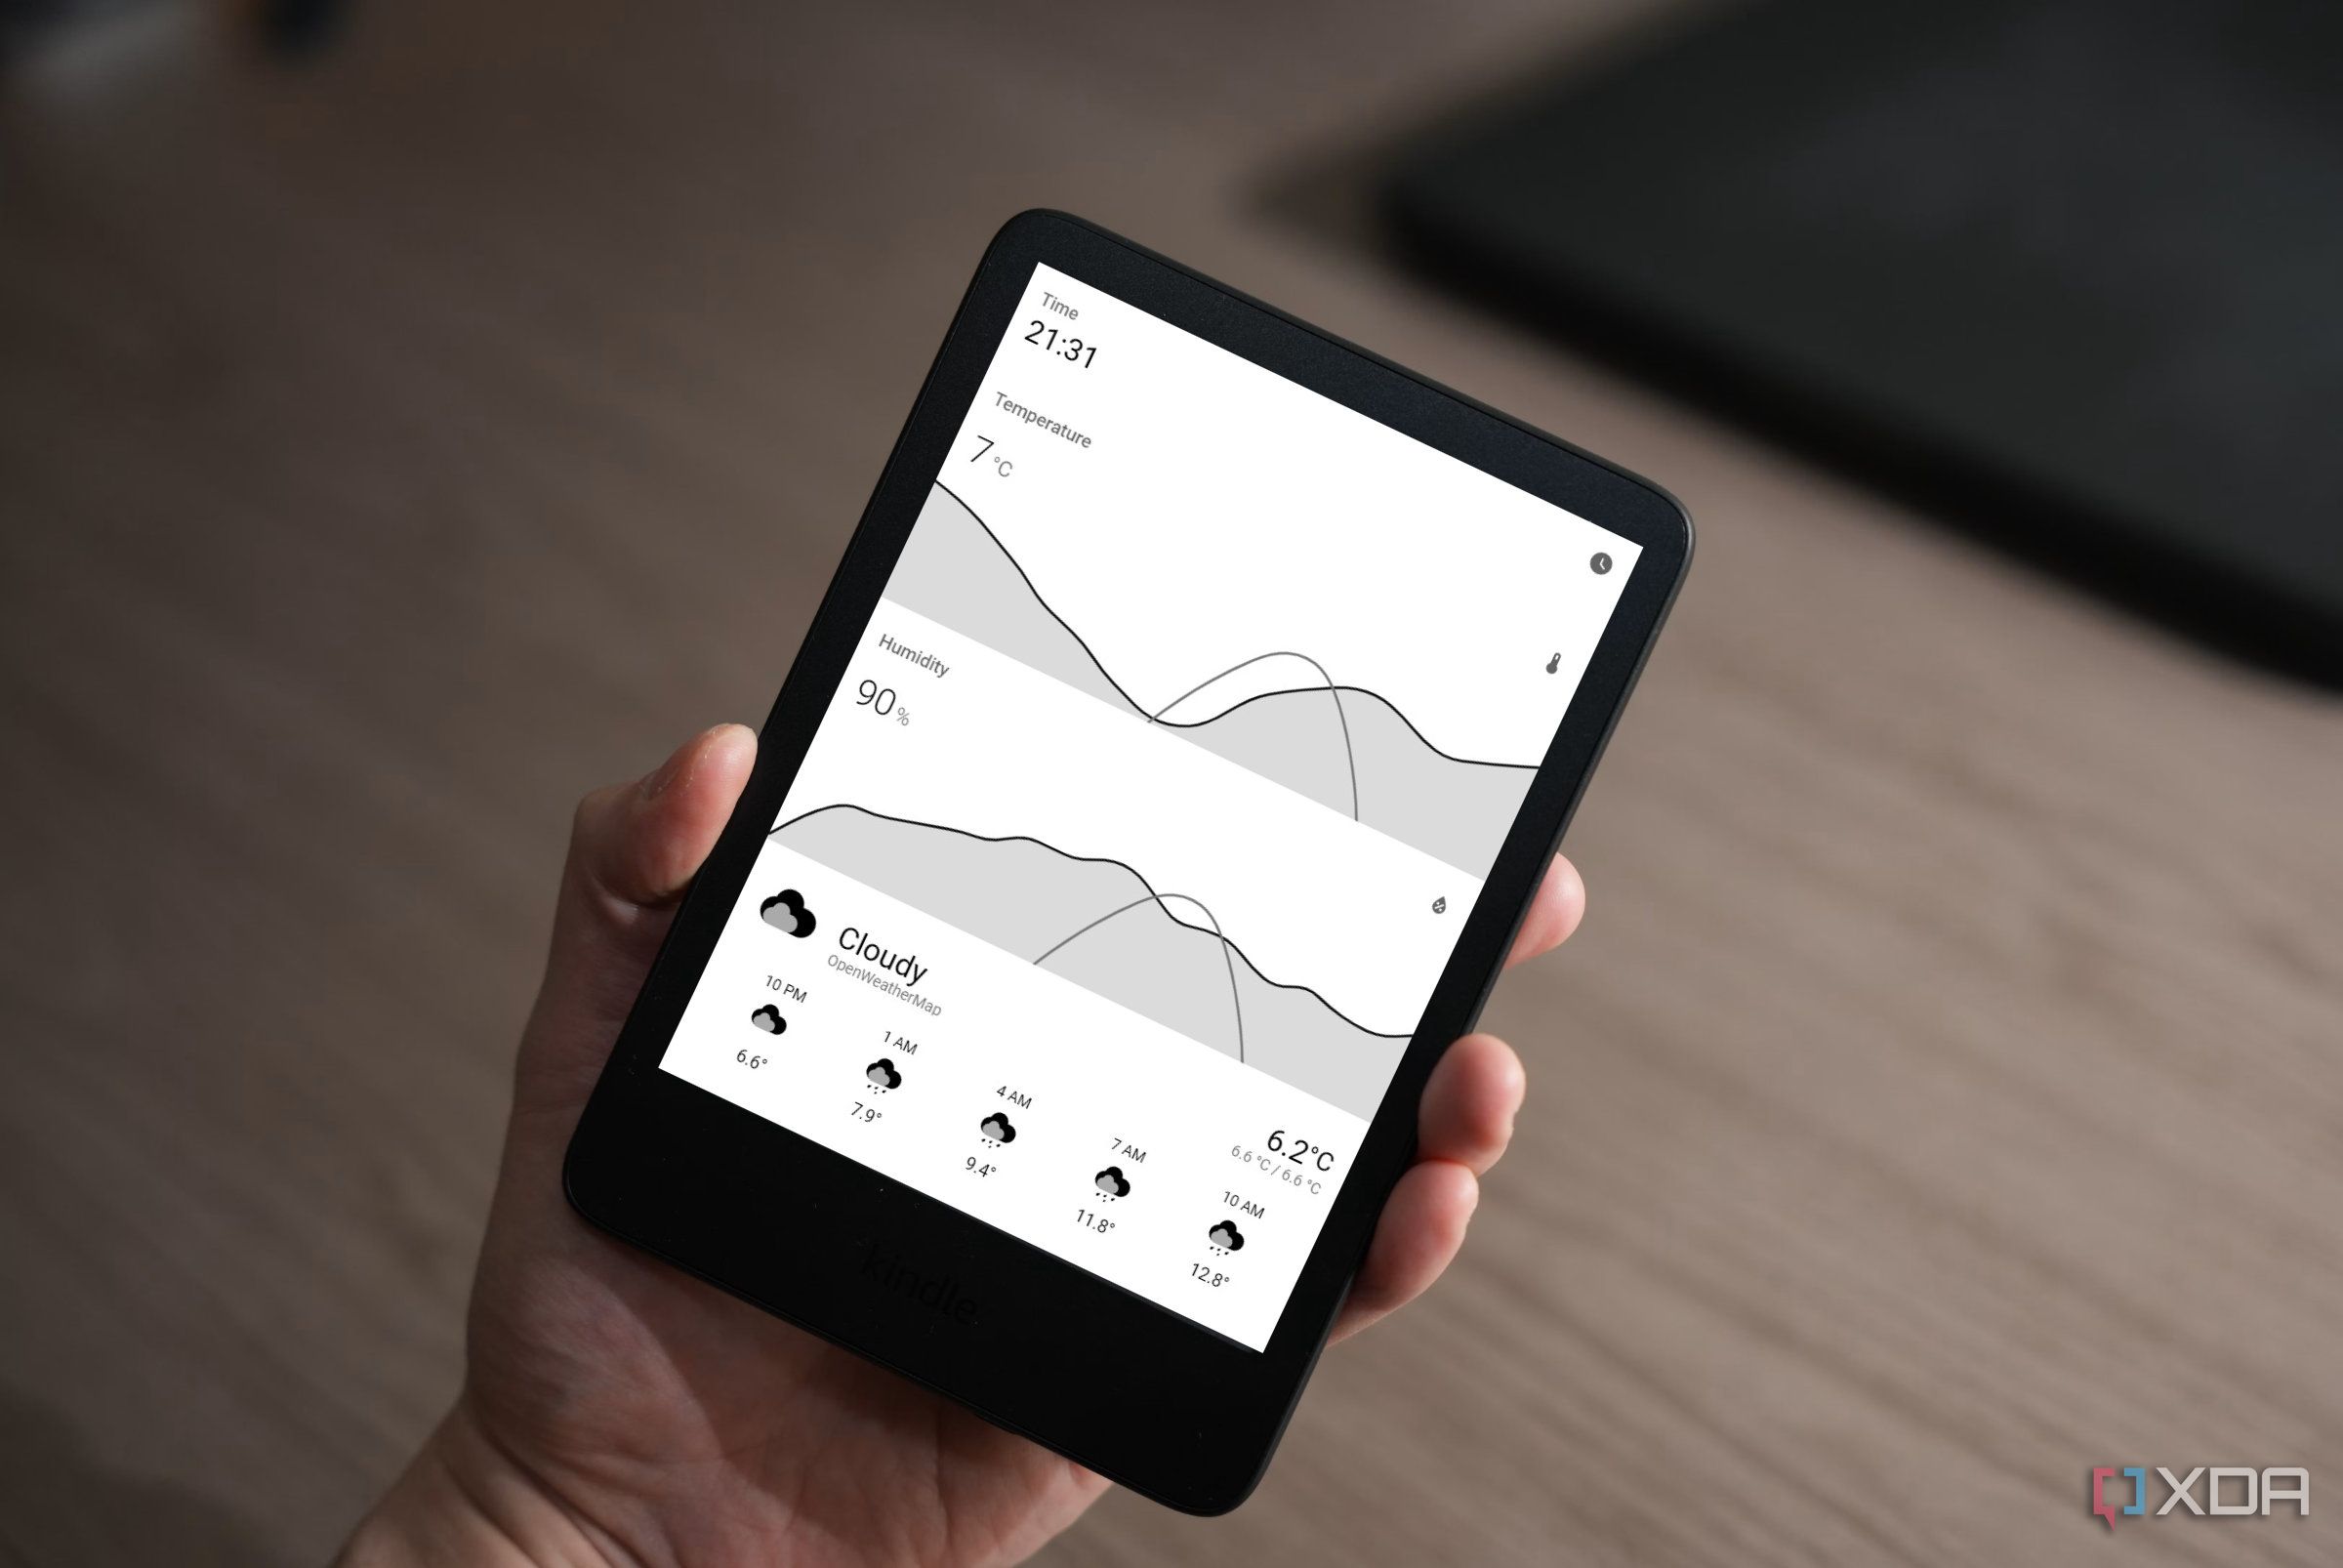
Home Assistant on Raspberry Pi can help you control all the popular smart devices and sensors from a single screen with minimal resources. It’s a blessing for old smart devices that are dependent on expensive hubs and have tedious, janky apps, many of which don’t even support them. The steep learning curve was worth it and cleared up quite a few things for me. For example, a standalone installation will only let you control devices over Wi-Fi. You can plug in a Sonoff Zigbee coordinator or multi-protocol smart home hub to connect to all smart devices that use the Zigbee protocol. Also, I might take up learning Python to manage Home Assistant’s config files and boost productivity.
Home Assistant is efficient, reliable, and shines with integrations that include source code published publicly by several manufacturers of smart devices. Running it on a Raspberry Pi works as a core to relieve you from the shackles of smart home setups specific to a platform or ecosystem, such as Apple Home, Amazon Alexa, and Google Home. Also, you don’t have to give away any personal data to a third party. You can run different scenes and automation locally, even without cloud-based apps. Tonnes of automation, integration, and dashboard possibilities allow you to manage your smart home devices from a browser on a phone, tablet, or computer.
