


Summary
- Setting up Home Assistant on a Raspberry Pi gives full control with no subscription fees or cloud dependency.
- Home Assistant supports various integrations beyond lights and plugs, stays open-source, and runs locally.
- Installing Home Assistant is user-friendly with visual setup flows and community support, even for beginners.
A while back, I wanted a smarter way to manage all the gadgets around my home without shelling out for expensive hubs or closed ecosystems. I had a Raspberry Pi 5 sitting around, and after some research, I decided to install Home Assistant on it. Since then, it’s become the brain of my smart home — automating lights, monitoring sensors, controlling smart plugs, and even keeping tabs on energy use.
If you’re tired of juggling a dozen apps just to turn off lights or see who rang the doorbell, setting up Home Assistant on a Raspberry Pi might be precisely what you need. It puts you in full control of your devices with no subscription fees and supports hundreds of integrations. Here’s why it’s worth it — and how to do it yourself.

Related
10 of the best add-ons for Home Assistant
Boost the capabilities of your smart home with these amazing Home Assistant plugins
Why Home Assistant is worth using and the Raspberry Pi is perfect to run it
It’s not just for smart lights and outlets, thanks to integrations for calendars, reminders, and more
Home Assistant is open-source and runs locally, meaning your data stays on your network. It supports devices from major brands like Philips Hue, IKEA, Shelly, Sonos, and more. It also includes Zigbee support and can link with voice assistants like Google Assistant or Alexa.
Thanks to its user-friendly interface, you can also build powerful automations without writing code. For more complex setups, YAML gives you fine-tuned control. Whether you’re a beginner or a tinkerer, Home Assistant scales with your skill level.
What you’ll need to turn your Raspberry Pi into your smart home centerpiece
If you’re a Raspberry Pi enthusiast, you likely have all the necessary hardware already

You don’t need a lot of gear to make this work. You probably already have most of it if you tinker with Raspberry Pi projects.
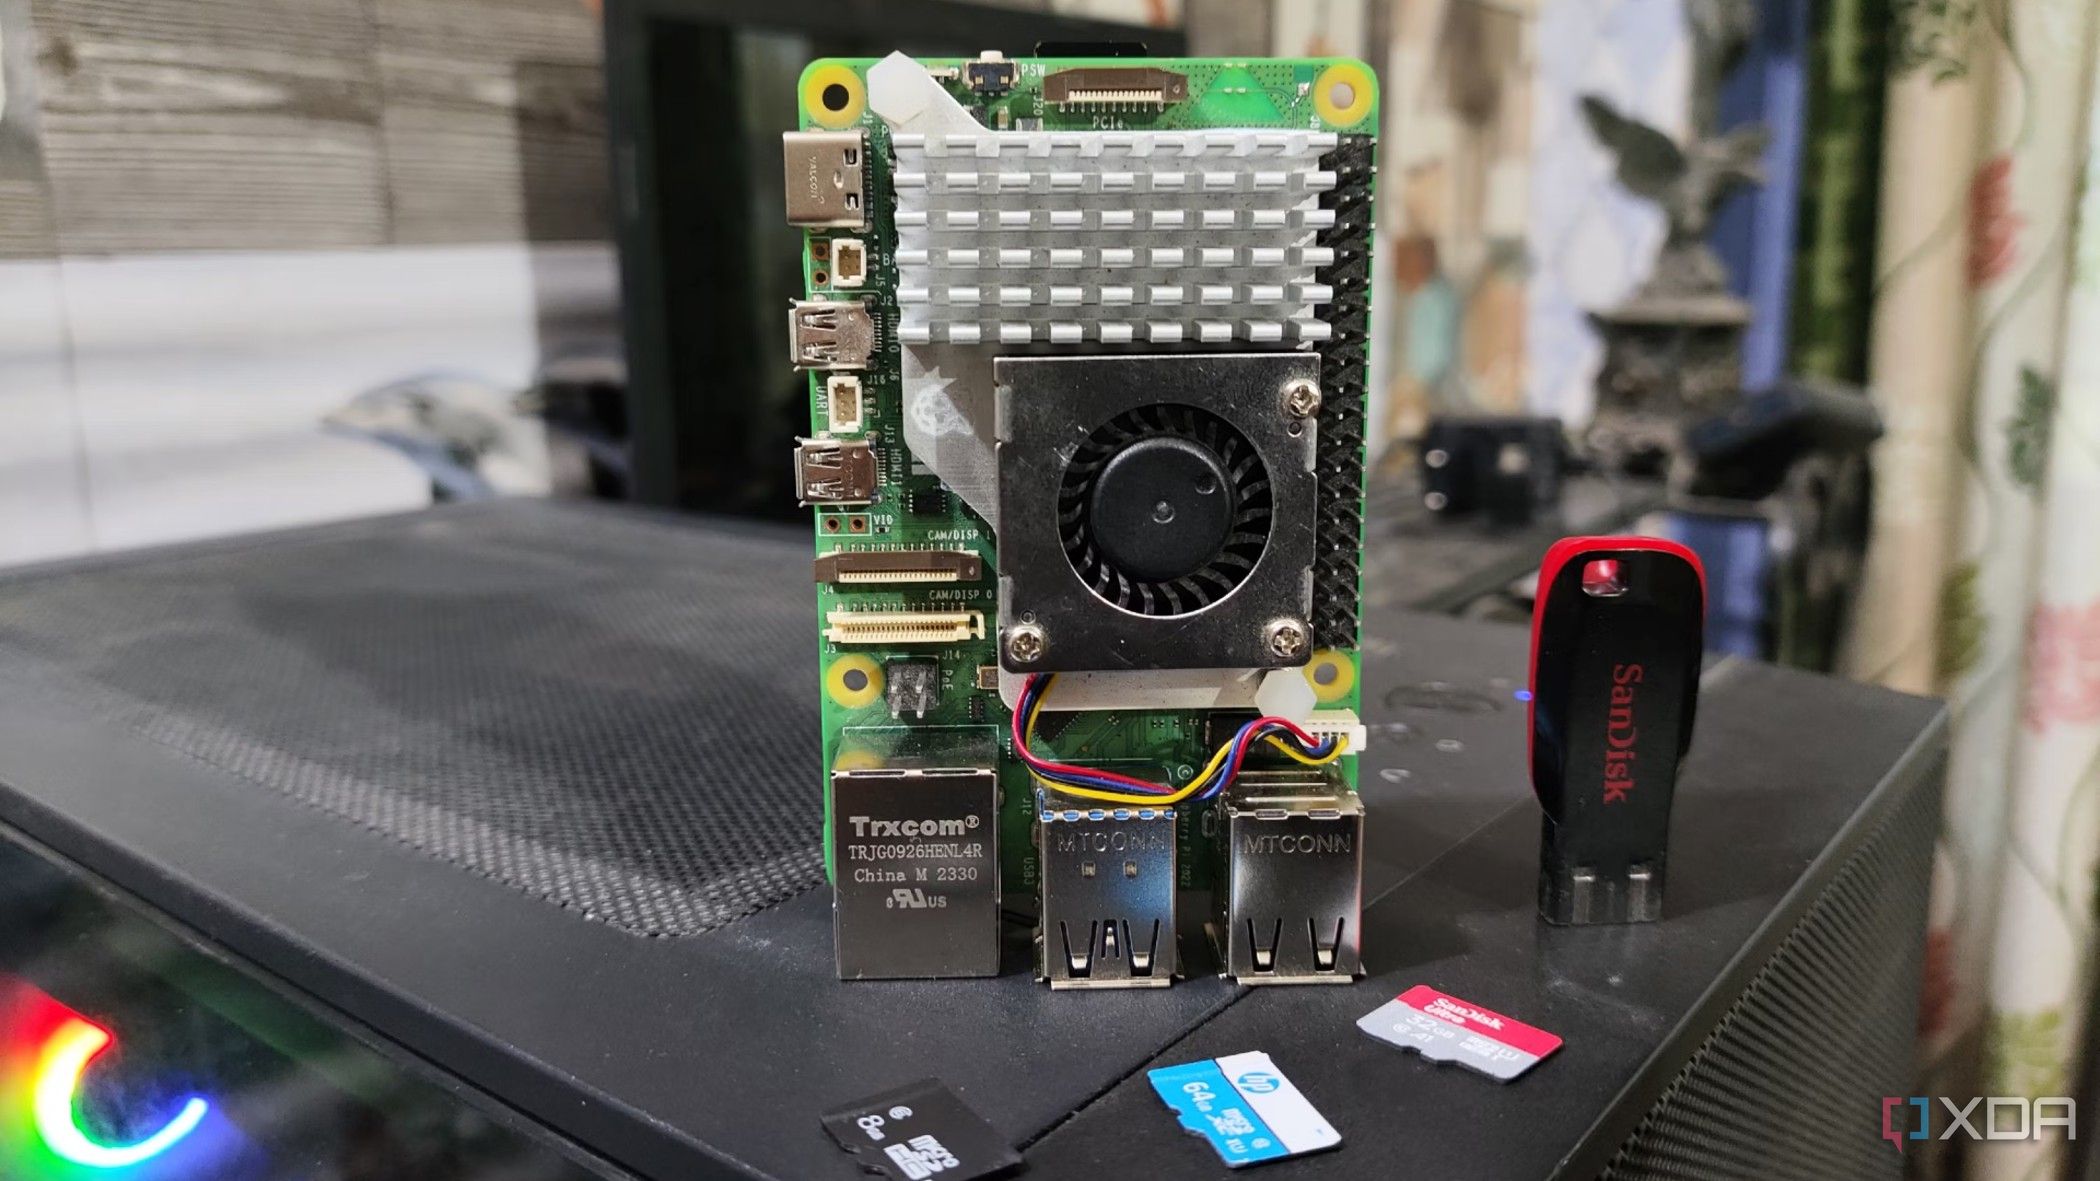
- Raspberry Pi 4 or 5 (I used a Pi 5)
- A good quality microSD card (32GB or more) or SSD
- Power supply for the Pi
- Ethernet cable (required for initial configuration) or Wi-Fi access
- Home Assistant OS image
- Optional: Smart devices (lights, plugs, sensors, etc.)
Why some people hesitate to try setting up Home Assistant
Debunking some common myths about installing and setting up Home Assistant

It’s totally normal to feel a little intimidated about installing Home Assistant, especially if you’re used to plug-and-play smart home gadgets. Here are some common reasons people hold back — and why those worries don’t have to stop you:
- I’m not a programmer: You don’t need to be. Home Assistant has a visual setup flow for integrations and automations, and the community offers many examples and templates. YAML is optional for most use cases.
- It sounds too technical: The setup is mostly just flashing an SD card and clicking through a web interface. Once it’s up and running, you interact with it like any other smart home app.
- I don’t want to break anything: While the most comprehensive Home Assistant installation takes over your entire Raspberry Pi, it doesn’t interfere with your existing apps or controls on other devices. Devices you use with Alexa, Google, or Apple Home will continue to work just fine in those apps. Home Assistant gives you more ways to use your existing smart home devices, and it allows you to use gadgets that might not support your built-in app. Even if something goes wrong, your smart devices will still work on their own.
- I might get stuck: The Home Assistant community is one of the most helpful online. Whether you search Reddit, the official forums, or Discord, there’s always someone ready to help you troubleshoot or answer questions.
Once you try it, most of those concerns fade quickly, and you might find yourself diving deeper just because it’s genuinely fun to build your own setup.
How to install Home Assistant
Your quick and easy path to setting up your smart home’s central command center

Getting everything set up doesn’t take long, and the Home Assistant team makes it pretty smooth. You’ll install the OS on your Pi, connect to the interface, and start adding devices.
Here’s how I did it:
-
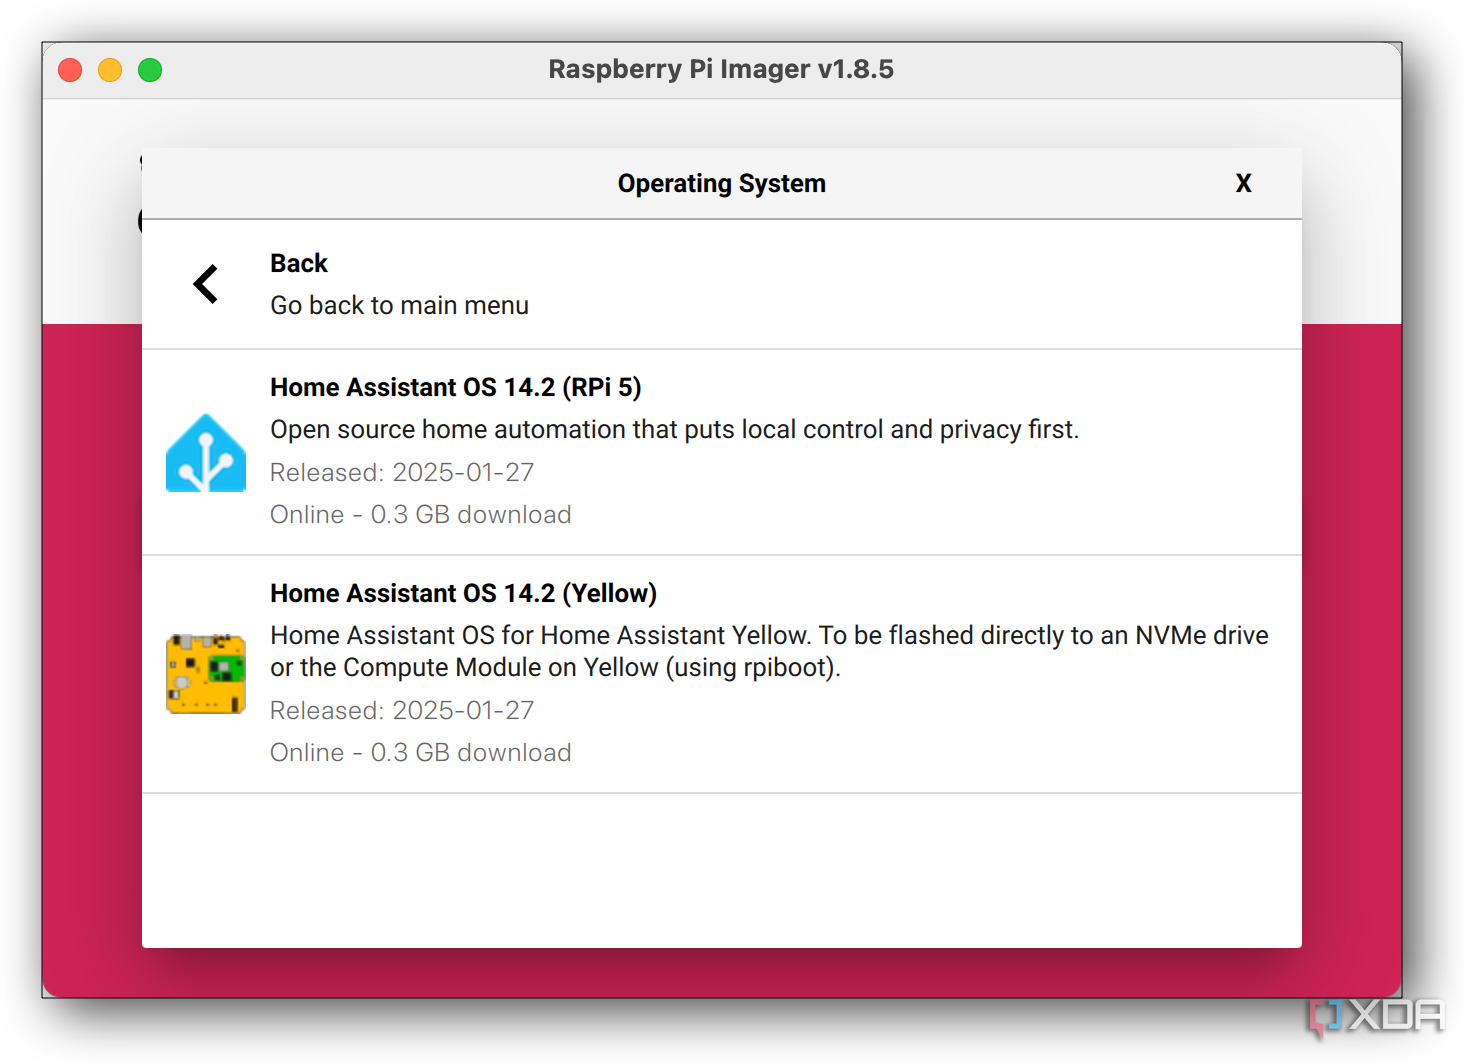
Download the Home Assistant OS image for your Raspberry Pi from https://www.home-assistant.io/installation/raspberrypi. If you’re using the official Raspberry Pi Imager, you’ll find the Home Assistant image via Choose OS -> Other specific-purpose OS -> Home assistants and home automation -> Home Assistant.
-
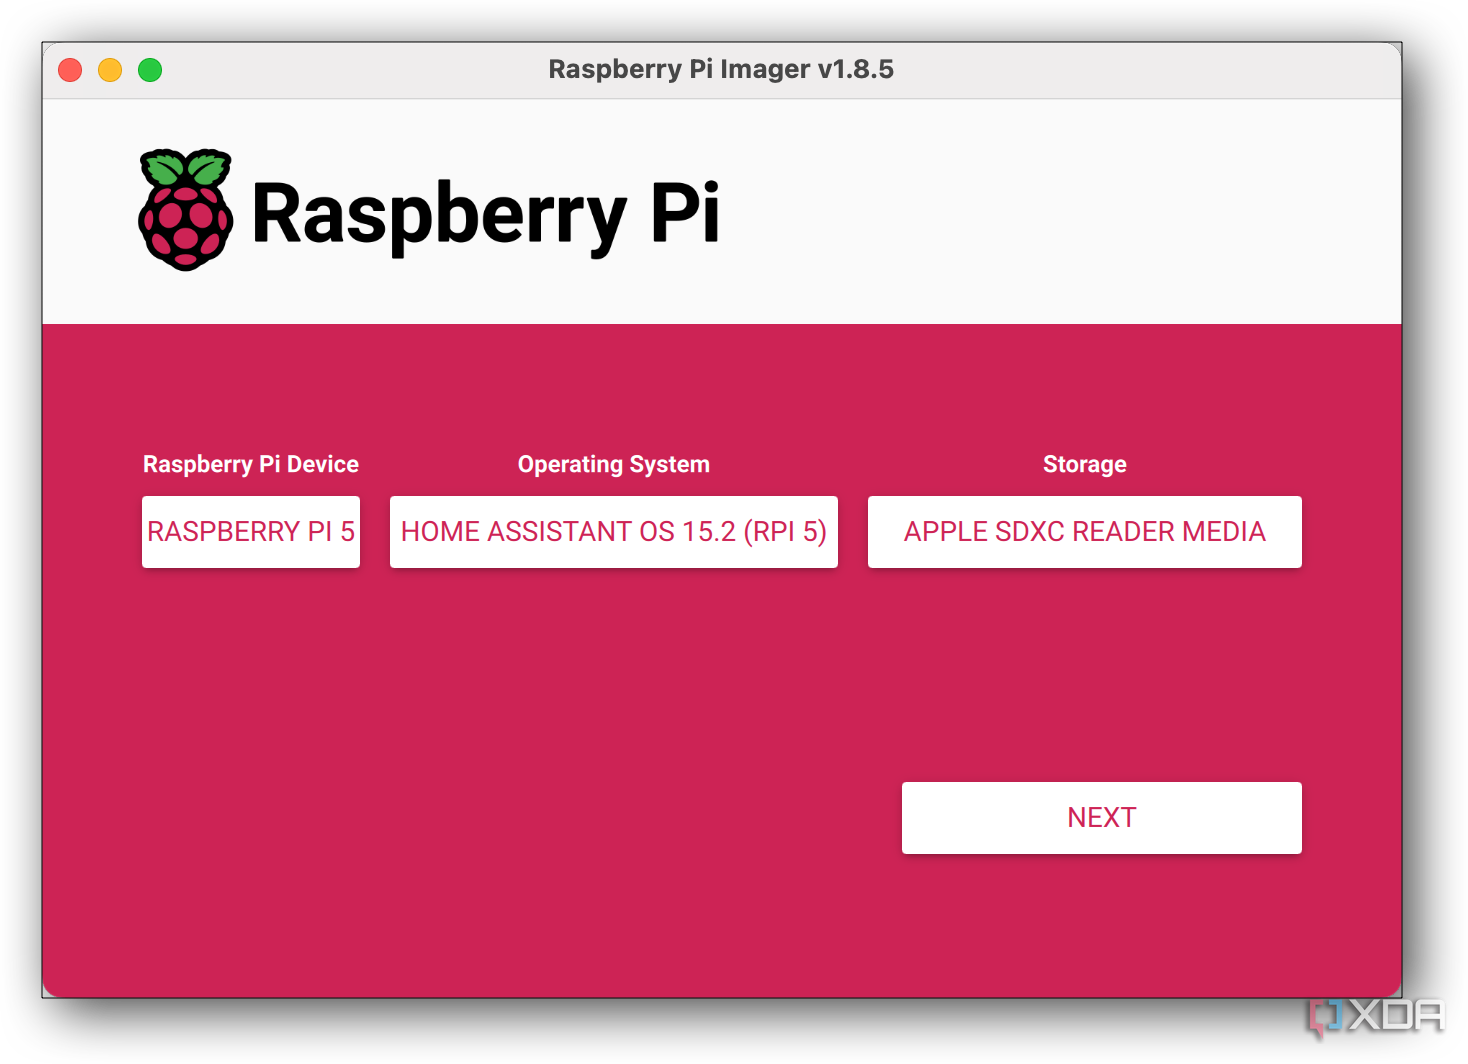
Use Balena Etcher or the Raspberry Pi Imager to flash the image onto your SD card or SSD.
-
Insert the card/SSD into your Pi, connect it to your network via Ethernet (mandatory for first boot), and power it up.
-
Wait a few minutes while the system installs. Then visit http://homeassistant.local:8123 in your browser.
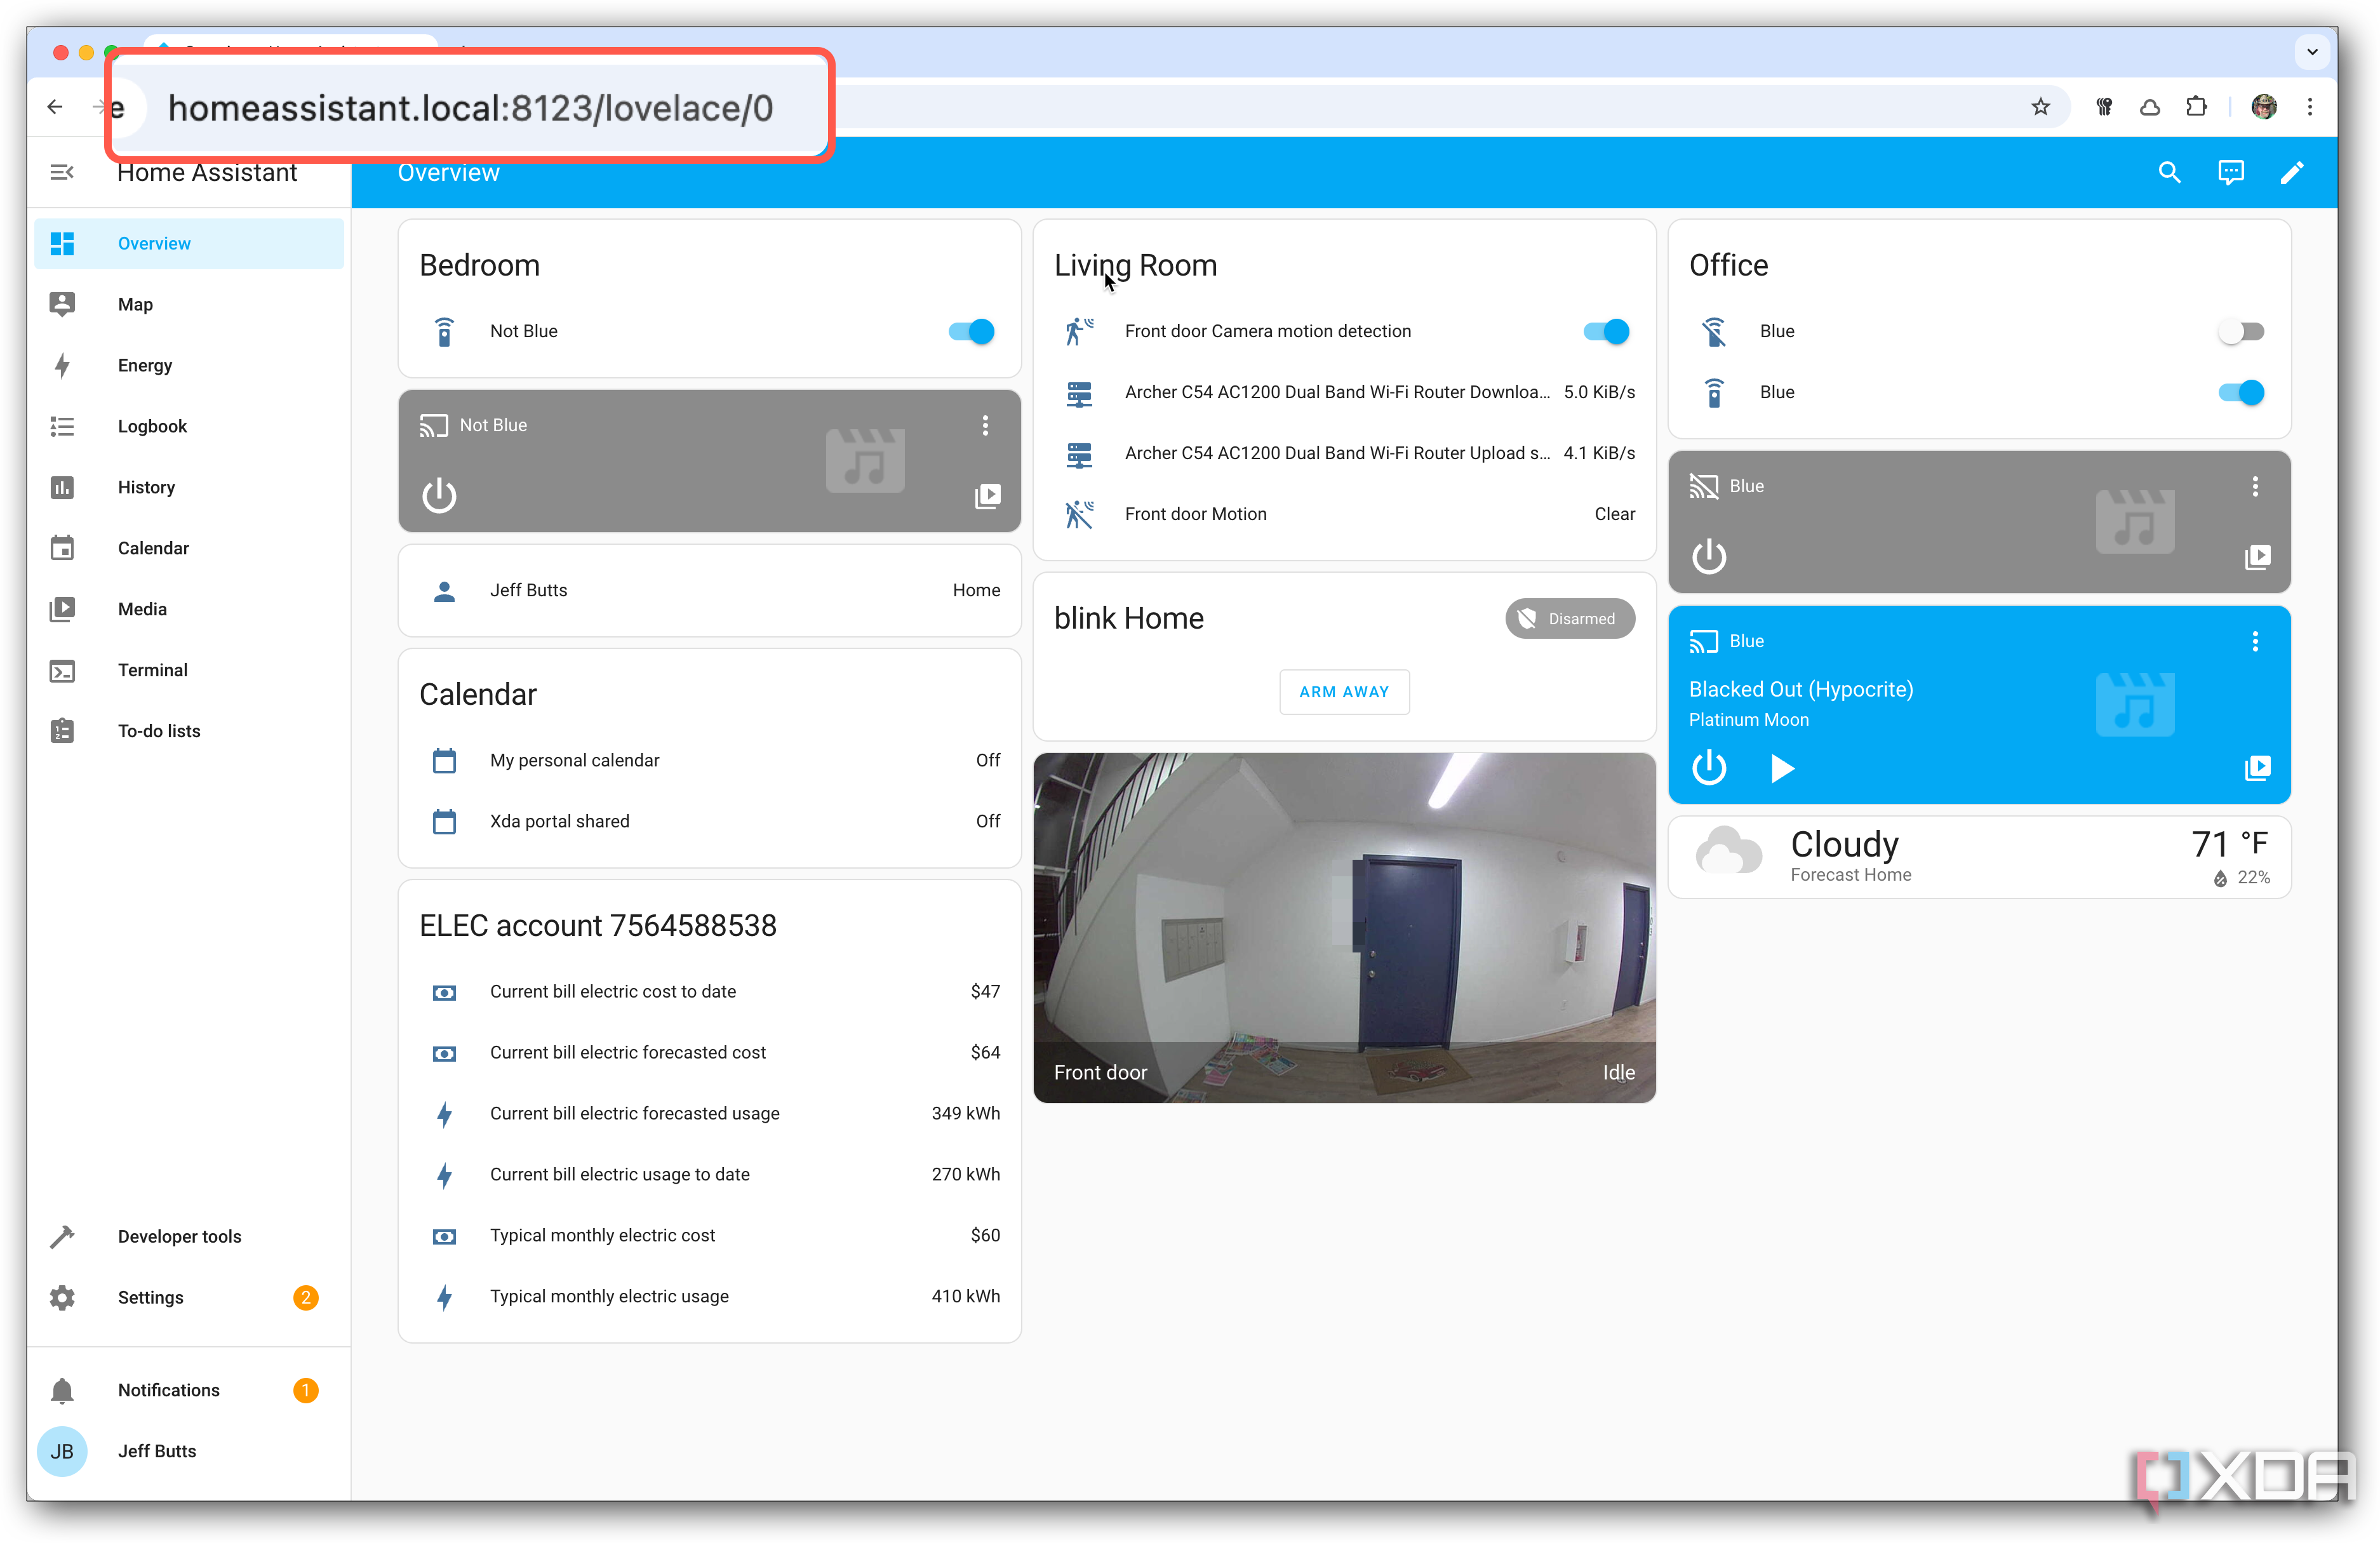
- Follow the setup wizard to create your user account and start connecting your home’s smart devices.
-
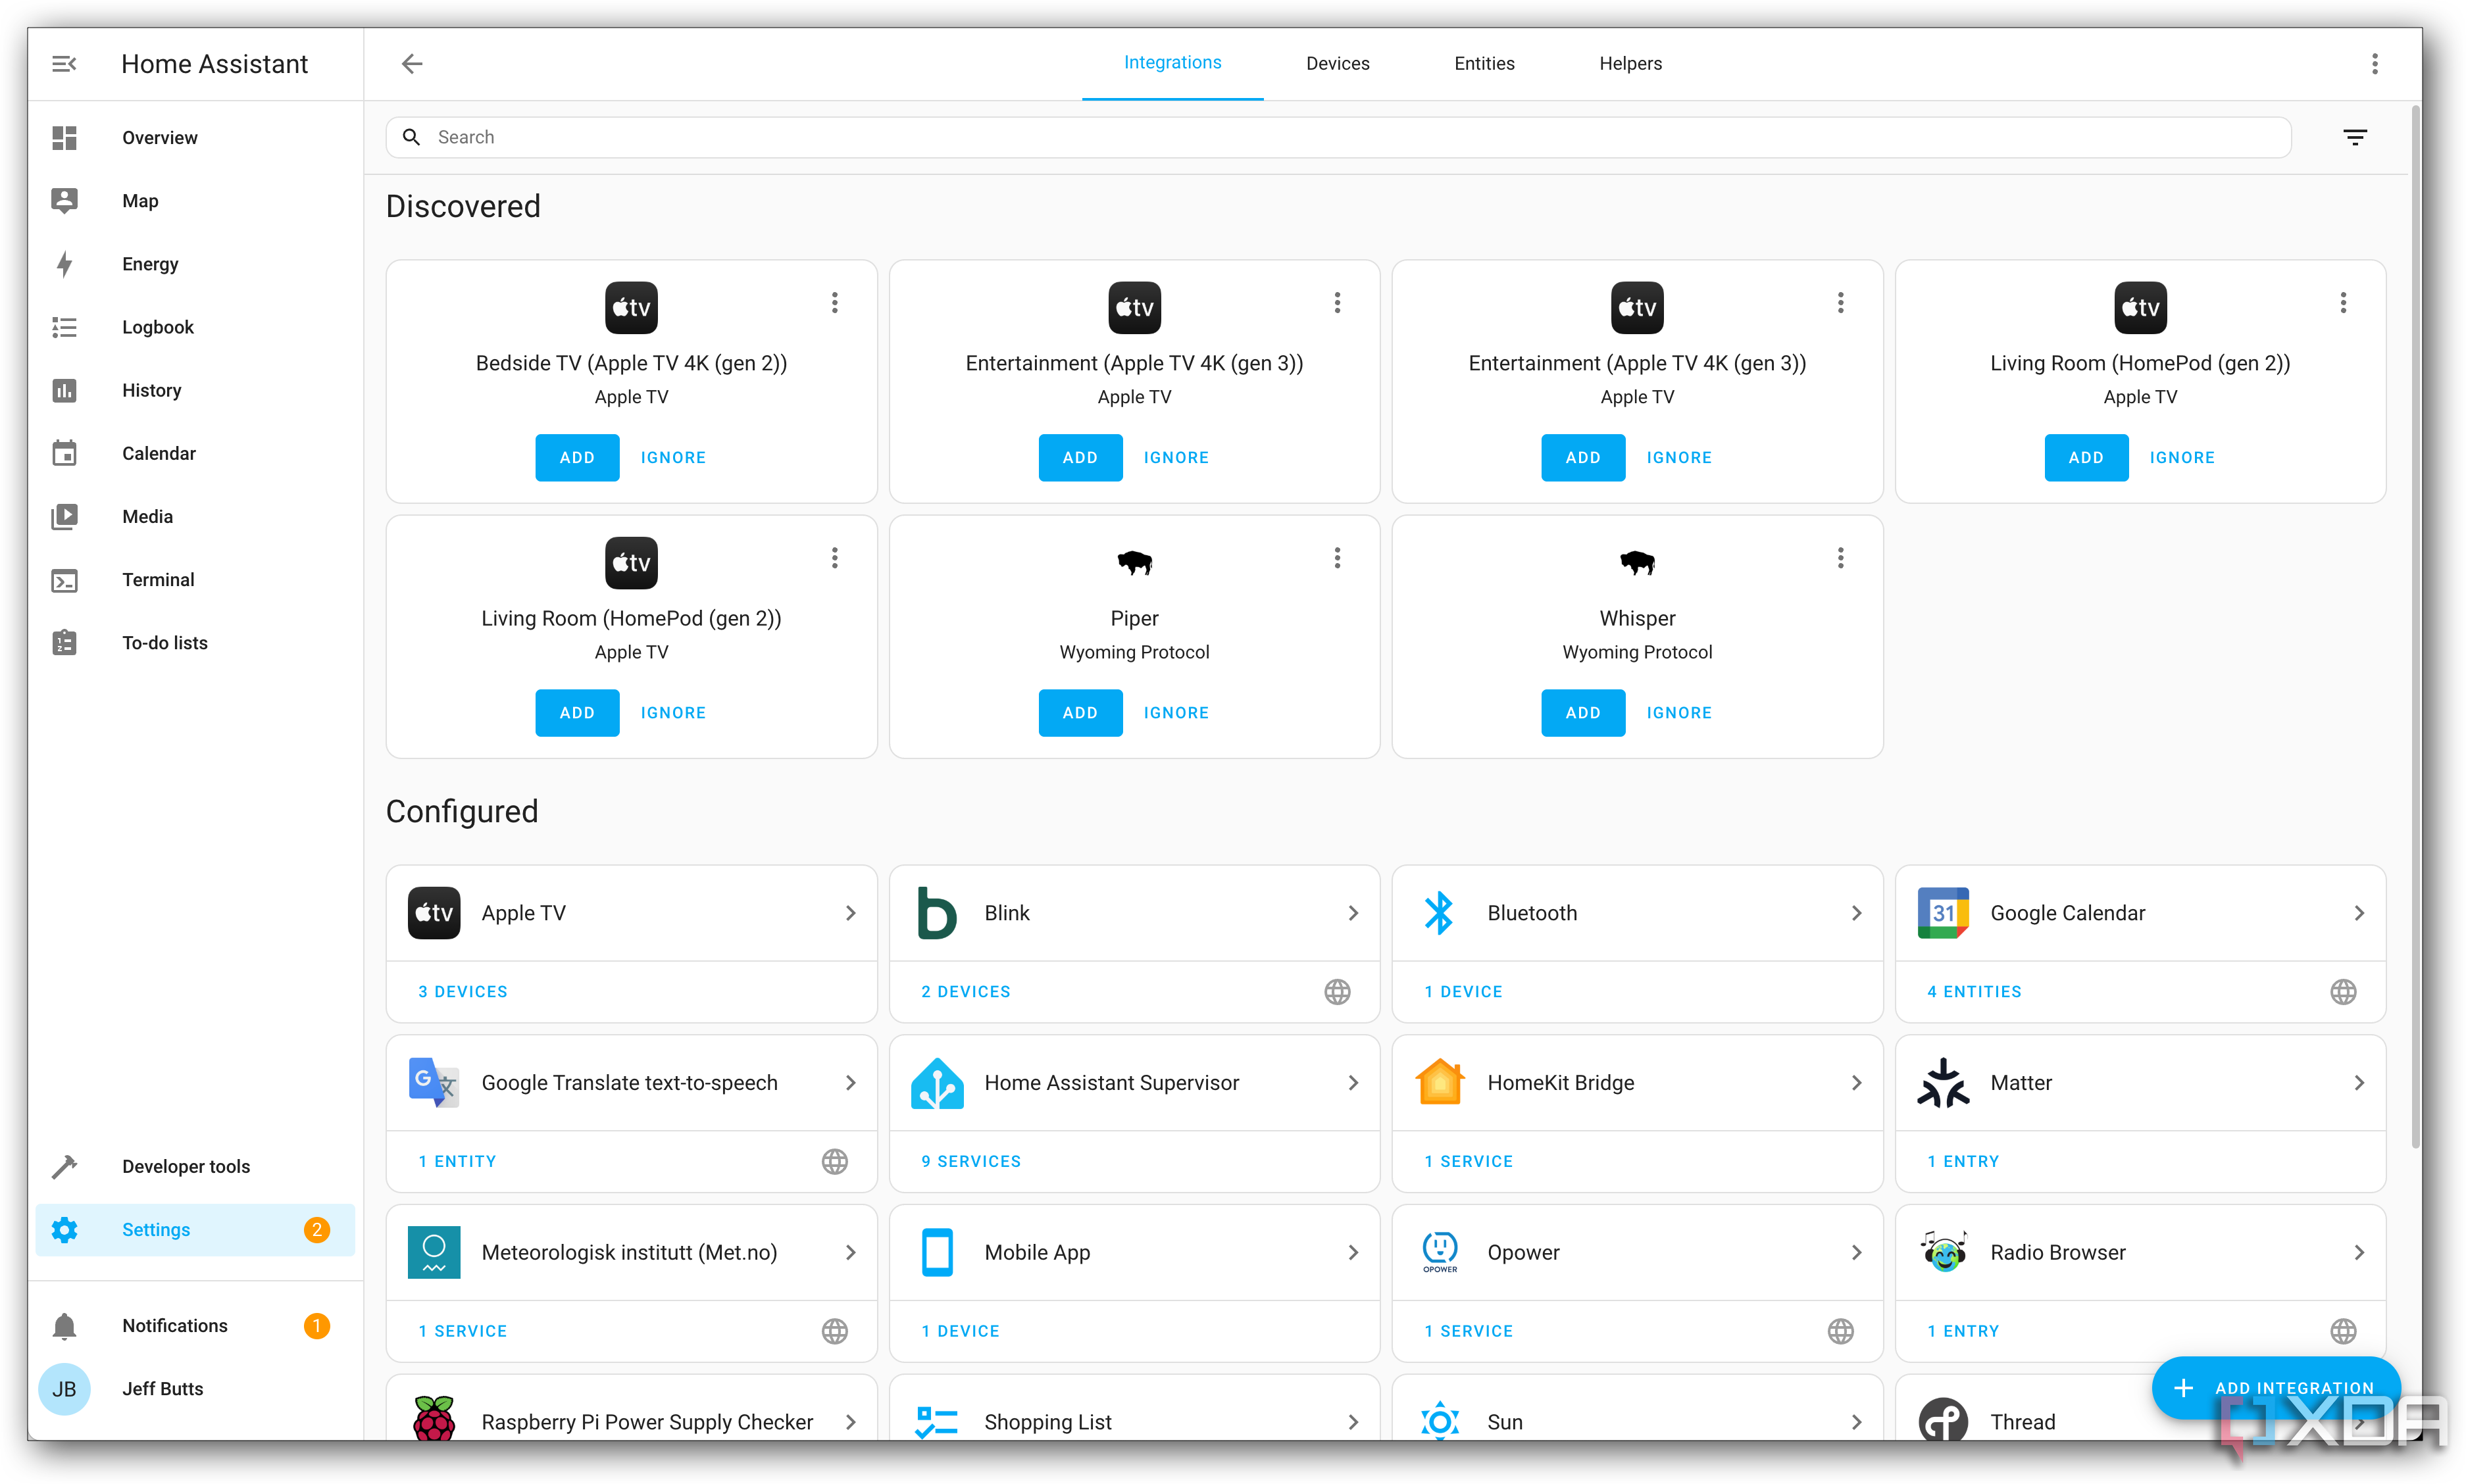
Explore integrations through the Settings menu to add lights, switches, media players, sensors, and more.
- Set up automations using the built-in editor or write your own YAML if you’re comfortable with that.


What to watch out for with your Home Assistant setup
Words to the wise about making the best of your Home Assistant install

Running Home Assistant on a Raspberry Pi works well, but it’s not perfect. SD cards can wear out over time, so consider moving to an SSD for more reliability. If you want to stick with a micro SD card, be sure it’s a good quality one. It’s also a smart idea to make regular backups or clone the SD card in case of corruption.
The Home Assistant developers recommend using a micro SD card Application Class 2. Check for the label A2 on the card. These cards perform better especially on small read and write operations, they’re less prone to data corruption, and they are better suited to hosting applications.
In my case, since I’m using a Raspberry Pi 5, I installed the M.2 NVMe HAT with a 1TB SSD. Also, as your setup grows, the Pi’s performance might feel a little tight if you add tons of integrations or run add-ons like Plex.
That said, the benefits outweigh the drawbacks for most people. You get local control, freedom from cloud dependency, and a surprisingly fast and capable system. And if you ever outgrow the Pi, you can migrate Home Assistant to a more powerful machine without starting from scratch.
Why I’m still running Home Assistant, and I’d do it all over again
It truly is the best option for unifying all my smart home devices
Home Assistant offers you local control, freedom from cloud dependency, and a surprisingly fast and capable system
Home Assistant turned my Raspberry Pi into a smart home powerhouse. I’ve automated routines, improved security, and made things more convenient without handing over my data to a third party. It’s flexible, reliable, and just fun to use. If you’ve got a Raspberry Pi and some smart devices in your home, give this a try. You’ll be surprised how much more capable your home can become.


