Over the years, the Raspberry Pi series has witnessed major improvements in its capabilities, with modern boards capable of serving as solid general-purpose systems once you outfit them with the right distributions. However, Windows has always remained out of reach for Raspberry Pi enthusiasts, and you’d have to resort to complex workarounds to get a taste of Microsoft’s flagship OS on the uber-popular ARM-based SBC family.
But if you’ve read my articles here on XDA, you may be aware that nothing pleases me more than running applications, games, and entire operating systems on unsupported hardware. In fact, it’s been over six months since I last installed Windows 11 on the Raspberry Pi 5. As you may have guessed, the outcome wasn’t worth the painstakingly long procedure.
Related
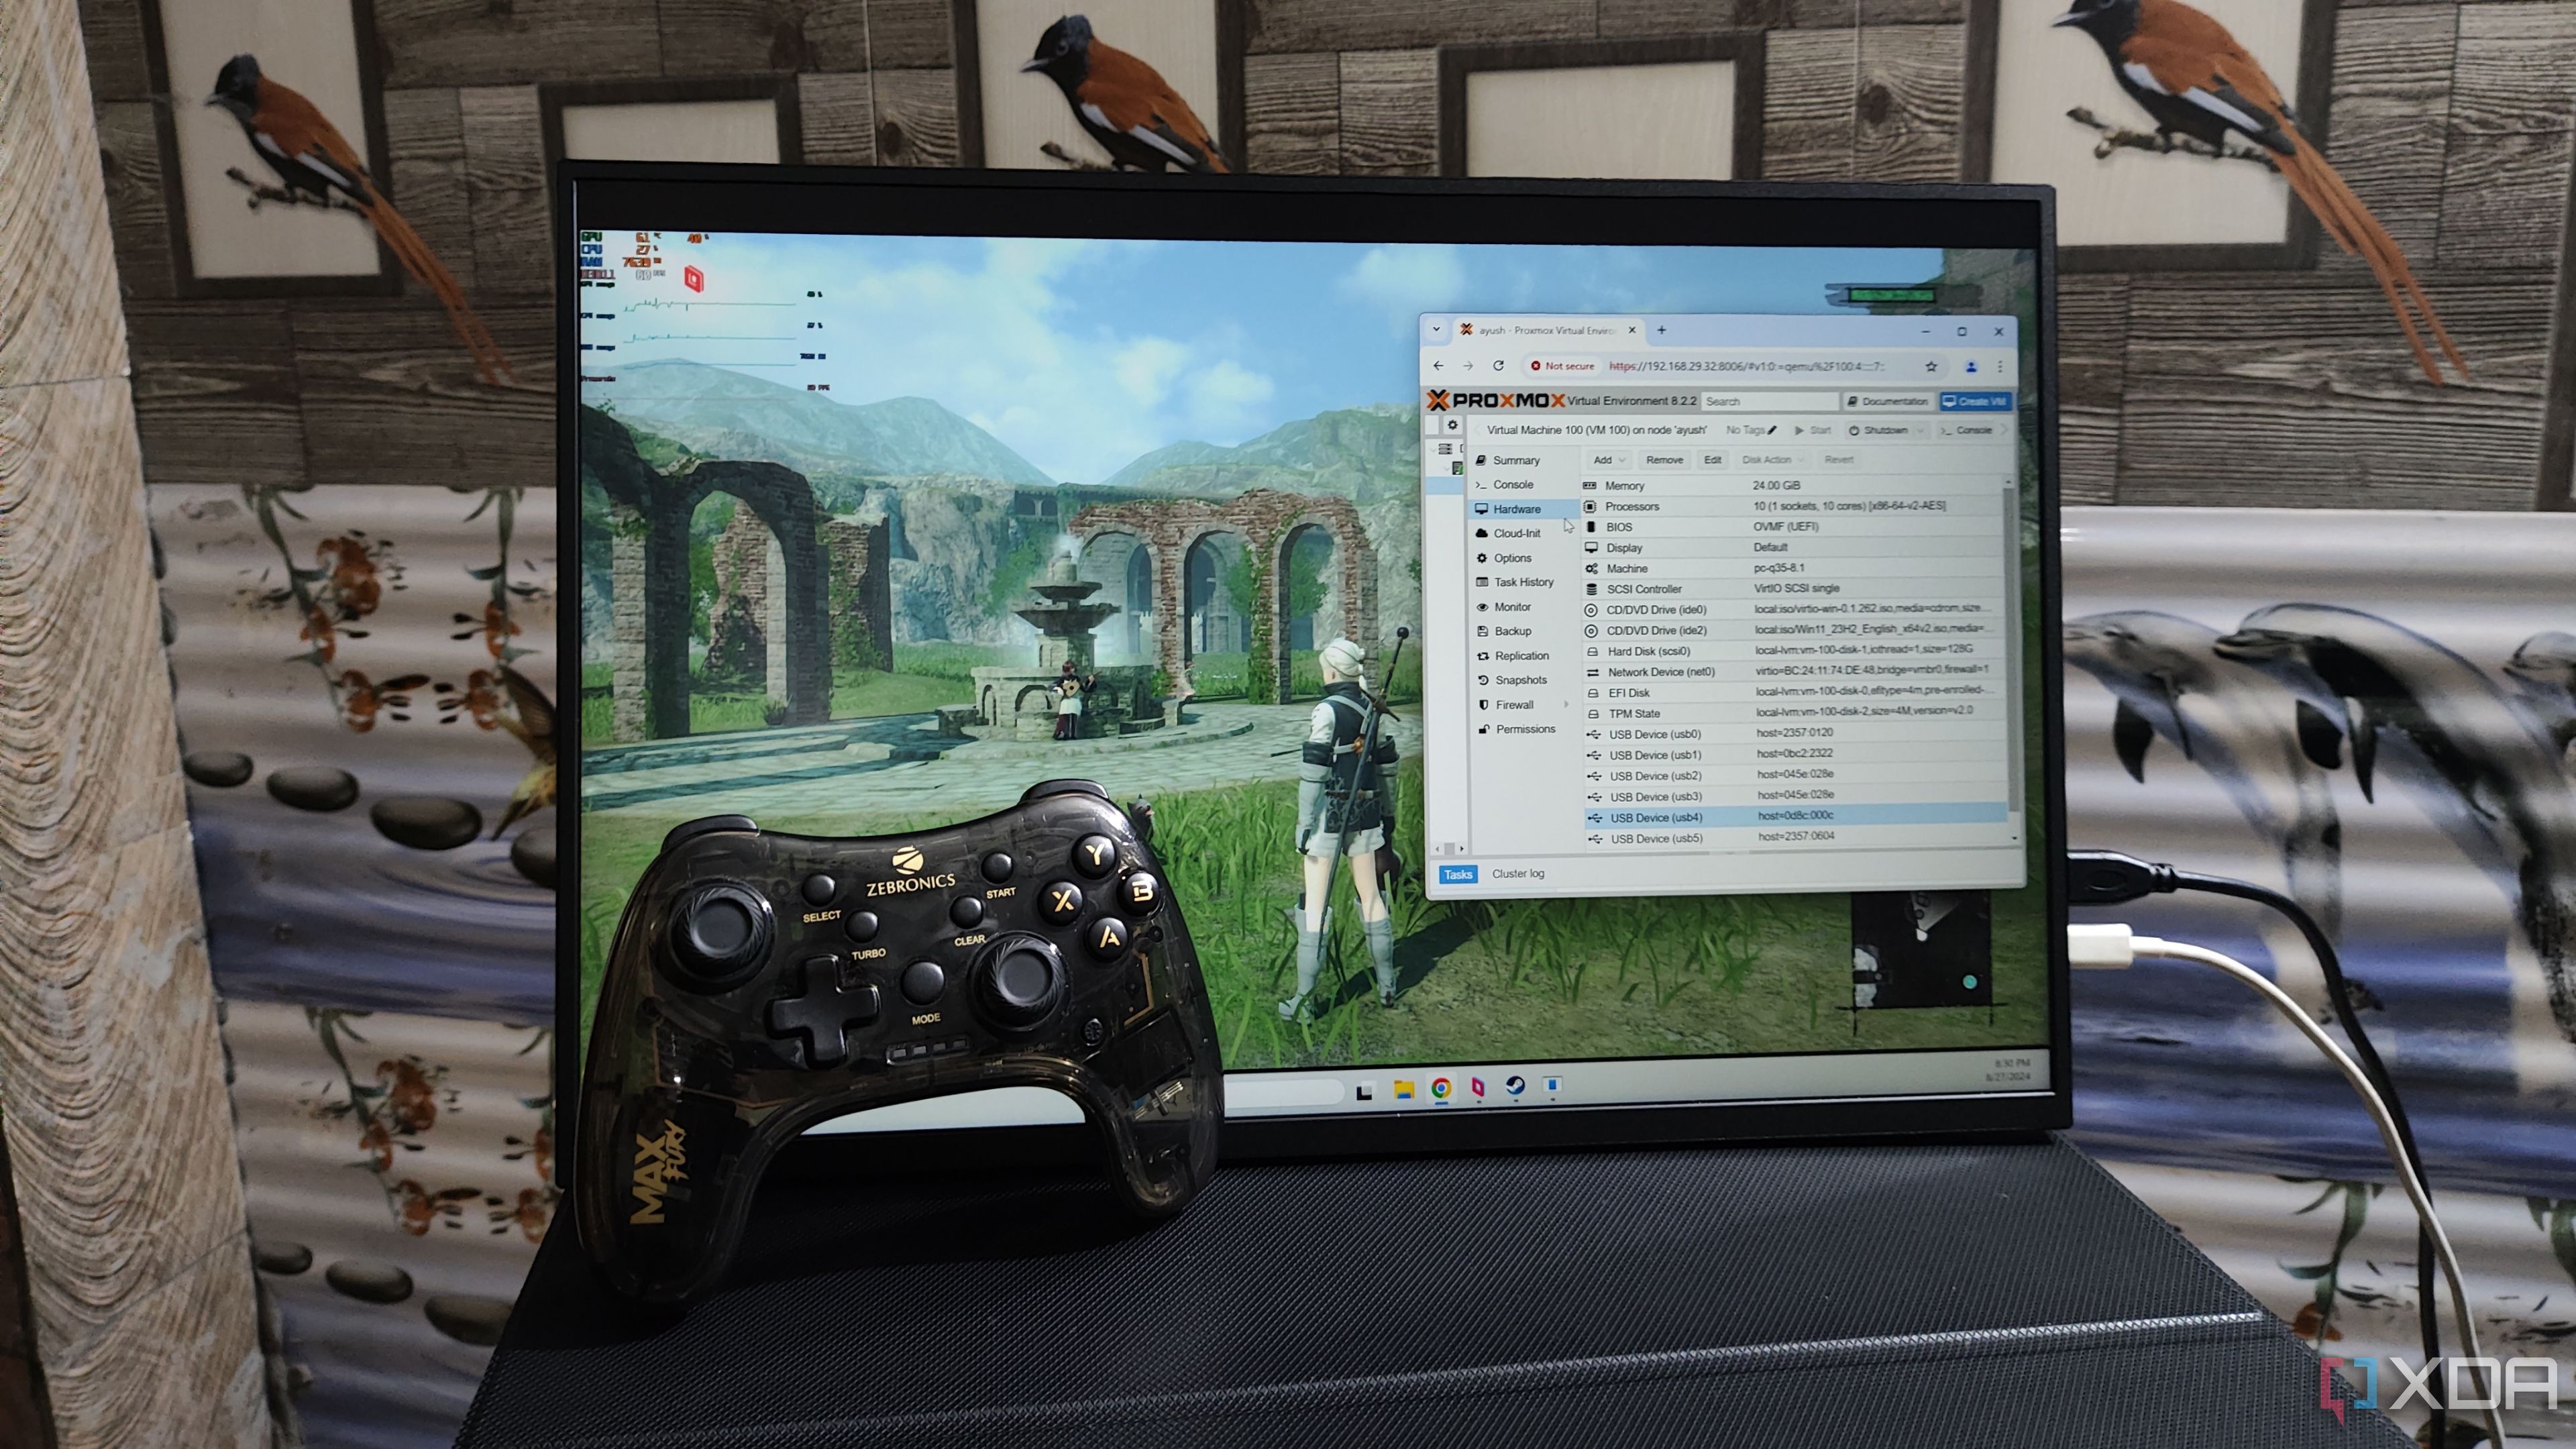
I tried gaming on a VM hosted on a Proxmox server – here’s how it went
Despite the ridiculous premise, the Proxmox-powered gaming machine worked extraordinarily well after some tweaks
So, I came up with a downright unhinged way to get Windows 11 working on my tinkering companion: running it inside a container. And as ridiculous as it may sound, this process is not only easier than a bare-metal Windows 11 installation, but also lets you run a couple of apps without a service or two crashing every second.
Runtipi serves as the beacon of light in this project
It really is the best containerization tool for the Raspberry Pi series
A couple of weeks ago, I stumbled across Runtipi, a platform that can deploy containers on top of an existing operating system. Up until now, most of the containerization tools for the Raspberry Pi – including YunoHost, UmbrelOS, and Freedombox – have required me to relegate an entire microSD card to the SBC. As someone who works on multiple Raspberry Pi projects at a time, Runtipi piqued my curiosity and before long, I began adding my favorite containerized services to the platform.
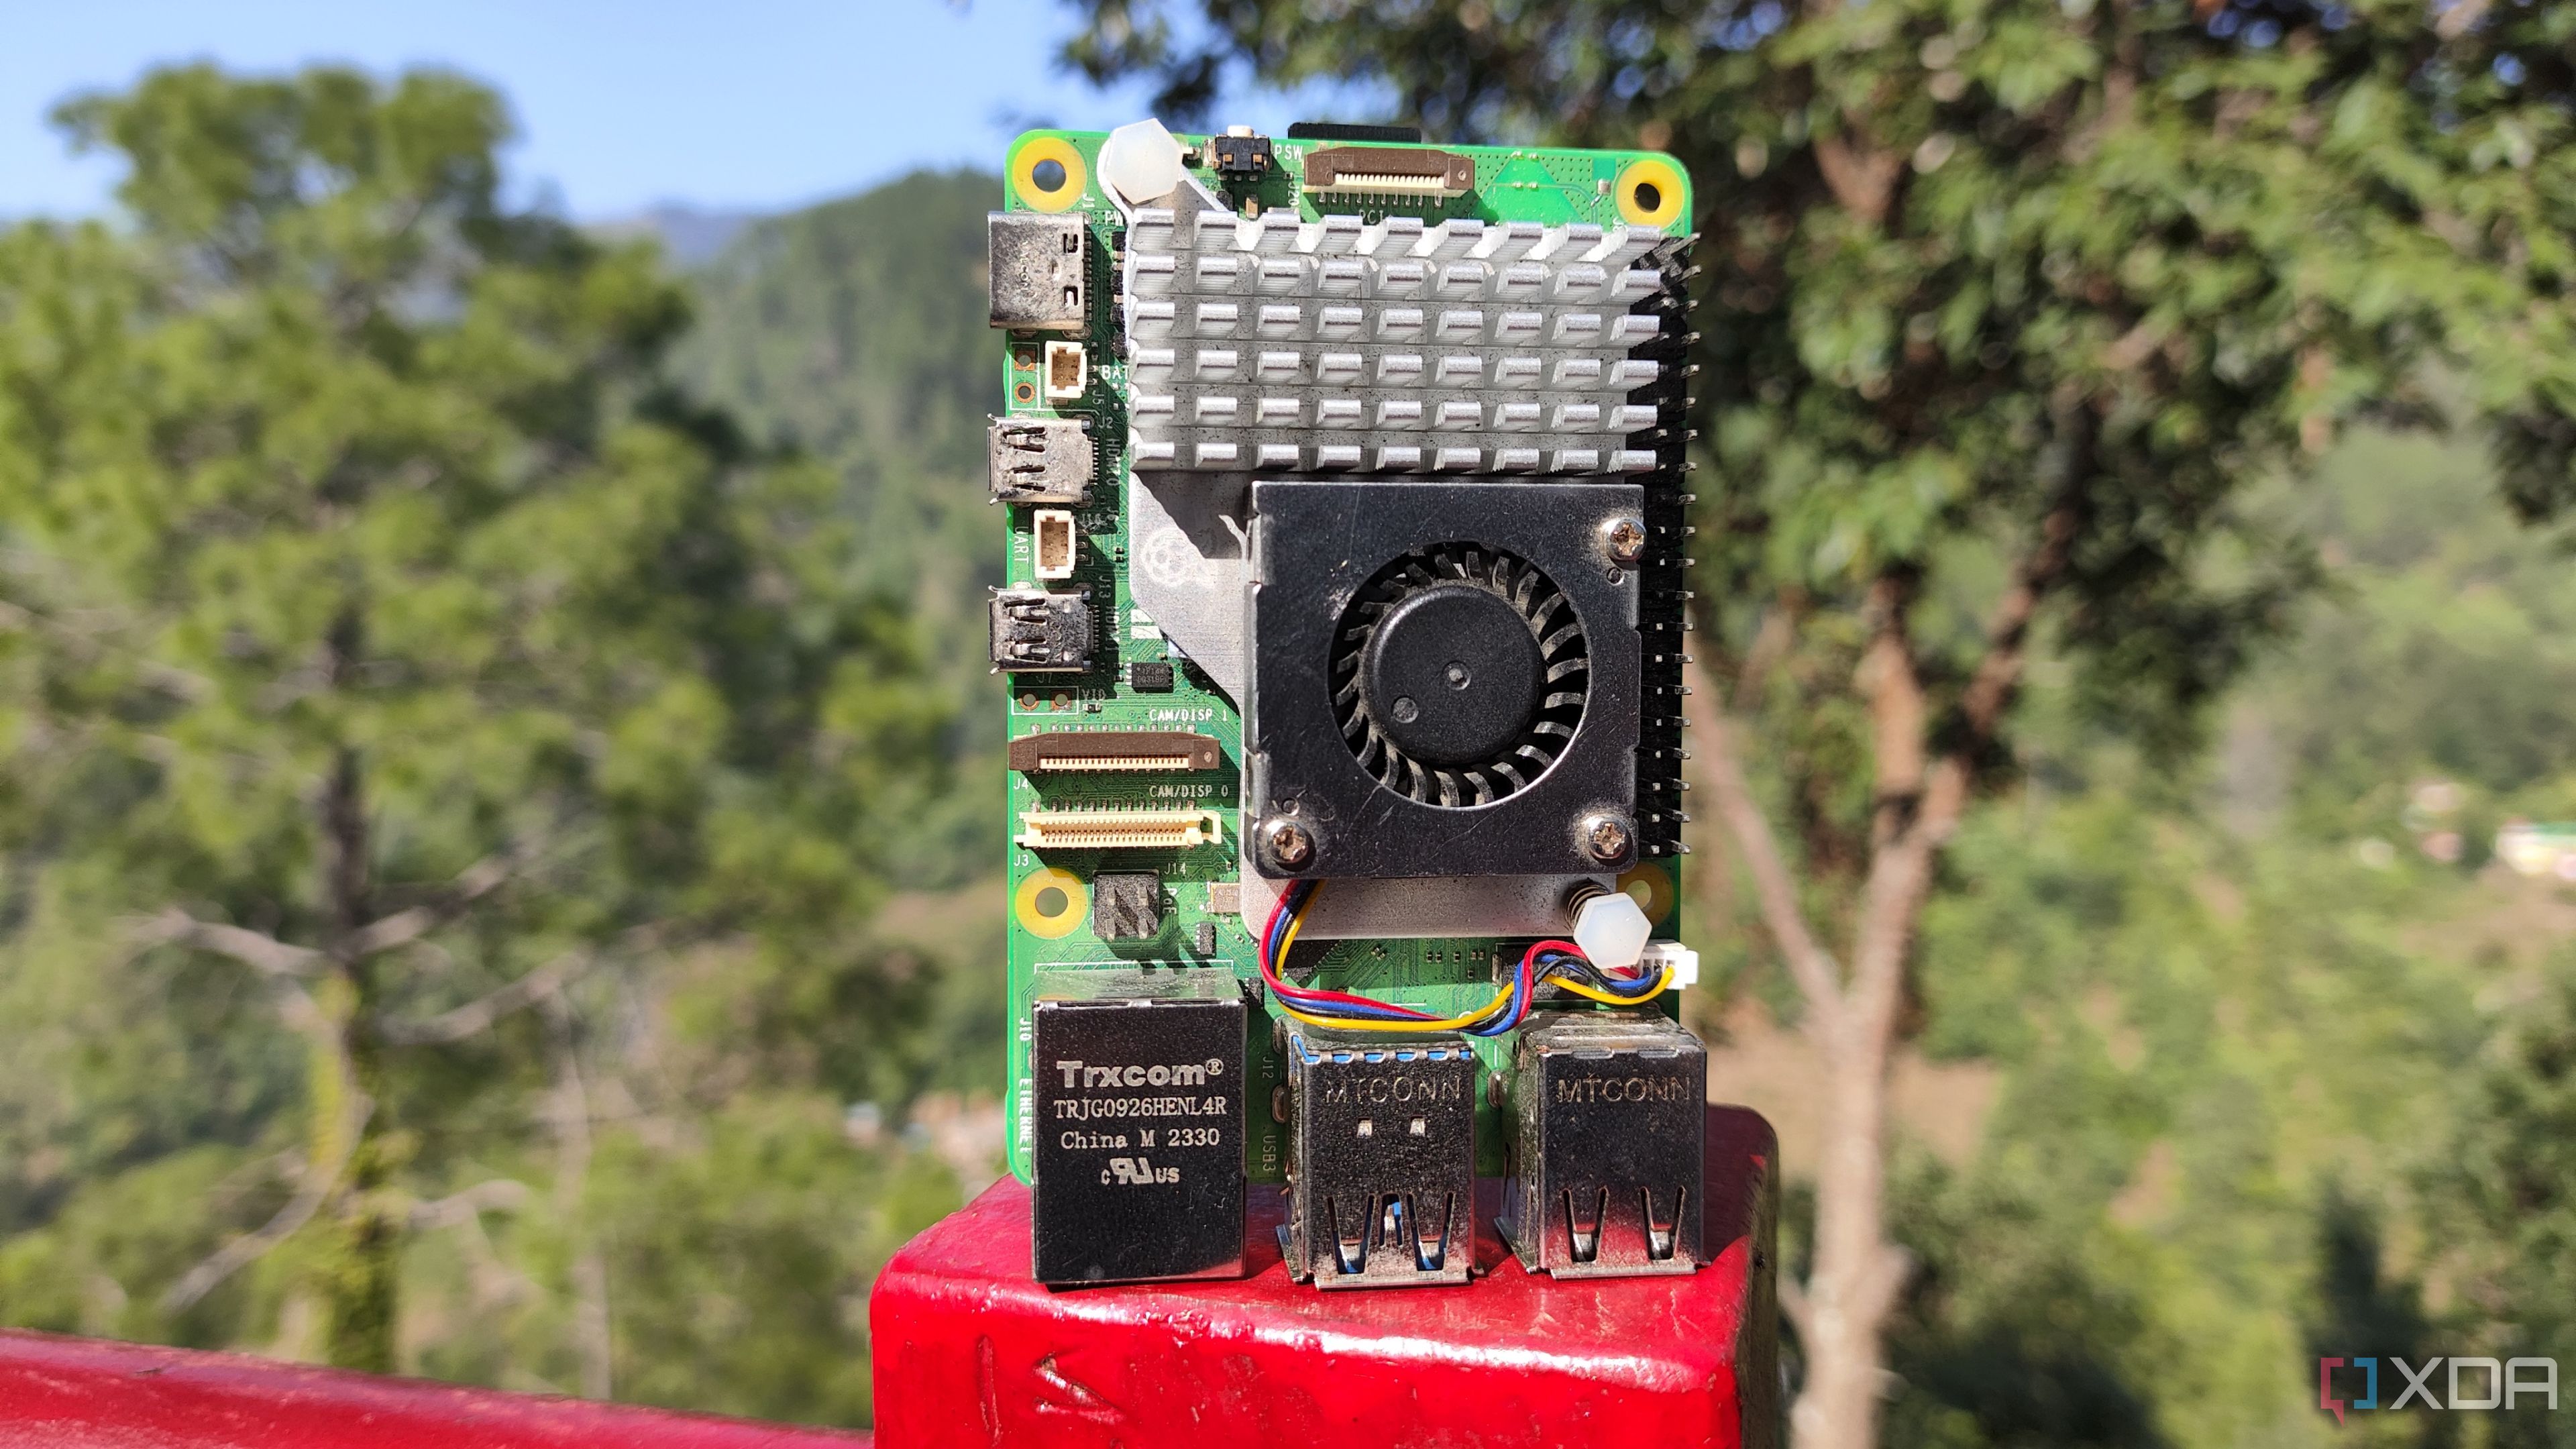
After scrolling through the app list, I found the most intriguing container of them all – one that could run Windows 11 by leveraging KVM (making it somewhat similar to a virtual machine). So, I did what every self-respecting tech lunatic would do: press the Install button faster than one could read this sentence. Specs-wise, my Raspberry Pi 5 has 8GBs of memory and a quad-core processor, so I didn’t have a lot of leeway in the amount of resources I could assign to the container. I began this experiment while running Runtipi on top of the Raspberry Pi OS, so I also had to deal with the overhead from the underlying GUI distro.
So, I assigned 4 CPU cores, 4GB memory, and 32GB storage to the Windows container. I also enabled port number 8006 on the SBC to access it from my remote PC. Once I’d created the container, I used the Open button to access the web UI. Considering the huge size of Microsoft’s flagship OS, I had to wait around 23 minutes for the container to grab the necessary before spending another 15-20 minutes waiting for the installation process to wrap up. With that, I’d arrived at the good ol’ Windows 11 desktop, though things were a bit different from what I’m typically used to…
The performance wasn’t the very best
But it was somewhat tolerable
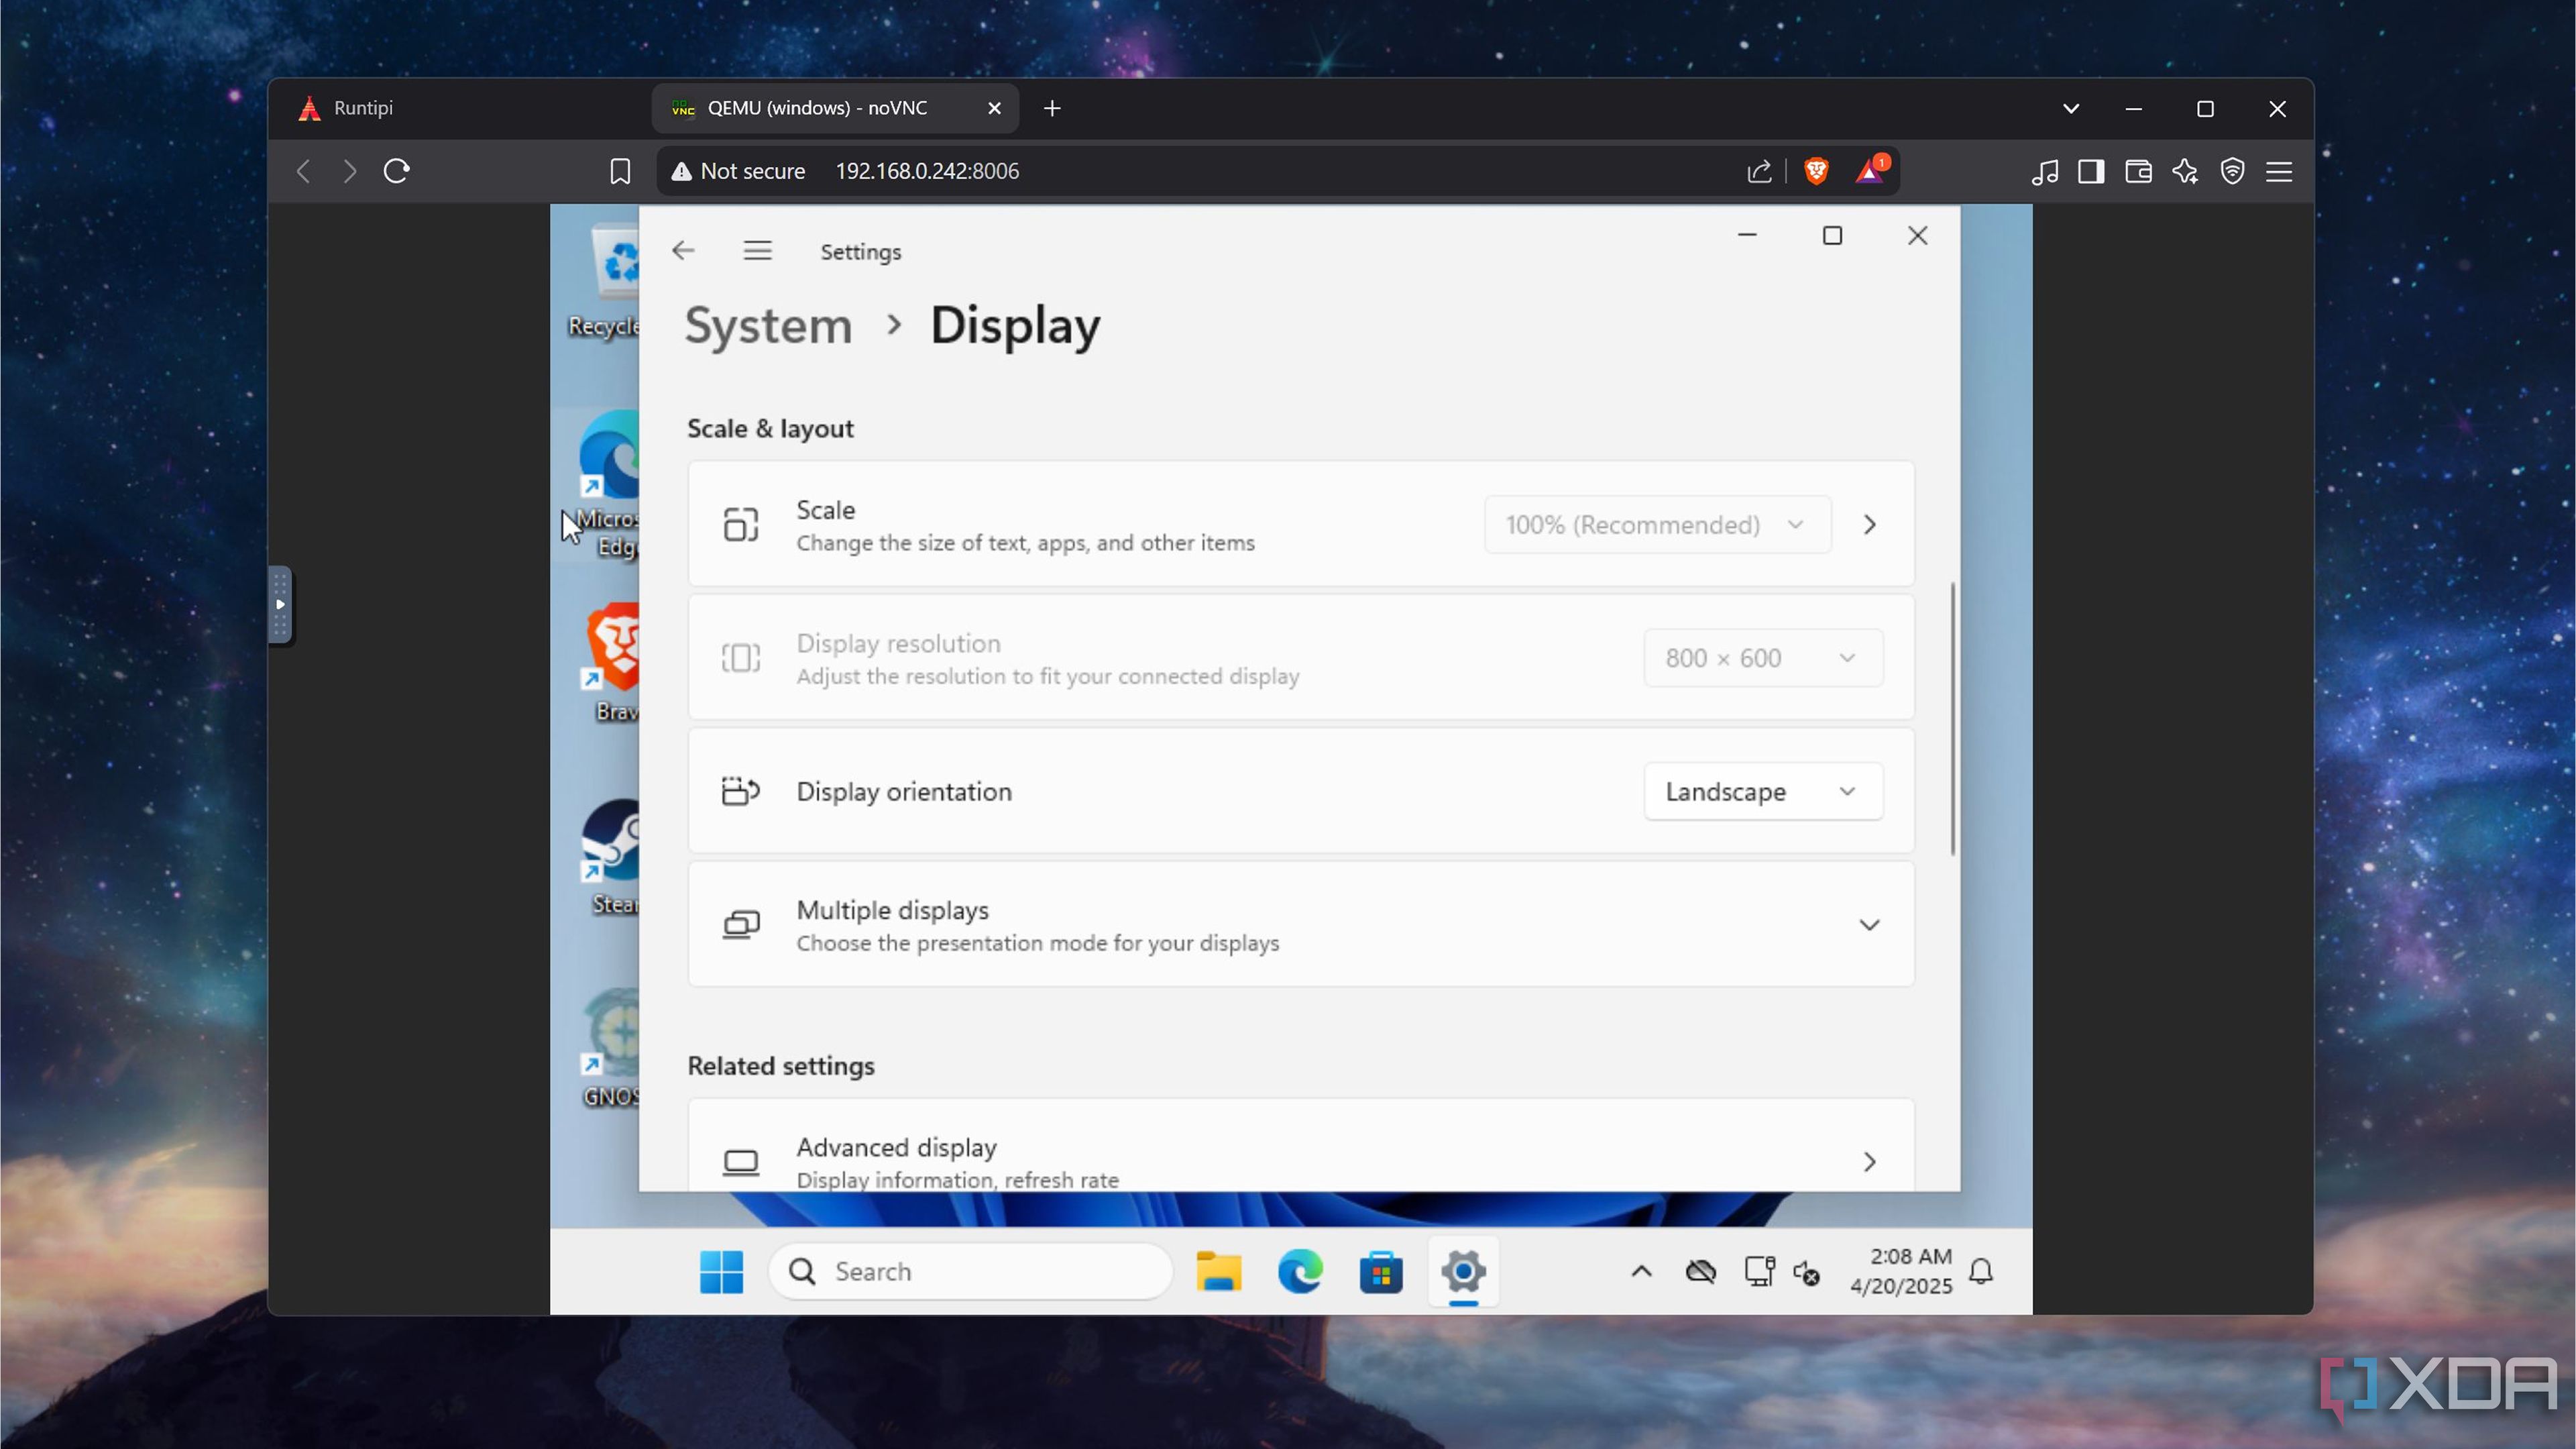
Since I use a 4K screen on my main PC, the low resolution on the Windows 11 container immediately stood out to me. Opening the Display Settings confirmed my suspicions: the system could only support a resolution of 800×600. Fiddling around the settings also revealed that the container was running the 24H2 version of Windows 11 Arm.
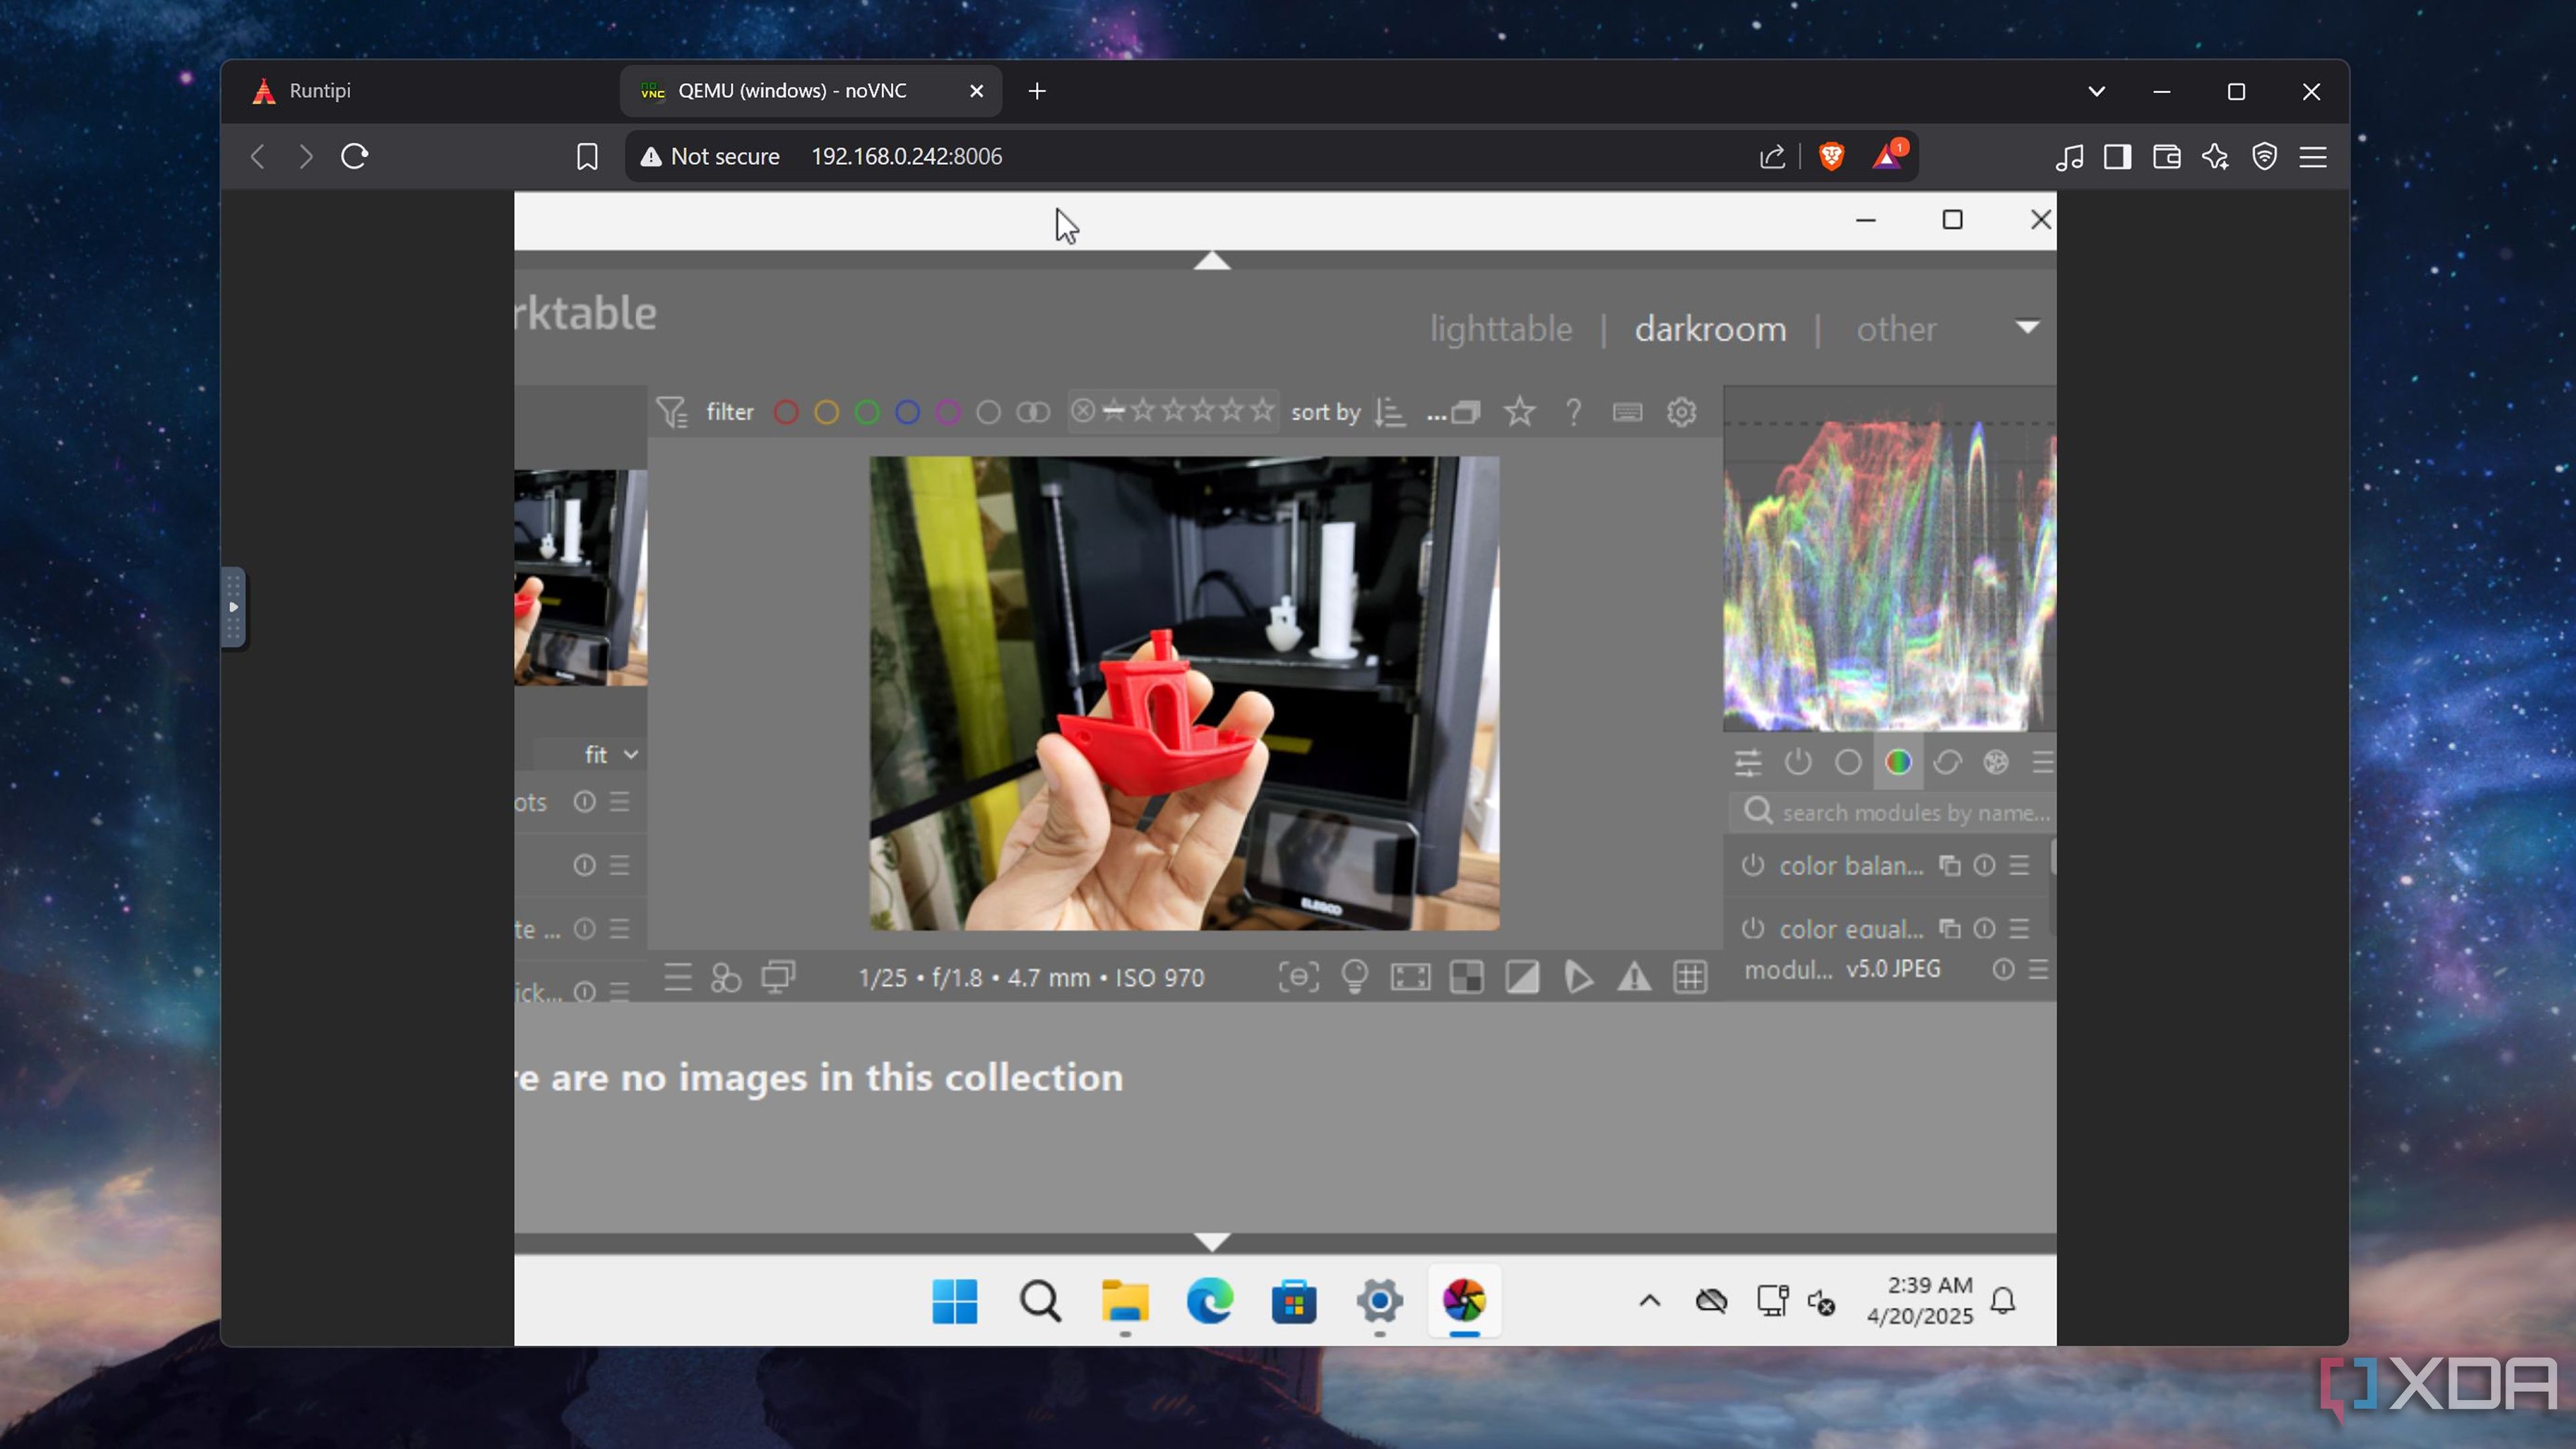
The UI wasn’t very responsive, but considering the premise of this deranged project, it wasn’t unusable in the slightest. After equipping the container with Brave, I immediately opened ten tabs, which surprisingly didn’t have a huge impact on the performance. Powertoys ran flawlessly, while Darktable eventually delivered okayish results after taking a couple of minutes to boot. Unfortunately, the system’s 4:3 aspect ratio and terrible resolution made editing images on Darktable difficult. Notion was a bit better than Darktable, and so was LibreOffice.
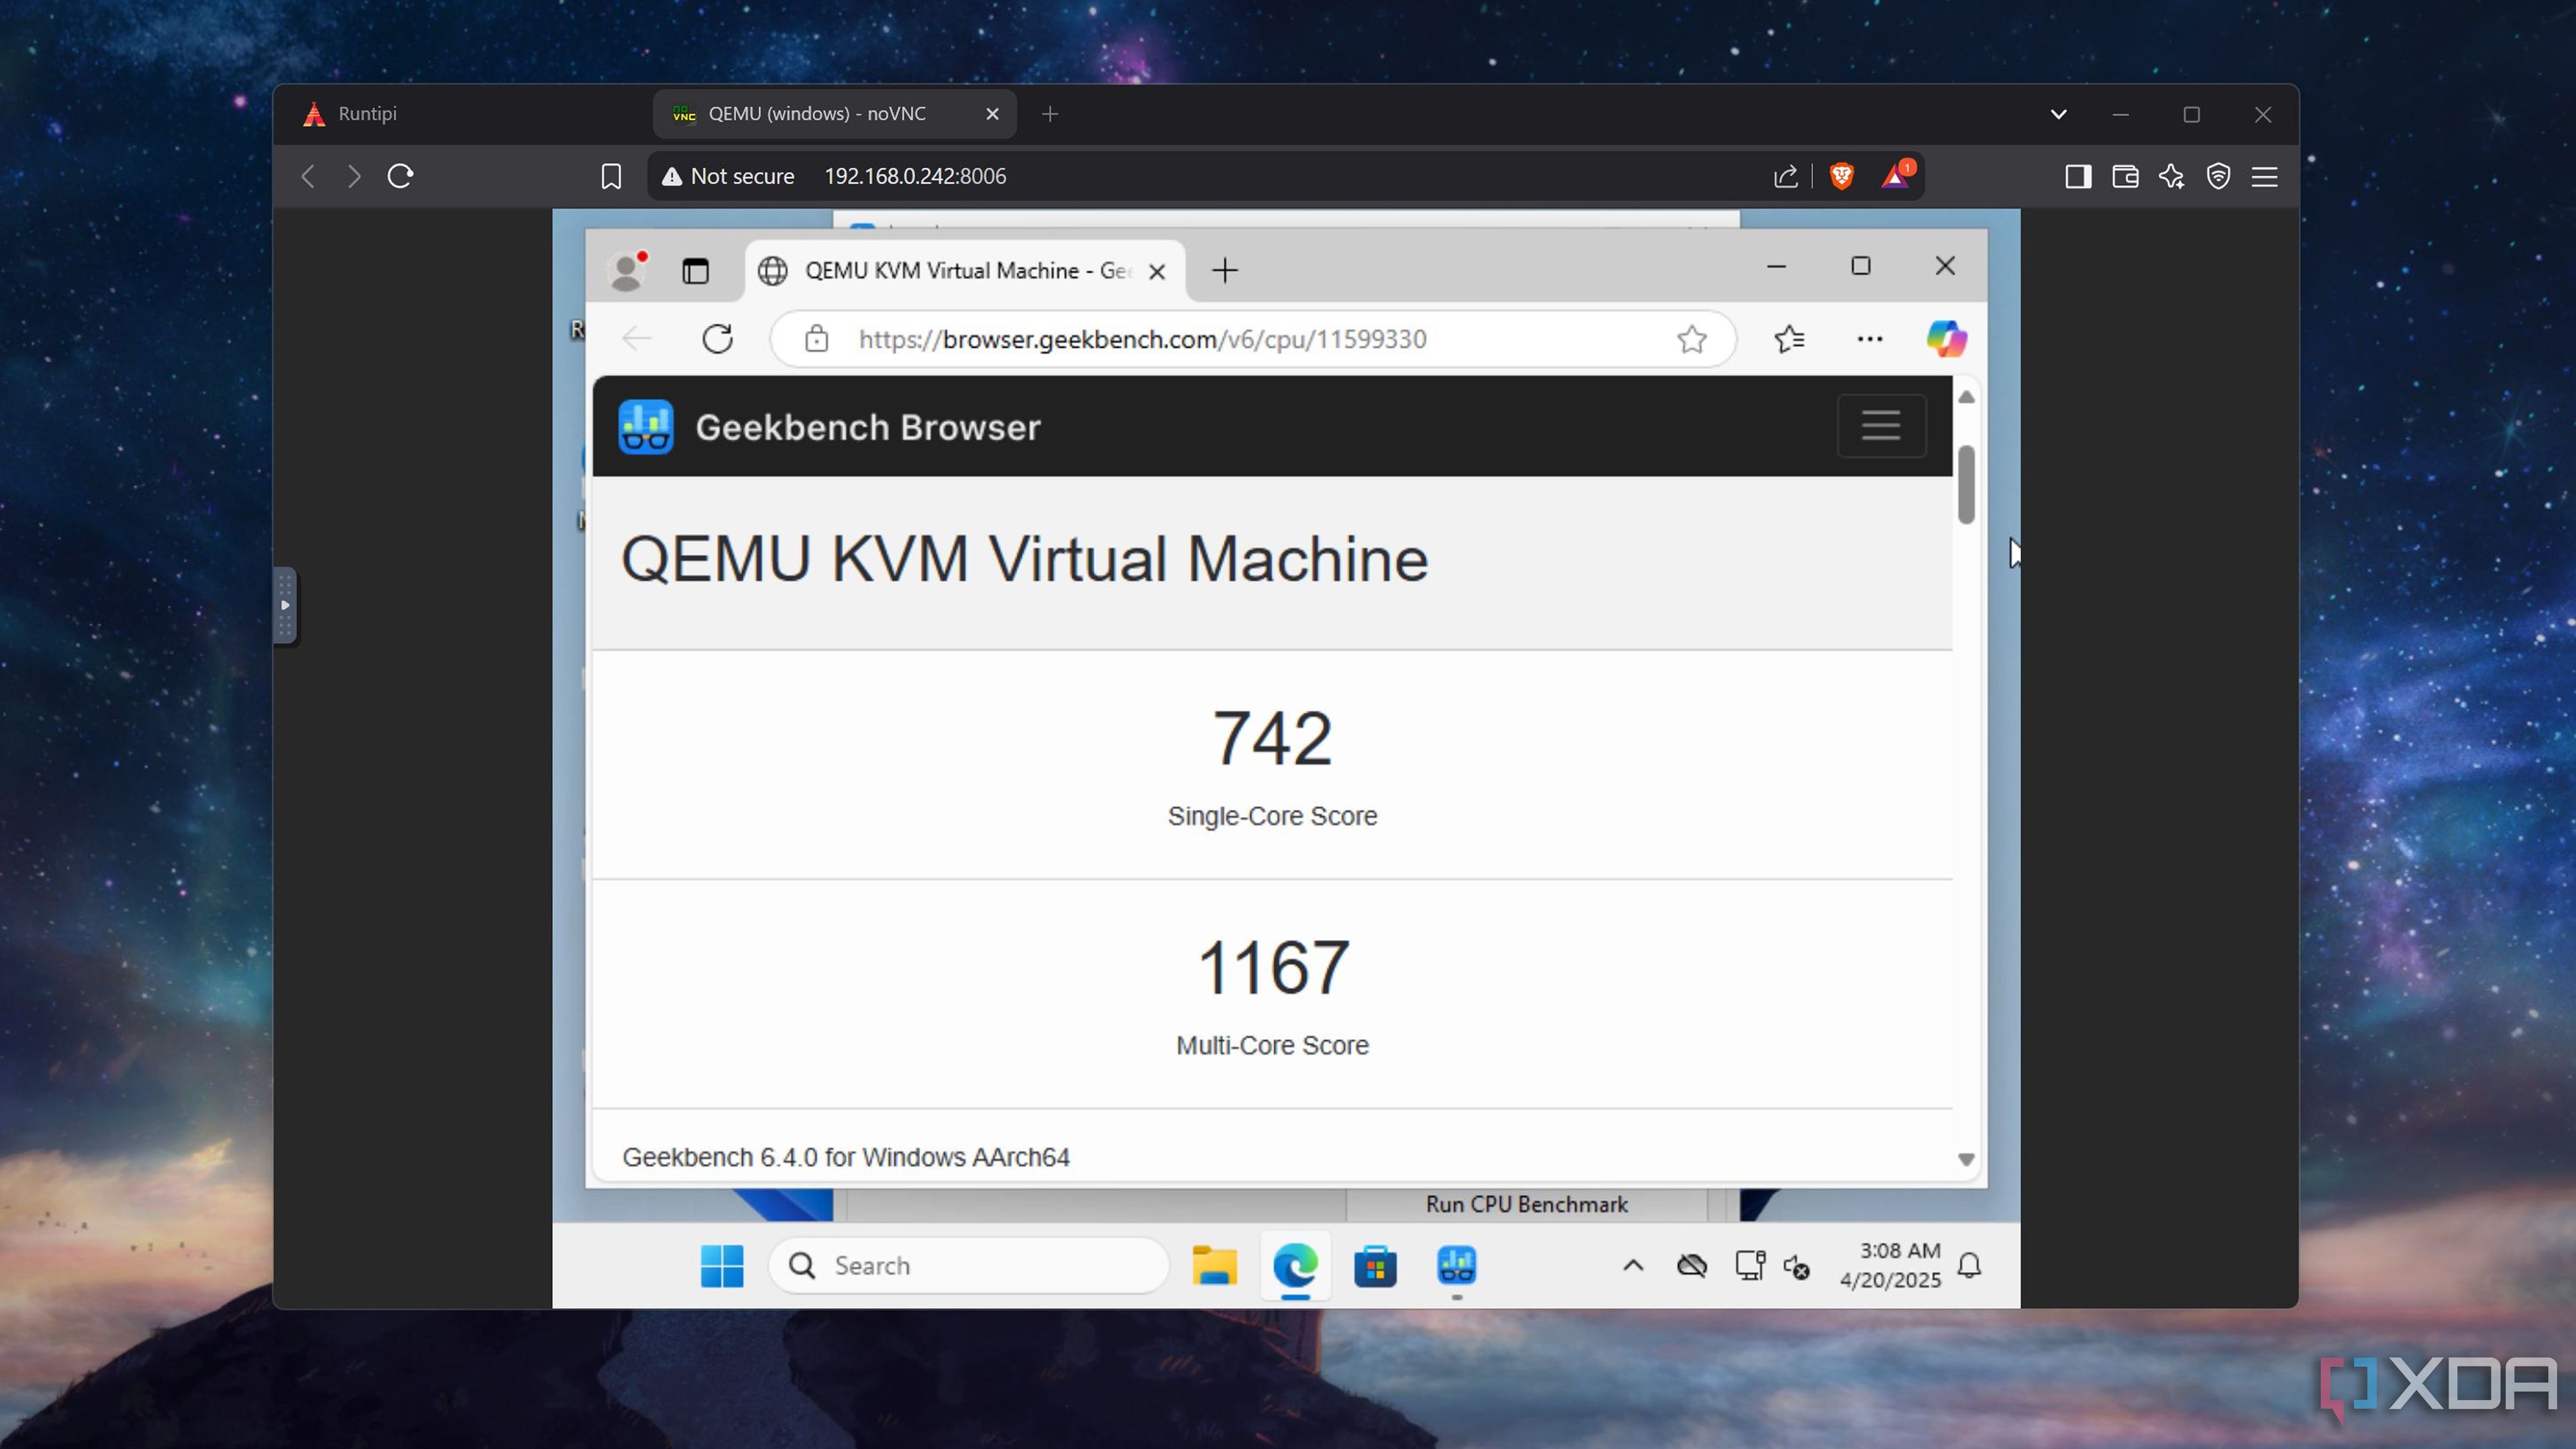
Since I wanted a tangible means to test the performance of the Windows 11 container, I installed Geekbench 6 and ran the CPU tests. The single-core performance was surprisingly close to what you’ll achieve in a normal Raspberry Pi OS setup, while the multi-core performance was noticeably lower.
|
Raspberry Pi OS |
Windows inside Runtipi |
|
|---|---|---|
|
Geekbench 6 (single-core) |
751 |
742 |
|
Geekbench 6 (multi-core) |
1539 |
1167 |
But I still had one last experiment before pulling the curtain on the project: running PC games on it, of course! To my surprise, the containerized Windows 11 system could even run Steam, though it was a lot less responsive than the other tools I tested. Nevertheless, I installed Genosia, which is so lightweight that it can run on practically any system. Unfortunately, it took ages to boot the game, and I had to deal with the same aspect ratio issues as Darktable. The transition CGs also took a few seconds long to load after every scene. Soon, it became clear that the system couldn’t run Crysis at 800×600 30 15 FPS.
Should you attempt this weird project at home?
Surprisingly, yes. Unlike the bare-metal Windows 11 installation process, it won’t drain your patience because all you have to do is allocate the resources in the Runtipi web UI and press the Start button. Since I used Raspberry Pi OS as the underlying distribution alongside a microSD card, my particular setup was barely optimized for the project. For folks who don’t mind using a CLI distro, you could flash DietPi onto an SSD and allocate even more memory to the container, especially when you’re rocking the 16GB model of the SBC. Plus, if you’ve got a lightweight application that’s not available on Linux, the containerized version of Windows 11 might just be the simplest way of running it on your Raspberry Pi.
Related
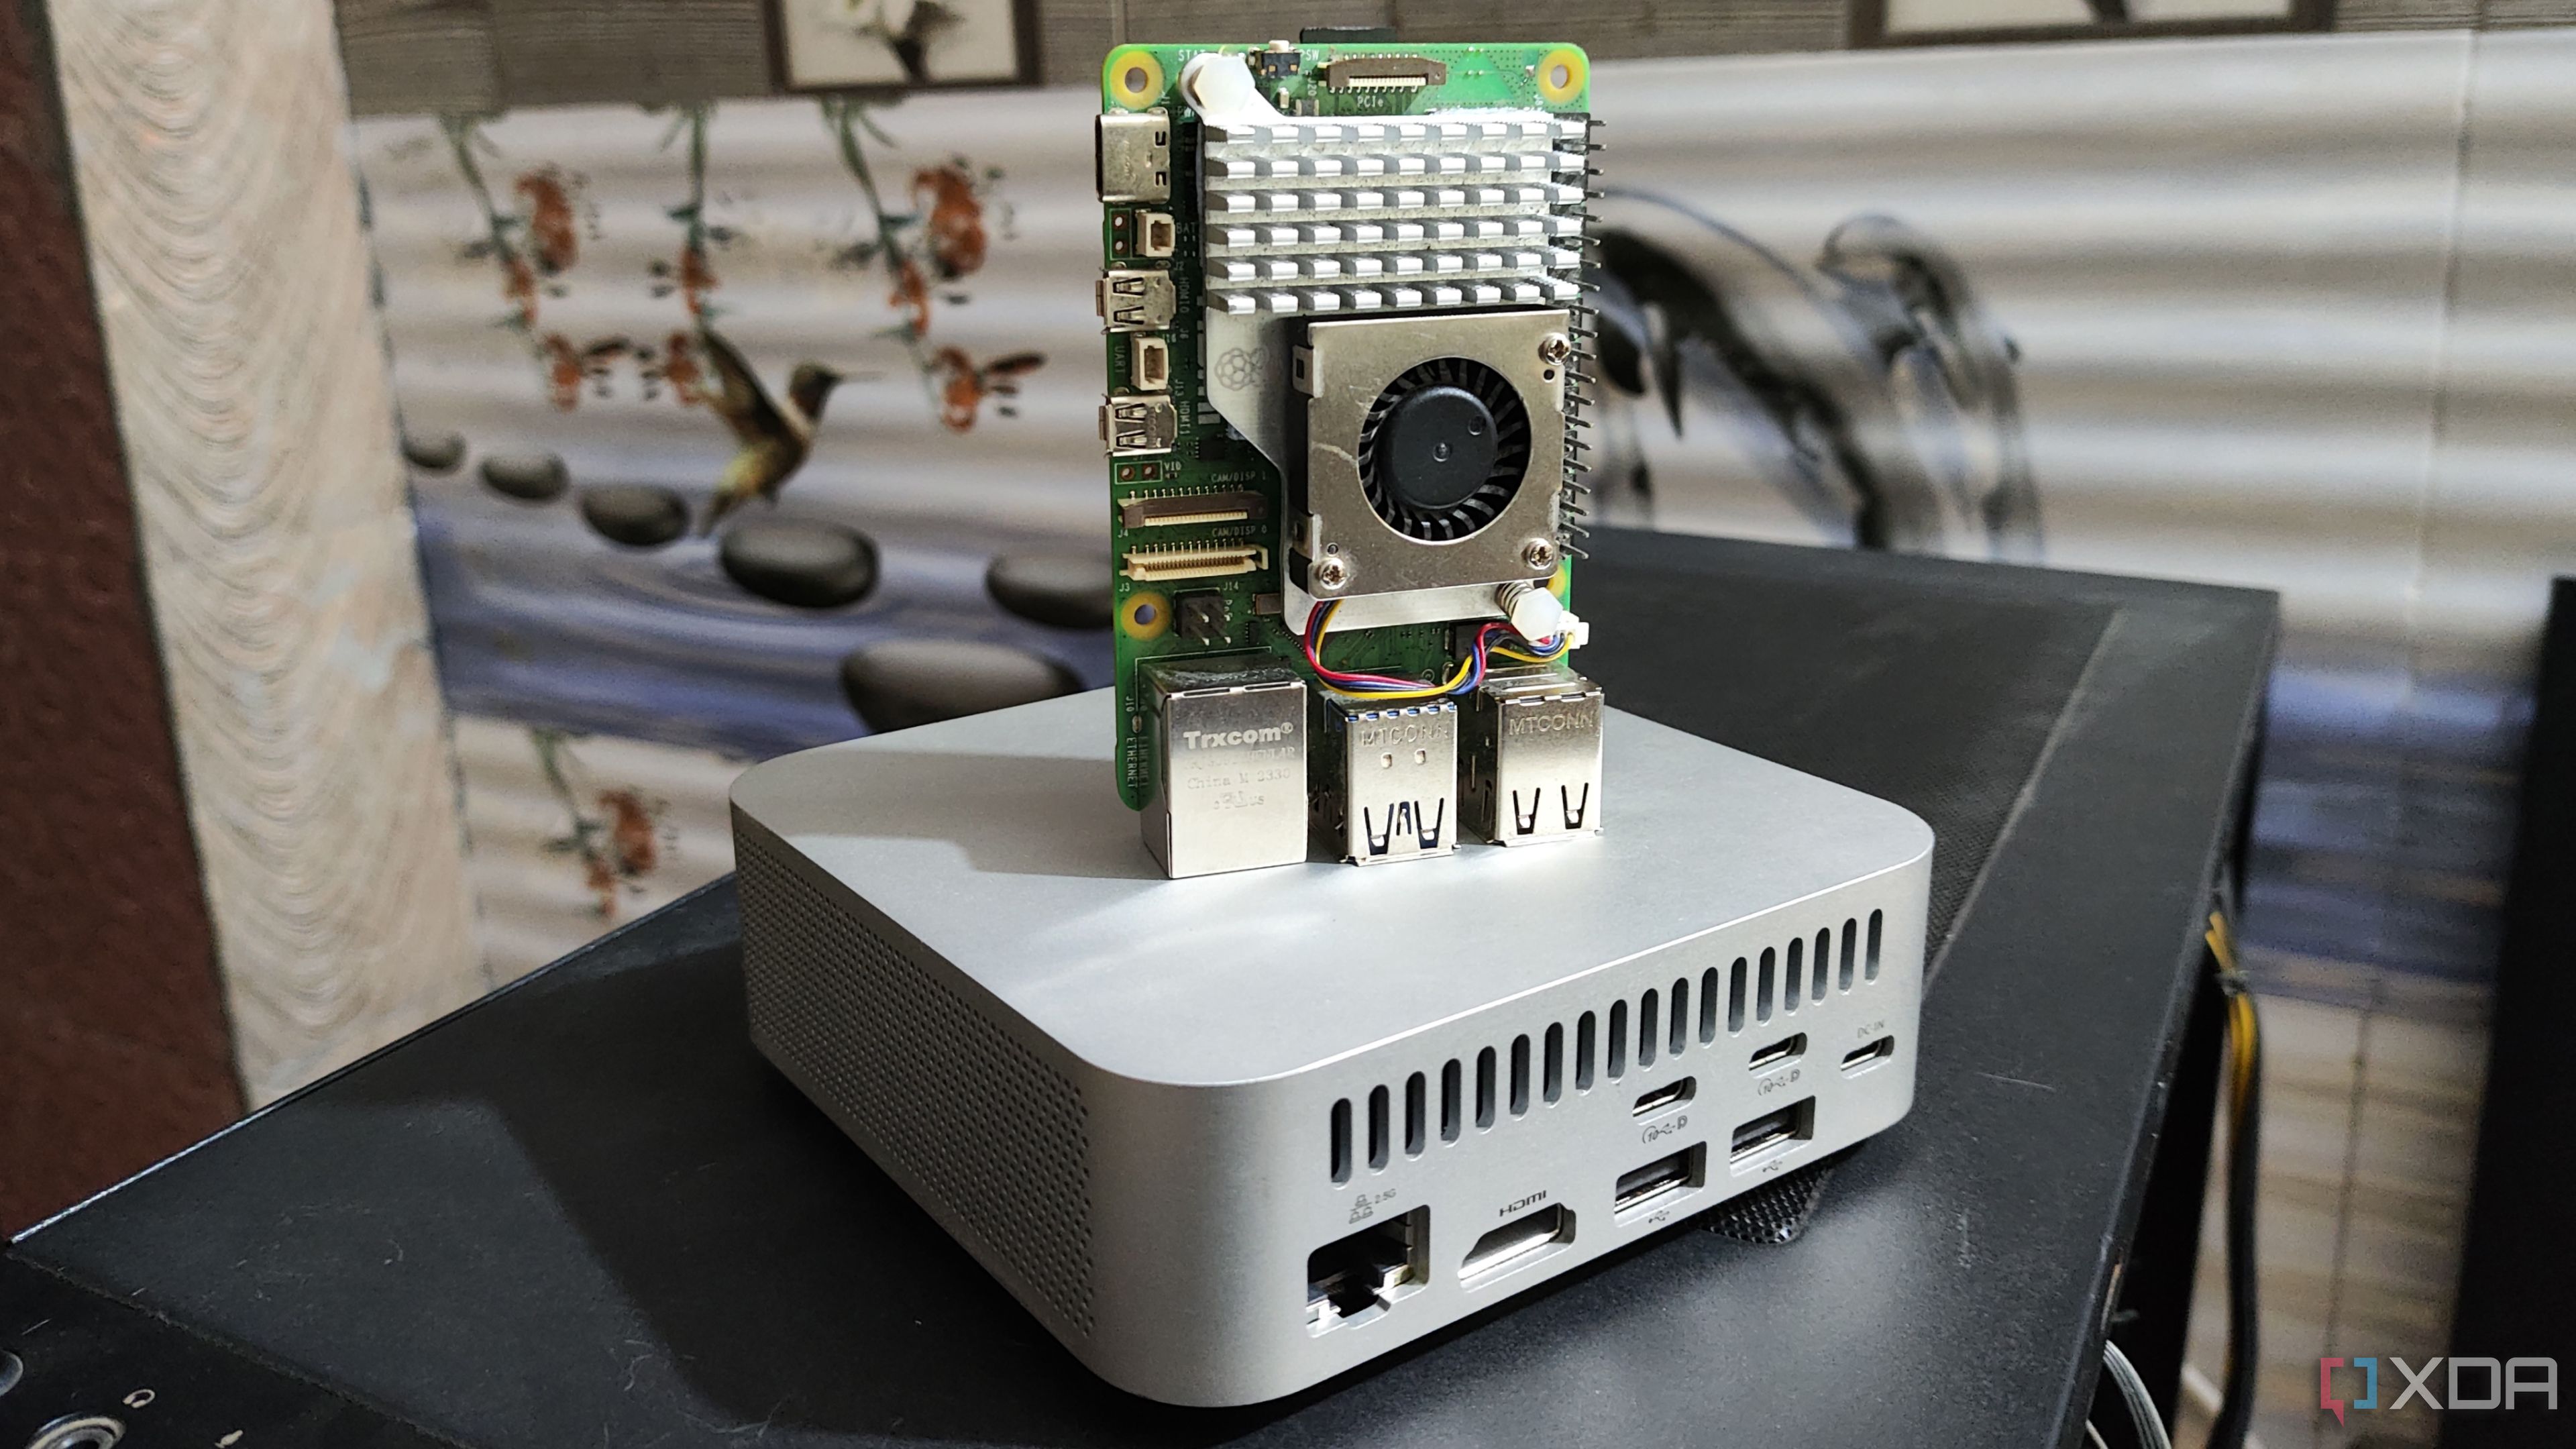
Despite owning a home server, I host these 4 services on my Raspberry Pi and mini-PC
You should keep these self-hosted apps away from your experimental home server if you value your sanity


