Your PC isn’t working. It crashes every time you open a game, or it inexplicably falls to a BSOD when you’re doing just about anything. Maybe it’s your RAM? No, it has to be your GPU. Or maybe it’s the PCIe slot on the motherboard, not the GPU. Follow the rabbit hole of PC hardware troubleshooting, and you can find yourself in some strange places.
In my decades of building PCs and troubleshooting those built for friends and family, I’ve noticed a tendency to blame broken hardware almost immediately when something fails. More often than not, your hardware is fine, and rather than waste money on new components you don’t need, you just need a bit of patience to go through some basic troubleshooting steps.
Related
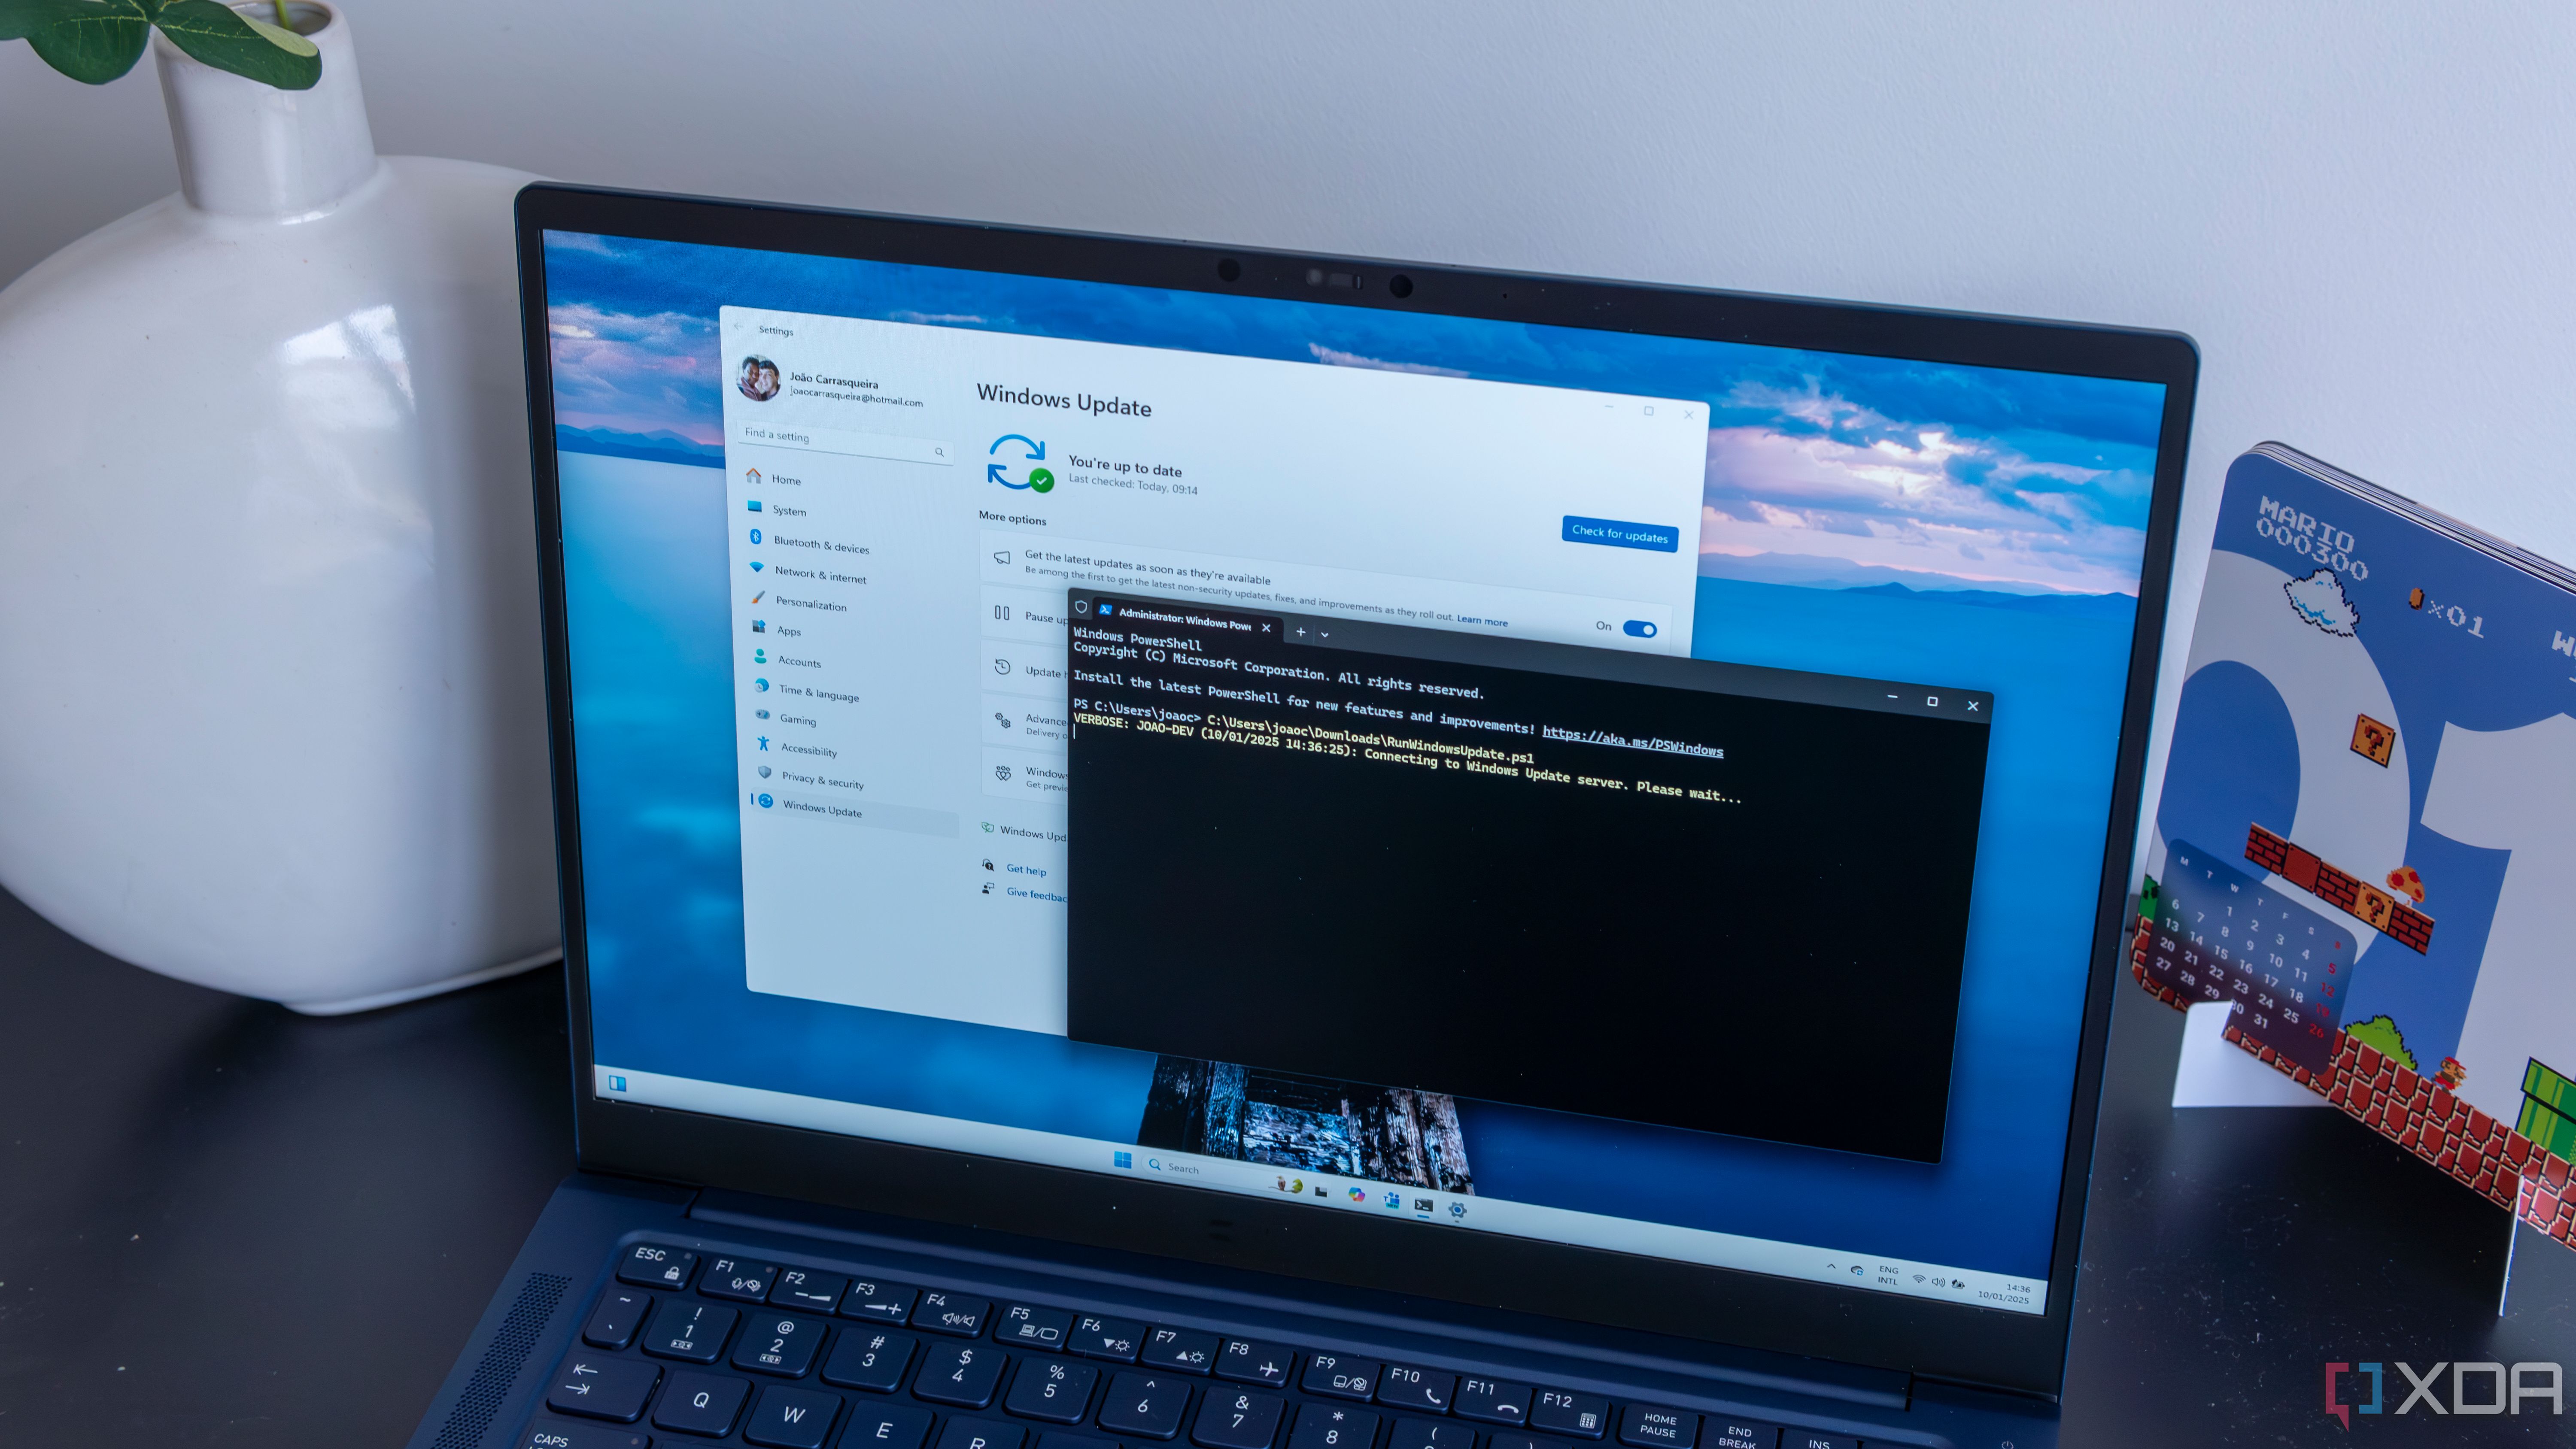
6 PowerShell commands for troubleshooting Windows problems
PowerShell can be a useful troubleshooting tool
6
Update everything, then update it again
If you think you caught it all, check again
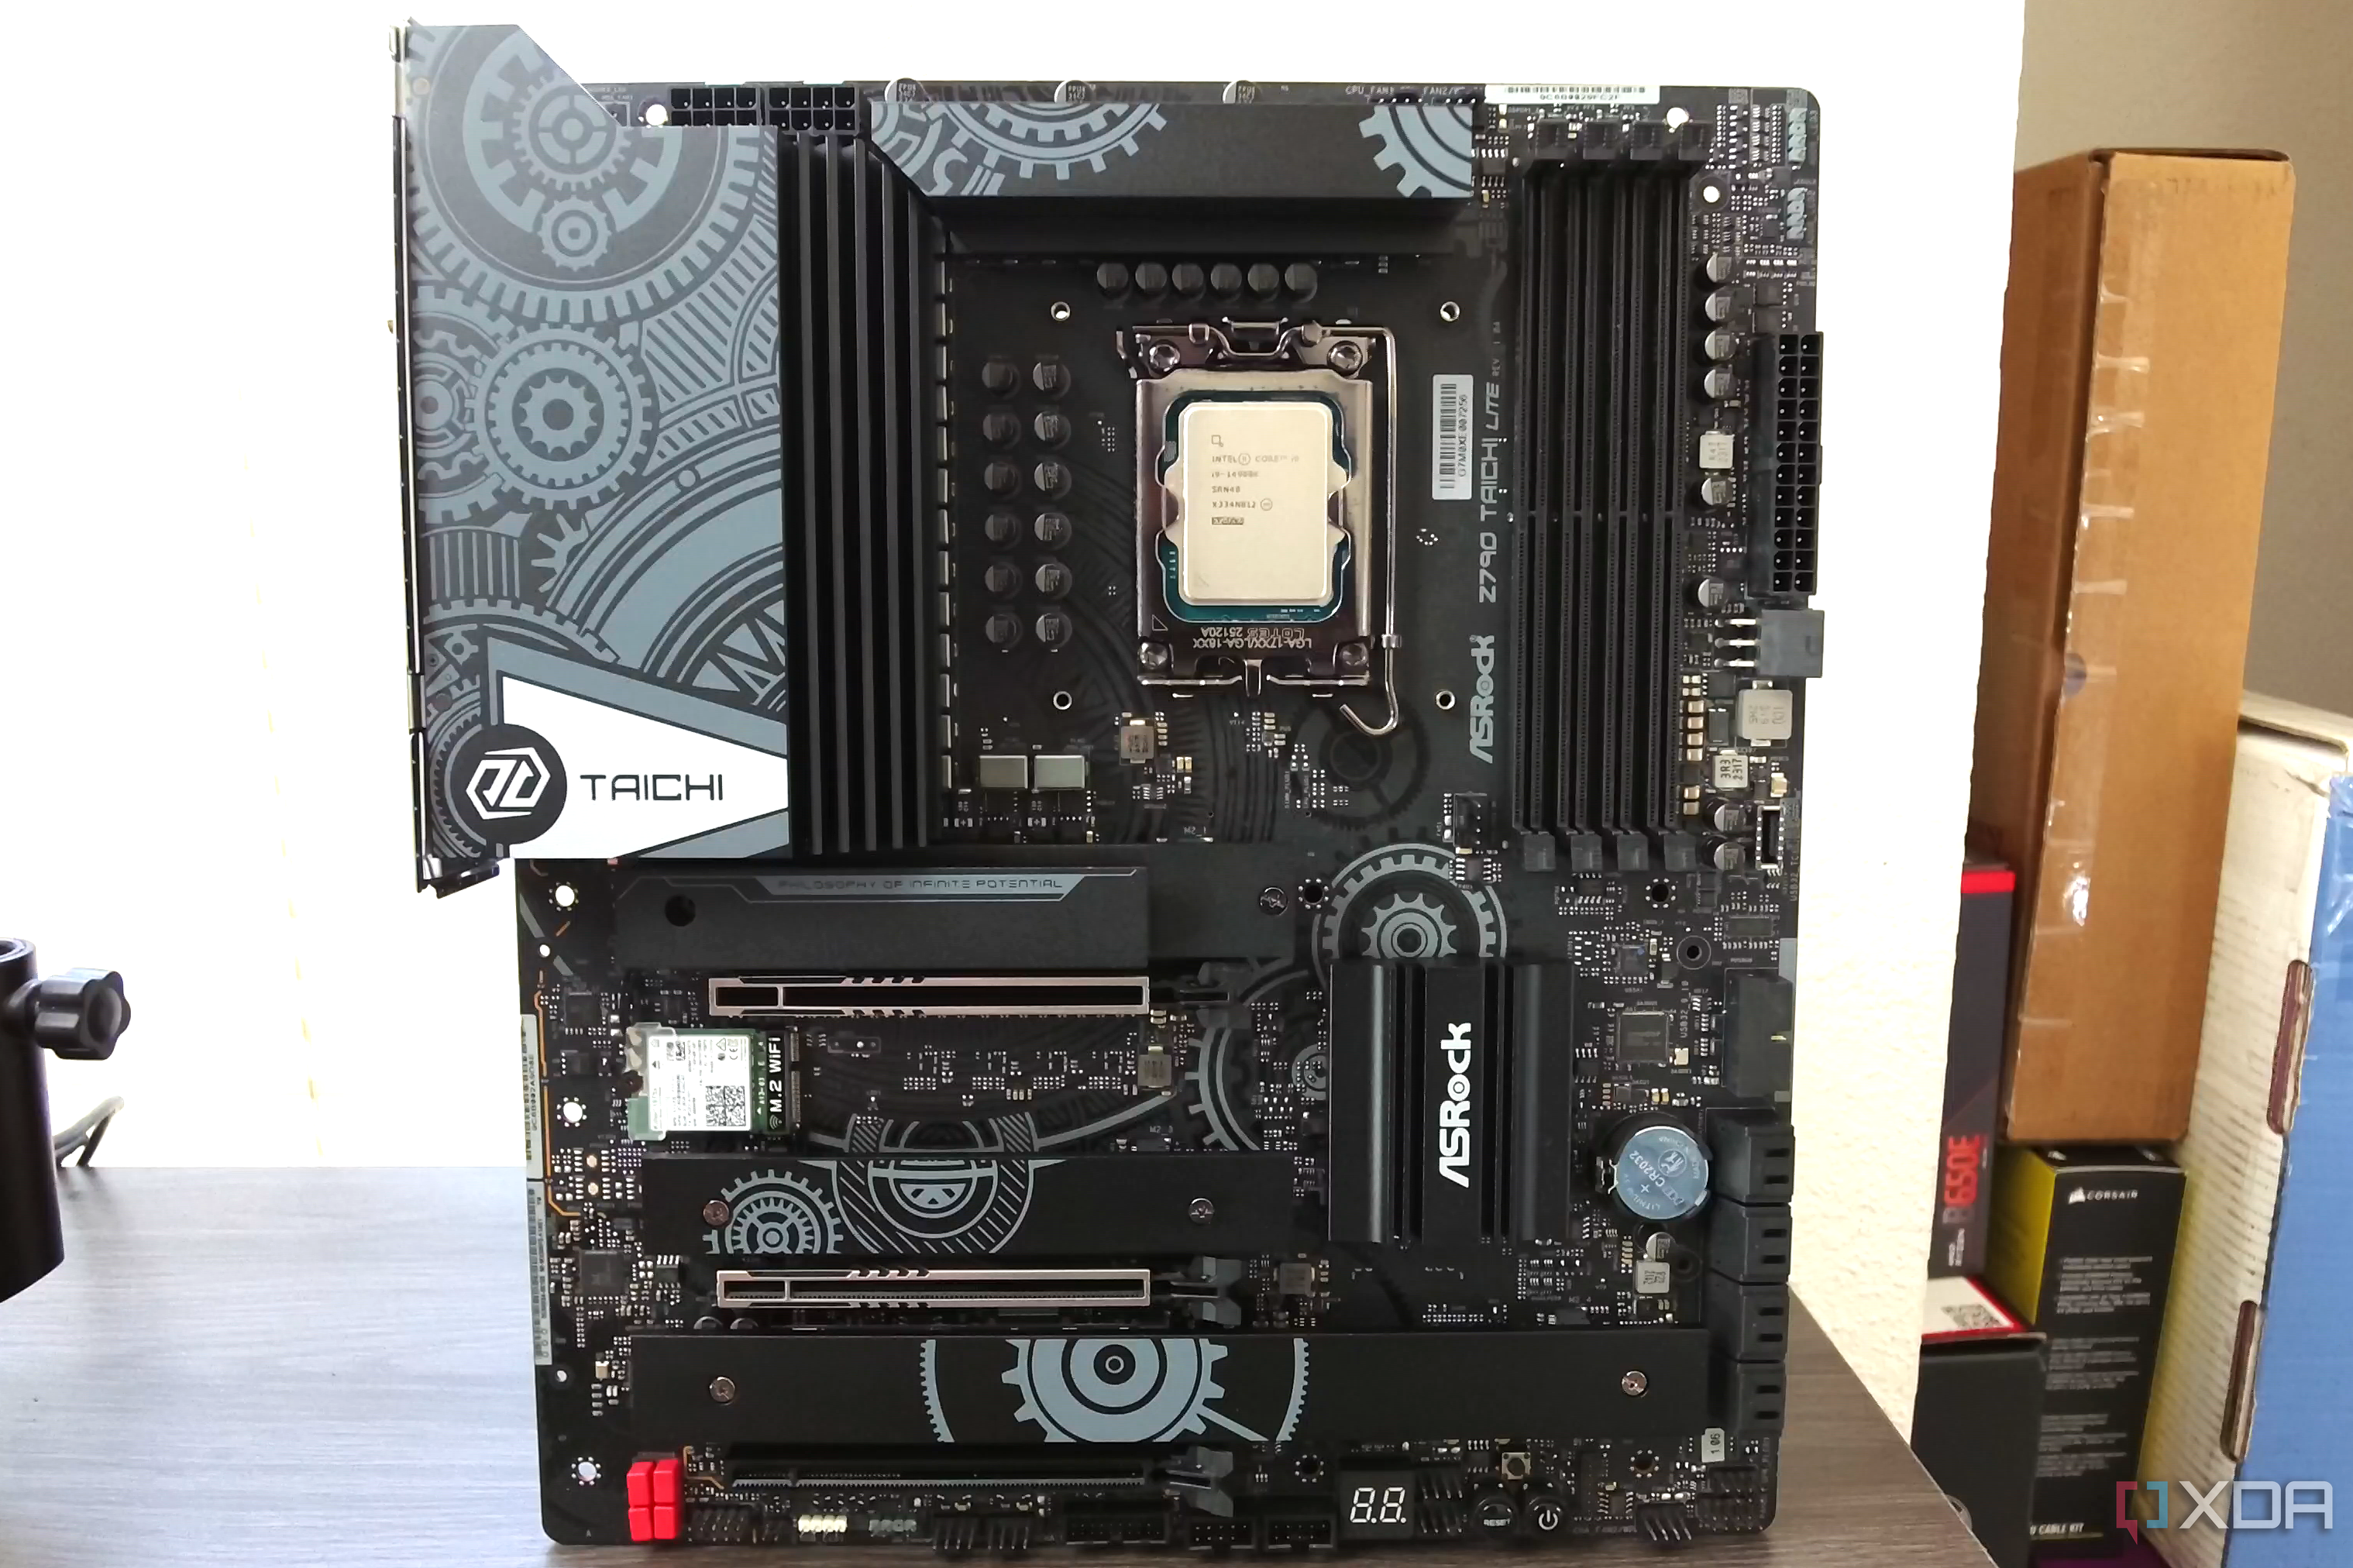
Wait, stop scrolling. Are you sure you updated everything? Or have you just updated everything you think is relevant? It’s easy to fall into that trap when troubleshooting your PC. You might have issues with your GPU, for example, be it black screens, game crashes, or low performance. You update your GPU drivers, and search Windows Update. But you might need to update your BIOS, which isn’t the first thing that comes to mind when troubleshooting an issue with your GPU.
That’s not a hypothetical. I’ve encountered at least half a dozen PCs across my own builds and those of friends where a BIOS update fixed problems that didn’t seem at all related to the motherboard. When you start troubleshooting your PC, try to avoid making assumptions about what’s wrong. It’s good to start troubleshooting what you think is most likely wrong, but don’t ignore updates that are available just because you don’t think they’ll fix the problem. You might come out surprised.
It’s extremely time-consuming to actually update everything, but there are a few places you should check every time. First, grab updates from Windows Update, including optional updates. Then, tackle your GPU drivers before moving onto the support page for your motherboard. There, grab any chipset drivers you need, along with the latest BIOS. If there are new versions of other drivers, such as your network or Bluetooth driver, you can grab them, too. These usually don’t see a ton of updates, though.
This may all seem obvious, but I’ve fallen into the trap of going deep into troubleshooting when a simple update was all I needed. Try to get everything updated before going any deeper in troubleshooting. You’ll save yourself some time, and maybe even some money.
Related
How to update BIOS: A step-by-step guide to get your motherboard on the latest BIOS
Risky, but not very difficult
5
Do a fresh installation of GPU drivers
It involves more than just deleting the old one
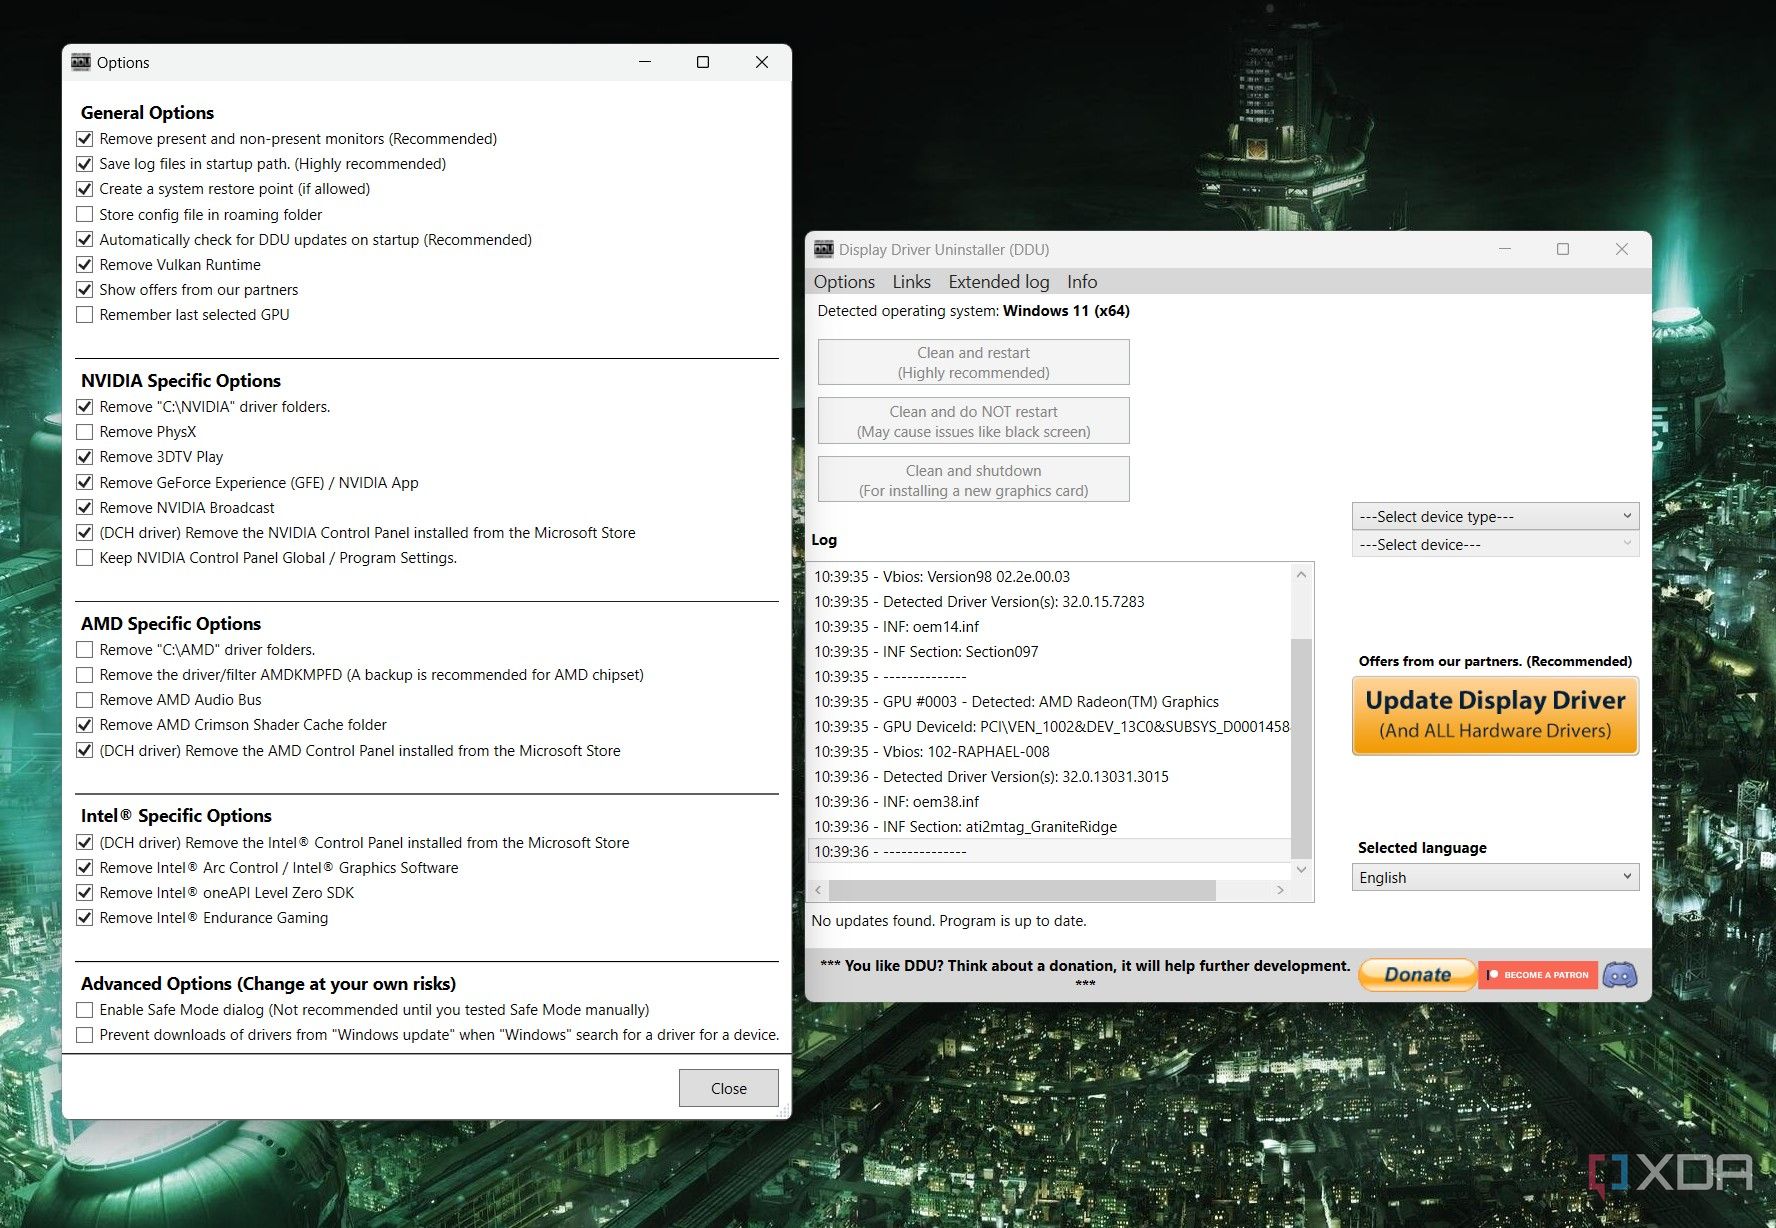
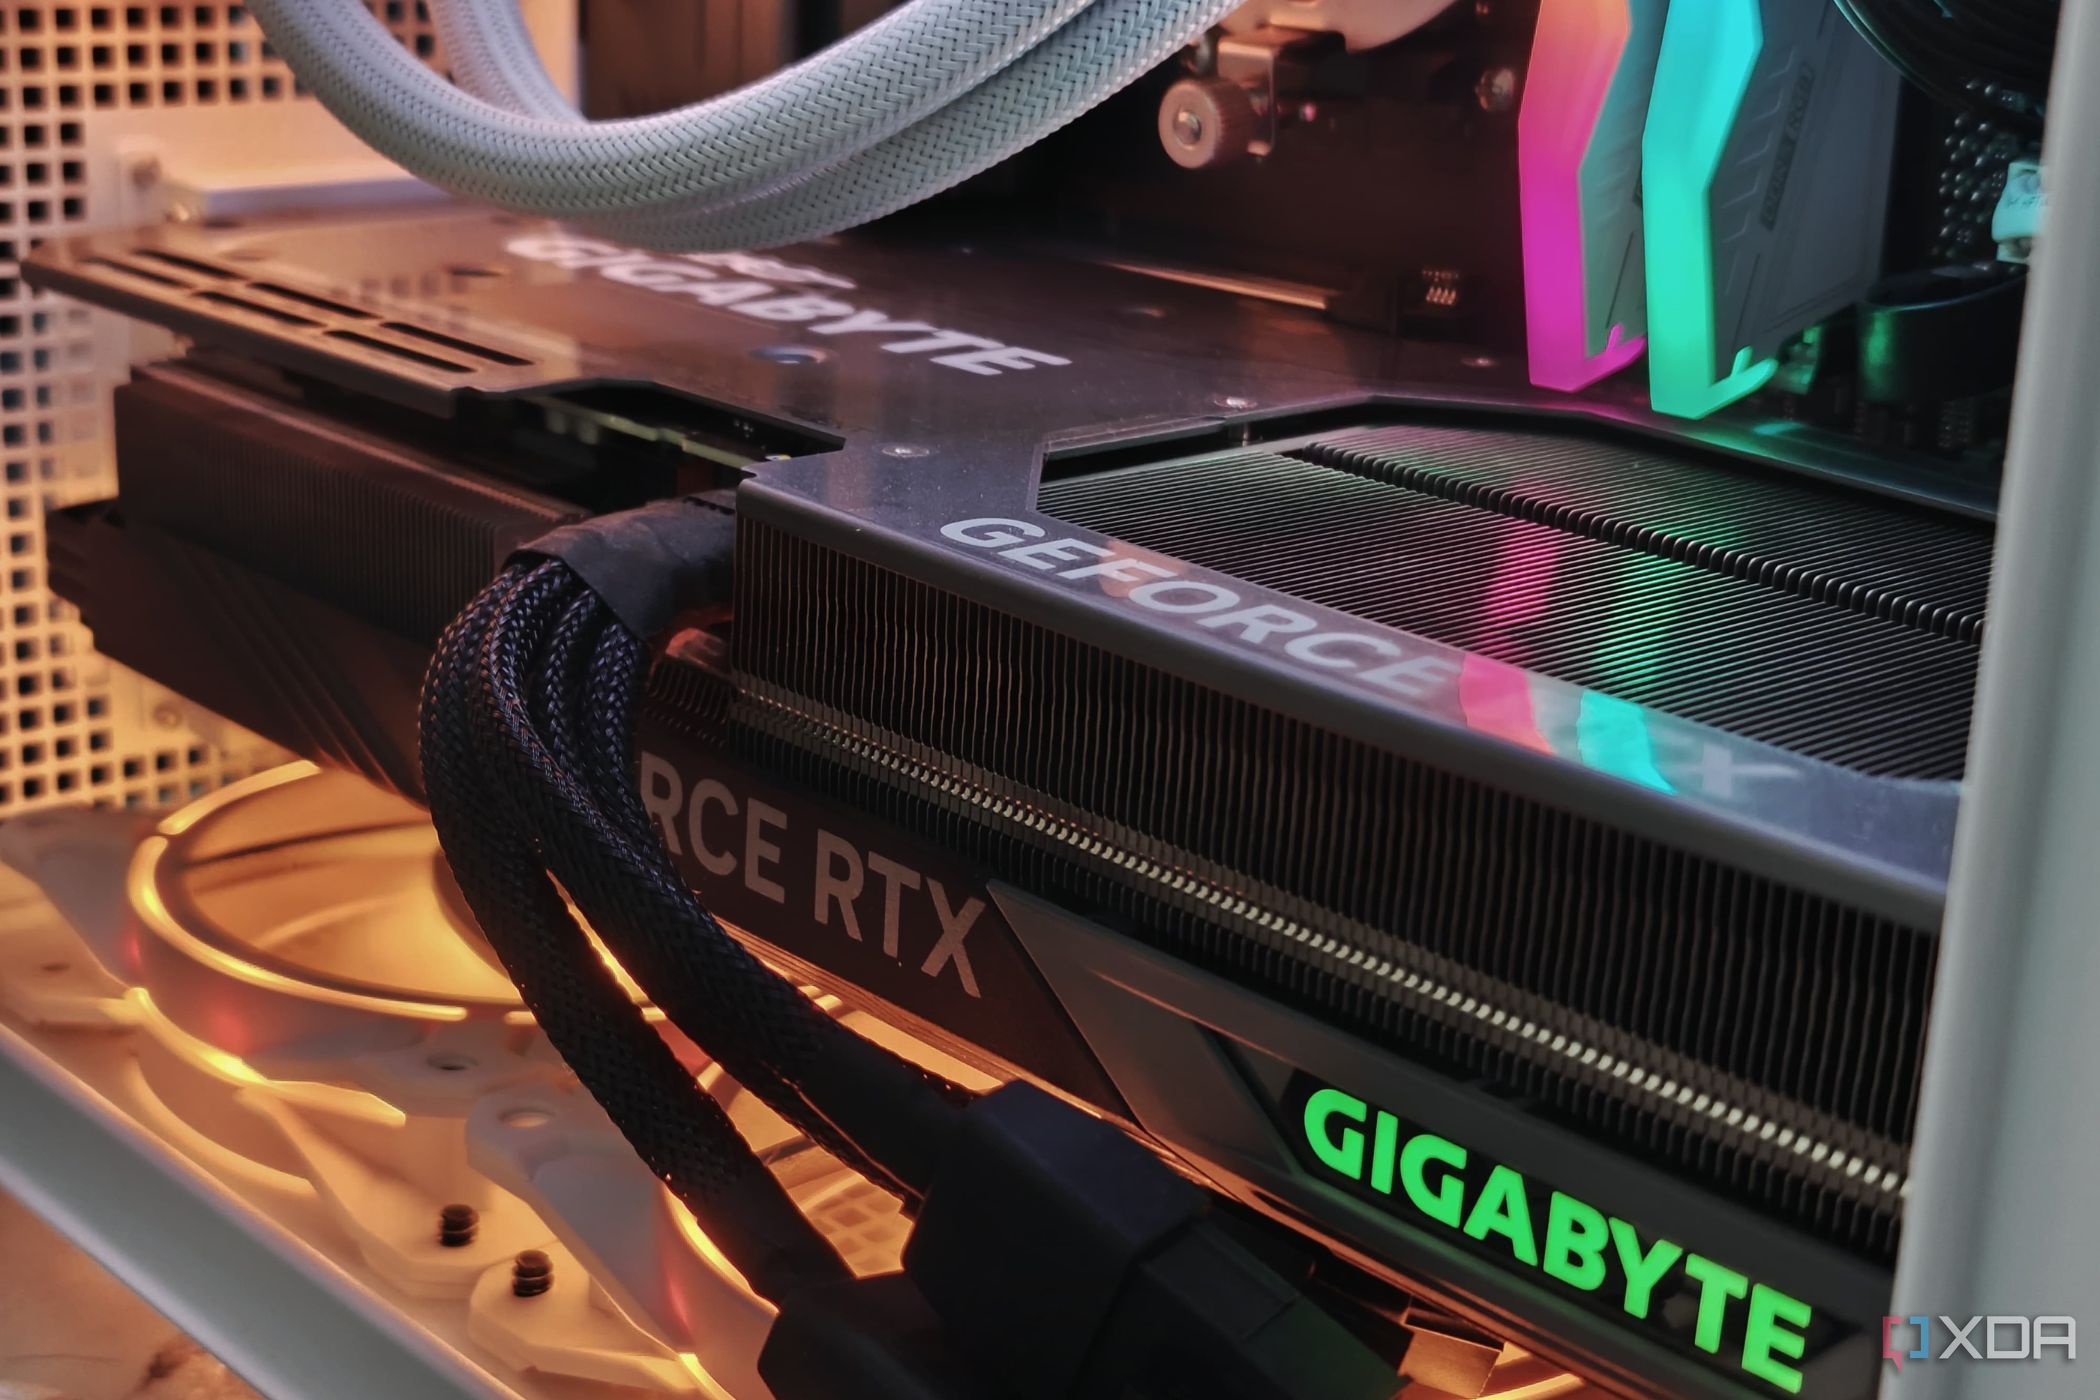
GPU drivers can cause a lot of problems, especially with the issues Nvidia has had as of late. Both AMD and Nvidia include an option for a “clean install” of a GPU driver, claiming to remove the previous version before installing a new version. I wouldn’t trust these clean installation options, though. They might leave remnants on your PC, which in turn can cause driver conflicts and stir up more problems. Instead, use Display Driver Uninstaller (DDU).
DDU is essential for anyone who stays up to date with the latest GPU drivers. It completely removes GPU and audio drivers from your system, regardless of if they come from Nvidia, AMD, or Intel. I don’t run DDU every time I update my drivers, but the moment I encounter any issues, I run DDU before reinstalling the GPU driver.
The only tricky part about DDU is that you might not have an easy way to use it if your GPU driver is refusing to output to a display. There are a few ways around this. Ideally, you can swap to the integrated graphics on your CPU or put another GPU in your system to get in. If you have a remote desktop setup, you can also try remoting into your PC to run DDU without a physical display output.
Related
How to completely uninstall Nvidia drivers
Running into issues with your current Nvidia drivers? Here’s how you can remove them from your PC.
4
Roll back to previous drivers and updates
If everything was working before, that might be for a reason
If a fresh install doesn’t work, you might want to roll back recent updates or drivers. There are a few ways to go about this. The easiest way is to do a System Restore in Windows, but that assumes you have a restore point available before whatever’s acting up was installed. You can manually roll back drivers and updates, though. For drivers, run DDU and then find your last stable driver online and install it. I usually grab older drivers from TechPowerUp’s archive.
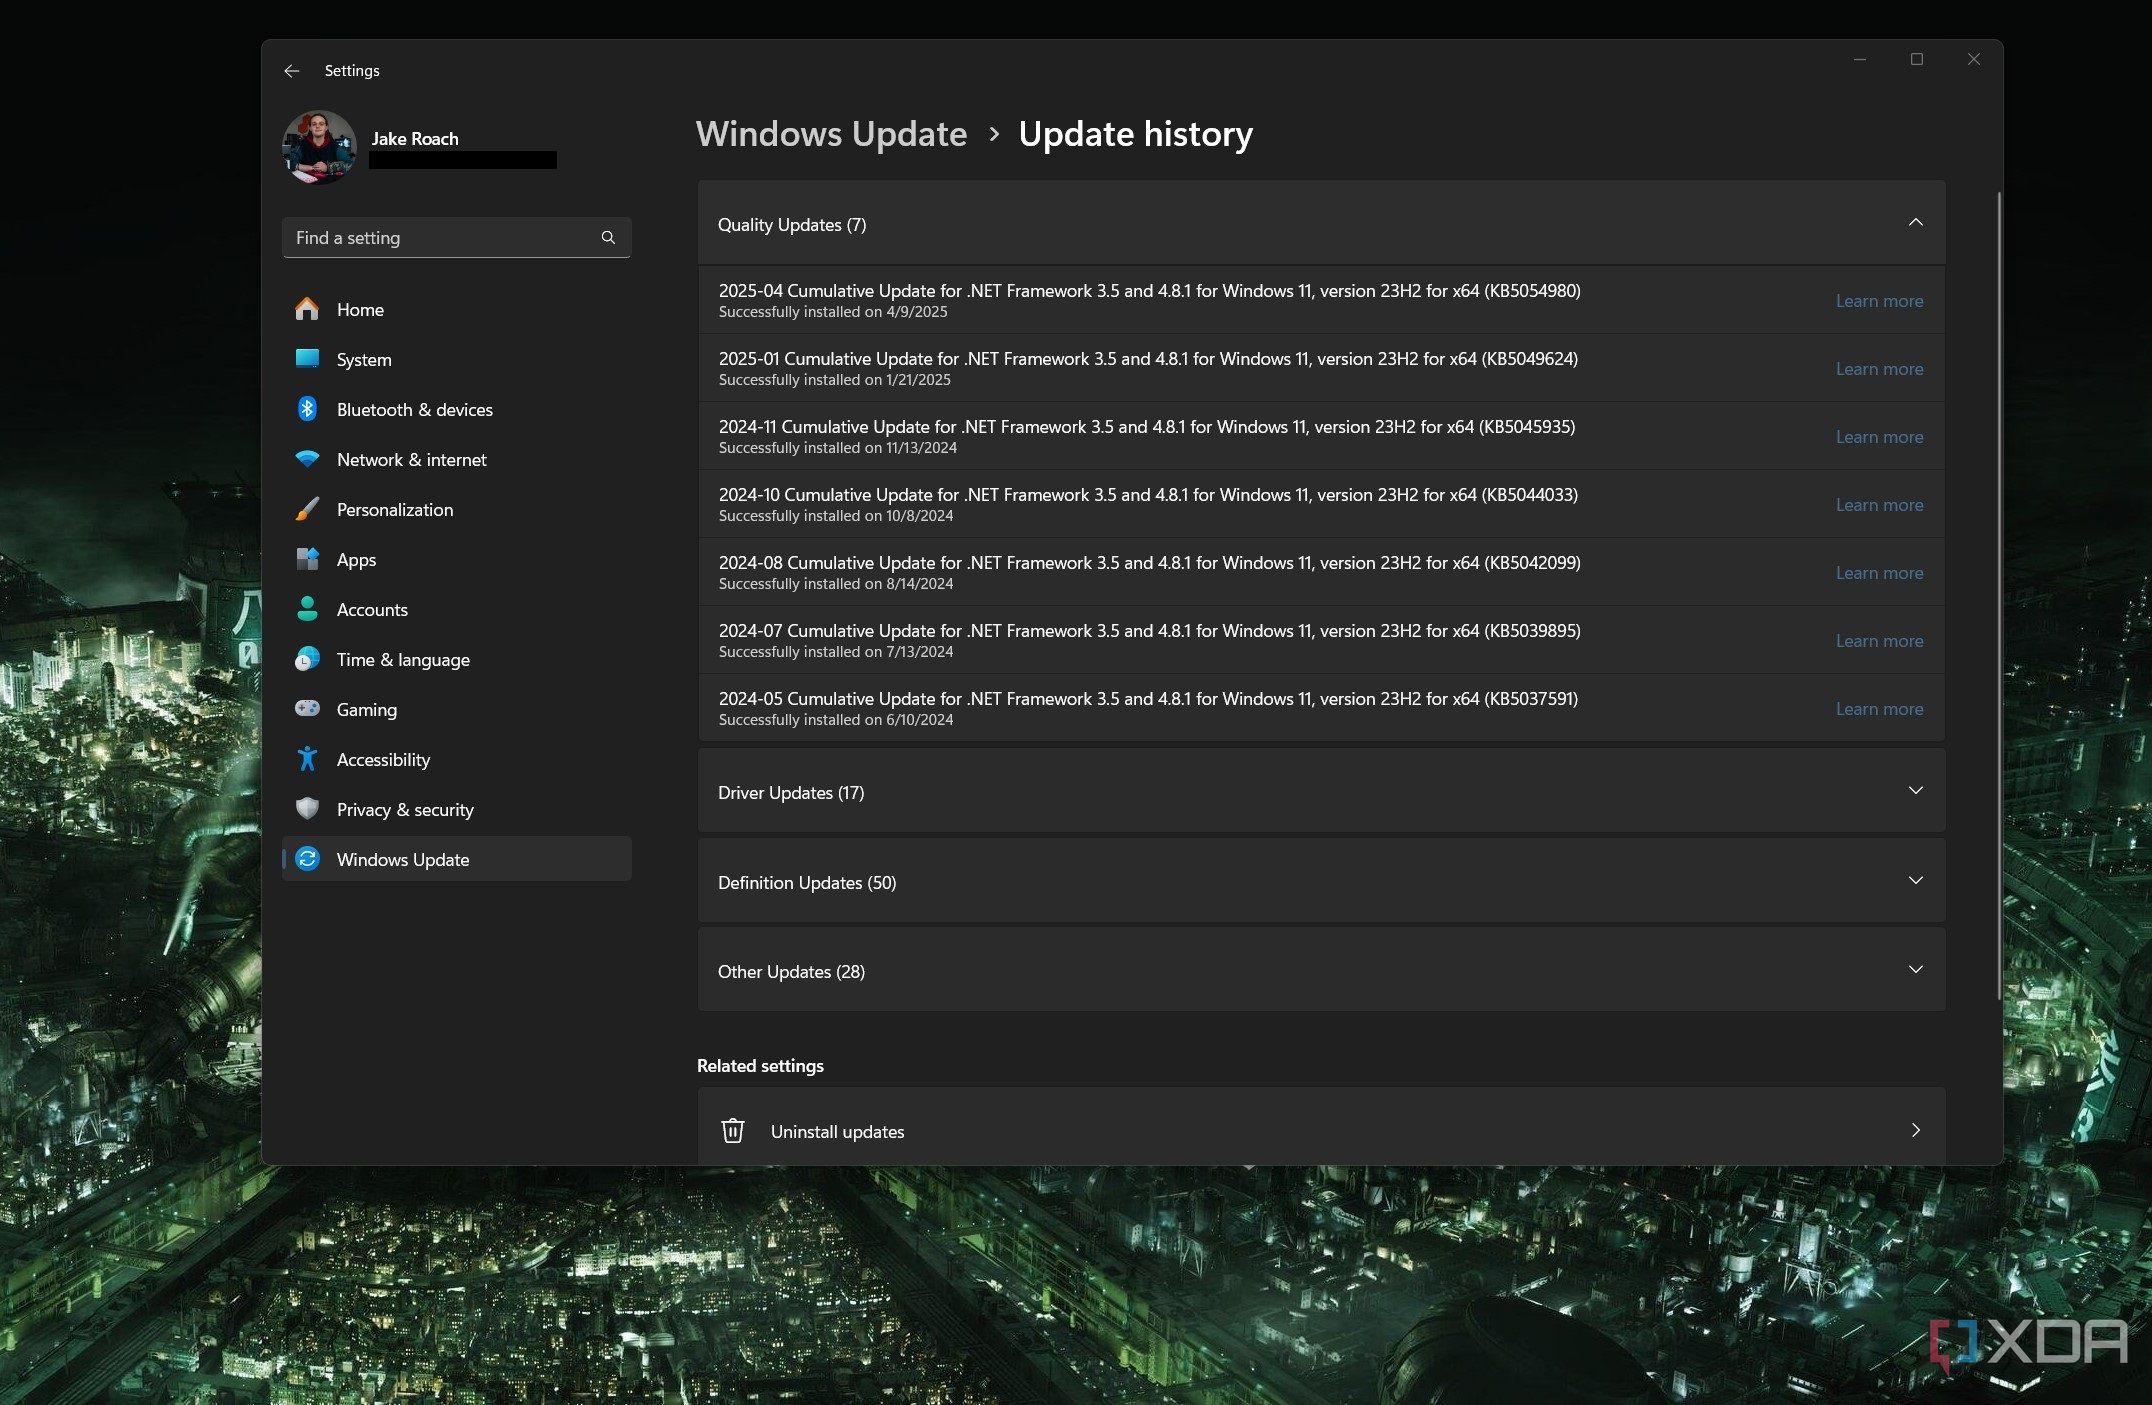
For Windows updates, you can uninstall recent updates in the settings. Open the settings app and head to Update & Security. Then follow Windows Update > View update history > Uninstall updates. If a recent Windows update is acting up, you should find it here. Beyond that, hold off on digging any deeper into restoring Windows until we’re a bit deeper into troubleshooting.

Related
Tired of dealing with Windows updates? Here’s how to automate them with PowerShell
Make your life easier
3
Run diagnostics to narrow down your scope
Don’t play a guessing game with what’s going wrong
There are a handful of diagnostic tools you can use to at least narrow down where issues are in your system. The first step is to use whatever’s included with Windows. First is the DirectX diagnostic tool. Open Run in Windows 11, and type in “DxDiag.” It’ll scan your system and show all of our video and audio adapters, along with details about them. You can also run Windows Memory Diagnostic, which will scan your memory on the next system reboot for any sectors that have failed.
Beyond those two tools, you should download HWInfo. It’s a dense monitoring tool, but you don’t need to use absolutely everything. From a troubleshooting standpoint, HWInfo is really helpful because you can log the data from the sensors in your PC. If you’re having crashes in certain applications, for example, you can have HWInfo log your details while launching that application to see if anything goes awry before a crash. You can also view the reliability log in the Control Panel (Security and Maintenance > Reliability Monitor) to view a timeline of failures on your system.
You should avoid just about everything else that claims to be a PC diagnostic tool. The most useful diagnostic tools are built into Windows, and HWInfo covers just about everything else beyond that. Running some basic diagnostics won’t fix your problem, but it can help narrow down your focus, particularly when you get to the next step of troubleshooting.
Related
8 Windows system diagnostic commands you should memorize
CMD commands are antiquated but still useful
2
Cut down your hardware to the essentials
If your hardware is broken, you’ll be able to find it this way
Still running into issues? Now’s the time to start looking at your hardware. Even if you’re running into a hardware-related issue, that doesn’t inherently mean your hardware is broken. Sometimes it just needs a little extra love.
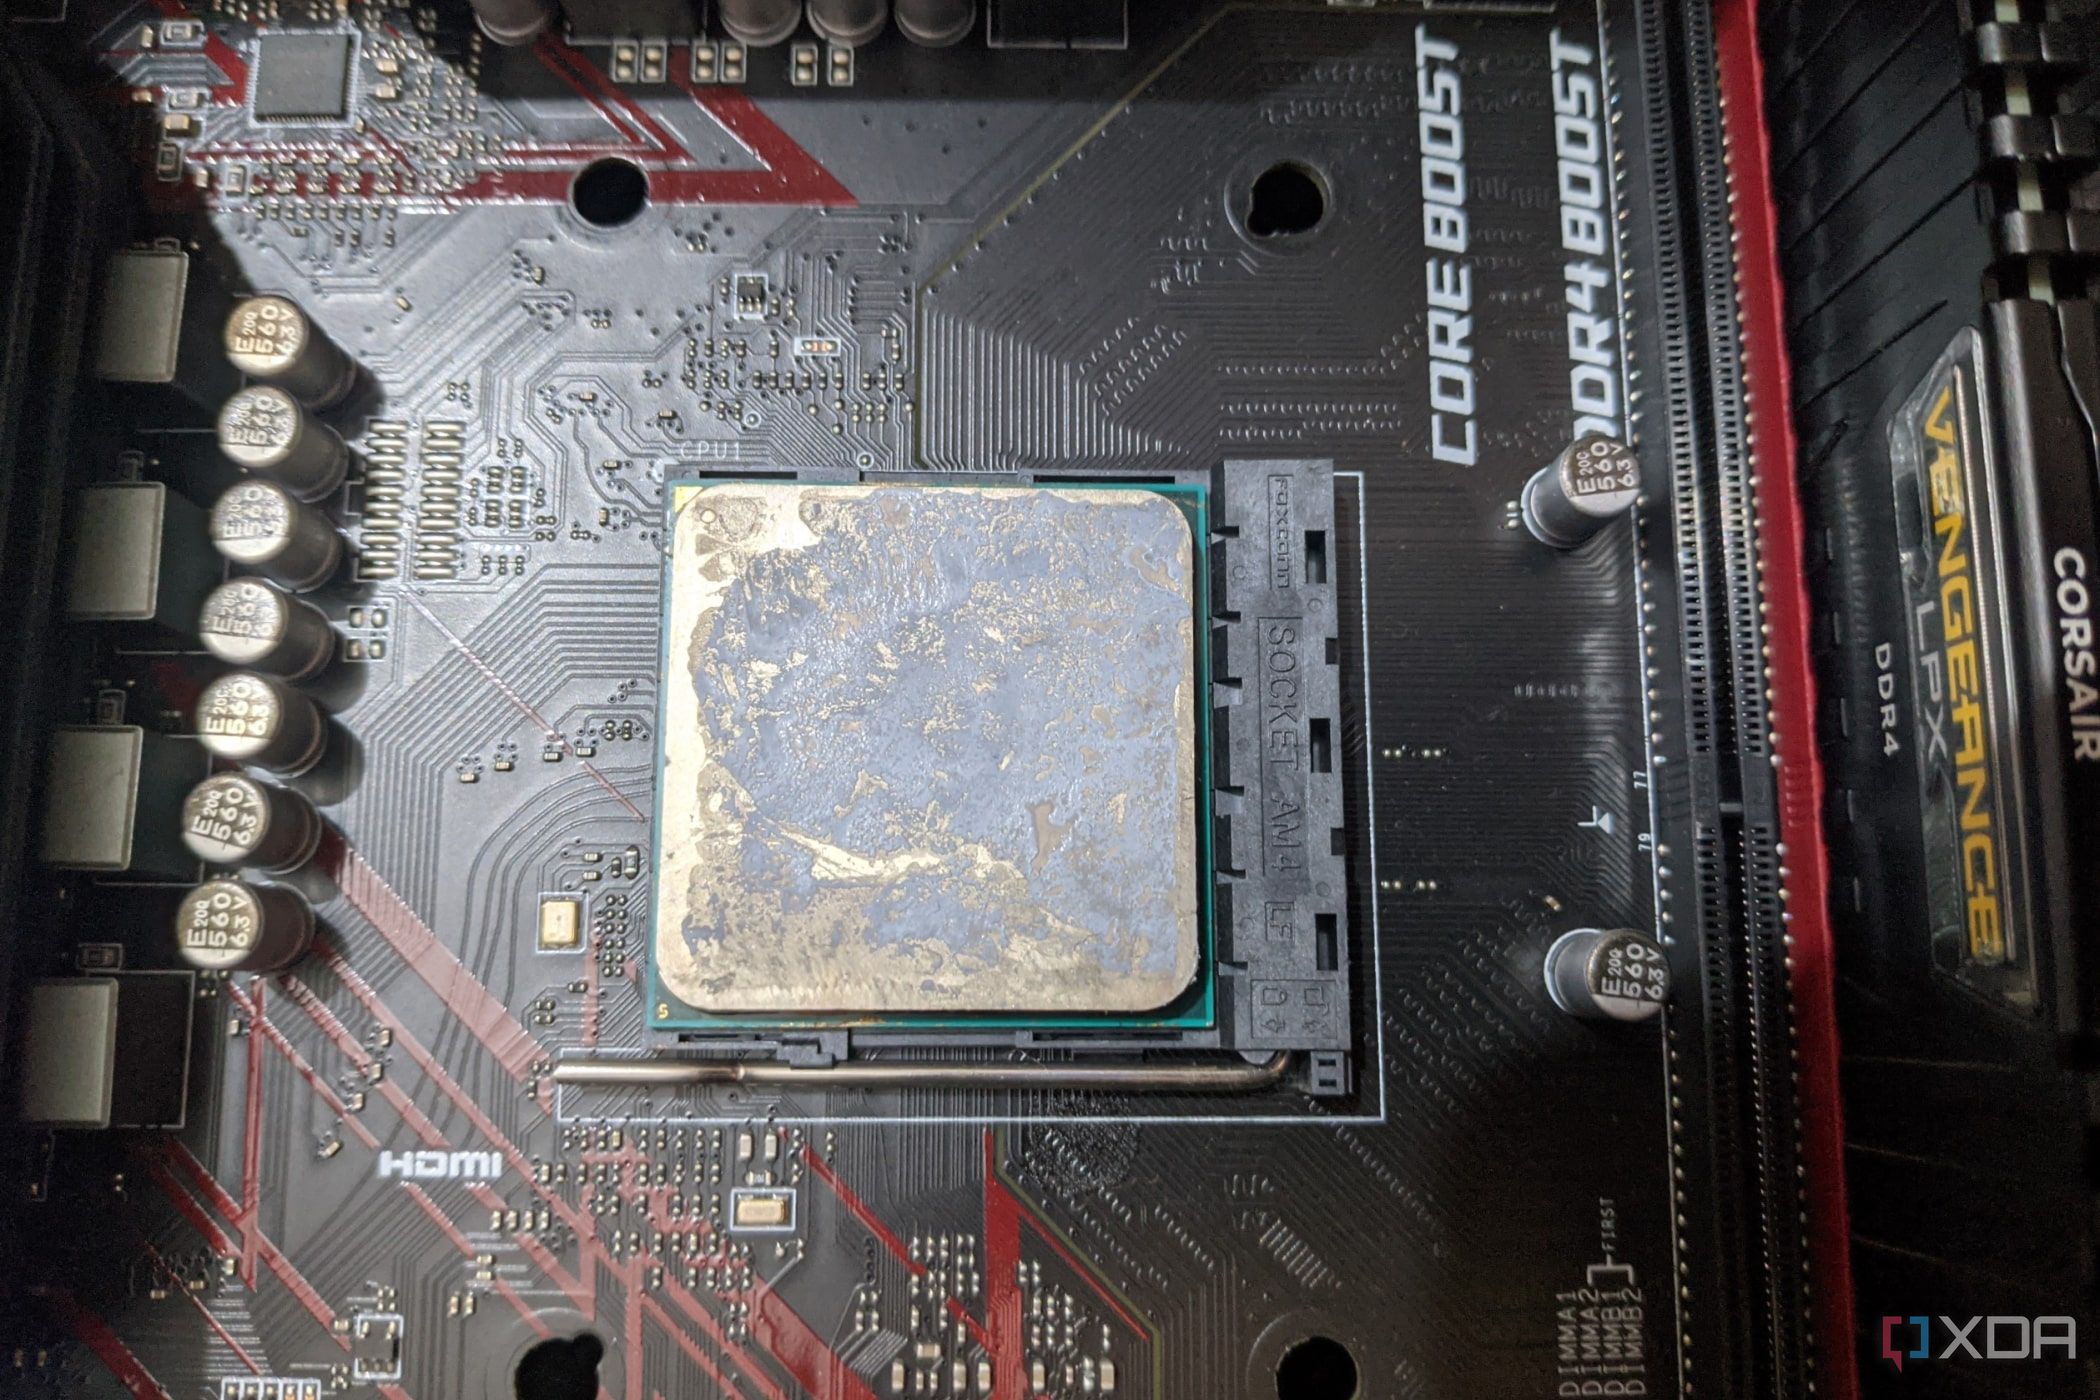
For starters, remount everything on your motherboard. Reinstall your SSDs, memory, GPU, and CPU, using fresh thermal paste and a clean mount for the CPU. Depending on the issue you’re running into, just remounting your hardware can solve your problem. If it doesn’t, it’s time to start whittling down your components to only the essentials.
I usually start with SSDs. If you have multiple in your system, remove everything but the drive you boot off of. From there, go down to one stick of memory, and if that doesn’t work, remove your graphics card and use the integrated graphics on your CPU. I cut down on what I have connected to my PC, as well, removing everything but a single monitor, a keyboard, and a mouse.
The goal here is to narrow down what hardware is failing, and you might come out surprised. If you’re able to get everything working again, slowly add components back to your machine until it fails again. That will point to what’s failing.
Related
How to clean thermal paste from CPU
Removing the thermal paste from your processor is a simple task. Here’s how to do it.
1
Do a fresh install of Windows 11
When all else fails
If you follow advice on forums, a fresh install of Windows is usually pretty high up on the list of troubleshooting steps. And, if you have multiple drives, sufficient backup, and a plan to quickly reinstall your apps, you can do a fresh install of Windows much earlier in troubleshooting. I usually save it as my last troubleshooting step, though. Windows takes a while to install, even if you already have a USB drive with the installer ready to go. And, if the fresh install doesn’t fix your issue, that’s time wasted that you could have spent following other, faster troubleshooting steps.
A lot of the troubleshooting steps I take earlier are to avoid reinstalling Windows from scratch, from getting driver conflicts on track to uninstalling new Windows updates. However, a fresh start might be what you need. Before doing it, I usually make a small list of applications I need to install and move anything important to either another drive or an external SSD. That way, you can be back up and running with a clean version of Windows as soon as possible.
Related
How to install Windows 11 on almost any unsupported PC
Want Windows 11 but have an unsupported computer? Here’s how to install Windows 11 even if your PC doesn’t meet the minimum requirements.
Now you can blame your hardware
If you’ve reached this point without a solution, you can blame your hardware. Sometimes hardware fails, and you need to replace it, but it happens a lot less often than you might assume. Running through this gauntlet of troubleshooting can narrow down the scope of your problem and hopefully point you toward a solution that works. More importantly, it might point you toward a solution that doesn’t cost any money.


