Raspberry Pis are versatile and can work as backup servers, run cameras, and perform numerous other tasks. Everyone should buy these single-board computers because they are inexpensive and have enough power to run many apps. They also have multiple ports to connect to most hardware devices and offer flexibility for countless projects.
In its standard form, a Raspberry Pi resembles a mini PC motherboard with a processor, RAM, and ports to connect hardware. It might seem a bit crude, but there are ways to upgrade its functionality to provide a desktop-like experience that can replace your PC or laptop for some uses. Here are five ways to make your Raspberry Pi feel more like a desktop computer.
Related
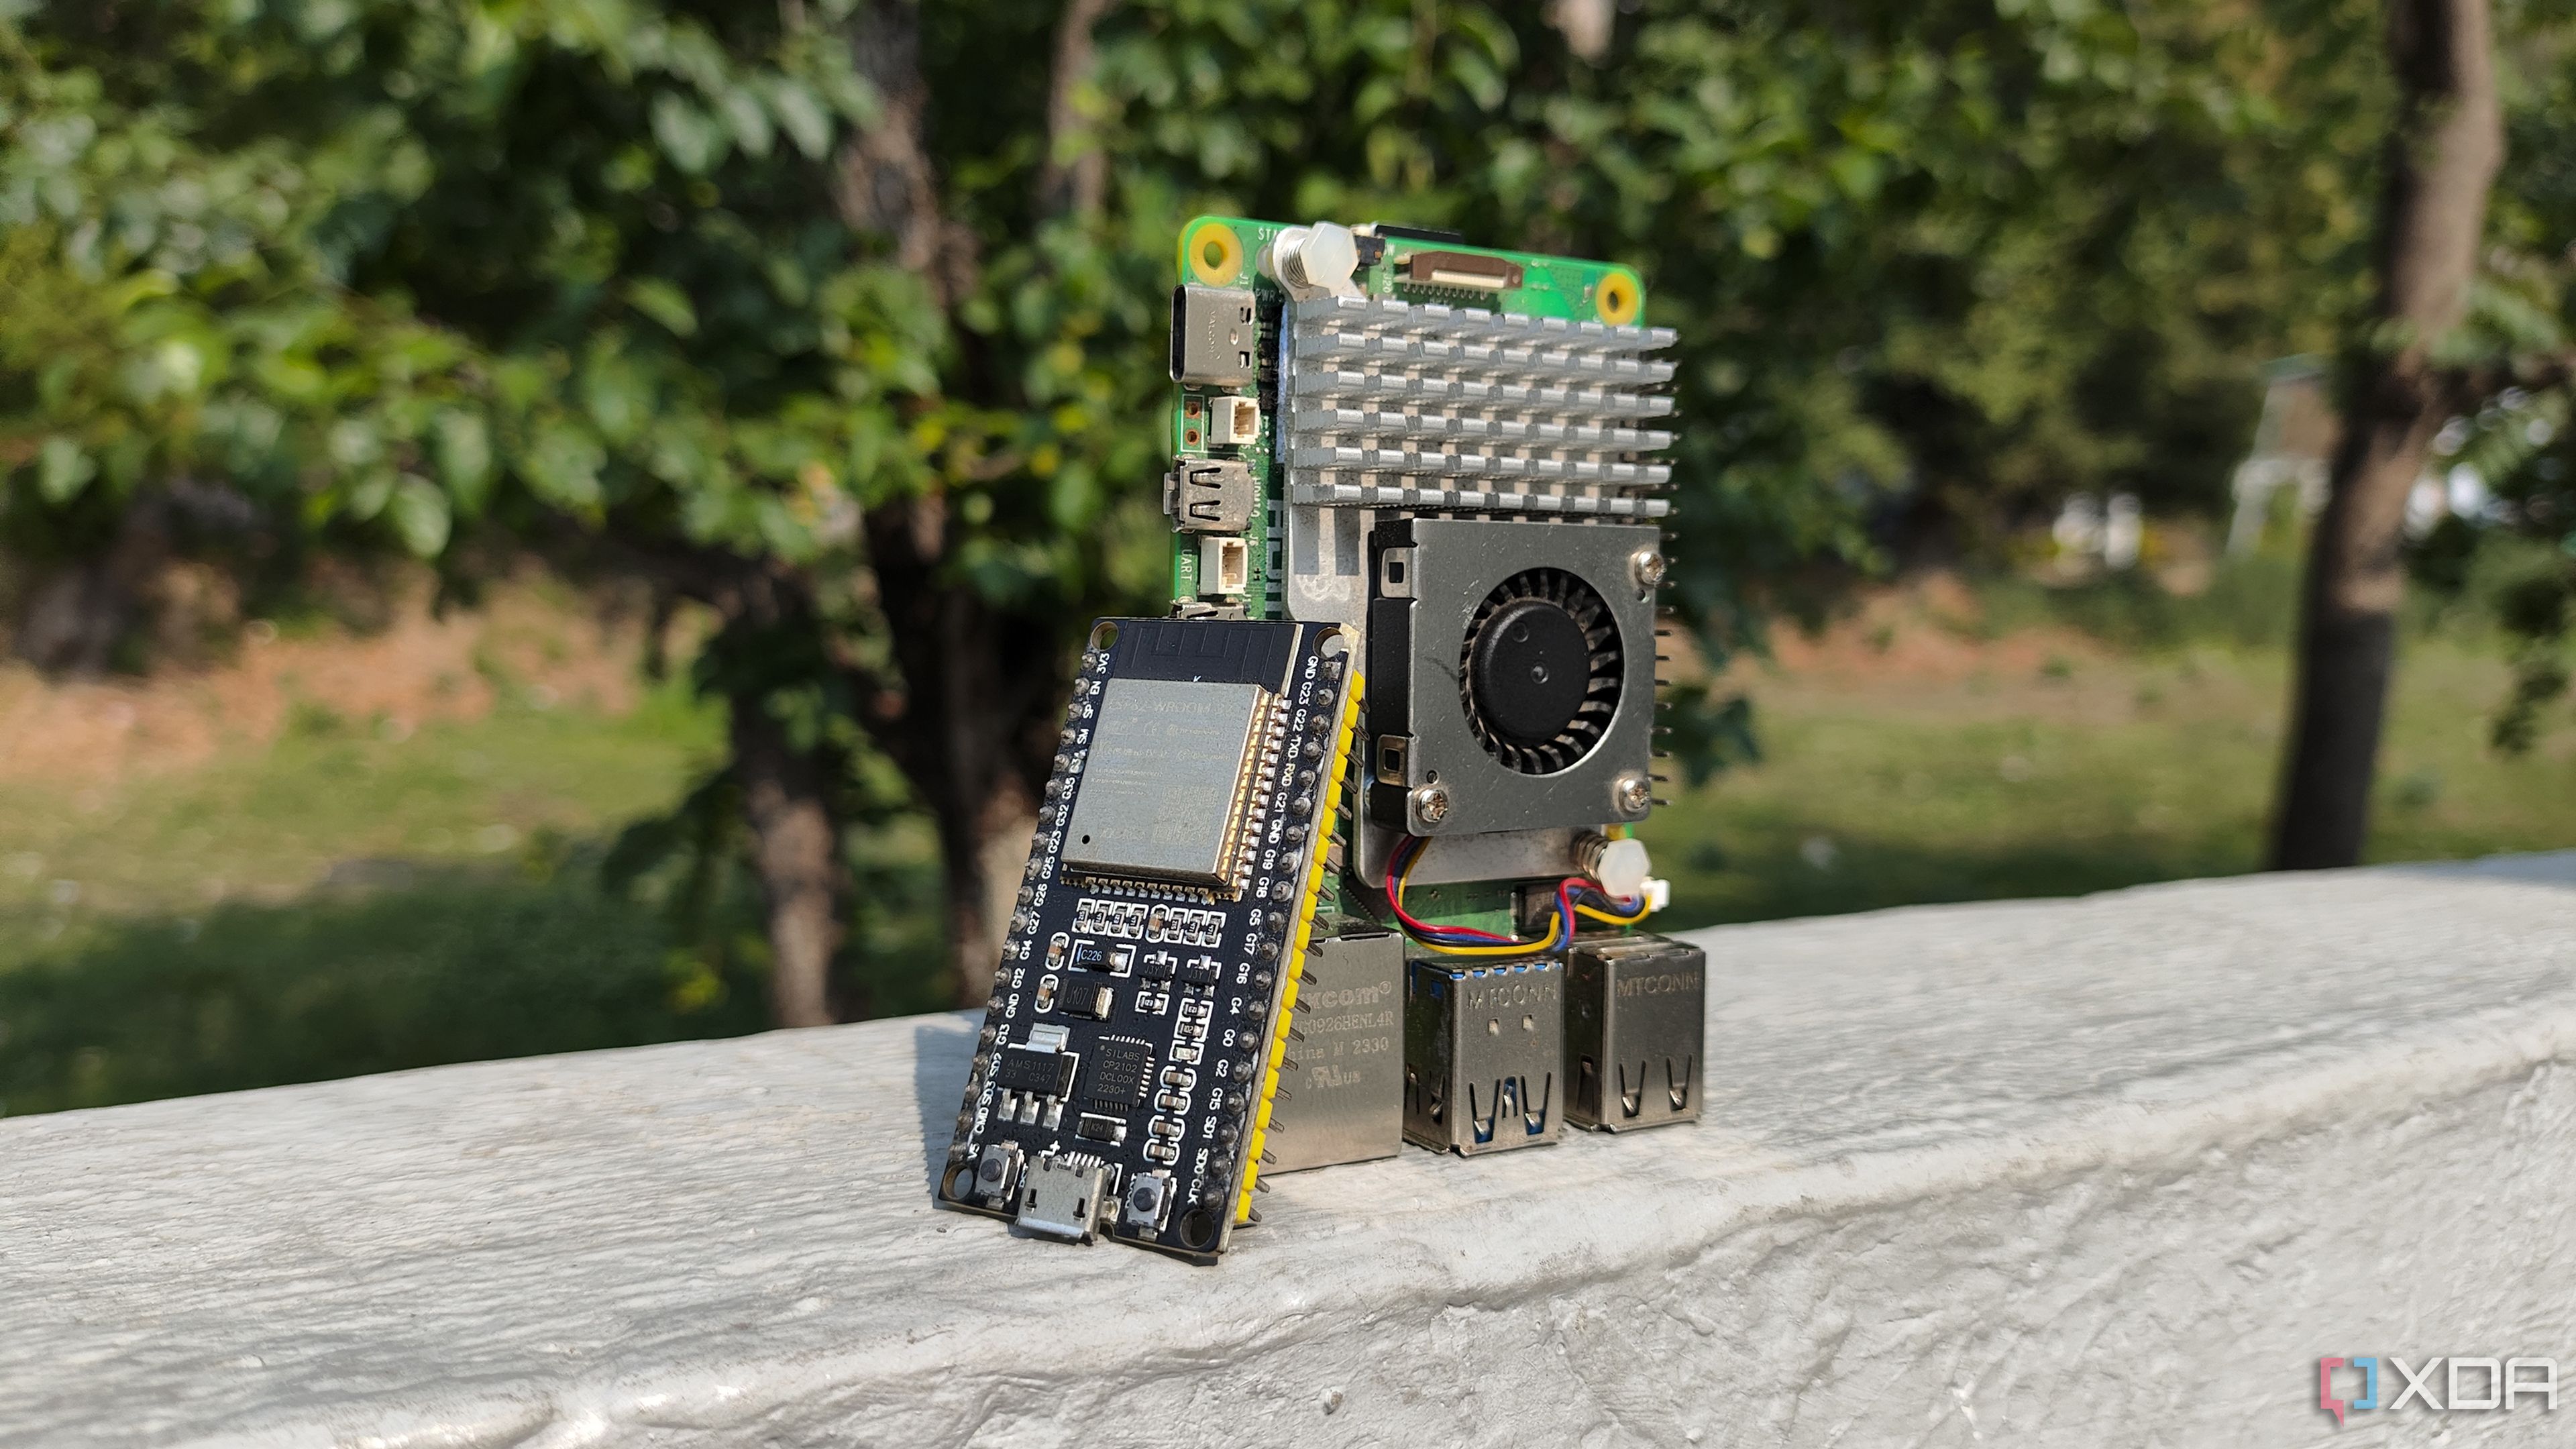
4 amazing projects you can build with a Raspberry Pi and an ESP32
Looking for some cool DIY ideas involving a Raspberry Pi and ESP32 combo? We’ve got you covered!
5
Add a case
Better looks and cooling
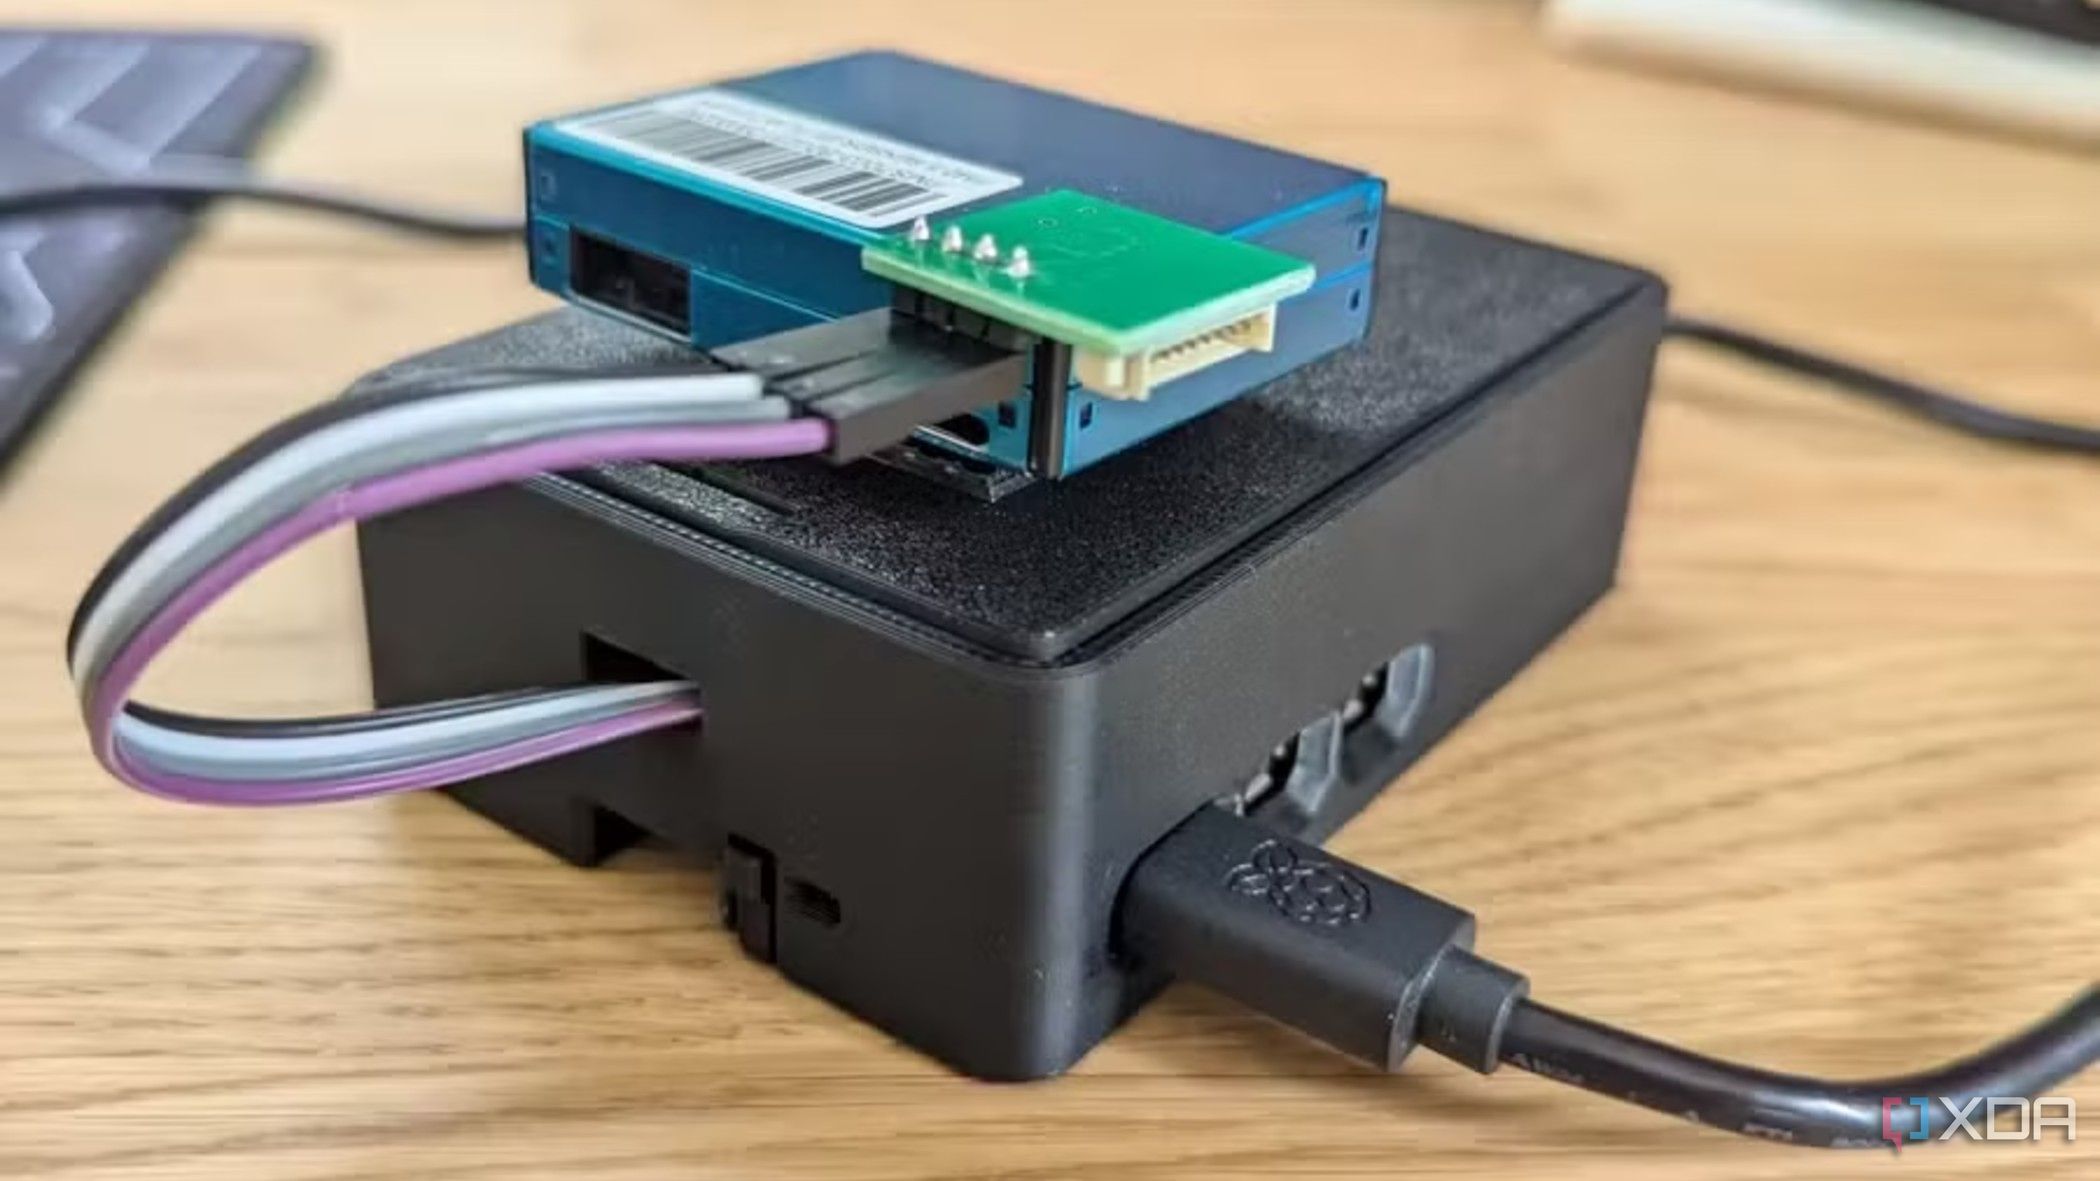
The first step to transforming your Raspberry Pi into a desktop is with a compatible case. The best Raspberry Pi cases are made from sturdy aluminum or plastic, providing excellent protection from knocks and dust. They also include access to all the ports, so you can easily attach other hardware without any inconvenience.
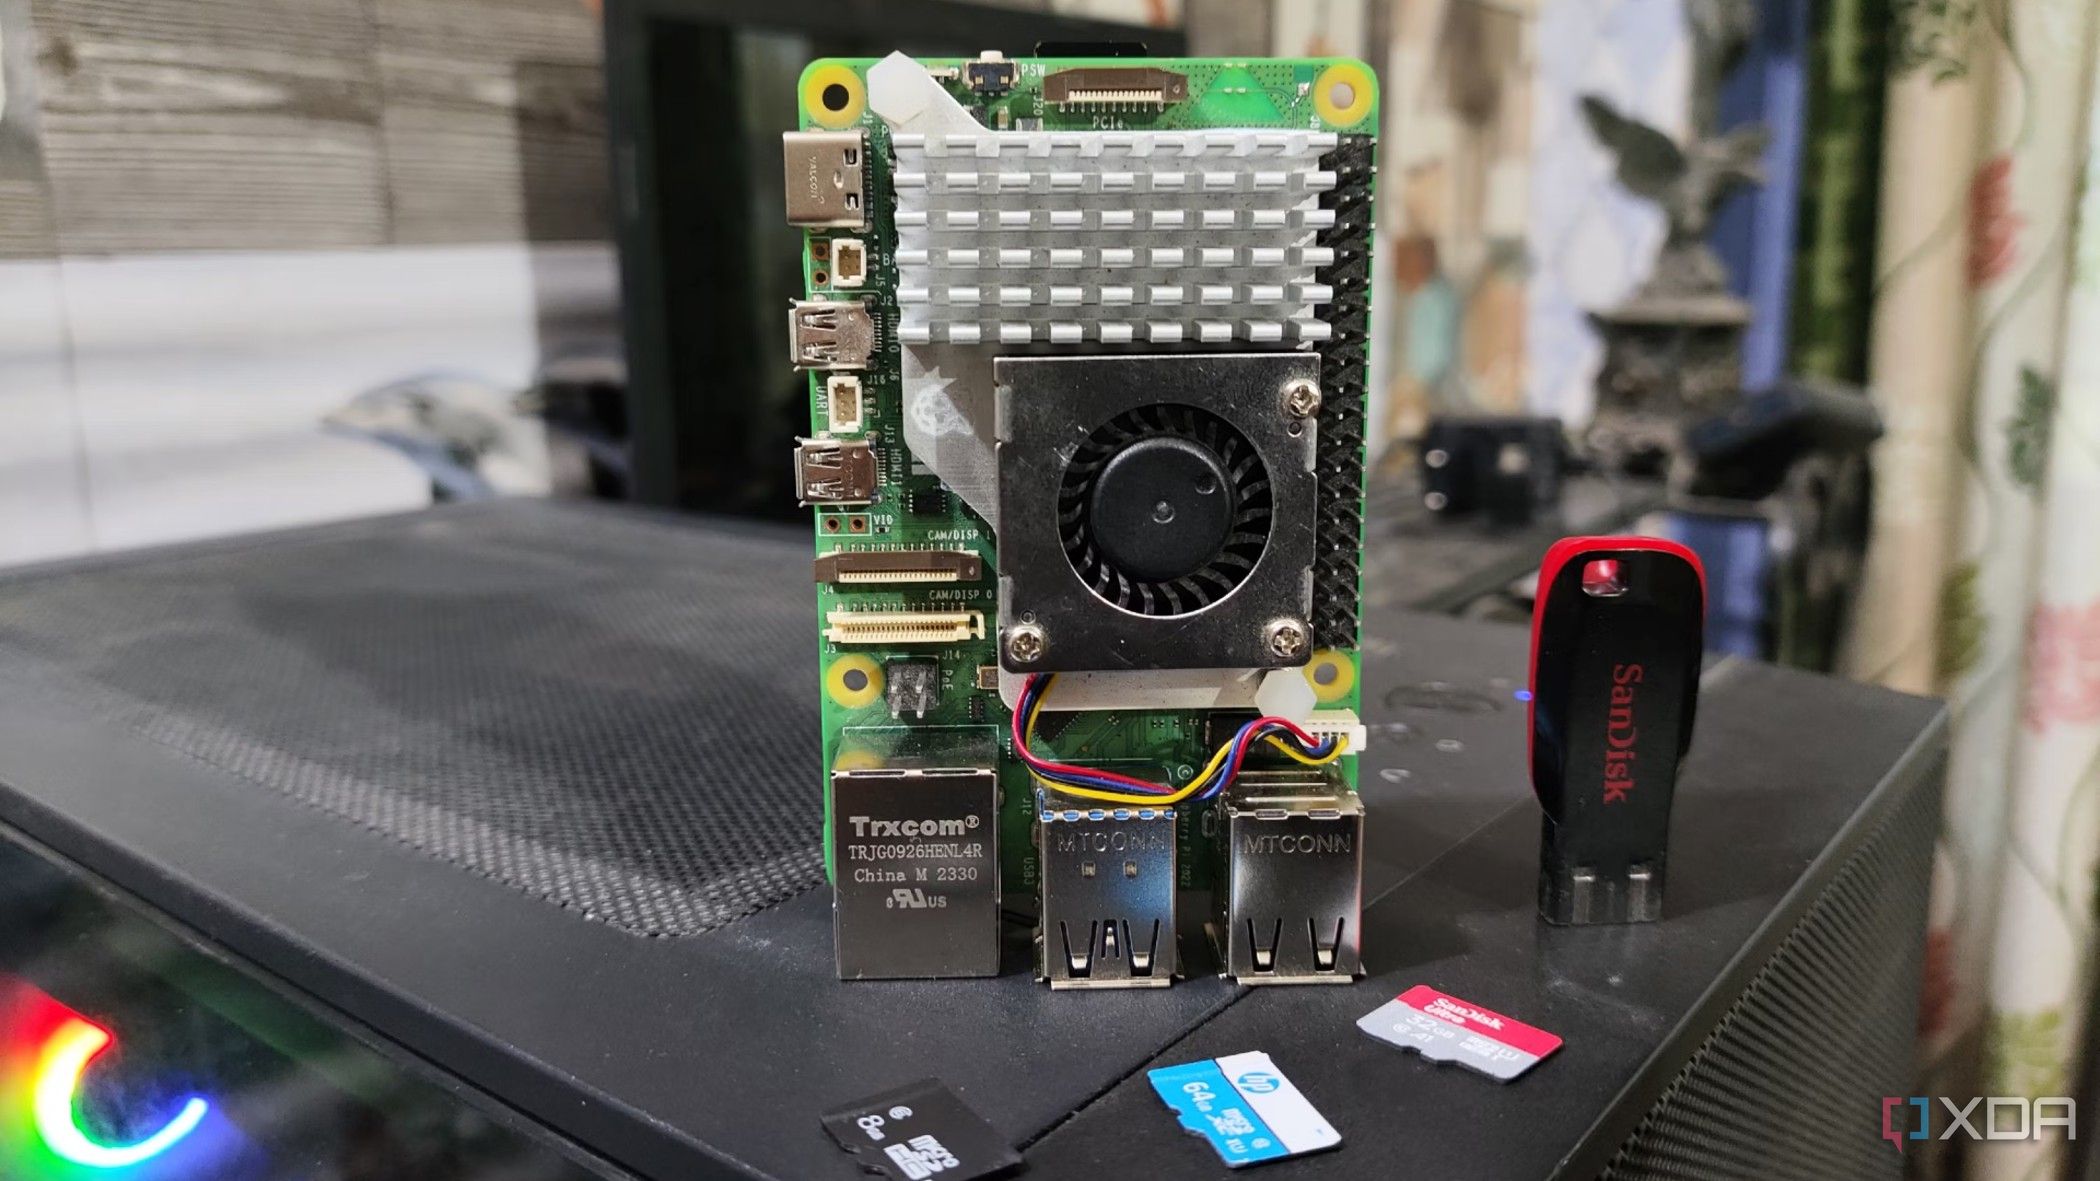
Another reason to get a case is the cooling features they offer. Raspberry Pis are known for heat build-up under consistent loads, and in many cases, heatsinks and cooling fans are used to keep the temperature manageable and ensure consistent performance. Advanced users or people looking for something different can try cases with an M.2 expansion slot to upgrade the memory or a transparent tower that resembles a gaming rig.
Related
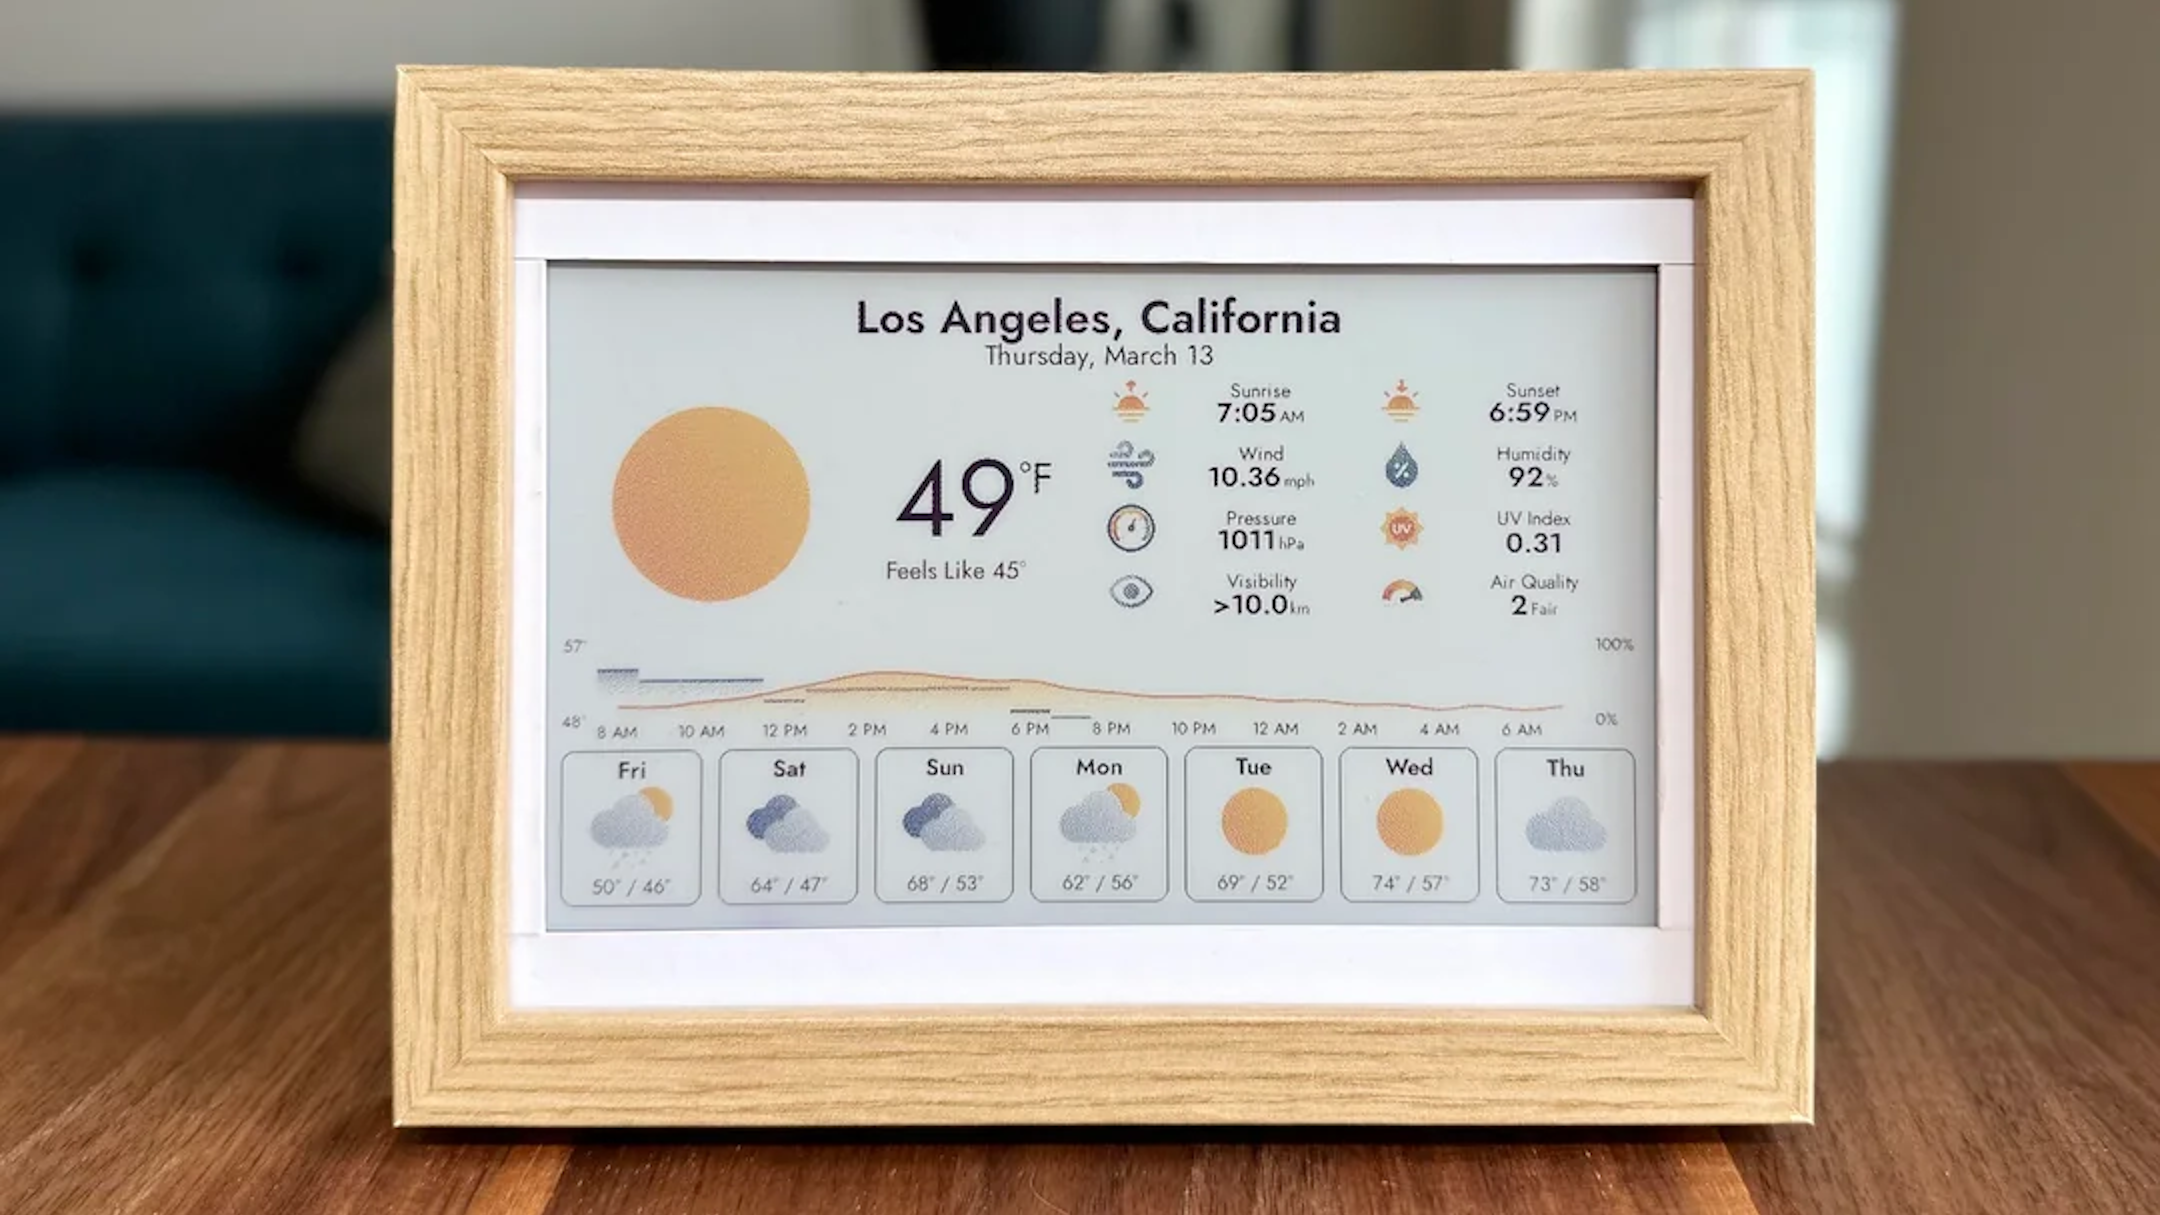
6 e-ink Raspberry Pi projects that look amazing
They’re pretty easy to make, too.
4
Create storage space
Various options are available
You’ll need an SD card, memory stick, or SSD to load the OS and store documents and other data on your Raspberry Pi. Raspberry Pi OS requires around 4GB of space to run, but alternatives like Ubuntu require up to 16GB of storage space. With this in mind, it’s worth getting a MicroSD card with at least 32GB of space to load the OS comfortably and still have space for other information. Raspberry Pi models support at least 256GB of MicroSD storage, which should be enough for the most demanding users if they’re willing to pay the price.
Alternatively, you can add a USB memory stick for storage, although the setup can be more complicated than with a MicroSD card if you plan on booting off it. The latest Raspberry Pi 5 supports high-speed M.2 SSDs, but requires the HAT adapter to run them.
Related
3 Raspberry Pi projects that can create illusions
You won’t believe your eyes.
3
Install a different OS
A fresh interface for desktop apps
Numerous Raspberry Pi operating systems are available, and the massive range lets you customize your experience to suit your needs. Many users prefer the standard Raspberry Pi OS, and you can also try the Windows 11 ARM Edition if you prefer a Microsoft-like experience or FydeOS if you want it to perform like a Chromebook. Linux fans can try Ubuntu.
Installing an OS on your Raspberry Pi is usually as easy as copying an OS image onto a micro SD card and slotting it into the reader. Most models support USB booting, and newer models like the Raspberry Pi 4 and 5 support SSDs via USB, which offer faster speeds and better stability.
Related
7 ways a Raspberry Pi can help educate and entertain your toddler
That tiny single-board computer isn’t just for grown-ups, you know…kids can get a lot out of it, too
2
Add a mouse and keyboard
Easy typing and navigation
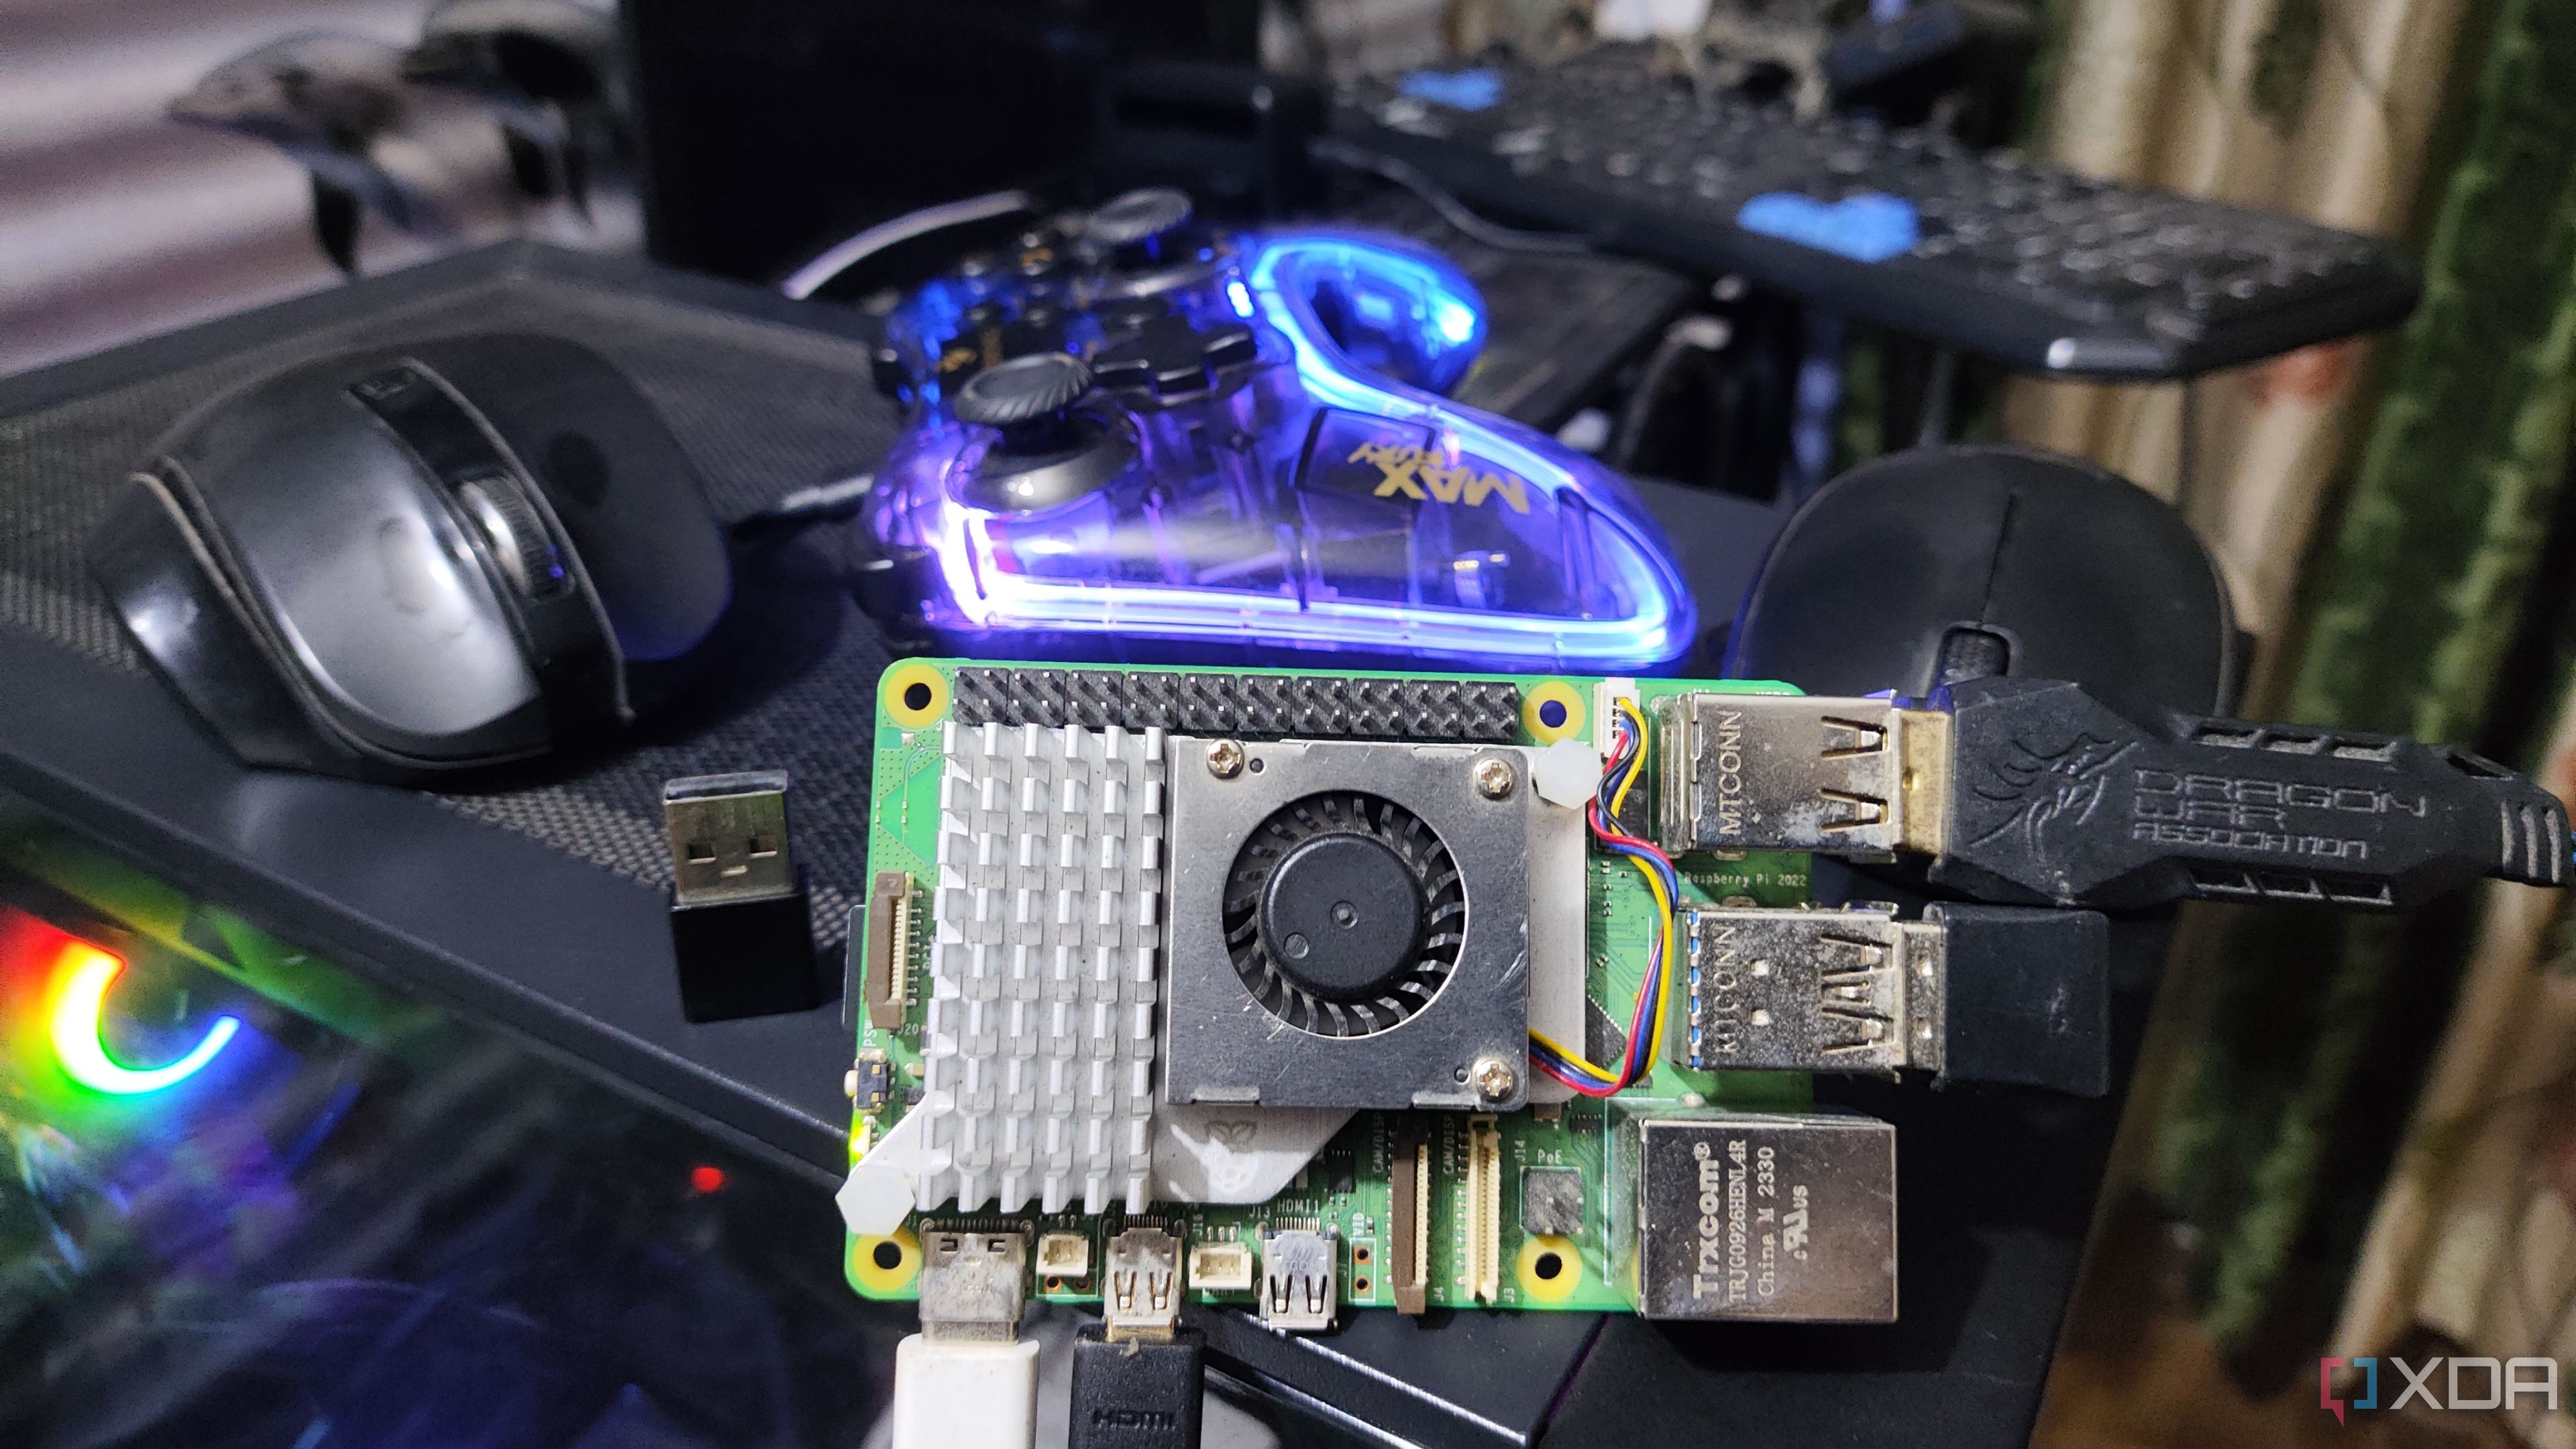
Adding a compatible mouse and keyboard is probably the easiest part of turning your Raspberry Pi into a desktop PC. Raspberry Pis include USB ports to connect devices, and you can choose between the official wired mouse and keyboard, or third-party options from other brands.
You don’t need to buy new peripherals, and the Raspberry Pi will work with most Bluetooth mice and keyboards and wireless options via a dongle. Older models like the Raspberry Pi 1 have a single USB port, so you must use a hub or dongle if you’d like to connect multiple devices. Many Raspberry Pi users prefer smaller and more lightweight options, and you can also get mini-keyboards with touchpads if you plan to work on the go.
Related
6 Raspberry Pi-powered 3D printing projects anyone can do
Upgrade your 3D printer’s capabilities with one of these easy Raspberry Pi projects
1
Attach monitors
Clear visuals for any tasks
You’ll need to connect a monitor to browse the internet, check emails, or perform other tasks on your Raspberry Pi. Older models, like the Raspberry Pi 1 and 3, have a single full-sized HDMI port for graphics. Newer models, like the Raspberry Pi 4 and 5, include dual mini-HDMI ports for up to two monitors.
When choosing a monitor, you’ll need to consider your Raspberry Pi’s resolution. The Raspberry Pi 1 supports a default resolution of 1280×720, and the Raspberry Pi 3 offers 1920×1080 support. If you want 4K resolution, you’ll need the newer Raspberry Pi 4 and 5 models.
Should you make your Raspberry Pi more like a desktop computer?
It depends on what you want to use it for. If you plan on using it for everyday tasks, it’s worth following the above steps. You could also try a compatible desktop kit to make things easier, as they include almost all attachments and the necessary cables. Raspberry Pis have limited computing power, and while they’ll be fine for running lighter apps, they won’t handle intense games or graphics apps.
Related
7 Raspberry Pi accessories I use that every enthusiast needs
To make the most of your Raspberry Pi, you need great accessories. Here are my main go-to add-ons to boost what the SBC can do


